
We are onto Part 2 of our How to create NFT series. If you have not read Part 1 then give it a read.
Part 2: Digitizing the Artwork
Part 3: Creating the Collection
So in part 1 we talked about actually creating the NFT piece of artwork itself. Now we need to figure out how to make that piece of artwork a digital image/video/music that will be able to be used in a NFT. You can't just simple use any image or file and make it into a NFT right away. We are now into the series where we are starting to turn artwork into an actual NFT.
Digitizing a physical piece of art
There are a few ways to do this but there are 2 that I recommend and it all depends on what the artwork is and what technology you have handy. This is also assuming you made your piece of artwork in the physical work and not on a computer already.
Option 1: You can scan your artwork in a scanner. Now there are pros and cons to this and I would recommend performing both options and see which turns out better for your piece of art. The pros of this is a consistent scan of the images and if you have a lot to scan it could quite easy to perform the scans while just sitting at your computer watching Netflix or something.
The cons to this is that scanning an image may not obtain the resolution or quality that you want out of your image. If that is the case then I recommend Option 2 instead.
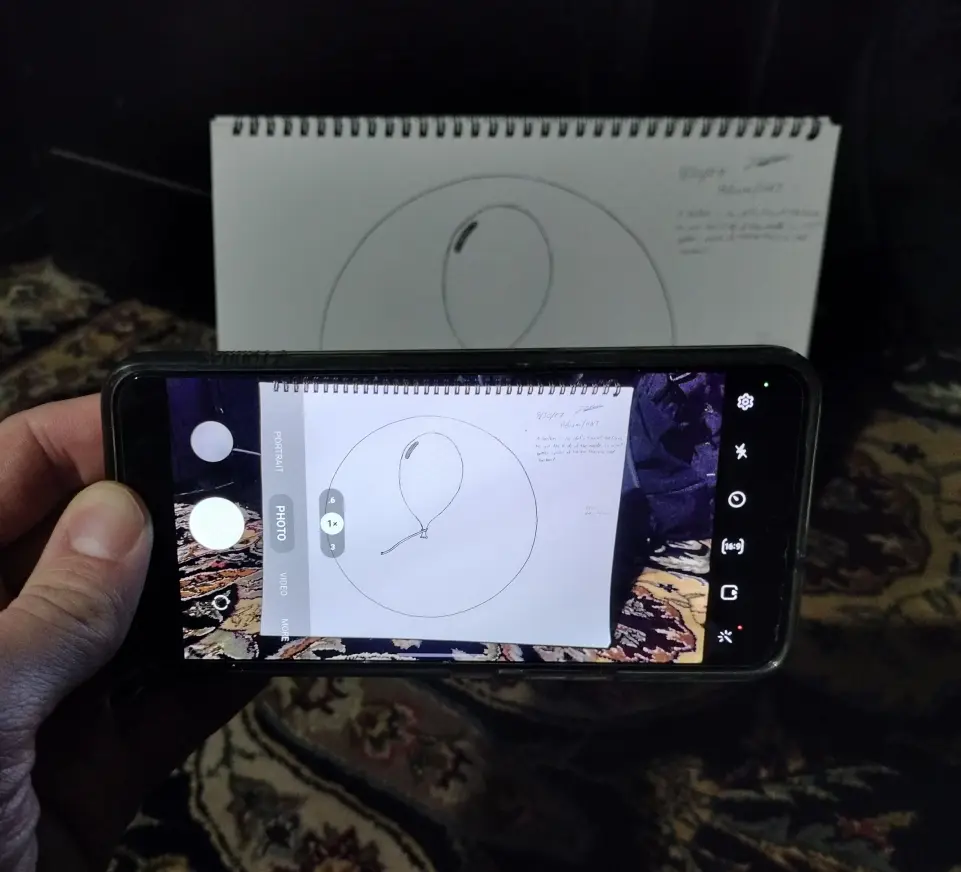
Option 2: Place you artwork either flat on a contrasting surface color or angled up against a wall but also against a contrasting color surface. Take out your cellphone or even DSLR camera and take a picture of it being perfectly perpendicular of it. There are a few things to consider when taking this approach and the main one is that you can't want to cast a shadow on the image so you will need to place the image in a way that there are no shadows over the artwork.
This could not be a good option if your camera or cellphone is not that great of a resolution camera but it also might be your only option. Now for me I take a few pictures with different camera options edited (not filters) to see which one works best in that lighting. I also highly recommend you setup a little corner in your house to take these photos because if you are going to make a lot of NFT's then you will need a easy repeatable process that gives the same quality each time.
Cool you have a picture of your artwork, now what? You can either plug the USB cable from your phone/camera into your computer and copy and paste the image or you could have Google Photo type software that automatically uploads your images into a cloud platform. There are plenty that do this but you have to be careful to make sure they do not compress your images when uploading. Dropbox does this as well as Google Photos. There are others but you get the idea. You need to get the image onto your computer ideally.
Something like this:
Making any final edits
Now that you have the image on your computer now is the time to make any final edits to it. But you also might not need to make any updates. For me when I created the letter NFT/artwork I wanted it to be raw and not edited digitally. I didn't for 2 reasons mainly. Reason 1 is that I wanted to save time haha and editing 26 NFT's would have taken a while and Reason 2 I wanted the blended NFT's to be a lot better quality then the letters and what better way then to make the blends digital and the letters not.
This is also the time to make edits to the images if for example some are going to have a different border then the others or maybe you want to add a digital background to you artwork or even invert the colors of the image so you could have 2 varieties. The options are endless and for me the software I use is GIMP. It's an open source free Photoshop type software. It doesn't consume to much resources on your computer either. But maybe you have Photoshop already and want to use that or Adobe Illustrator even.
I am not going to list every possible software because we could be here all day but you could even use Windows Paint if that works for you or Adobe Lightroom. Again the possibilities are endless.
The other part to this is to convert your file format into a file that is compatible with NFT's. You can upload a text document as a NFT so you need to make sure your file format is one of the acceptable formats.
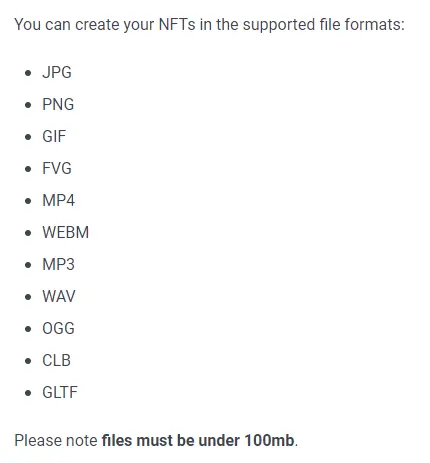
When I have a video made in Blender I export it as a MP4 at 1080p resolution because well I want the best possible resolution to start with. Then I head over to https://cloudconvert.com/mp4-to-gif to convert it to a GIF because it's a smaller format and digital footprint. You don't have to do this if you don't want but a MP4 file will be so much bigger then a GIF.
Uploading/Converting file to NFT format
This is where we start to get technical into the blockchain part of this process. For the overall process of creating NFT's I am going to focus on the WAX blockchain because well that is where I have created my NFT's. The overall process is roughly the same across blockchains but I am going to get into specifics on the WAX blockchain. And further more I am going to utilize AtomicHub and Nefty to create and sell my NFT's in this guide.
With that being said we are going to need to utilize a IPFS. An IPFS is a "InterPlanetary File System" which is just a protocol to allow peer-to-peer file sharing. This is where your actual NFT image (your artwork) will reside. So we are going to need a IPFS system/software to use. I started with "IPFS Desktop" but have now transitioned to FileBase as you can upload way more data.
FileBase lets you store 5GB of files which should be way more then enough for you to get started in the NFT space. So head over to https://filebase.com/ and create a free account. Then once your account is created you will need to create a 'bucket' which is basically just a folder to organize your files. This is totally up to you how you will organize your NFT's but I would create a folder for your original NFT's and then a bucket for the blended NFT's and maybe one for packs or something like that. Whatever makes sense to you works.
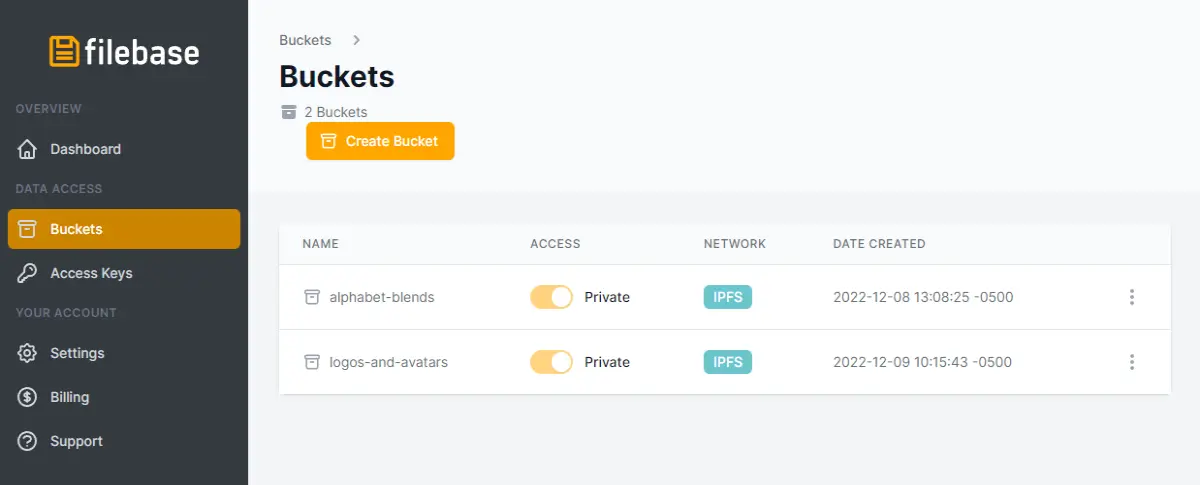
You can also create 'folders' within buckets if you want to organize it even more. So if you are going to have multiple collections you could create a bucket for each and the subfolders within those buckets.
Now get into the bucket you want to upload your artwork to and select "Upload".
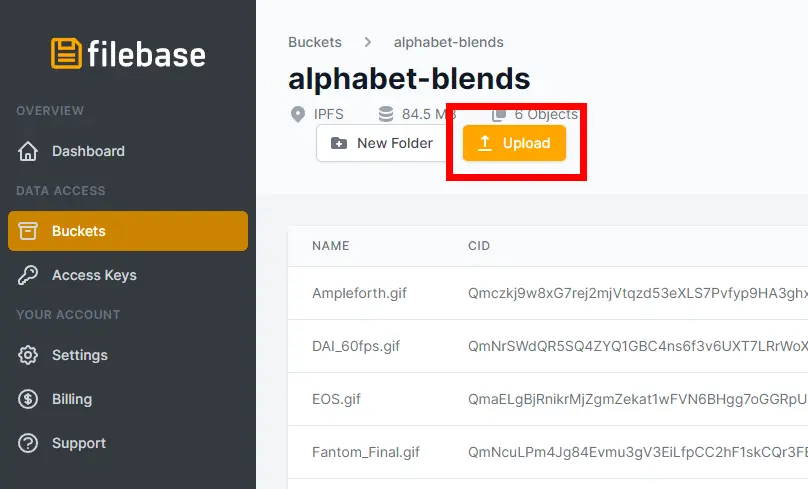
Select 'file' and then find the artwork file on your computer and upload it and wait for it to finish uploading.
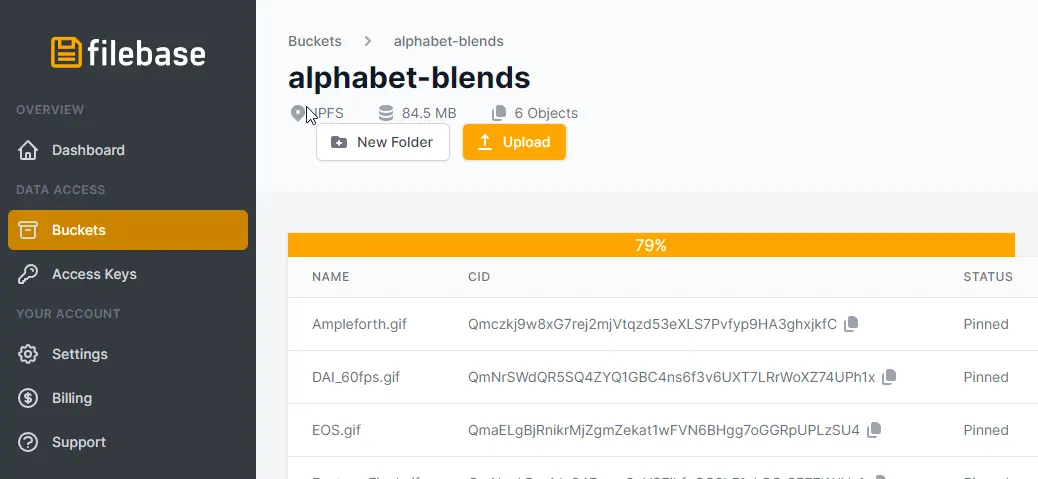
Okay now you have your artwork in the cloud you are ready to actually create the NFT. One thing you need to remember that once you are have uploaded your image or video or whatever it is forever there and unchangeable. You can however make edits to your artwork on your computer and reupload it but it will be a new image.






