
This is my 6 part series where I walk through how to create a NFT from start to finish and beyond. I wanted to create a Series to walk a total novice/noob/rookie on how to create NFT's and well here you go.
Part 2: Digitizing the Artwork
Part 3: Creating the Collection
There are 3 main things to consider when creating your NFT artwork and that is to decide what you want to create, how you want to create it and then well create it.
1) Decide what you want to create
This can quite honestly be the longest part in all of the NFT creation process. I say that because the one thing with NFT's and Blockchains that you need to keep in mind is that pretty much everything is permanent. That matters because how you group your artwork is going to matter. How you present and categorize your artwork is going to be important.
For me personally this took months to truly figure out the path I wanted to go down. NFT's have Collections, Schemas, Templates and then past that there are packs and blends and drops and all that fun stuff that you need to take into consideration before you begin or you could find yourself months into your project and realize you are going to have to change a bunch of things to make it work the way you want.
For this series I am also not going to get into the utility of NFT's because well Smart Contracts are too smart for me and well this is just not that path. Also for this series I am going to base this off of what I recently did (half the reason I created my last collection was to make this course). I knew I wanted to create NFT's that were kind of bland but then could be blended into cooler NFT's. What I knew was the blended NFT's I wanted to be reimagined logos for various Cryptocurrencies or Blockchain projects. And I knew every cryptocurrency has a abbreviation if you will. Like ETH stands for Ether which is the Ethereum blockchain. So it dawned on me that I could create NFT's for each letter of the alphabet and use those to blend into the cooler NFT's.
For example if I have a Blended NFT for Ethereum you would need to blend the letters 'E' & 'T' & 'H' to get that Ethereum NFT. And that is what I set out to do.
However in this 1st part we are truly just going to talk about creating the artwork itself. You could also have years of artwork you already created and have laying around that you want to sell as NFT's and if that is the case then you could probably just skip this 1st part in the series.
2) Decide how you want to create it
For me this was easy but for you it may be harder to decide. I luckily have a great PC that can render and create with the best of them. I also have a Microsoft Surface laptop/tablet with a stylus that lets me use the touchscreen on it. But I also wanted to create the artwork with pen and paper to get back to my elementary school days.
I got myself some paper and pencils. I luckily had a drawing pad laying around not getting any use so I busted that out. After quite a few drawing I ran out of room and had to get another pad of paper.
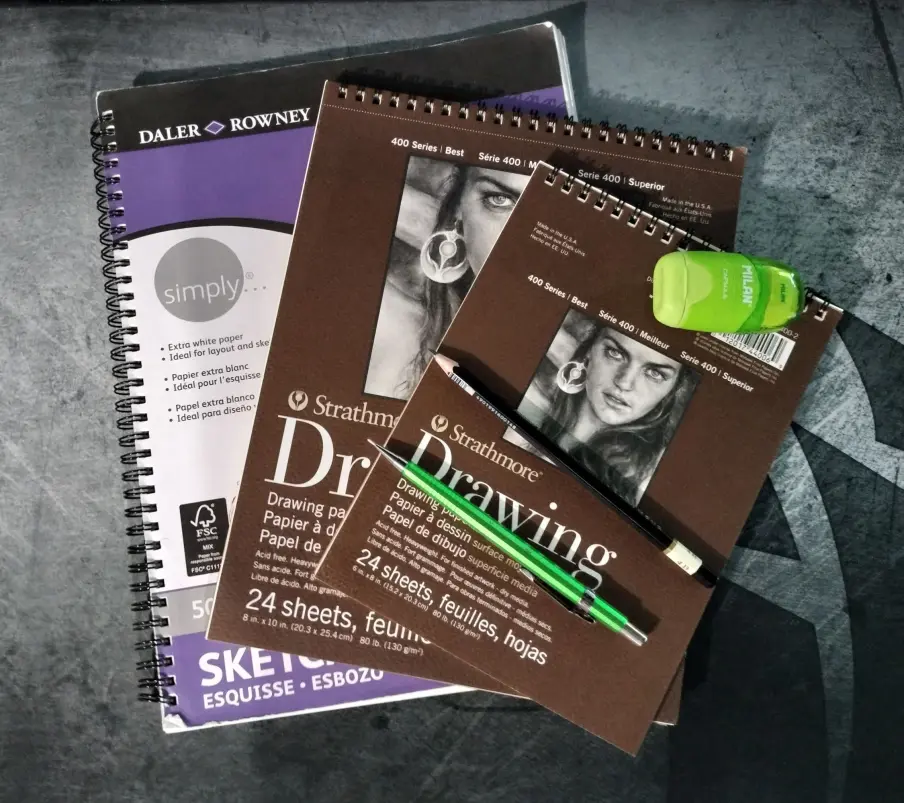
The beauty of this though is that you don't have to create on paper and pencil if you don't want to. You can create your artwork digitally.
You can create your artwork in Photoshop if you have it. Or ever Adobe illustrator if you are a Vector based kind of person.
If you don't want to pay for those pieces of software I highly recommend GIMP. Think of GIMP as an open source software like Photoshop.
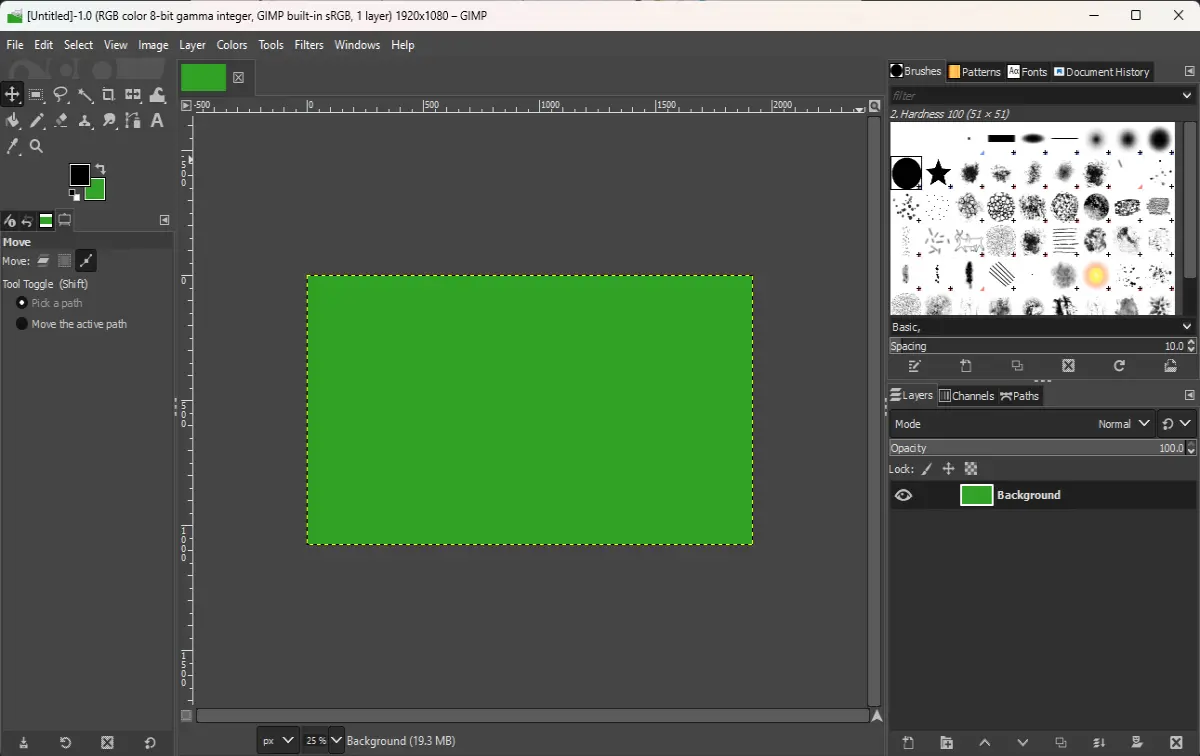
I personally swear by GIMP. You can download it for yourself for free here: https://www.gimp.org/downloads/
But the world is your oyster and you can use any software or writing medium you want to create your artwork. You could even use Blender and create it there if that is what you are more familiar with. Blender can be downloaded for free here: https://www.blender.org/download/
3) Create/Refine the piece of art
Now for me creating the art on paper was fairly simple and you could kind of do the same digitally but I always started with a circle outline because I knew my artwork was going to end up being a coin shape in 3D so I needed the circle to guide my as to how to fill the space. The size of the circle doesn't really matter because I would resize it however staying in the same working space gives uniformity to all NFT's.
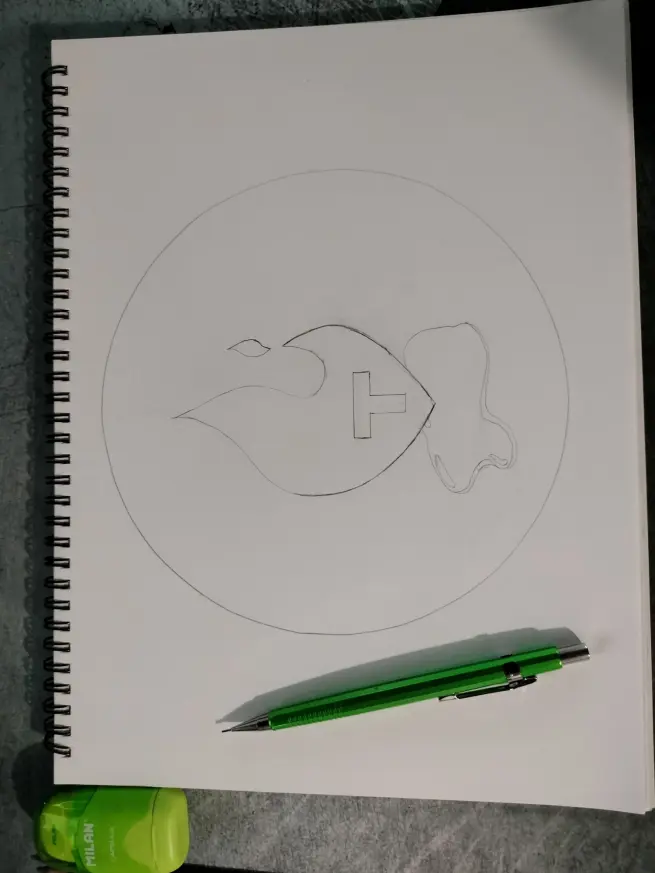
And now for me I wanted to upload the physical drawing into my computer to edit it more but those steps will align more with the next article so I will wait to discuss those steps. For now the general rule is have your artwork pretty much created as you want it and also have the overall theme of how you are going to setup your collection.
This Part 1 was made to be a little easier to digest and I hope it was semi helpful. I promise the next parts will get more in depth and helpful to those blockchain novices.
Don't forget to check out my Discord server to win free NFT's and airdrop cryptos from time to time: https://discord.gg/ra2nFdUNaw






