Creating more content for our website
Today we are going to add some more elements in our website.
And you are going to learn how to create website like in 2001 haha.
Don't worry, as I write this blog the websites will get fancier.
This is just for you to understand the basics well.
Open up VSC and our website in browser
At first we shall remove everything
we have in our HTML and CSS so
we start with empty document.
Like this:
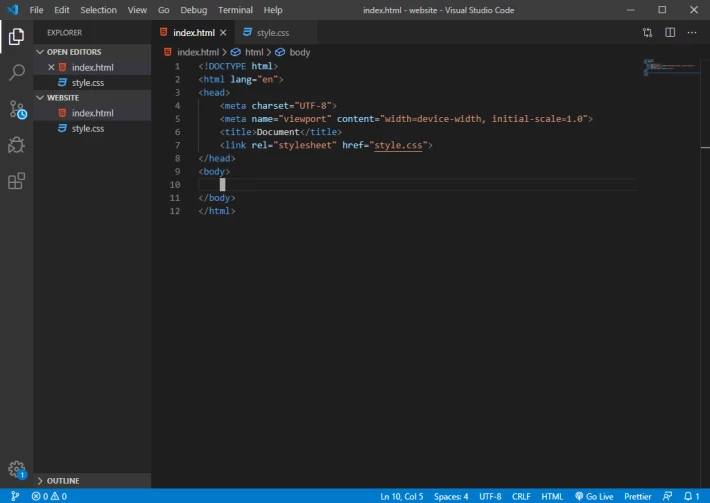
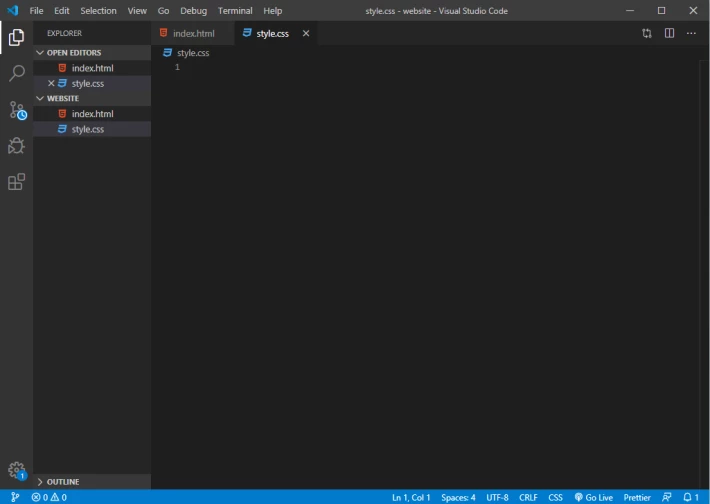
(first pic is html and second is css)
Creating containers for our content
Ohh, this is getting interesting.
To create a block where we can place our content
let's use this tag: <div></div>
It's short for divider.
Now let's create 4 of them under each other.
To do it quickly type div*4 and press enter in VSC.
Then we have this: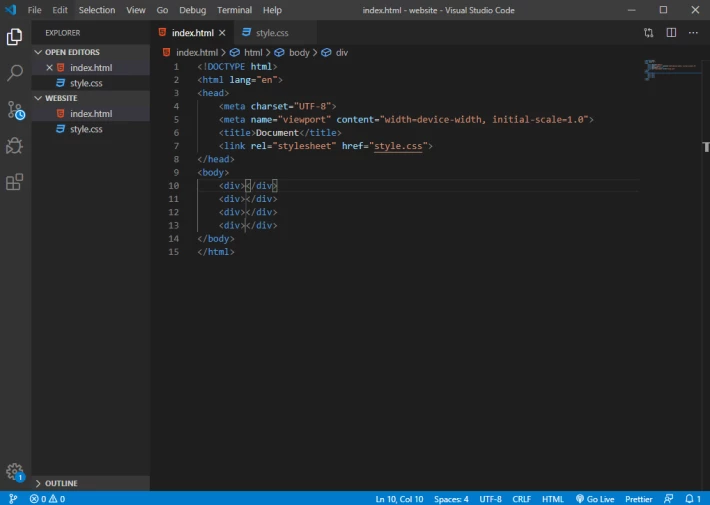
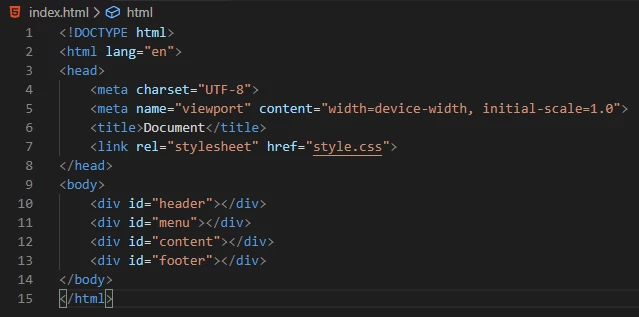
Now let's give them all ID's.
ID is used when we want to target one element specifically.
If we want to target more we would give them CLASS.
Then if we change something in CSS for class 'yellow' all elements with that class will change.
In CSS we target ID with #idhere and class with .classNameHere.
So here goes our HTML and CSS so far:
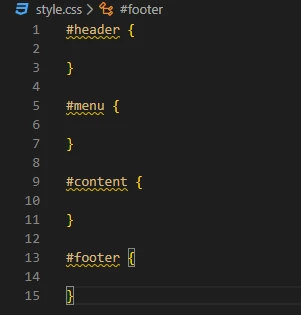
Styling our containers
Let's give them some dimension and background color.
To set width, height and change color we do this:

And now HTML:
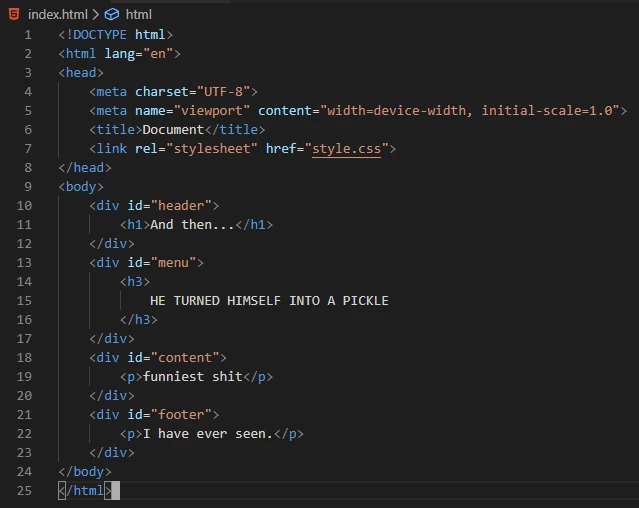
To target all divs I targeted just div in CSS.
And pushed the content inside, which created 20px bigger container.
So to my original 400px it added 20px = 420px.
So next I had to subtract those 20px from 400 to make it the original size.
Then I chose color for the containers
and added float: left; which makes
the content of the block go to left.
You can play with it and use right.
In HTML I then created some
paragraphs, and headings of different levels.
So in the end my website looks like this:
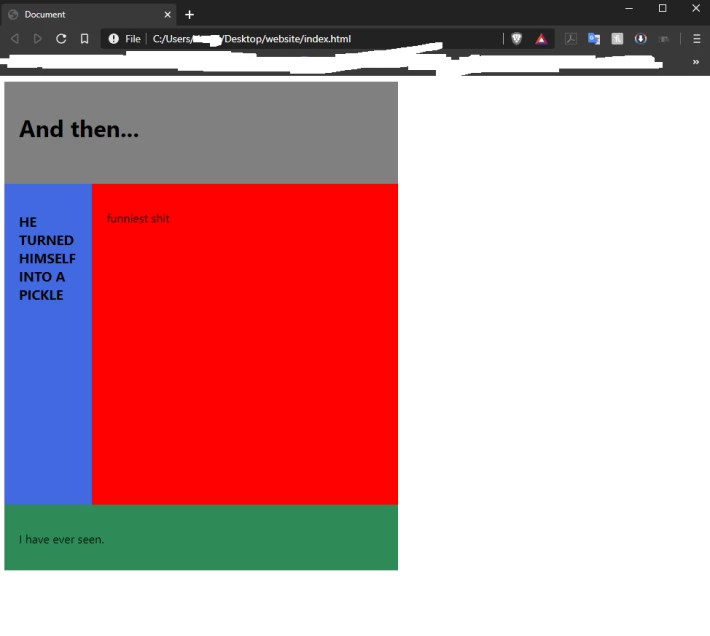
So now, yours might look different.
Depending on the size you chose for blocks
and different background colors.
And obviously text.
You also might use percentage
for sizing the boxes.
To make them full width
you would use 100%.
That's all from me today,
try play with it and discover new things.
If you are stuck or don't understand something leave me a comment
or google haha.
I'm out!