
Last time, (https://www.publish0x.com/viking-visual/krita-meets-bob-ross-parts-1-3-krita-art-viking-visual-xjjkme) I told you a little about my journey learning how to use the amazing free program called Krita - along with my brand new Huion graphics tablet.
Creating water
Here is the next stage as I follow Age of Asparagus' set of tutorials called "Krita Meets Bob Ross." Today, I show you some of what I learned in parts 4 and 5.
As you can guess from the title of this one, he takes us into the steps to make some awesome water for our painting. But first, he teaches us a bit more about our tools and how to use them.
First, he showed us a lot about how to edit our brushes and even save them to our quick palette (right click to find this). Very important things for learning how to get the most out of Krita.
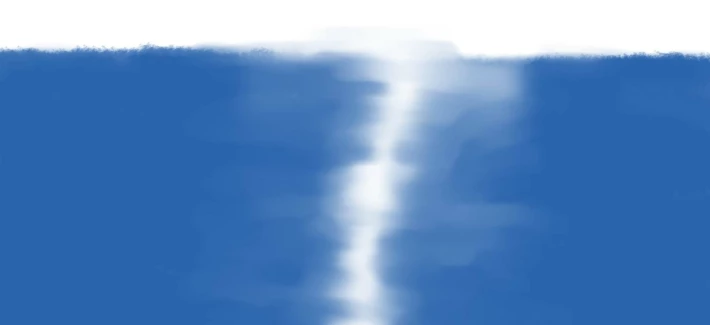
Then, we worked on water using the two brushes we just altered.
We used the main brush on the water - leaving a gap for the sunlight trail across the water. Then, we used a smudging brush to smooth the water and then to blend our sunlight trail into the water a bit more.
Here is my result.
Warning!
This was when I discovered a fundamental difference between Gimp and Krita - which caused me a fair bit of panic to begin with.
When you work with layers in Gimp, and save, you have to save it as a .xcf. If you want a .jpg or .png, you have to "Export." That .xcf keeps all your layers in tact, so that you can come back to it later exactly as you left it and work on it some more.
In Krita, there is also a special file type called .kra which works the same was as an .xcf file - which is great. I'm still not completely sure how I managed it when playing with these files, but I ended up saving my work as a .jpg instead of a .kra - which meant that my layers were GONE!
I was able to recreate my layers fairly easily this time, but will I be so lucky next time?
Anyway, my advice would be to make sure you save your file as a .kra file as quickly as possible and try not to export it to .jpg/.png before you're ready for whatever postwork you need - including getting it post ready.
Playing with colors
Part 5 of this amazing tutorial teaches us how to mix our own colors to add to our palette (if we wish) - so he has us create Bob Ross's mountain color (which we'll use in Part 6.)
We use these ways of mixing colors to add some highlighting to our clouds.
Here is my painting as it stands right now.
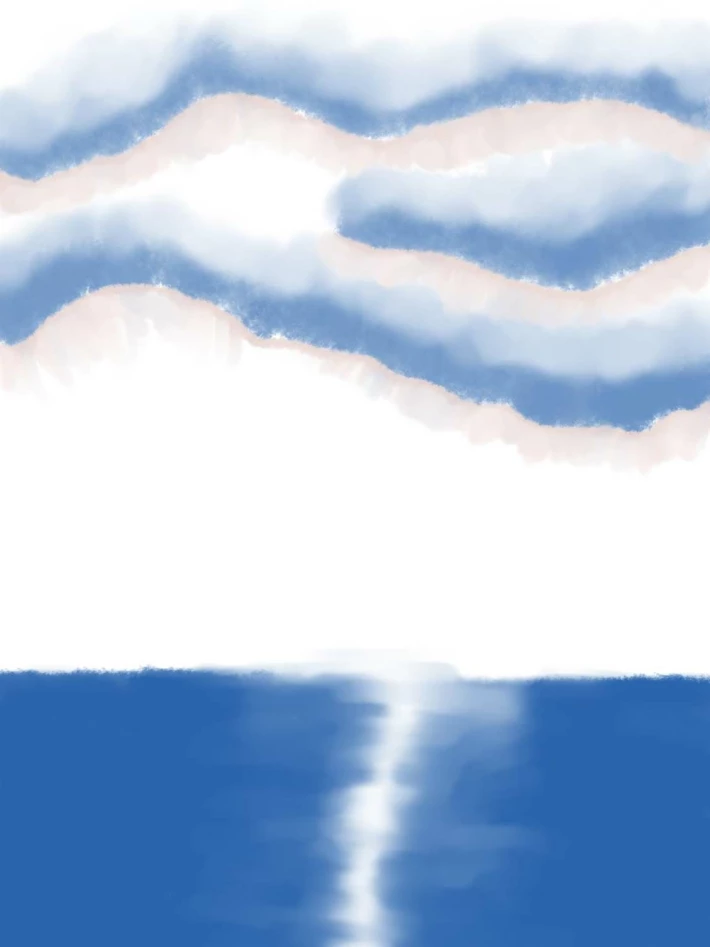
At this point, I stopped working on my first version (my clouds were way too far apart for this technique to work very nicely), though I'll continue to use it for practice before moving to this one.
Until next time... when we start building mountains.
Created using Krita (freeware) and a Huion H610Pro.
Previously posted on: Steem, Whaleshares, Weku, and Hyperspace
Lori Svensen
author/designer at A'mara Books
photographer/graphic artist for Viking Visual
verified author on Goodreads
find me on Twitter
also on: Whaleshares, WeKu, Hyperspace






