
Every good article needs good pictures to go along with. 1st impressions are everything and if someone sees your Article title and then a crappy Cover Image next to it they are less likely to click on it. So in that spirit let us take a stab at how to get good images and how to edit those images.
Here are a few websites to get free images from:
www.google.com (obviously Google Image search is easy but not everything that comes up is free to use so be careful)
I am going to use Pixabay as an example here. Navigate to their site and create a free account. You can login with your Google or Facebook account or just an e-mail address. Once done with that, start searching for images. Any image you find you can download and use for free. It is appreciated if you credit the author of the picture but isn't a requirement.
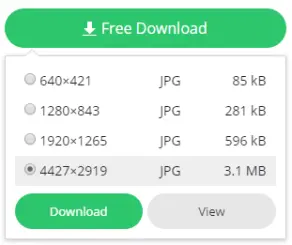
What I love as well is that it lets me choose the resolution of the picture I want to download. For instance, this picture:

It let me download it in the following resolutions.
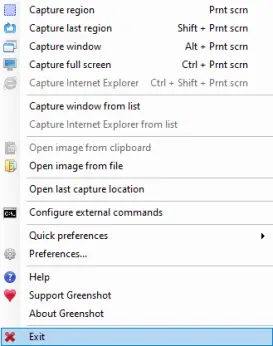
There is another key tool that I think everyone needs and that is a piece of software that enables you to capture your screen's output. There are a few with the most prominent being SnagIt and Greenshot. I personally use Greenshot because it's free and open source.
Navigate to their website here and download the latest release. Follow the prompts to download and install as it's pretty easy.
So, once it is downloaded and running all you have to do is press the "Prt Sc" button. Depending on how you have its setup it will either automatically save a screenshot of your entire screen or ask you to drag and drop the selection you want to capture. I have mine setup to drag and drop and then prompt me where to save it to.
So now we are on to editing photos. I highly recommend downloading GIMP. It is another Free and Open Source software that can-do wonders. Think of it like the free Photoshop version. Navigate here to download GIMP
https://www.gimp.org/downloads/
When you open an image in GIMP this is will be the default look to it. There are a lot of options and you can ignore most of them. The ones we care about are here:
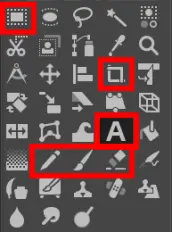
Hover your mouse over each one and it will tell you what they do. We are going to keep it simple and just write some text on top of our image. So, press the “A” button and then click and drag a box where you want text written. It will become your text field.

Once you start typing in the image you will see your normal text editing options like Font, Size, Bold, Italics, etc. In the bottom right corner there is a colored box. Click on that to bring up the color selection window. The neat thing in here is the eye dropper tool.

If you click on the eye dropper tool it will allow you to click on any color in the image and use that same color. If you want your font to match the color of something in the image you can easily. It makes Cover Images look more professional and that you spent a lot of time on something that you really didn’t spend more than a minute on.
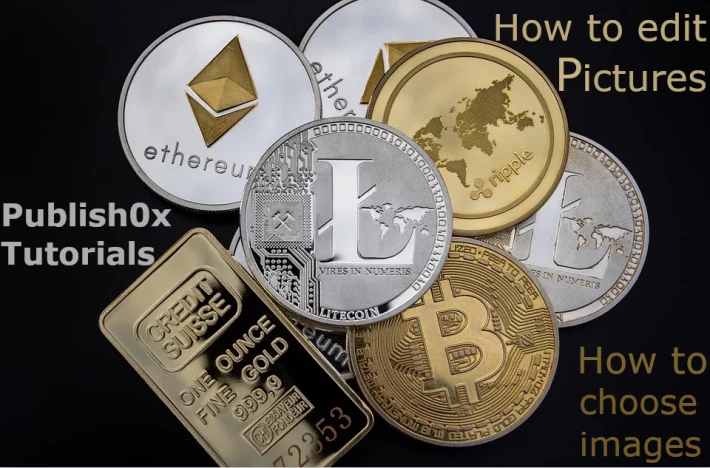
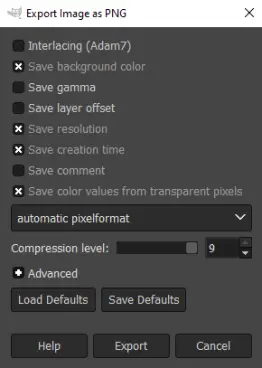
Once you make the changes you want to the picture then go to File in the top left and select “Export As”. That will let you save your new picture as a PNG file instead of the GIMP file format which usually is not supported when trying to upload to websites. Once you pick where to export it and click Export it will bring up another box with the export settings to pick from. You can feel free to leave it at the defaults and just click on Export.
After that you are done and are free to upload it as your Cover Image or just any image you use in your Article here on Publish0x.






