
Going straight to the juicy part. Example 1:
Note you'll need to have read my last post first though. I'll be using Blender for the renders in this post. For this example I'll show the higher level process of making a dry dessert type texture:
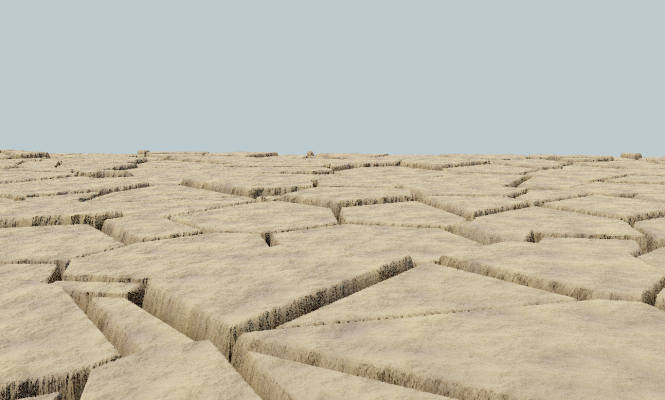
First to make the cracks in the ground we take a Voronoi texture I have not talked about them before. The Voronoi texture we use is slightly different so that we can easily mask out the edges. Then we color the edges darker. You can't see this because of the displacement. We use the inner part of the Voronoi texture as a mask for a colored Perlin noise texture. The grayscale version of the Perlin noise texture is used for the bump map.
A short example break and an explanation of Voronoi.

To create a Voronoi texture you generate a bunch of random points then you do the above but mathematically. It's actually a bit more complex than that but let's go to example 2.
Example 2:
This time I'll show you how to make this plant cells texture:
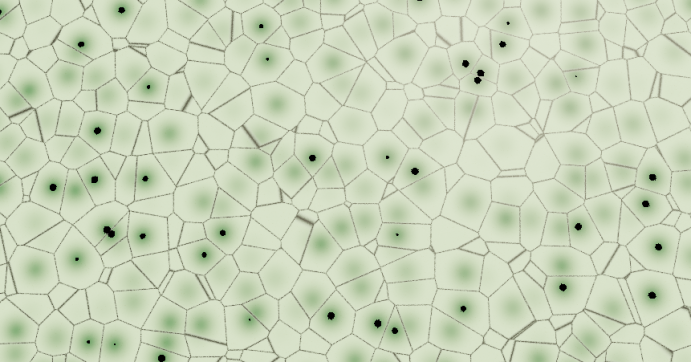
For this one we again need a Voronoi texture we will use the distance from a pixel to the point of the cell and the same thing we used for masking the edge with the dry dessert texture. We make the edge a light grey and then make a gradient that makes a bit of darker green appear close to the origin points of the cells. this is also used to make the cell nucleus an even darker color. And those are all the steps needed for this example. There are a few flaws with this example mainly the fact that it's hard to filter individually for every origin point and that's why we don't see a nucleus in every cell. I still think it looks quite good though.
Conclusion:
In conclusion it is quite easy to make very different types of textures using just a few algorithms as base components.


