
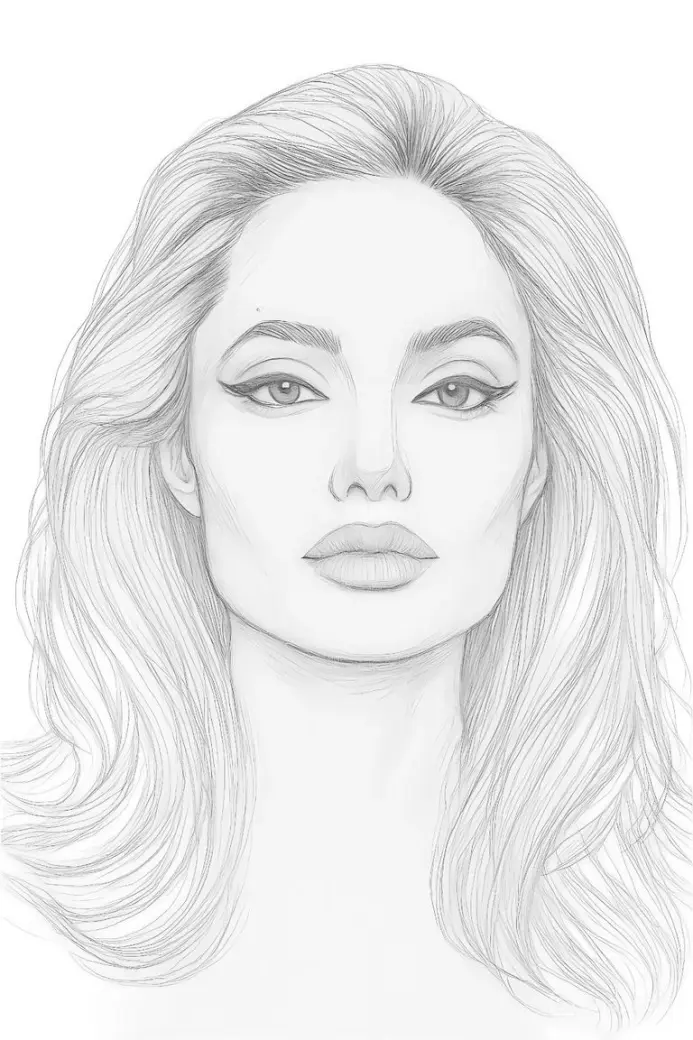
I am pleased to share with you my new artwork of drawing the character of Angelina Jolie.
I will show you some of the main stages that I documented for you from the simple initial sketch until the completion of the shading and details, and I hope you like it.
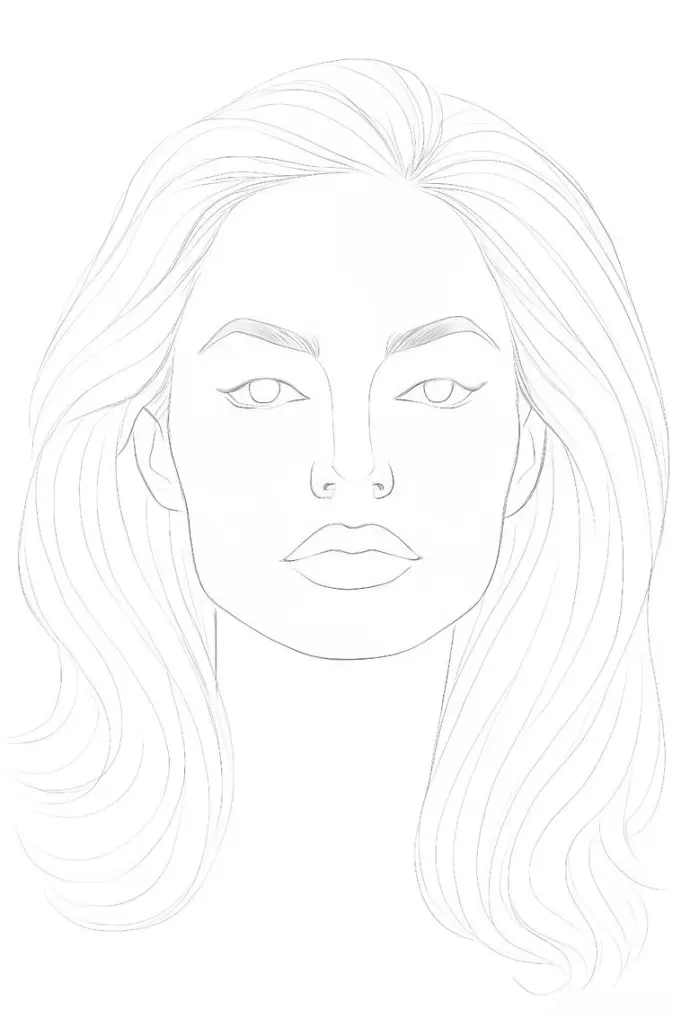
This is the first stage of my drawing of our star Angelina Jolie. In this step, I focused on the basic lines of the face with clear features without any complex details or shading. I always like to start by drawing the general framework first: the shape of the face, the hair, the eyebrows, the nose, and the lips. It is almost like a roadmap for the coming stages 🗺️✏️.
The first stage is always simple but it is the most important step, because it is the foundation upon which everything will be built later. I am excited to share with you the progress step by step until the artwork is complete 🌟.
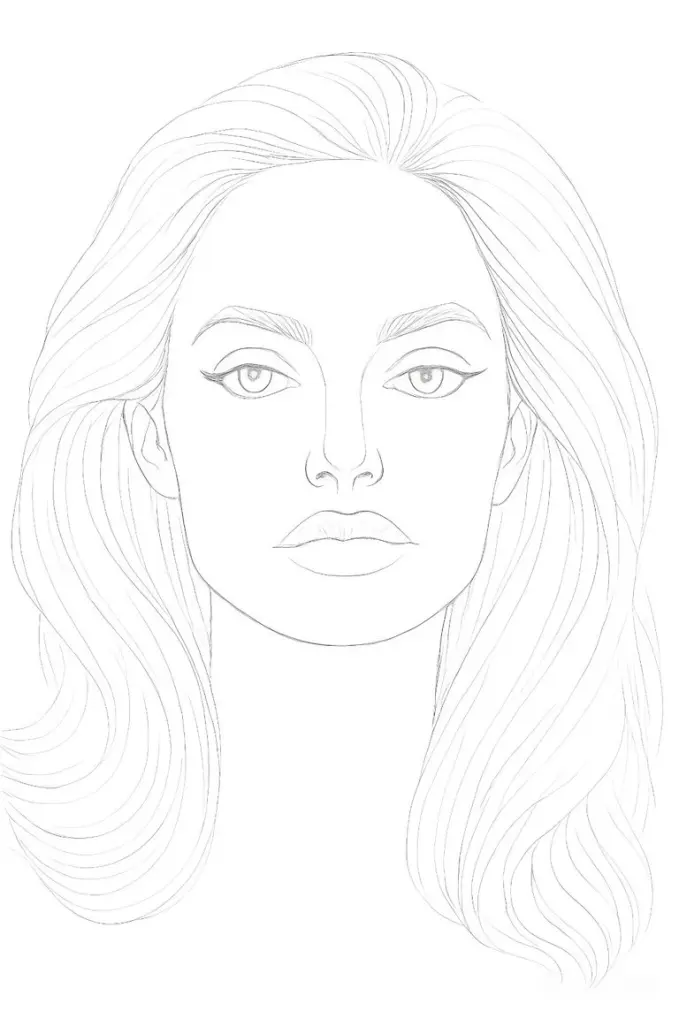
This is the second stage of the drawing ✏️🎨
The features started to become clearer, especially the eyes 👀✨
I added details of the eyebrows and the lips to make the character appear more realistic.
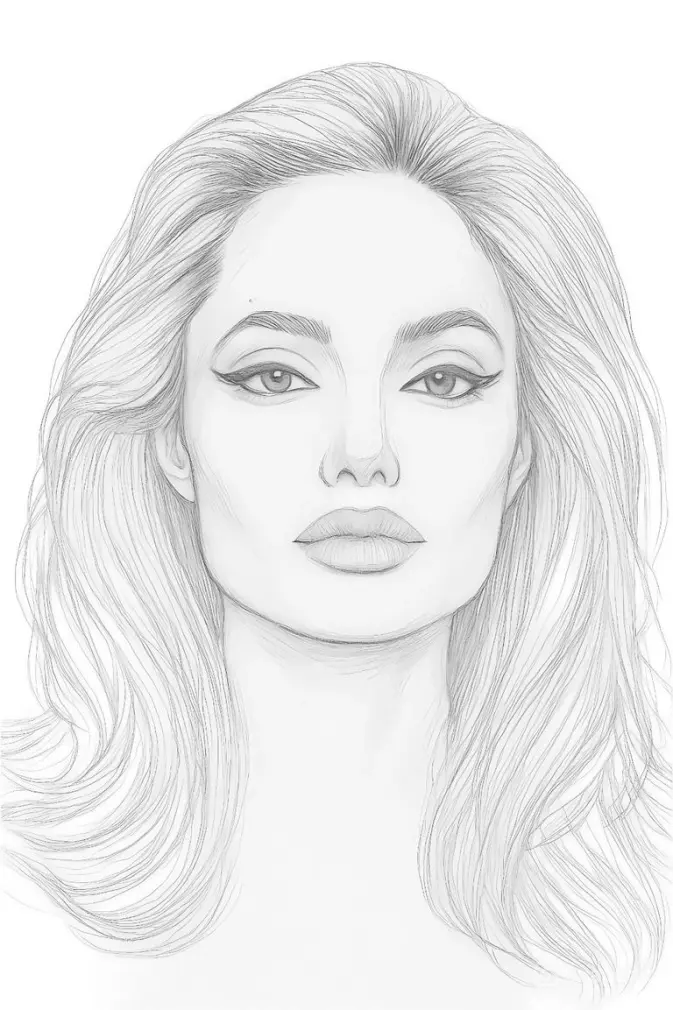
The final stage of the drawing represents the completion of the artwork ✏️🎨
In this step, I focused on adding shading to highlight more realism.
The features of Angelina Jolie appeared more clearly with the details of the hair and the lips.
The balance between light and shadow made the character come to life 👩🎤✨
Thus, the journey is completed from simple lines to a semi-realistic painting.
And with this, I have finished drawing the character Angelina Jolie, where I documented for you every stage I drew. I hope you like my drawing. It is not professional drawing, but I put all that I have into these drawings, and I hope you like them.
You can follow us on
Twitter: https://x.com/Philip_jones__
steemit : https://steemit.com/@tradeexperts
blurt.blog: https://blurt.blog/@philip.jones
Publish0x: https://www.publish0x.com/@Philip-jones
Tools Used in Drawing
Stage One: I used a pencil to draw the initial lines and outline the character's features.
Stage Two: I relied on Picsart Pro to change the background and add the basic coloring.
Stage Three: I used Snapedit.app to improve the final image quality and make it clearer and more precise.






