
I must say, I am a n00b when it comes to making bread...
And when it comes to quarantine at home for 40 days already, I am hoping that this can be rectified.
Just so happened that I came across this YouTube video that made making dinner rolls so easy with just all purpose flour to begin with, I can't help by give it a try to see if it is really as good as it is, with the limited items in my pantry.
That means I was not able to follow 100% of the recipe.
Let's get started - The ingredients

All you need was:
- 70g / 70ml luke warm milk (I used almond coconut milk)
- 4g instant yeast (or active dry yeast)
- 220g all purpose flour
- 20g sugar
- 30g butter (salted)
- 1 egg (beaten)
Step 1: Warm up the milk and melt the butter

You don't need to melt a butter to a boil, neither you need your milk to be super hot, because as I know, yeast are active bacteria and too much of a high heat would kill them instead of allowing them to rise.
So the first thing to do is to heat up these 2 items which takes about 8-10 seconds so that they can be cooled aside while you mix the other ingredients.
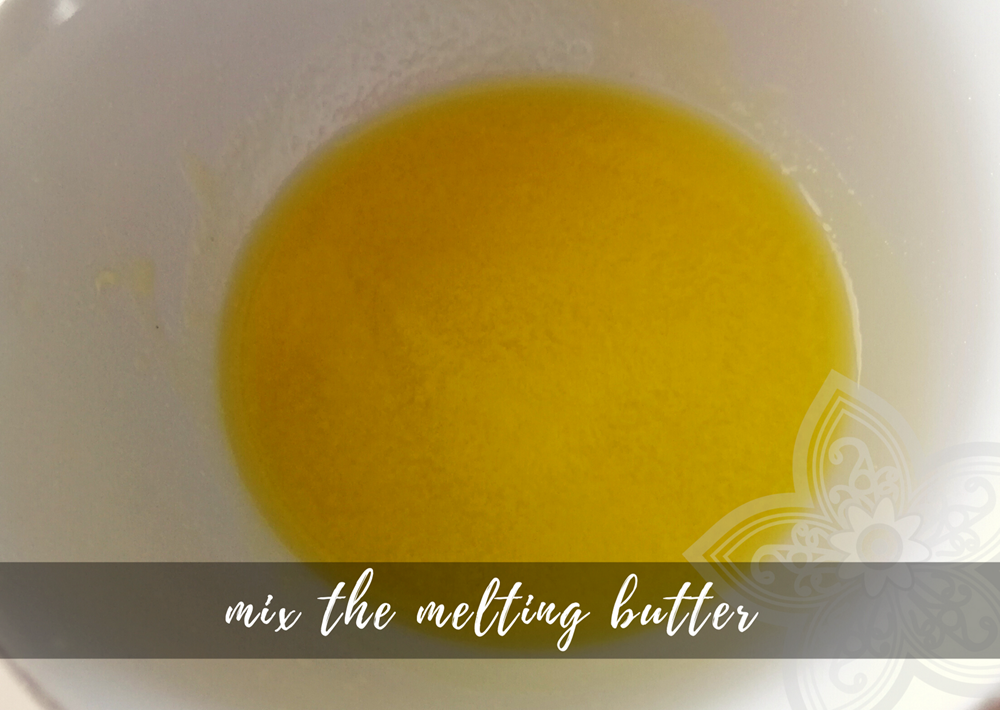
If you count to 5 while you melted the butter, you can still some chunks that are yet fully melted; but because your bowl is hot enough you can just stir it together and make it dissolve.
Oh.... the fragrance of just nicely melted warm butter...
Step 2: Mix up the dry ingredients

While you let your butter and milk to cool, it is time to mix up the dry ingredients: Sugar and All Purpose Flour.
In the original recipe it requires salt; but since I am using salted butter, I have decided to omit it. If you so happen to use unsalted butter, you will need 3g of salt (1/2 tsp) to mix together with the flour.
Tip from the video: If you use unsalted butter and have salt in your dry ingredients, you will allow the yeast to have more chance to be active in the wet ingredient later because there's no salt content to potentially kill it.
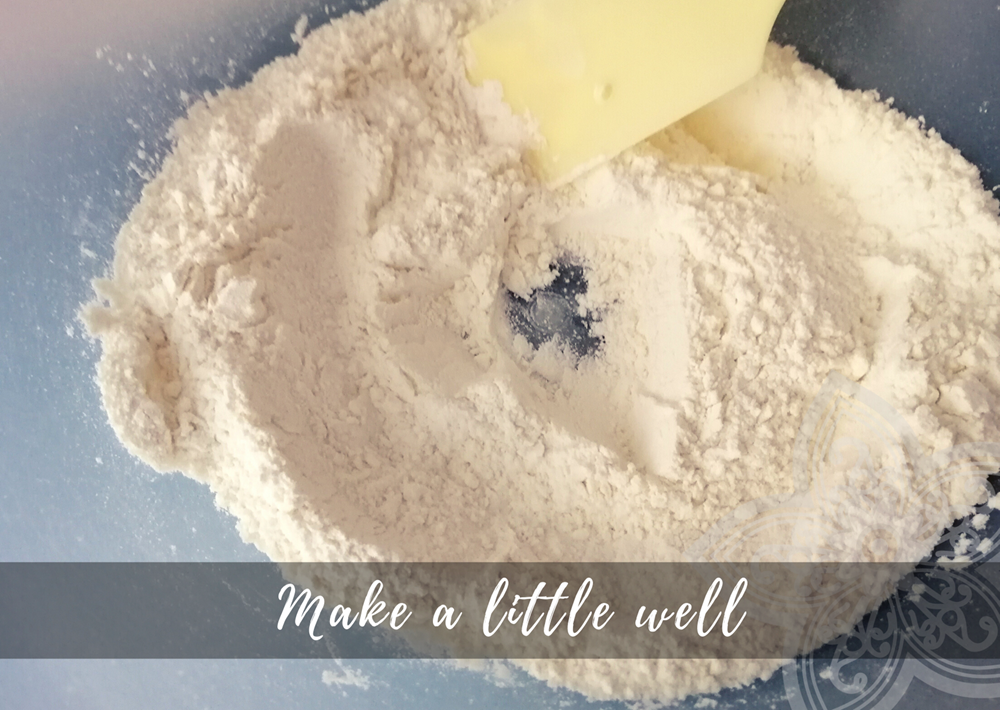
Mix them up nicely and create a well in order for you to add the wet ingredients in later.
Step 3: Mix up the wet ingredients

Mix the yeast into the warm milk and stir it well. For me I am using instant yeast, I will need to let it rest for about 2 - 5 minutes. If you choose to use active dry yeast, you can skip the "resting" step.
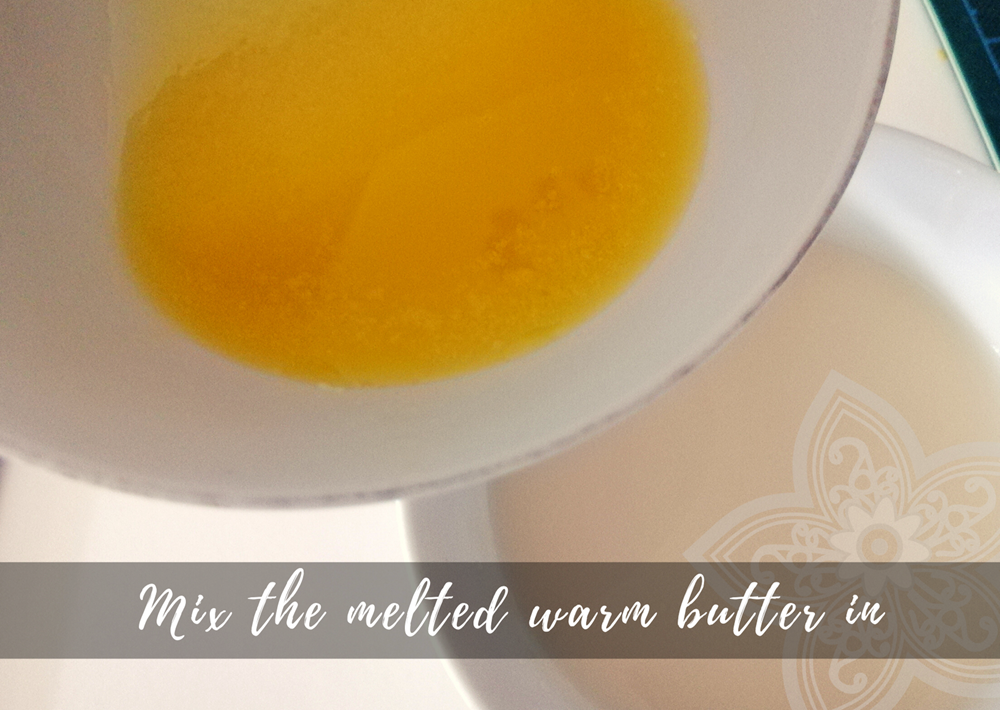
After 5 minutes add in the melted warm butter in.

And immediately you can add in 1/2 of the beaten egg (30g) into the mix. Leave the other half aside. You will need that later.
Step 4: Mixing the wet into the dry ingredients.
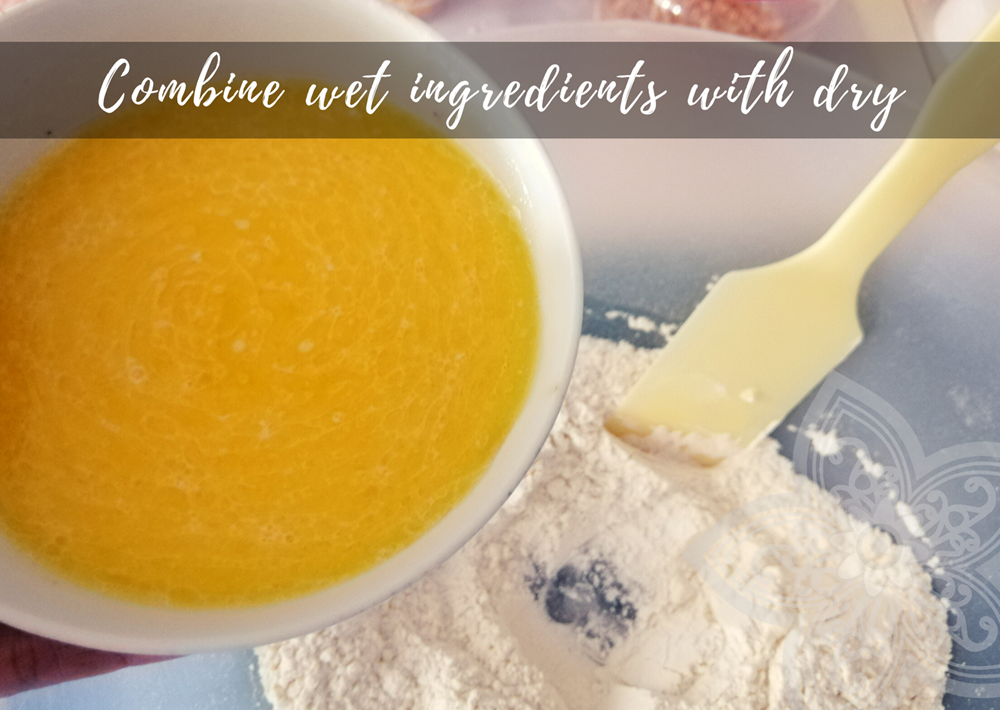
Once your wet ingredients are already well incorporated, start to slowly pour your wet ingredients into the dry ingredients while moving your spatula and mixing them together.
Keep mixing until they are well incorporated and there's no more scattered flour in the bowl, but still looks like a rugged dough.
Step 5: Start kneading - for 10 minutes

I didn't take a picture of how to knead the dough, but you will basically need to lightly sprinkle some flour onto your kneading mat if you don't have a smooth surface of a table. I actually started a 10 minutes timer and started kneading the dough for full 10 minutes until the dough is smooth. There's actually a technique on kneading the dough, as if you are washing your clothes with your hands.
You have to pull the dough and fold it back continuously without stopping until the dough is no longer sticky and smooth in surface. If you are not certain how it is kneaded you can check out how the video does it. Warning: it can be tiring (for rookies like me) but you just gotta keep kneading for 10 minutes.
Step 6: Time for the dough to have a good nap
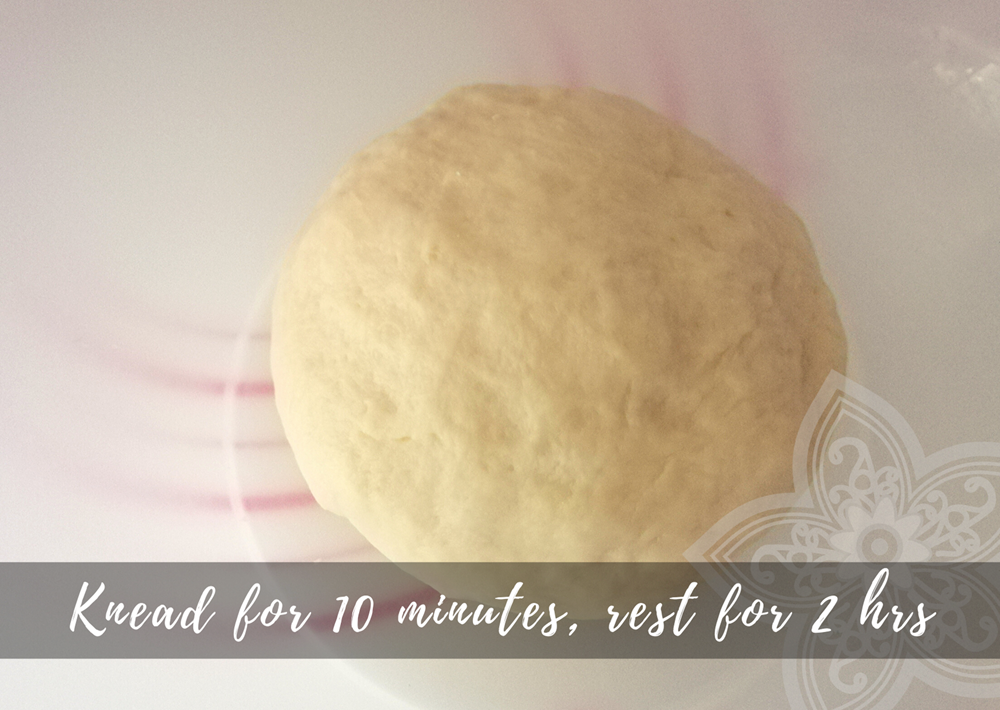
According to the recipe, you will need to allow the yeast to do its work for at least 1 1/2 hours if you are in a warm environment, or 2 hours if your home is cooler. You can also hide it in the (non turned on) oven and let it rest in dark, moist and warm environment.
Just so happened I had to attend a 2 hour webinar; therefore it was perfect timing.
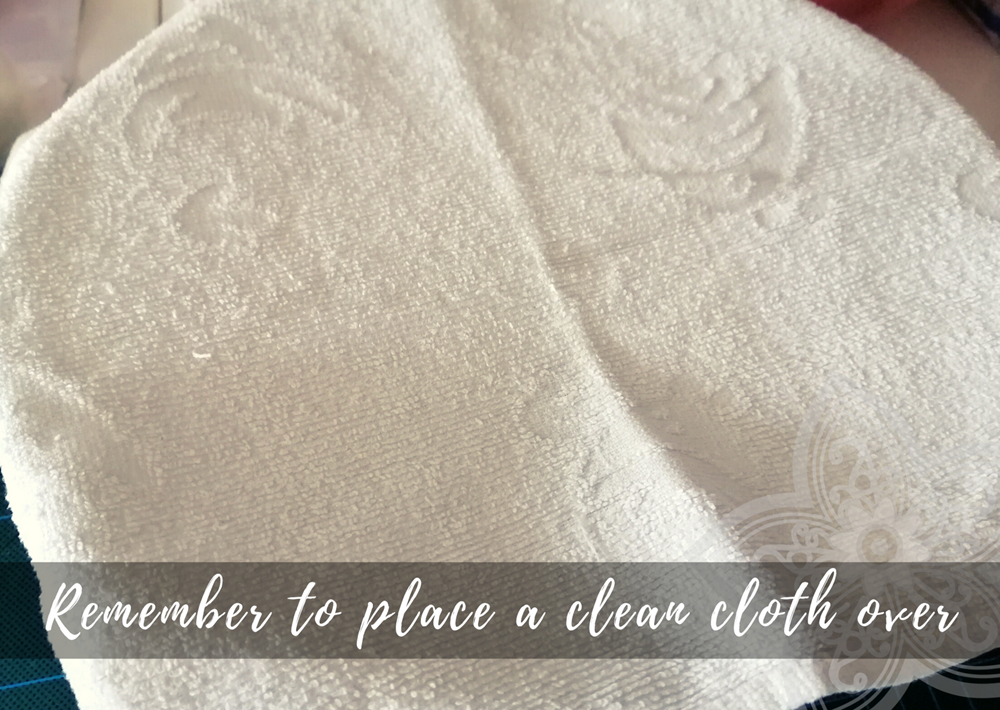
Don't forget to place a cloth over / use a plastic wrap to keep it warm. Since I preferred to reduce waste, I decided to use a clean cloth.
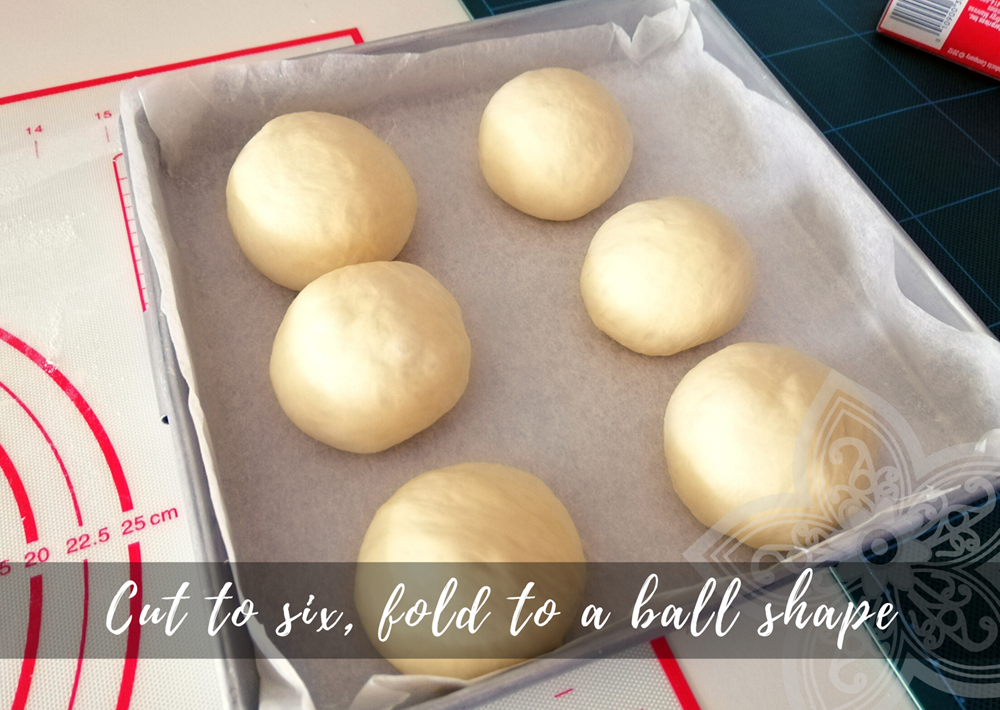
Step 7: Divide it into smaller portion of bun sizes.
By the time 2 hours has passed your dough would have doubled its size, and you would be able to at least cut into 6 bigger sized buns, or 8 smaller sized buns.
Again, I didn't have the opportunity to take a picture on how you have to flatten each cut sized dough flat and then fold them in and make it to a nice ball size; but you can check out the video on how to do so.
Let them rest for 15 minutes, before repeating the same step again.
Step 8: Onward to the tray
Place them on a tray where you will need to cover them tightly with plastic wrap or cloth again for them to rise again. This time my mom suggested to use the plastic wrap. Place them on a baking (waxed) paper before covering them, and let them have another nap again (for the 3rd time) for 1 hour for them to proof one more time.

By the time another 1 hour has passed, they should again proofed into double its sizes, and that is when you know they are ready for baking.
Step 9: Brushing Time
Remember the 1/2 beaten egg that was not used? Now it is the time for its purpose.

Brush the remaining beaten egg generously on the surface of the buns; but remember to brush it gently on the surface and not pressing onto the buns.
Step 10: Pre-heat the oven and then place cut butters in between the buns
Before the last step, it is important to pre-heat the oven. I have placed 200 deg C / 390 F for the even to be nice and hot; for about 3-5 minutes.
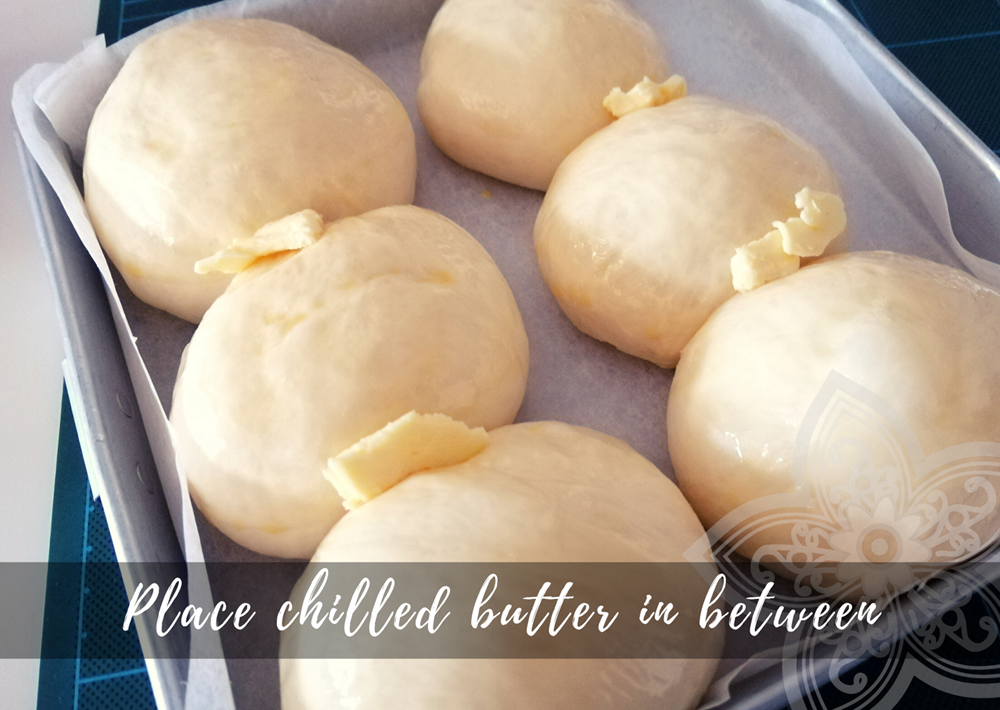
While waiting for the oven to heat up, now is the time to cut some butter and place them in between in order to have that moist glaze effect on the buns you usually see.
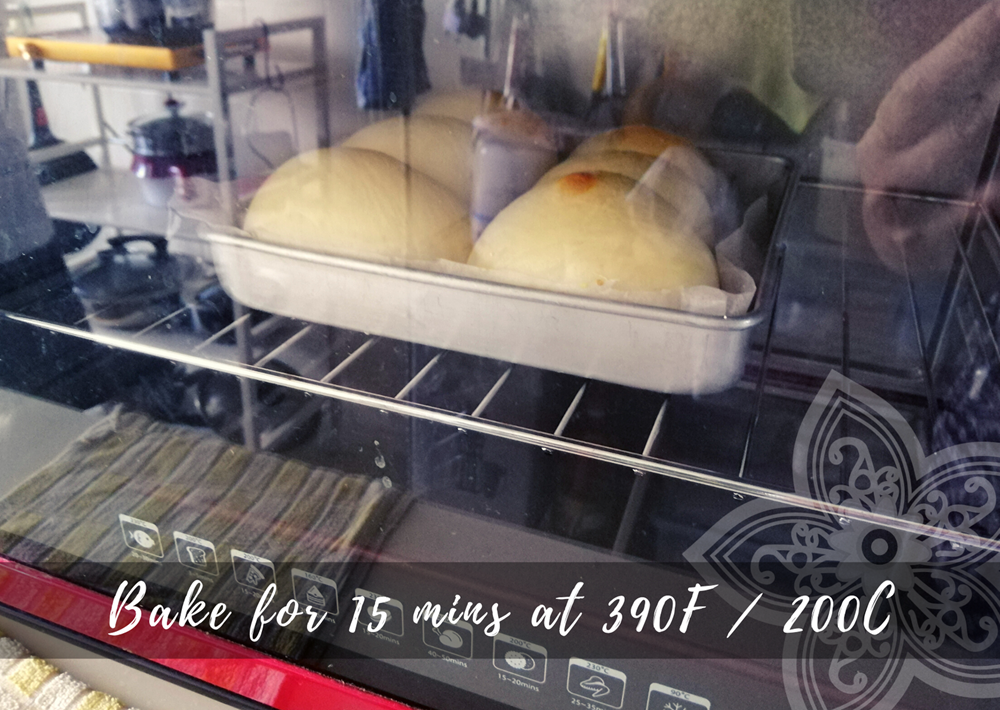
Step 11: Bake these babies for 15 minutes
Once you have placed the butter slices on the buns, you pretty much can send these babies into the oven; but beware by that time it should already hot.
One minute in the oven, the whole kitchen of mine was already oozing with buttery fragrance!
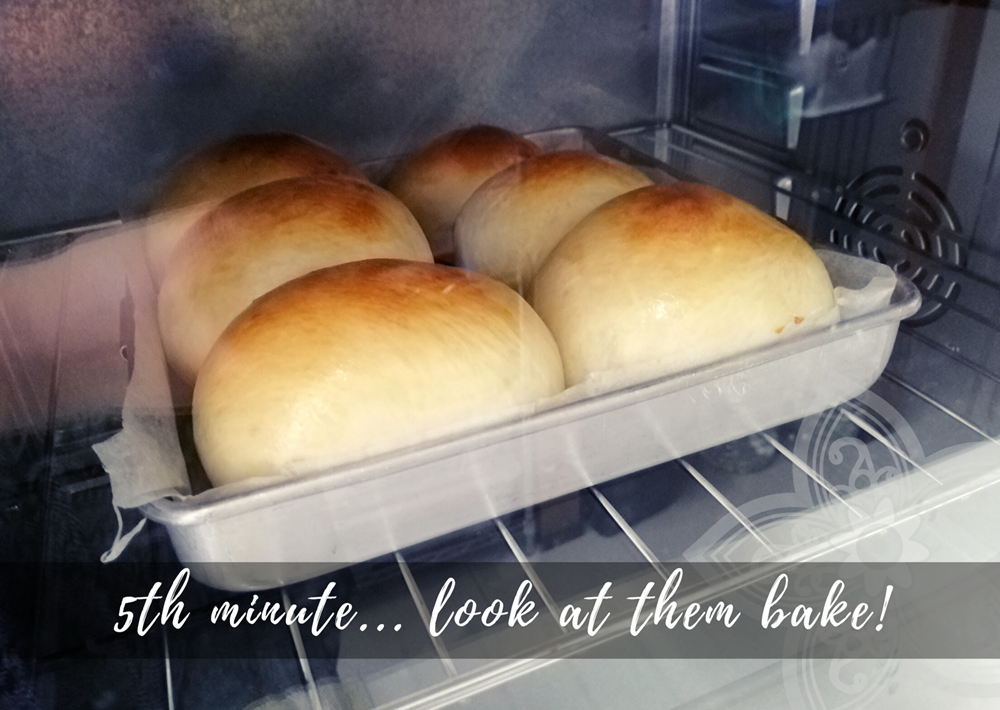
By the 5th minute you should already seeing some browning at the top; and my mom wanted to reduce the heat. But since I am following the YouTube as much as I can I managed to convince her to keep at that temperature for another 10 minutes.
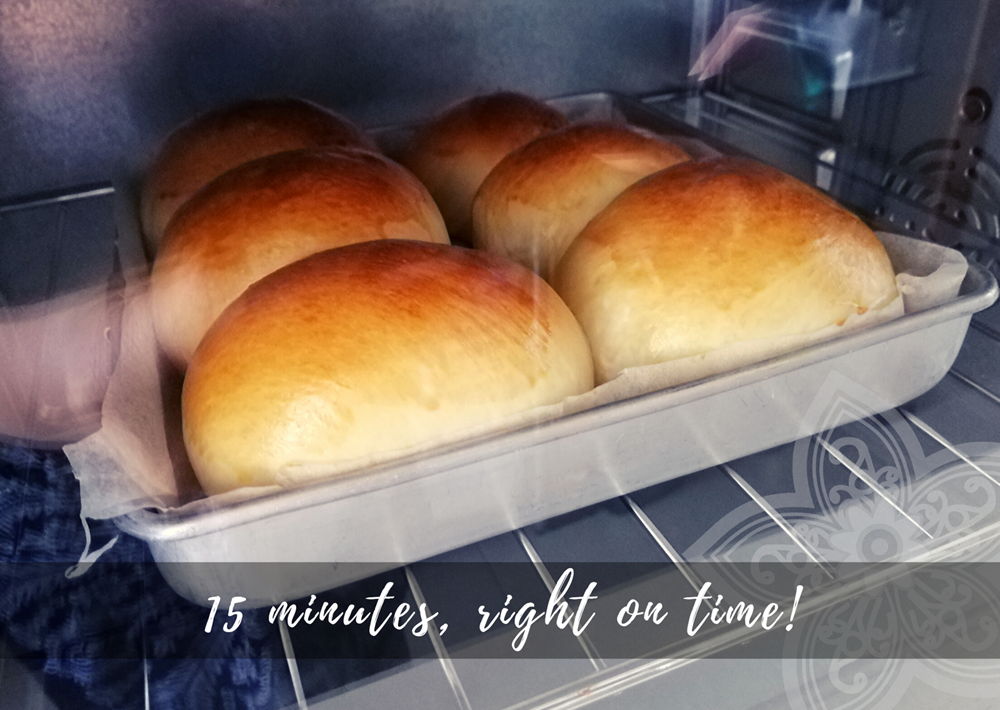
True enough, by 15 minutes time, the buns are beautiful!

Voila! The buns are beautiful, fragrant and ready. We waited for about 5 minutes for it to cool before we did the "bounce test"; where we press one of the buns down (not too hardly) and see if it still bounced back to shape.
And it did!
Mission accomplished for trial test of the recipe from YouTube, and that recipe (with a tiny bit of modification) passed beautifully!
How about you?
Would you give this recipe a try if you have an oven at home?
Do share with me with your experience if you so happened to the recipe / mine (with the change of butter and yeast) and let me know of your results! The better to show me your post so that I can go check it out too!


