
So I came across this coin called Loki a while back. I never heard of it before so I didn't pay much attention to it. But I wanted to go in on what exactly it is and how to mine it. It is actually incredibly easy to mine and setup. And let's be honest, I was half interested because of Loki in Marvel :)
Off the bat if you want to know more go to their website, they actually do a good job of explaining everything there as well. Loki is a fork of Monero. And as such has a lot of similarities as Monero. You can run Service Nodes on the network (which is out of my capabilities) but Loki also has blink, so you can get paid within 5 seconds of the coin being sent. There are so many features that I am not going to list them and not to mention their road-map is jammed packed as well.
Loki has 3 things that I love about and what got me interested in mining it.
Session:
This a messenger app across multiple OS's and is completely decentralized. And I actually like the UI of the app on the OS's that I tried. There is an interesting take on a Messenger app because the way the messages get routed depend on if both parties are online or not. If both parties are online Higher Bandwidth messages can take place because no Service Nodes are needed to store messages before being read.
Loki Wallet:
They have their own wallet which just works. It enables you to send and receive and as well as stake the currency.
Lokinet:
It is a true Private Internet Browser. Your IP is never shared within Lokinet, and it uses onion routing. So there is a really cool feature within the Service Nodes; You can browse within the Lokinet but you can also use the Service Nodes exit functionality to browse the normal internet without your IP being identified because it is not sent within Lokinet. There are a lot of other features, you should definitely check it out.
So let's start move on to mining Loki. I will start with getting the Wallet setup first. Download the Wallet from Loki's website. https://loki.network/getstarted/
Then run the executable you download (if Windows). Pick where you want to install it and just click Next and Install.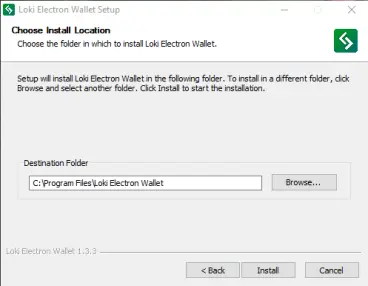
Once installed run the program. "Loki Electron Wallet"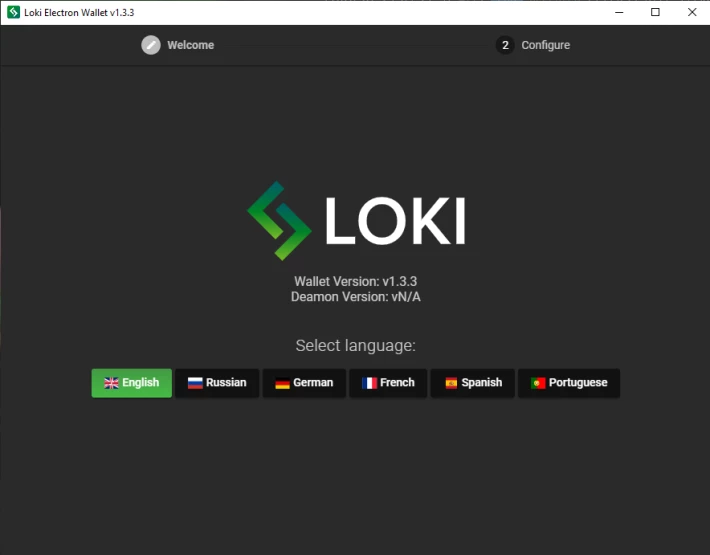
You can pick 'Remote Daemon Only' or 'Local + Remote Daemon' or 'Local Daemon Only'. I chose Remote Daemon Only.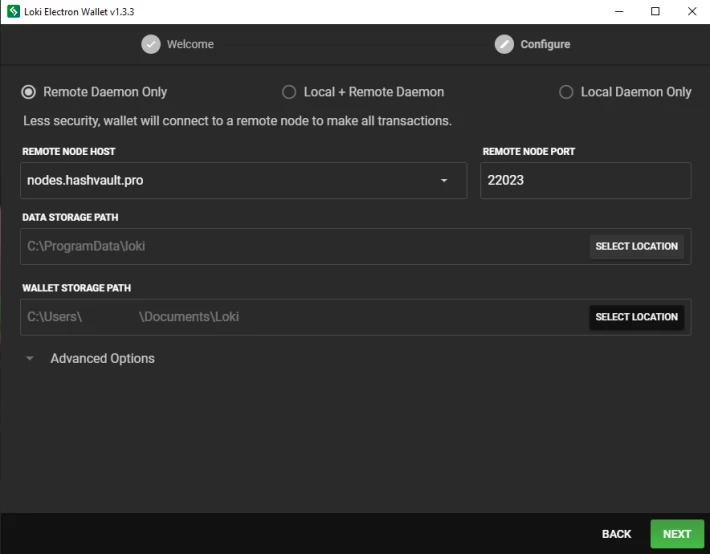
Once you pick one and click Next it start the daemon
Now if you already have a Wallet follow the steps for restore. If you need to create a new Loki Wallet then 'Create new Wallet'.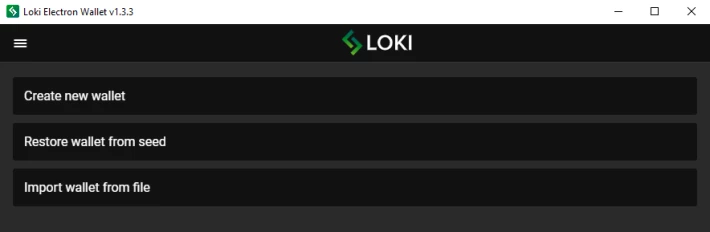
I already have a wallet so I am going to restore wallet from seed. If the Create New Wallet section is confusing you can create a Wallet online with 2 clicks at https://wallet.loki.network/. Then you use that info for Restoring a wallet.
Steps for Restoring a Wallet from Seed. You need to name your wallet. And copy and paste your Mnemonic Seed. For the Restore from Date you can leave as it unless you happen to have a Restore Height, and if you do click on the button to the right of it. I would highly suggest you give your Wallet a password.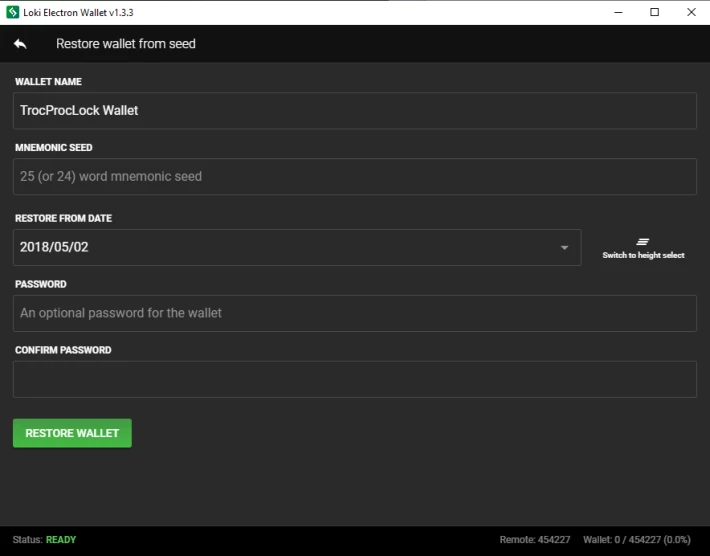
When you click on Restore Wallet it will pop up a new screen with your Public Address, Mnemonic Seed, Spend Key, and View Key. I am NOT showing this step.
After that you will be brought to your Wallet.
Now it is time to start mining that sweet Loki! You need to know what mining you will be doing CPU, GPU Nvidia or GPU AMD. (I am going to post links and assume we are on Windows, you can mine on Linux and MAC)
We are going to use XMrig because it's lightweight and just a really good miner.
Download CPU miner: https://github.com/xmrig/xmrig/releases
Download Nvidia GPU Miner: https://github.com/xmrig/xmrig-nvidia/releases
Download AMD GPU Miner: https://github.com/xmrig/xmrig-amd/releases
After you download the XMrig files you will need to unzip them and you should have these:

Now that config.json file is what we need to edit. If you have no idea how to edit a json file I recommened downloading and using Notepad++. It's an amazing file editor. https://notepad-plus-plus.org/downloads/
So assuming you have something to edit the json file right click on config.json and select 'Open With.." and select Notepad++. Or click on 'Edit with Notepad++, depending on OS version.
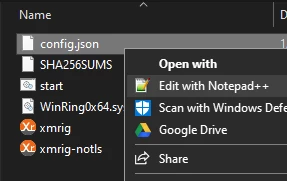
I am CPU mining so these are the line you will need to change to enable CPU mining. I picked https://loki.hashvault.pro/en/dashboard as my pool to use. I like the UI of the dashboard and they also have a guide to setting up the json file as well.
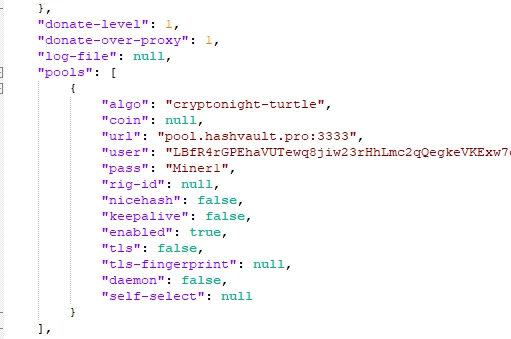
"donate-level": 1,
"donate-over-proxy": 1,
"log-file": null,
"pools": [
{
"algo": "cn-pico",
"coin": null,
"url": "pool.hashvault.pro:3333",
"user": "This is your PUBLIC ADDRESS",
"pass": "Miner1",
"rig-id": null,
"nicehash": false,
"keepalive": false,
}
Above look for the items in BOLD those are the ones you want to change. For the "Pass" field that is just what you want to call your Miner on the Pool's website.
Now that you edited the config.json file reboot your computer. This is super important because Huge Pages won't be enabled until you reboot. Then after the reboot go to your folder and right click sure the xmrig.exe file and select "Run as Administrator".
Here is a post of what my miner looks like:
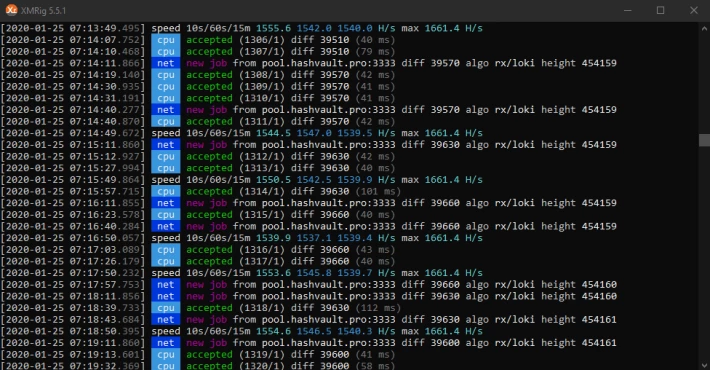
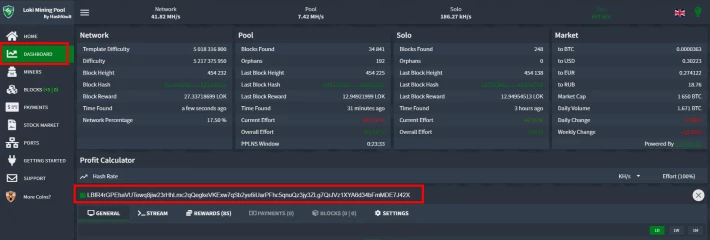
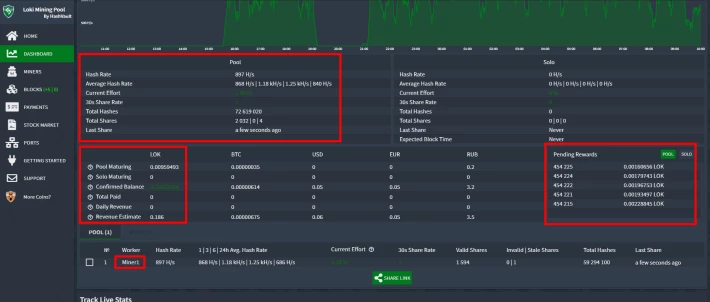
Now go to https://loki.hashvault.pro/en/dashboard and enter your Public Wallet Address to see how your are doing in the pool. I will also mention that HashVault.pro has a minimum payout of 2 Loki.
Here are some of the pools and what it costs to be in them:
And that's it guys. You are now mining Loki. I plan to do a followup article on Loki after a while about staking Loki, Selling Loki and everything else more in depth but for now at least you all can Mine Loki.
I did notice that with XMrig I can mine Loki at 1.6 KH/s. But when I mine XMR with XMrig I get about 700H/s.






