This is not against BrightID rules, as the recovery accounts don't need to be verified, is a way to set up recovery if you don't have the required number of close contacts.
So you want to setup BrightID( if you don't know about BrightID check this: https://www.publish0x.com/crypto-ecosystem-analyse/brightid-dao-launch-today-xyyqgxd ) recovery and you don't have 3 trusted contacts, here's a simple way to do it:
Requirements:
- Android Studio
- Some Free Space (recommended 25GB)
- A Phone With BrightID already installed and configured
- A random photo/avatar
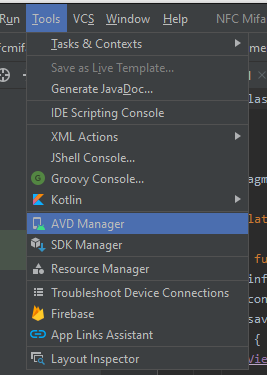
Ok so first we create some emulators with the help of Android studio, Android studio must be installed with AVD(Android Virtual Device) support.
You can find the option in tools like in the image below:
After you make one you can select to duplicate 2 from the one first made, I recommend using an Android image that has Google Services on it, I used Android 9 ( API 28 ). If for some reason cloning the emulator instance gives some error, just add 2 new ones.
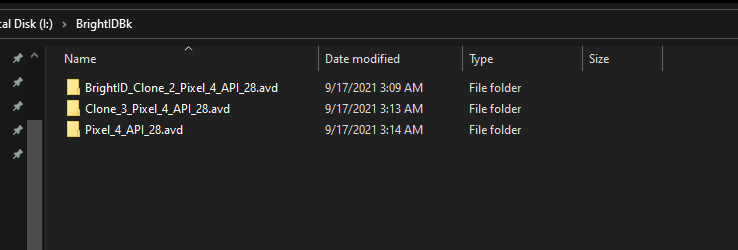
After you finished it should look something like this:

The picture shows API 29 But I actually used 28.
After that boot each one, and drag and drop your avatar, on the emulated device, this will copy the photo to the downloads folder. Then search on PureApk the BrightID APK download it and drag and drop it on the emulated device to install it.
If for some whatever reason it gives you an error when installing by drag and drop, then search for aptoide APK and install that and use aptoide APK to install Bright ID. After you install in each clone you must open the app and set a username, an avatar, and optionally a password. For the username, I used " [My real Username] Clone X" where X was in the rage 1...3.
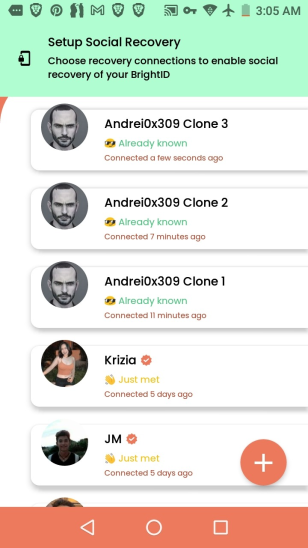
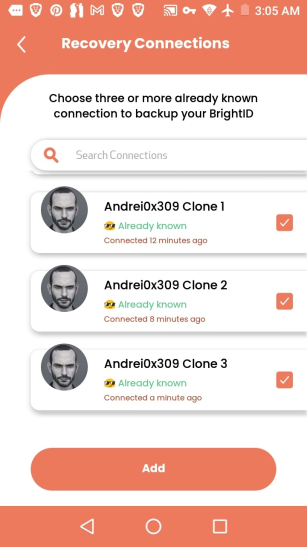
Then you need to use your phone to scan every clone QR and set the contact as "I know in real life" is the green option. After you have connected with your clones you can set the recovery by selecting for recovery your 3 trusted clones:
The last step is to backup your emulated instances, you can select with the AVD manager to show an emulated instance in the explorer from there you can copy them and back where you would wish here's a screenshot: