Learn to add your crypto funded Visa to Google Pay on your phone. Enable NFC, verify the card, set it as default, and start tap to pay at Visa merchants.
Hello, crypto friends!
In the last article showed you a basic step to start using your crypto card day to day. We covered “How to Connect Your Crypto Card to Google Pay” and we were ready to buy on online stores and subscriptions like Netflix, YouTube Premium, or flights.
I actually paid for my Netflix and bought Telegram Stars with this crypto card, but all from my laptop.
Yesterday I went on a cycling route with my friends and stopped at a gas station because I was super thirsty. When I went to pay with my phone, my crypto card did not show up on my phone.
What a surprise! It turns out I need to set it up on the phone too.
Sadly, I could not use it this time.
So I paid with my other crypto card from Lemon Cash, which I luckily had in my wallet.
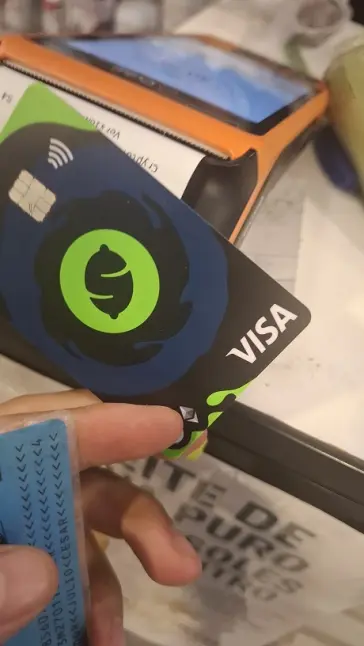
But we are not leaving it like that. This situation cannot happen again.
Today I will show you how to set up your crypto card on your phone so everything is ready and you can pay contactless at any store that accepts Visa.
By the way, the crypto card I use is called TONcard.
For this guide you can use any crypto card you prefer. It works the same, ok?
If you already set it up on your own, you can close the tab and carry on with your beautiful life :) but if not, stay with me. We will learn step by step.
Think about it: you can also send this guide to your best friend so they do not miss out.
He/She will thank you a lot.
Step-by-Step guide to set up your crypto card on an Android Phone
First of all, this is done from your phone, but you need to have the crypto card website open on your computer with the dashboard visible. You will get a verification code that only shows up on the web.
Remember, to use the crypto card we did not provide an email or a phone number, because it is a pseudonymous or anonymous card. So that verification has to show up somewhere, right?
If your crypto card is custodial and centralized, it means you already shared your phone number, email, address, and even an ID photo. In that case, you may not need to open the website on your computer.
Are we clear?
Great, let’s start.
1. Find the wallet app on your phone, open it, and you will see the cards you have added.
For this walkthrough I borrowed my sister’s phone so I could take photos of each step. Image quality is not the best, but I hope you can see everything, hehe.😂
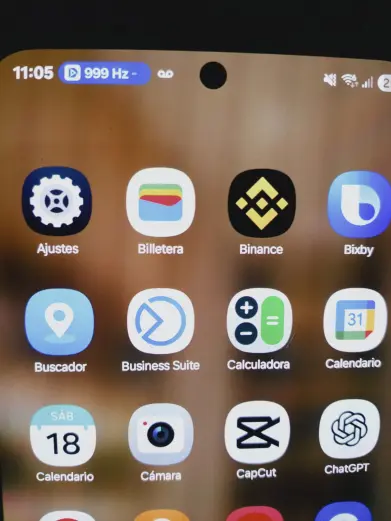
Open your Google Wallet on your Android phone or "Billetera" in Spanish.
In my case, as you can see, I only have my Lemon Cash card added, and it is the one I have been using for a wide variety of in-store payments.
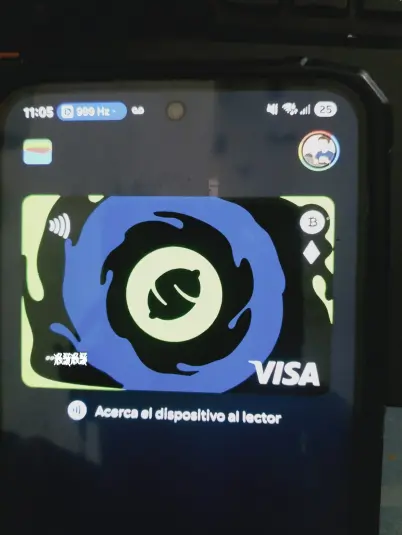
So when I need to make a purchase, I just open the app, bring the phone near the POS terminal, and that is it.
The payment goes through in seconds. Very simple.
2. Select Add a new card to your wallet
Now look for the “+” icon in the bottom right corner of the app. Pay close attention. If your screen shows “Add” directly, tap that. On my phone it only shows the “+” icon, so I tap there.
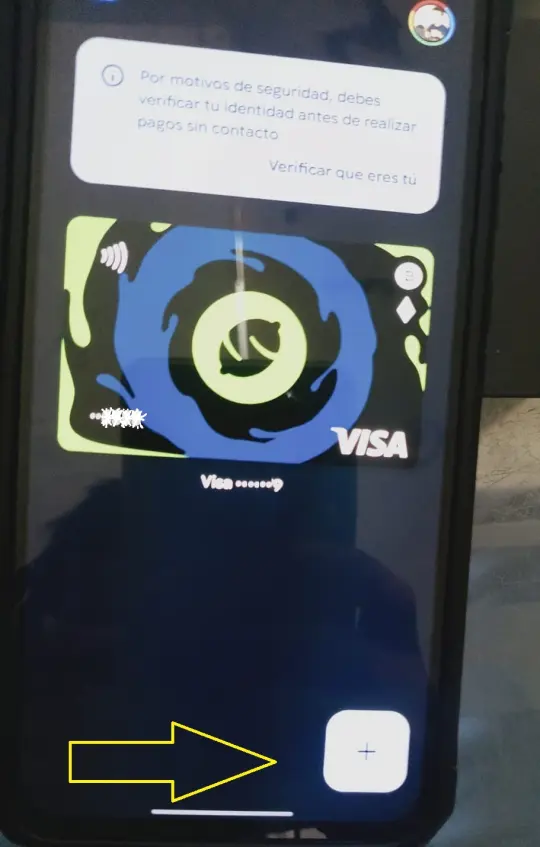
I know, the image definition is not the best. I hope you can still see it and follow along.
3. Find the crypto card we added before
Since we already added this card earlier, the details are saved. All we need to do is select that crypto card and we are good.
In my case I remember it ends in **57, so I will select that one.
The other card is from a bank, Scotiabank Peru. I almost never use it now, but I keep it saved just in case.
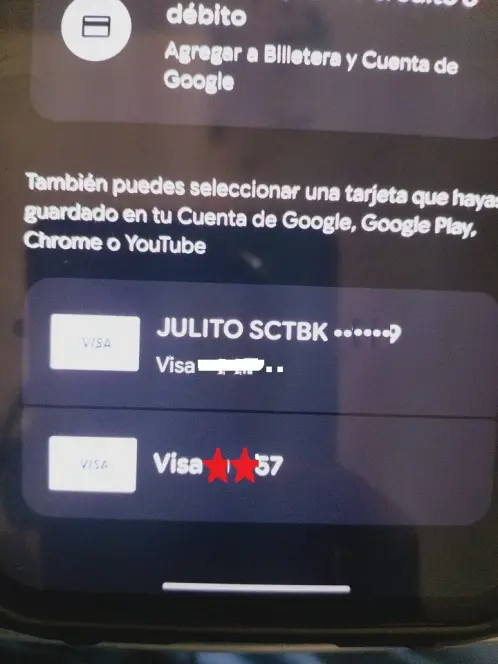
As you can see, I have two cards saved as quick options. Scotiabank Peru and TONCard (ending **57).
4. Accept your crypto card’s terms and conditions
A message will pop up showing Google Pay terms and conditions.
 In English: Review and accept the issuer terms and conditions to continue with setup.
If you agree, tap Accept and continue.
Step 5: Bank verification via SMS or “Other”
Here we need to pay close attention. As I mentioned before, this card is pseudonymous and we did not provide a phone number or email. That means the only way to get the verification code is on the web, with your crypto card dashboard open in your browser.
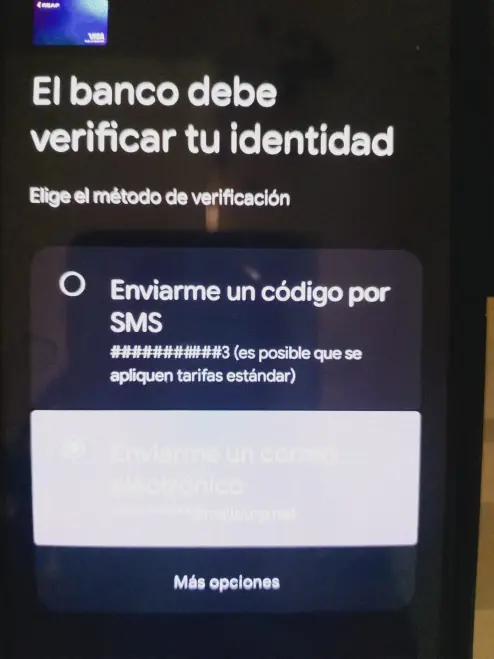
In English: Bank must verify your identity. Choose the verification method.
I clicked on "Enviarme un codigo por SMS" which means Send me the code thru SMS.
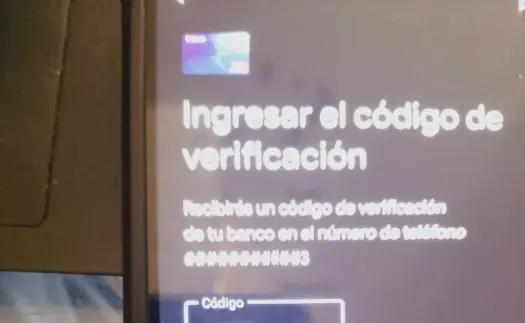
In English: Enter the verification code sent.
So I went to my crypto card account in the browser and stayed alert in case a code appeared.
As I told you, the crypto card I use is TONCard. The interface is friendly. It shows your balance, recent activity, and the available currencies like euros or dollars.
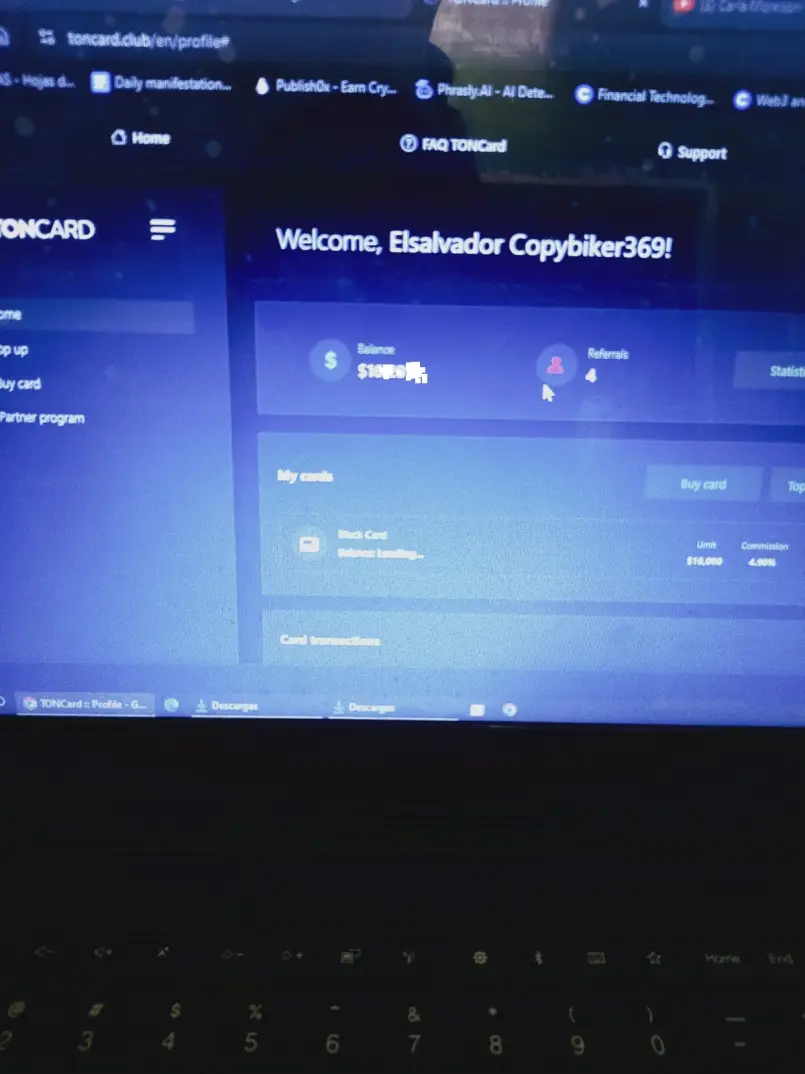
This is how the web version of my crypto card looks. It will show the verification code to finish connecting the crypto card with Google Pay on the phone.
I kept the dashboard open and waited for the verification code.
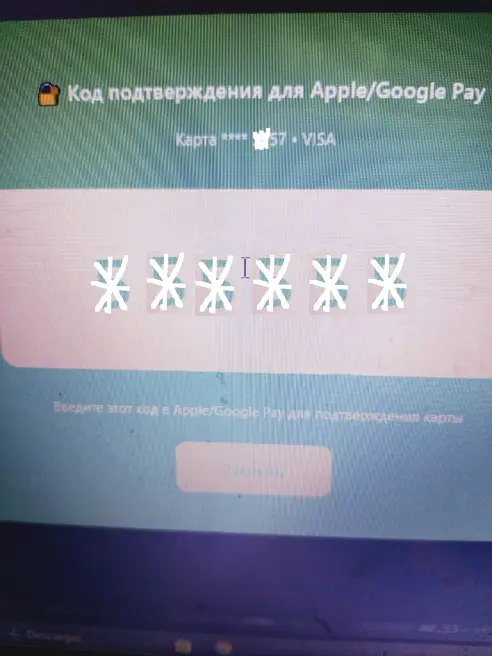
Suddenly it appeared. All you have to do is type this code carefully on your phone.
Step 6: Enter the code on your Android phone
Now that you have the code, make sure you enter it correctly on your phone. Do not mix up the digits. You usually get a second try, and if it fails again you may need to contact support or wait a day to try once more.
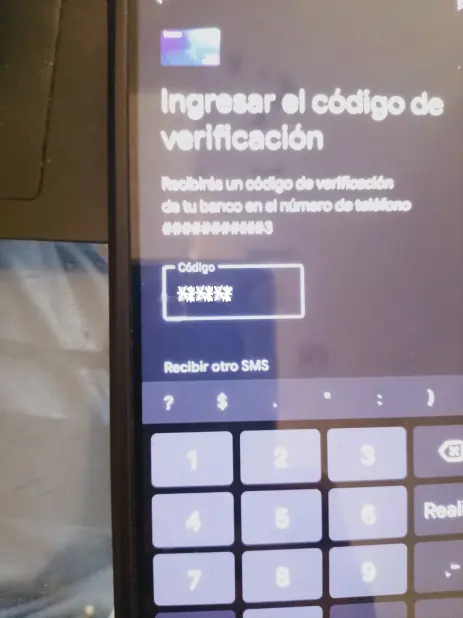
Make sure to type the code exactly as you see it on the desktop or as received by SMS.
Type the code and tap Done. Then wait a few seconds.
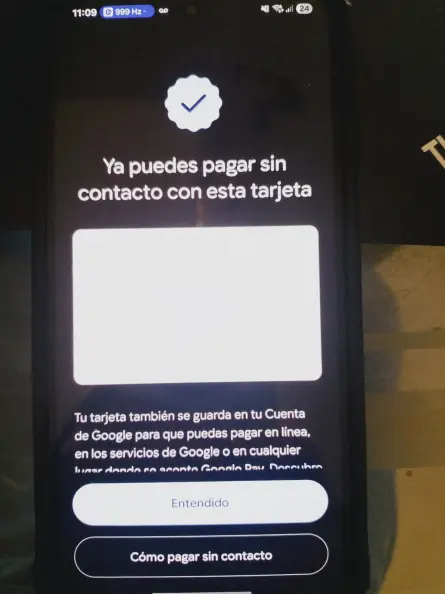
Google Wallet confirmation screen stating the card is ready for contactless payments
This is the final stage. Everything is set.
A message like “You can now pay contactless with this card” will appear as the last step. Tap Got it or Accept. In my case the interface is in Spanish.
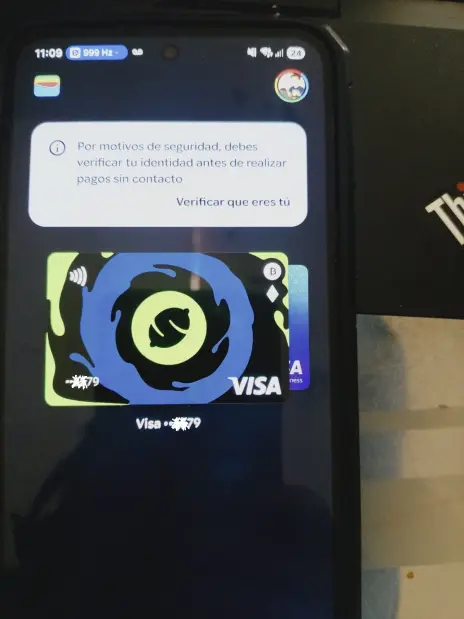
Now you will see two cards displayed and ready to use in thousands of stores.
All set. We are ready to shop in fancy places or small neighborhood shops, as long as they accept Visa.
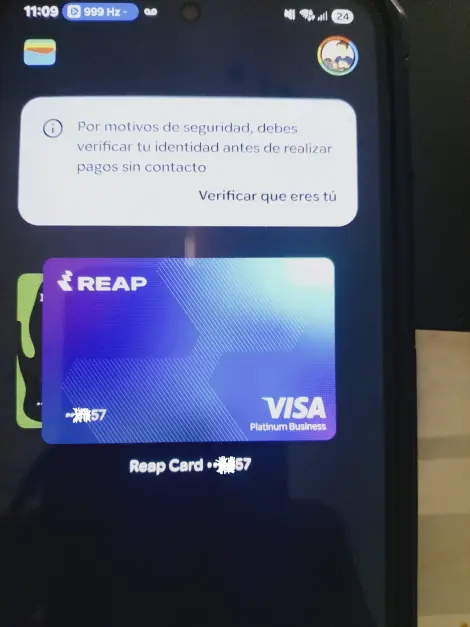
Now my TONCard is ready to pay at thousands of merchants.
When you go to a restaurant and see the “Pay here with Visa” logo, you have the green light to use your crypto card. No drama, no friction, and no maintenance errors.
Crypto Card on Google Pay: Quick Answers You Actually Need
1. Can I add a web3 wallet directly to Google Wallet or Google Pay?
No. Add a crypto funded Visa card such as Binance Card, Coinbase Card, TONCard, or Xcard to Google Wallet on your phone, then top it up from your web3 wallet if needed. Web3 wallets hold keys, while Google Wallet tokenizes cards for tap to pay.
2. How many cards can I keep in Google Wallet?
Google Wallet supports multiple cards, and the practical limit can vary by region and issuer. For ease of use, I suggest keeping 3 to 5 active cards. It keeps checkout simple and avoids choosing the wrong card at the terminal.
3. How do I send USDT TRC20 from my wallet to the card?
If you need TRC20 specifically, use a Tron compatible wallet or an exchange like Binance. MetaMask does not support TRC20. Copy your card provider’s deposit address, select the TRC20 network, send USDT, and wait for confirmations before the balance appears on your card.
4. Does a crypto card only work at big stores and restaurants?
No. You can pay at small neighborhood shops too, as long as they accept Visa and have a contactless POS. Look for the Visa contactless logo and you are good to go.
5. Who do I contact if I have a problem with my card?
Check your card provider’s support first. Many offer Telegram or WhatsApp chat. In my case I have human support on Telegram, which means fast, practical help without canned replies.
6. In what countries can I pay with my crypto card on my phone?
Anywhere Visa is accepted and your card issuer supports the region. Always review your card’s terms for country coverage. My balance is in dollars, but payments convert to the local currency at the provider’s exchange rate.
7. If I do not activate the crypto card on my phone, can I still pay contactless?
No. You can still pay online from your computer, but for contactless in stores you must add the card in Google Wallet on your phone and complete the verification steps in this guide.
8. Why was my crypto card declined at a Visa POS?
Common causes include low balance, merchant category restrictions, regional blocks, or NFC turned off. Check NFC and your balance, try another merchant, and review your card dashboard. If it keeps failing, contact support.
9. Are there fees when paying abroad with a crypto card on Google Wallet?
There can be foreign transaction fees and currency conversion spreads depending on the issuer. Review your card’s fee schedule. My own fees have been negligible, but your results may vary.
10. What currency do I pay with when I use TONCard?
My stored balance is in US dollars, but I pay in the local currency at the point of sale. In Peru that means soles. The conversion happens automatically at the provider’s exchange rate.
11. Do refunds go back to my crypto card if I paid with Google Wallet?
Yes. Refunds are processed through Visa and return to the same tokenized card you used in Google Wallet.
12. Is Google Wallet safe for crypto cards?
Yes. Google Wallet tokenizes your card, hides the real number, and requires device unlock. Use a strong screen lock and enable 2FA on your card account for extra protection.
13. How do I use Lemon Cash? Is it only valid in Peru?
To use Lemon Cash you need to be a resident of Peru, Mexico, Argentina, Colombia, Brazil, Uruguay, or Ecuador. Once your app is set up and your Lemon card is enabled, you can pay in any country and at any business that accepts Visa. Reminder: you can only get the Lemon crypto card if you live in one of those Latin American countries.
14. If I live in one of those countries and want to start with Lemon Cash, is there any reward?
Yes. If you use my affiliate code “julio.salvadorcalle” you will receive about US$2.5 in your local currency after your first purchase. There are also weekly raffles. Promotions can vary by region and time, so check the latest terms in the app.
15. Does Lemon Card offer cashback?
Yes. Each time you pay with your Lemon card you receive 10 satoshis. It is a simple way to earn a little while you spend. As always, rewards and rates can change, so review the current cashback rules inside the app.
✍️ Written by El Salvador CopyBiker — Crypto Content Specialist.
Helping your audience actually understand your Web3 product (no PhD required).