
Article first published on my personal blog at HIVE.
Hello friends on #HIVE and, of course, my beloved #LMAC community, today I come with something different, a small tutorial to learn how to erase backgrounds in Gimp. I’ve been switching my programs to free software for a while now and, although I haven’t completely abandoned Photoshop, Gimp has been a substitute worth mentioning, allowing me to make quick edits and some photomanipulations with very good results.
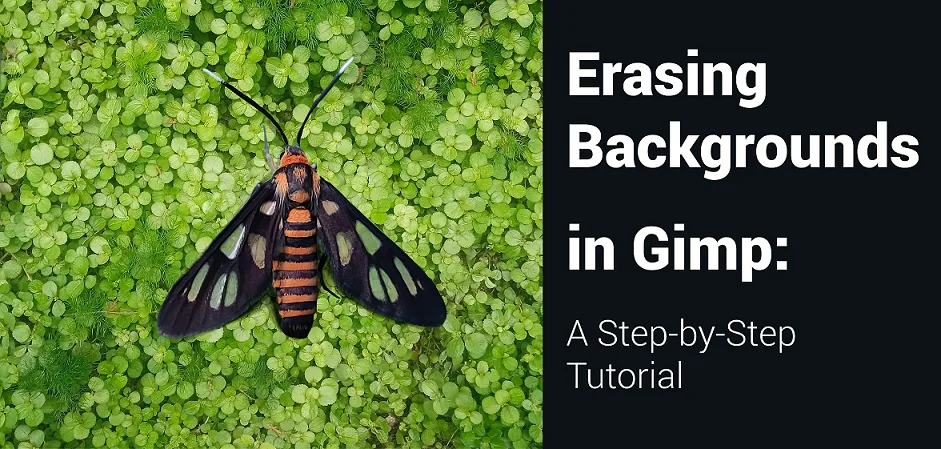
One of the difficulties I’ve encountered in Gimp are the selection tools, they are not very good and the automatic ones like the magic wand fail quite a bit, just like the color range selection.
The pen becomes the most attractive tool to obtain neat results, although it can be a bit cumbersome and slow. That’s why I’ve opted for the use of layer masks and the old and reliable brush.
For this tutorial I will use two images, a beautiful butterfly captured by @akukamaruzzaman, and a photo taken by me.
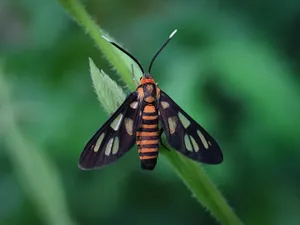
Contributed to the #LIL by @akukamaruzzaman.
Without further ado, I leave you with the steps:
- We import our image into Gimp and assign our color profile if necessary.
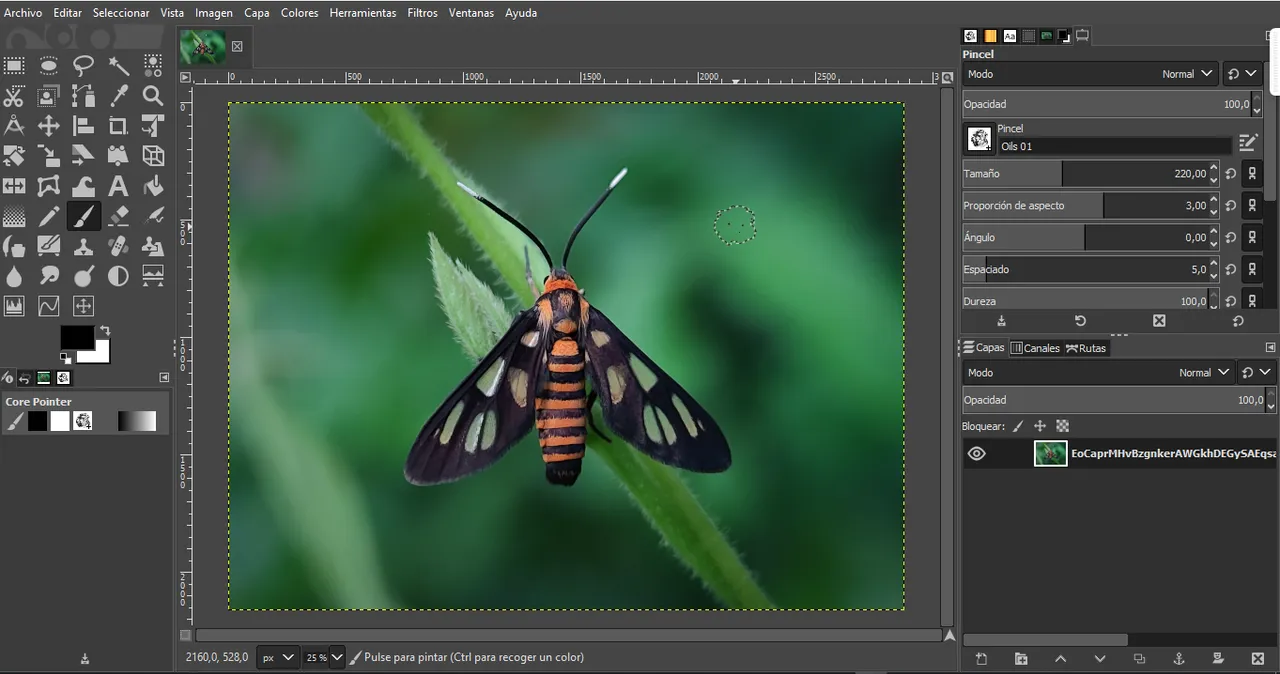
- We create a white color layer mask. Layer masks work very simply, the white color will show the image, the black will hide it.
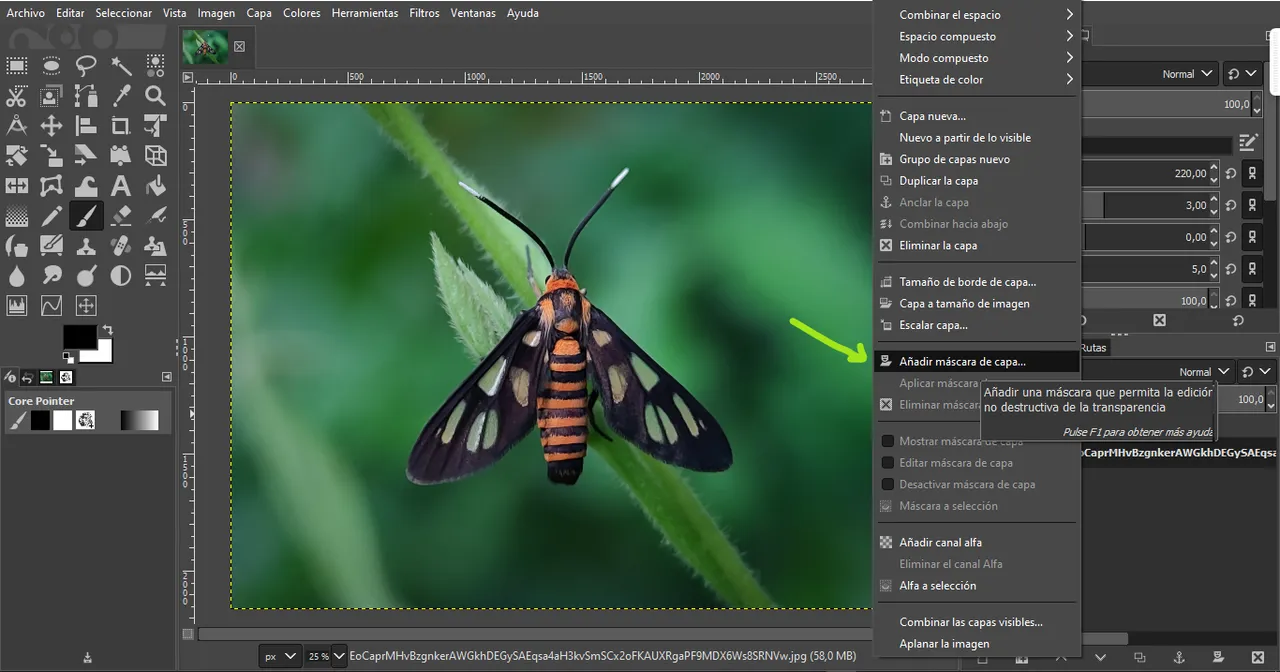
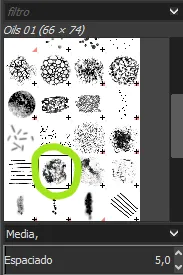
- We select our brush. As a personal preference, I always choose a brush with irregular edges that allows me to reach difficult areas of the subject I want to isolate. The brush settings are very basic, the important thing is an opacity of 100% to paint completely black. With the X key we can invert the color from black to white, allowing us to erase with black and show with white.
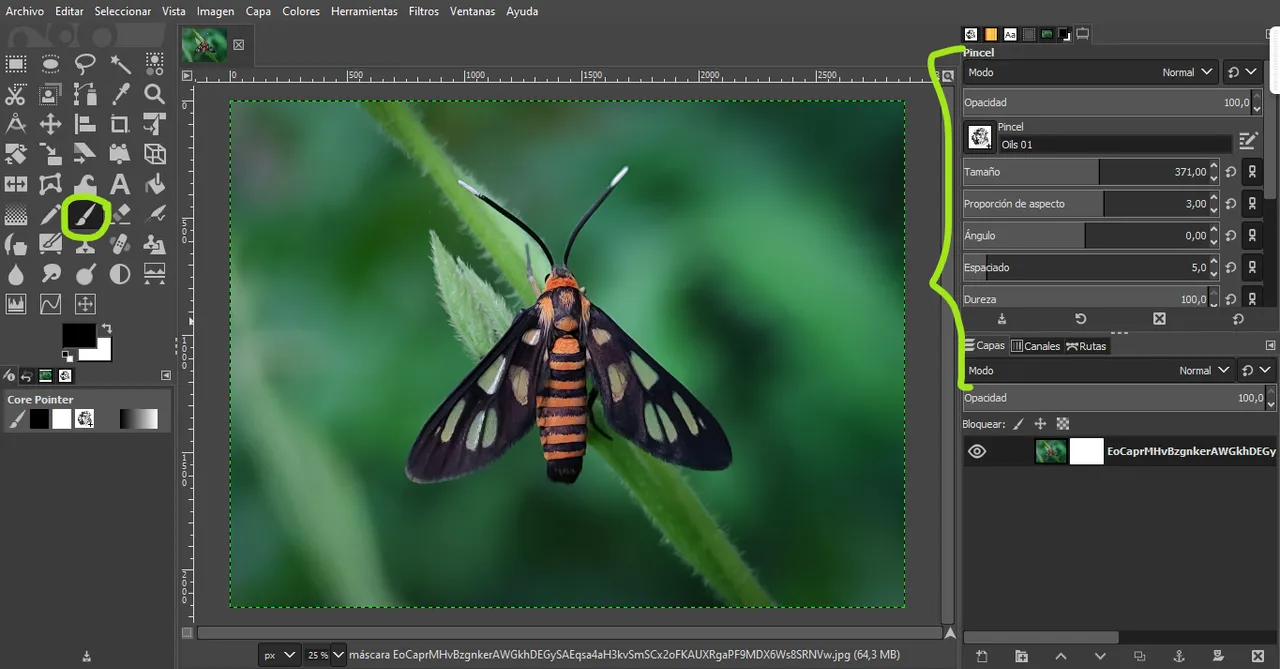
By holding down the Ctrl+Alt keys and the mouse wheel we can increase and decrease the brush size.
Holding the Shift key will allow us to draw straight lines that will speed up our workflow.
All that remains is patience and hard work to go with our brush hiding everything we don’t want to show.

I leave you with a video of the whole process.
I hope you find this little tutorial useful in your future projects. Feel free to comment and leave me your opinions and suggestions. I would like to know if you find this type of tutorials useful or if you enjoy the format. Greetings and thank you for reading this far.!






