I did not head out to any new fossicking sites for this experiment.
This time, the learning happened at home.
Instead of collecting fresh material from the field, I went back through some of my own waste material from previous fossicking and panning sessions. I think "tailings" is the correct term, although in my case that sounds much more impressive than it really is.
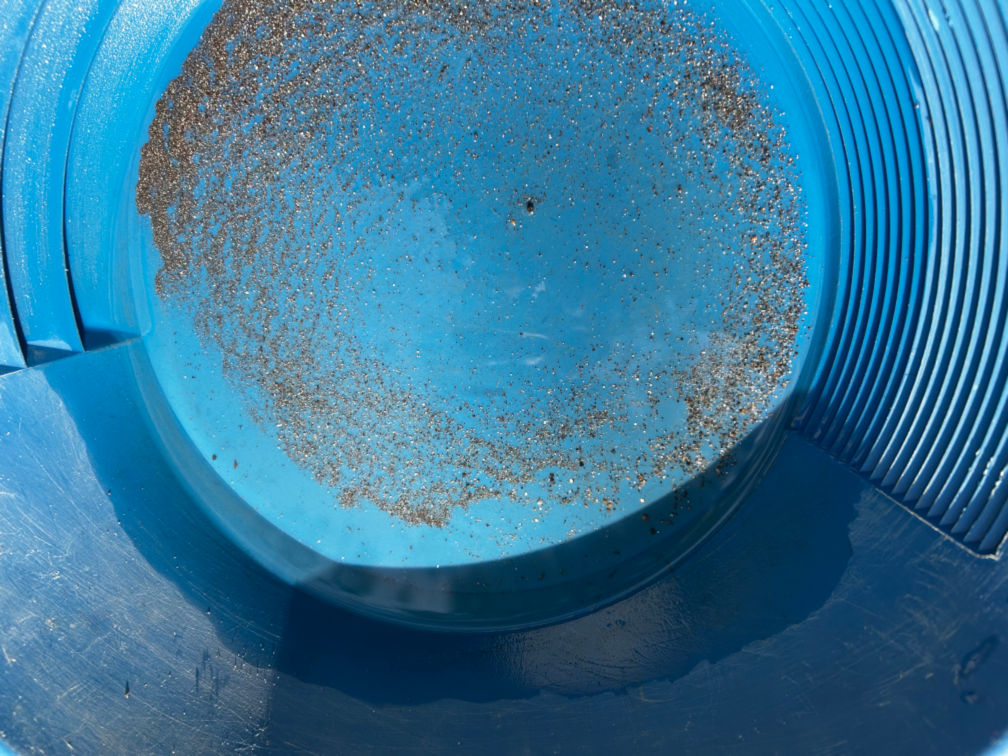
My tailings pond is an old plastic children’s swimming pool.
So, not exactly a professional mining setup.
But it gave me a good mix of leftover material to experiment with, and that turned out to be far more useful than I expected.
This was not a day of big gold finds. There were no spectacular flakes sitting in the bottom of the pan, no dream nugget, and nothing that made me think I had suddenly cracked the code.
But I did get a better feel for how different materials behave in the pan. Of how different quantities of material behave in the pan. And probably more importantly - how my techniques, or lack thereof, make the pan behave.
I also found more suspicious silver-looking material that I am now treating very carefully.
So while it was not a dramatic gold day, it was still a useful learning day.
Why I Went Back Through the Tailings
After my earlier fossicking trips and first smelting attempt, one thing has become very clear:
I still need to get better at the material handling stage.
Finding ground is one thing.
Collecting material is another.
But actually understanding what is in the pan, how different material moves, what should be discarded, and what deserves a second look is a skill of its own.
That is why I decided to go back through some of my waste material.
At first, that might sound pointless. After all, if I had already panned it once, surely anything useful should have been removed already.
But I am still learning.
That means my "waste" may not be as empty as I think it is. It may also contain useful lessons, even if it does not contain much gold.
This session was about testing technique more than chasing results.
I wanted to see what I may have missed, how different sample types behaved, and whether I could improve my ability to spot colour under less-than-perfect conditions.
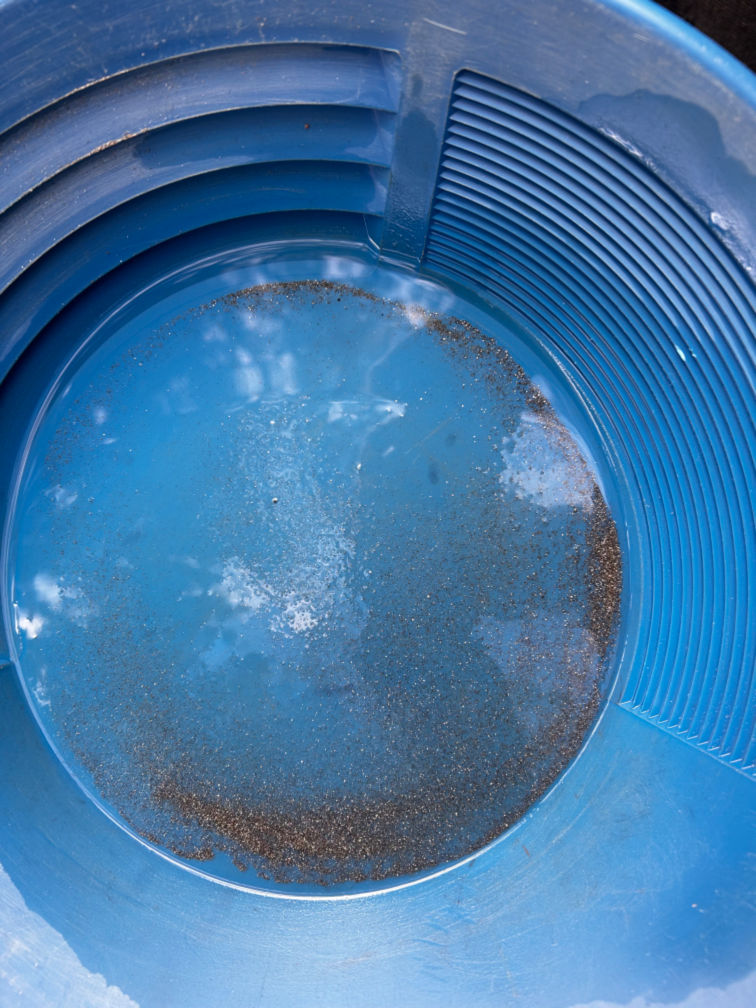
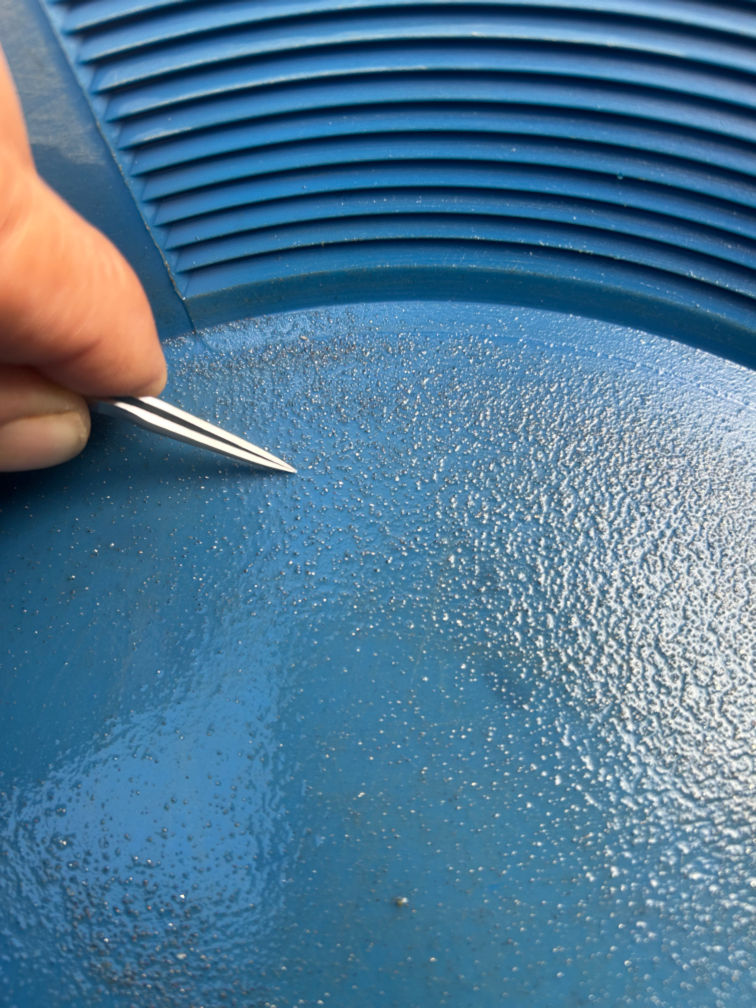
The Tailings Pond Setup
My tailings pond is extremely simple.
It is just an old children’s swimming pool that has been used to hold waste material, wash water, sludges, and leftovers from previous panning sessions.
There is nothing fancy about it.
But for this kind of learning, that was actually useful.
Because the pool had collected different types of material over time, I had a variety of samples to play with. Some were sandy. Some were heavy with mica. Some were clay-rich. Some were sludge from the bottom of the pool.
It gave me a chance to test different panning approaches without needing to leave home.
That made the day less about finding a new gold-bearing site, and more about improving the basics.
The Sample Types I Worked With
One of the most useful parts of the day was the range of material I had available.
I was not just re-panning one simple bucket of gravel. I had several different sample types, and each one behaved differently.
That made the session more educational than I expected.
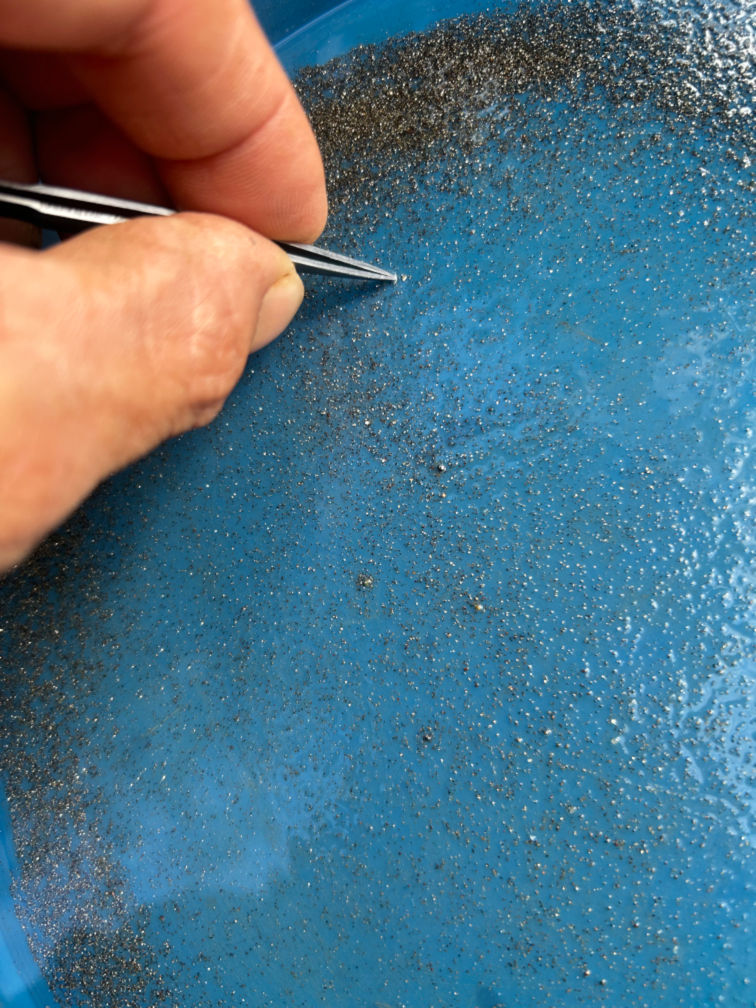
High Mica Material
Some of the material had a high mica content.
This is frustrating stuff when you are still learning to spot gold.
Mica can look bright, shiny, and exciting for about half a second. Then it moves differently, flashes differently, and reminds you that not every shiny thing deserves attention.
This kind of material is useful practice because it forces me to slow down and pay attention to how the particles behave in the pan.
Gold should be heavy.
It should not float around like a lightweight shiny distraction.
Mica, on the other hand, can be very good at pretending to be interesting.
Working with the mica-heavy samples helped me practice ignoring some of the false signals and focusing more on behaviour rather than shine alone.
Clay Samples
The clay-rich material was a different kind of challenge.
Clay does not like to make things easy.
It can hold together, cloud the water, hide fine material, and make it harder to see what is actually happening in the pan.
With these samples, I had to spend more time breaking the material down properly before trying to pan it out.
That was a useful reminder.
If clay is not broken down well enough, then it may trap small heavy particles and carry them through the process in ways I do not properly understand yet.
For a beginner, that matters.
It means the gold may not always be lost because the ground was bad. It could be lost because the material was not worked properly.
That is exactly the kind of lesson I need to learn now, before I become too confident in my own results.
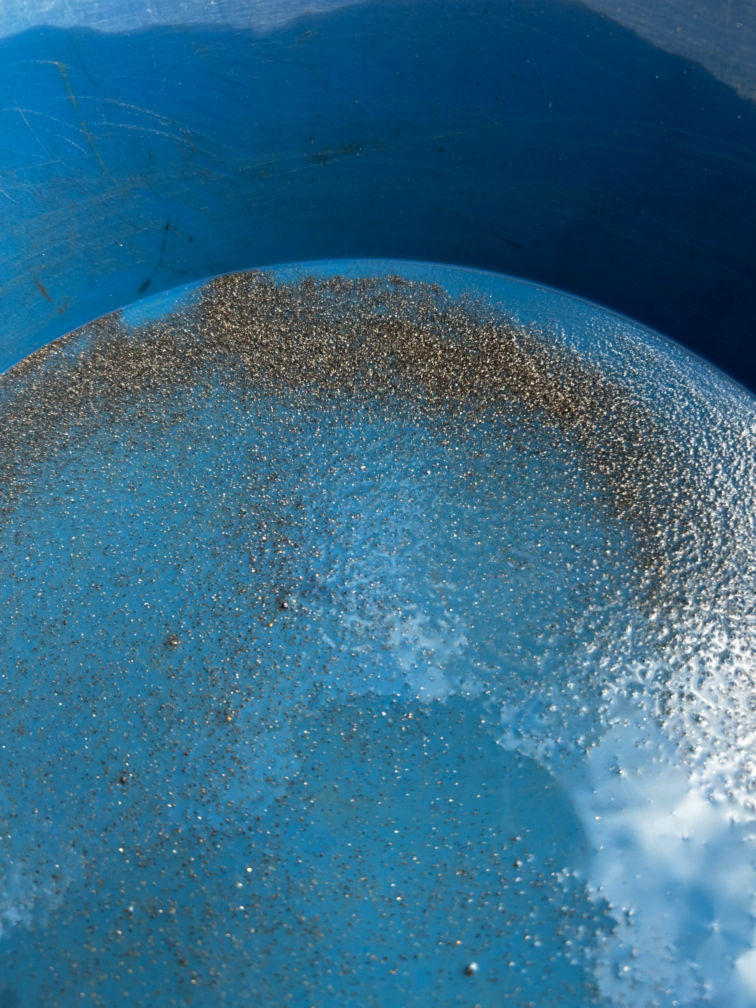
Sludge From the Tailings Pool
The sludges from the bottom of the tailings pool were probably the least glamorous samples of the day.
They were messy, slow, and not especially pleasant to work with.
But they were useful.
Fine material can settle in strange ways, especially when everything has been washed, moved, stirred, and left to sit. I wanted to see whether anything heavy had collected in the bottom sludge and whether it behaved differently from the more obvious gravel or sand samples.
This was not exciting panning.
It was not the kind of thing that looks good in a photo.
But it did force me to work slowly and pay attention.
That alone made it worthwhile.
The Light Made Everything Harder
Another major part of the day was the changing light.
I had sunlight, cloud, misty rain, and glare all coming and going while I was trying to check samples.
That made a much bigger difference than I expected.
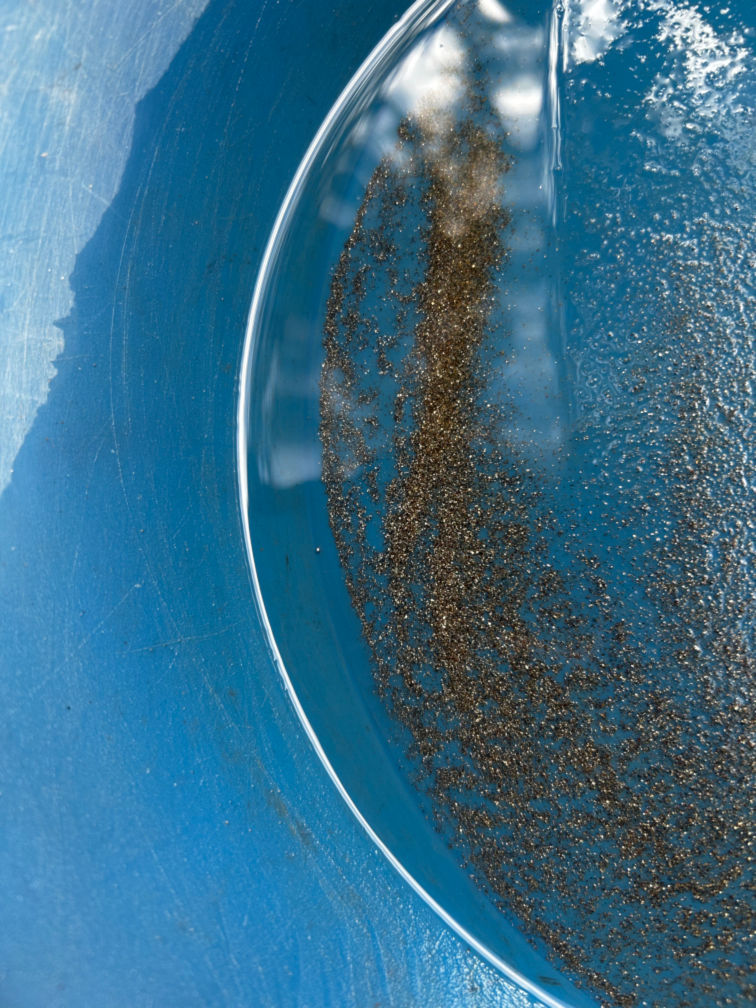
When the sun was clear and hitting the pan nicely, I felt like I had a much better chance of spotting colour. Tiny flecks are hard enough to see at the best of times, but good light at least gives me a fighting chance.
When the cloud came over, things became harder.
When misty rain started, it became more annoying.
When glare hit the water at the wrong angle, the surface of the pan became difficult to read.
This is something I had not fully appreciated before. Spotting small gold is not just about having gold in the pan. It is also about having the right light, the right angle, and enough patience to check properly.
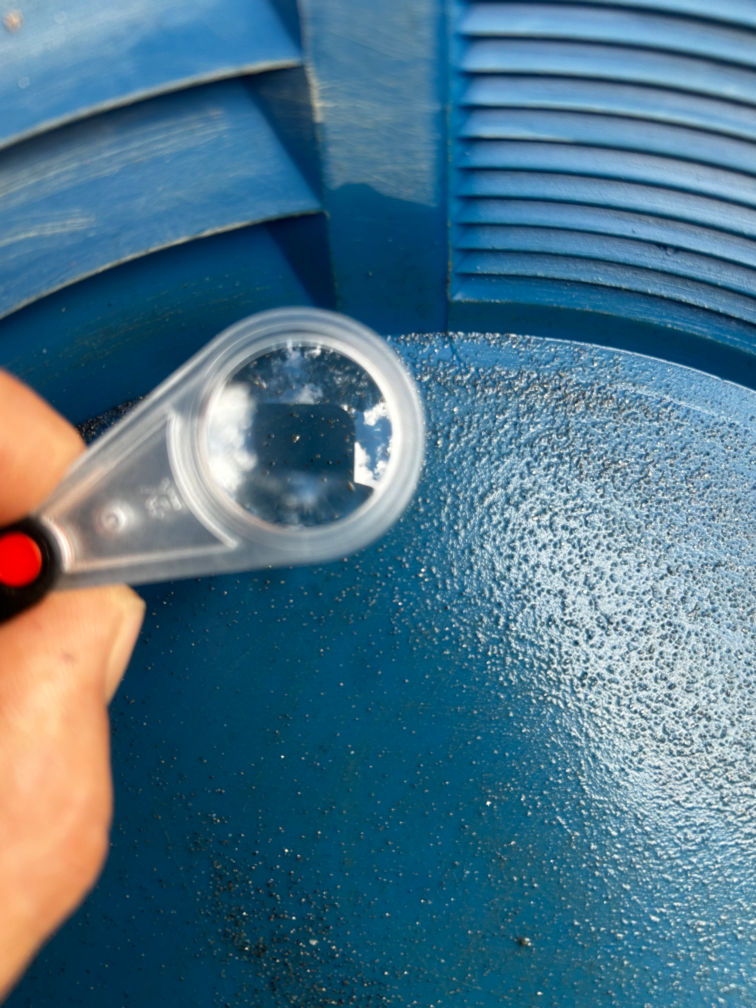
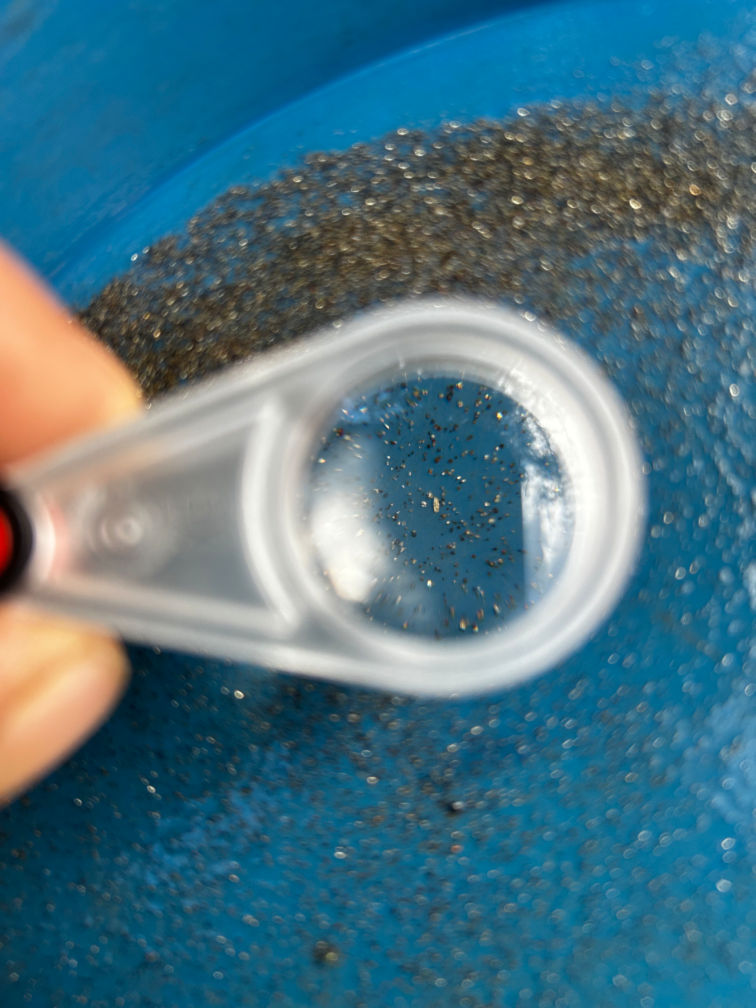
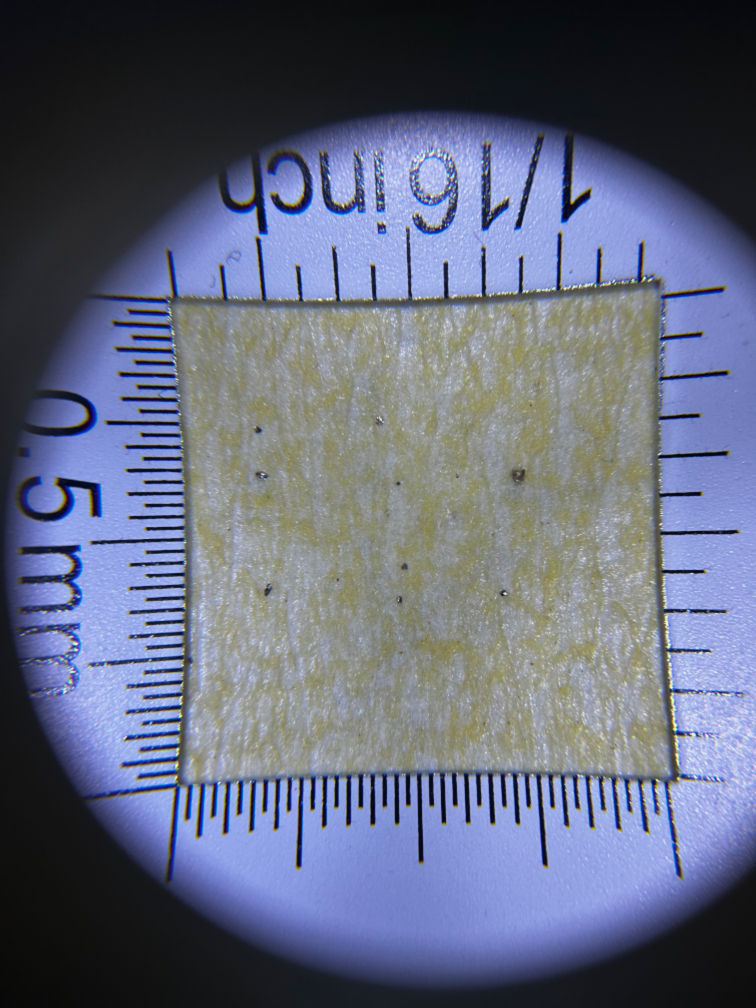
At this stage, I am still training my eyes. I wear reading glasses and also have a 3x and 5x magnification loupe handy. I am able to overlay both lenses of the loupe simultaneously, which I assume provides me with 15x magnification.
I am still learning what colour looks like when the sun is good, let alone when conditions are changing every few minutes.
So the light was not just a background detail. It became part of the experiment.
Experimenting With Panning Technique
Because I was working at home, I had more freedom to experiment.
I was not rushing between sites or trying to beat the weather in the field. I could re-run material, slow down, try different approaches, and see what happened.
Some of the things I paid more attention to included:
- How aggressively I washed lighter material away
- How slowly I worked near the final concentrates
- How mica behaved compared with heavier material
- How clay needed to be broken down before panning properly
- How much fine material remained in the pan
- How different lighting changed what I could see
- Whether the “waste” still held anything worth noticing
- Panning with different angles and force
This kind of practice is not dramatic, but it is important.
The better I get at panning, the less likely I am to throw away something useful.
That is the theory, anyway.
No Spectacular Gold Finds
I did not find any spectacular pieces of assumed gold during this session.
There were no big flakes.
No obvious chunky pieces.
No exciting moment where something bright and heavy sat there waiting to be snuffered up.
That was a little disappointing, but not surprising.
This was waste material from previous work, and I was mainly using it to practice and test technique.
Still, I was hoping I might find something obvious that I had missed the first time.
That did not really happen.
But I did find something else.
And it was not something I wanted to treat casually.
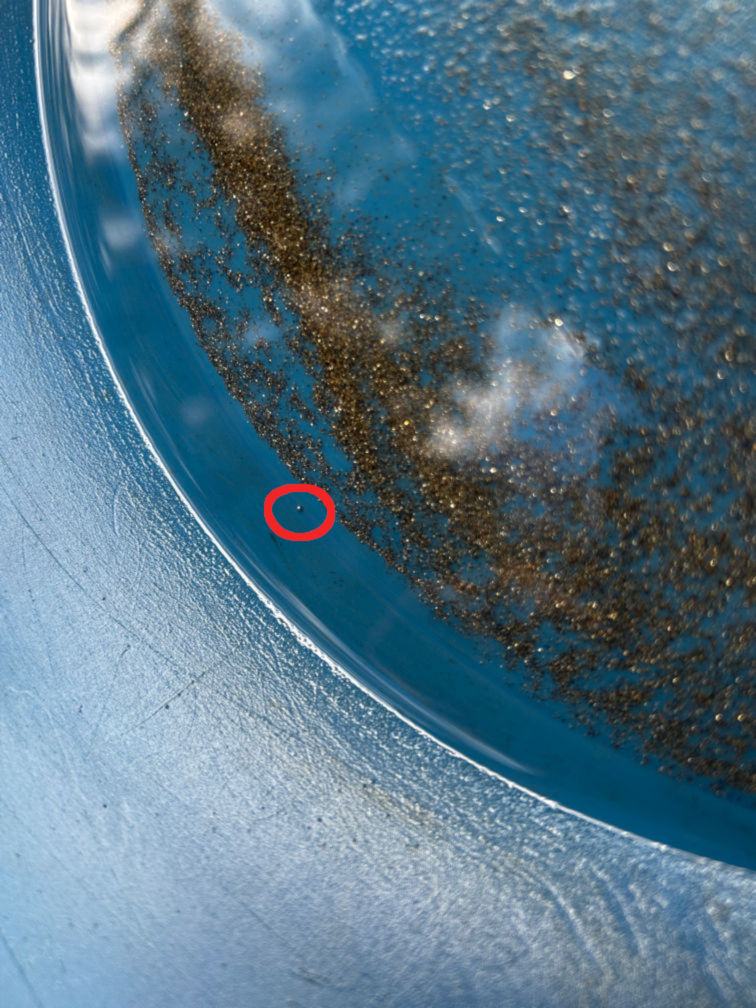
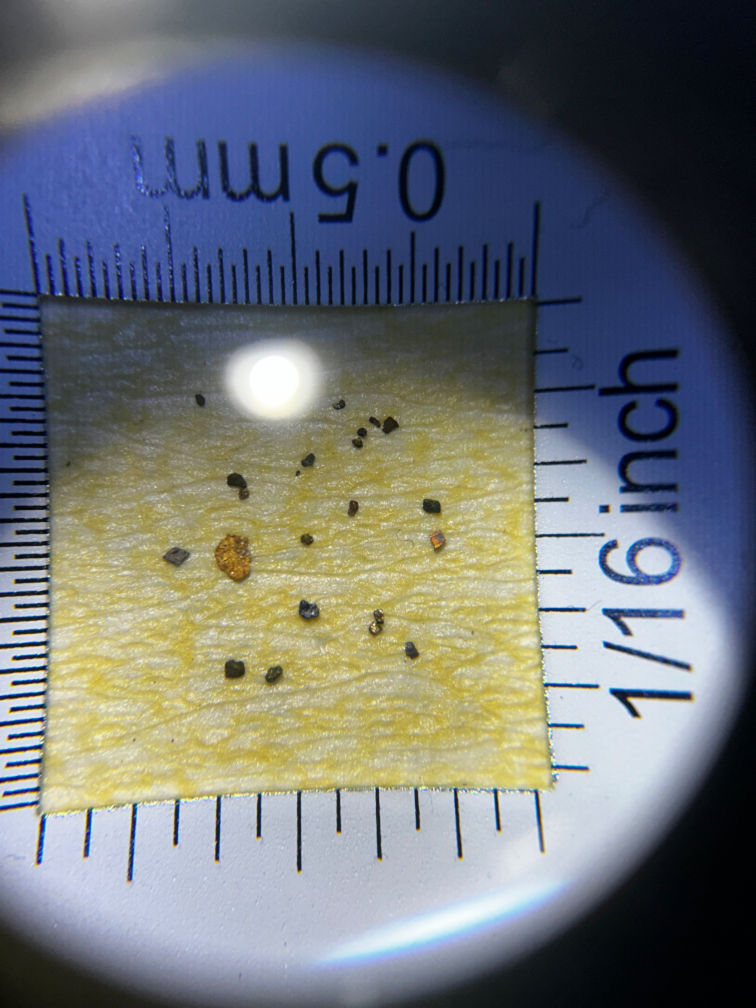
Suspicious Silver Material
During the session, I found a small amount of silver-looking material.
Some of the pieces appeared flexible and had a bright silver appearance.
I am not claiming with certainty that this is mercury amalgam.
But it looked unusual enough that I treated it with caution.
I have come across similar suspicious silver-looking balls before while working material from old gold areas. Because of that, I am now treating this material as unknown and potentially hazardous until it can be properly identified.
As a precaution, I placed the pieces into a vial with water and sealed it with a lid.
I am not going to heat it.
I am not going to crush it.
I am not going to smelt it.
I am not going to casually test it with acid.
It is being kept separate and treated as suspicious material.
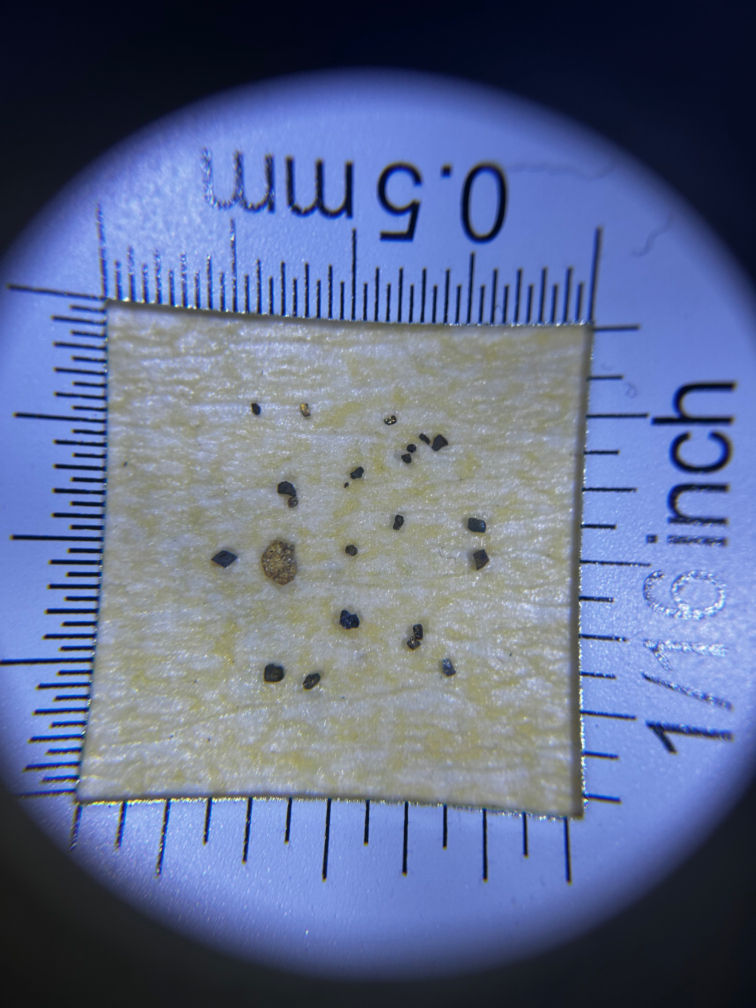
Panning a Single Suspected Mercury Ball
One particular piece stood out as a single ball of suspected mercury.
I carefully panned it, then transferred it into a snuffer bottle with the other collected silver-looking balls.
That snuffer bottle is now dedicated to this material only.
It will not be used for anything else.
At least not unless the material is professionally identified and dealt with safely.
From this point on, I consider that snuffer bottle contaminated or potentially contaminated. It is no longer part of my normal fossicking kit.
It will stay sealed, labelled, and separate.
That may sound overly cautious, but I would rather treat unknown material with respect than make a dangerous assumption because it looks interesting.
Why I Am Not Trying to "Clean It Up" at Home
My first thought was that perhaps I could clean this material up later when my nitric acid order arrives.
After thinking about it more carefully, I am not going to treat it that way.
Unknown silver-looking material from old goldfield samples is not something I should be experimenting with casually.
If it is mercury or amalgam, then acid, heat, crushing, or smelting could create risks that are not worth taking in a backyard learning setup.
I have also read that sulfur can help reduce mercury vapour and that clean copper can interact with mercury. There may be some truth to both of those ideas, but I am not treating either one as a home solution.
Adding sulfur or copper does not magically make the material safe.
It may simply create mercury-contaminated waste that still needs to be handled properly.
For now, the safest approach is containment, labelling, separation, and not opening or processing it unless I have proper advice.
The current rule is simple:
Do not heat it, acid-clean it, smelt it, crush it, or play around with it.
That is the rule I am going with.
How I Am Storing the Suspicious Material
For now, the suspicious silver-looking material is being kept in sealed containers with water.
The dedicated snuffer bottle will not be reused for anything else.
I will keep it:
- Sealed
- Clearly labelled
- Stored upright
- Kept away from heat
- Kept away from living areas
- Kept away from children and pets
- Stored inside secondary containment
- Separate from normal fossicking tools
I do not want this mixed back into my general gear by accident.
I also do not want to forget what it is later and treat it like an ordinary gold sample.
That is why labelling matters.
Future me cannot be trusted to remember every little thing from today, so future me gets a label.
The Bigger Lesson About Old Goldfield Material
This was a useful reminder that old goldfield areas can contain more than just gravel, black sand, quartz, and possible gold.
They can also contain rubbish, metal scraps, lead, rusted objects, broken glass, and possibly residues from older recovery methods.
That does not mean every shiny silver ball is definitely mercury.
But it does mean I should not assume unknown material is harmless.
The more I do this, the more I realise fossicking is not just about asking:
“Is that gold?”
Sometimes the better question is:
“What is that, and should I be touching it?”
That is a very different mindset.
And probably a safer one.
What I Learned From Re-Panning My Tailings
This session taught me more than I expected.
The biggest lesson is that waste material is not necessarily wasted learning.
Even if there is no visible gold left in it, tailings can still teach technique.
From this session, I learned:
- High mica samples are excellent practice for ignoring shiny distractions
- Clay needs patience and proper breakdown
- Sludge is messy but useful for understanding fine material
- Changing light can make spotting colour much harder
- Glare can make the pan difficult to read
- Re-running material can reveal weaknesses in technique
- Unknown silver material should be treated cautiously
- A dedicated container is essential for suspicious finds
- Not every learning day needs a new fossicking site
That last point is important.
I did not need to leave home to make progress.
I just needed to go back through material I already had and pay closer attention.
Was It Worth Re-Panning the Waste?
Yes.
Not because I found a nice gold flake.
I did not.
It was worth it because I learned more about the material I am working with when I am in the field.
I learned more about how I pan.
I learned more about what distracts me.
I learned more about how much the light affects what I can see.
And I learned that I need to be careful with suspicious silver-looking material from old gold areas.
That is enough to call the session useful.
This whole project is about learning gold the hard way.
Sometimes that means going out into the field.
Sometimes it means standing at home beside a children’s swimming pool full of tailings, mucking around with sludge in changing weather, and realising that the waste still has something to teach.

What I Will Do Differently Next Time
Next time I re-pan tailings or work through old sample material, I want to be more organised.
I should:
- Label each sample before starting
- Keep different material types separate
- Photograph the sample before panning
- Take notes on how each sample behaves
- Work in better light where possible
- Avoid checking fine material when glare is bad
- Keep suspicious material completely separate
- Use dedicated tools for anything that may be contaminated
- Avoid processing unknown silver-looking material at home
- Recheck final concentrates slowly before discarding anything
I also want to improve how I photograph the final pan.
If I am going to keep documenting this properly, I need better images of the tiny details. That may mean experimenting with phone angles, shade, water level, and maybe even a clip-on macro lens at some point.
For now, better light and more patience will have to do.
Items I have added to my Field Bag
I have recently incorporated some extra items into the bag I take with me when going out to fossick.
These are:
- Fine point permanent marker
- Roll of large resealable zip lock bags
- 45x backlit magnifier
These extra items do not take up much extra space and do not weigh all that much, but I hope they will prove invaluable with my future fossicking attempts.

Final Thoughts
This was not a spectacular gold day.
It was not even a field trip.
There was no new site, no dramatic discovery, and no beautiful gold flake sitting proudly in the pan.
But it was still a productive part of the experiment.
I re-panned my own tailings.
I tested different techniques.
I worked through mica, clay, sludge, glare, misty rain, and changing light.
I found suspicious silver-looking material and treated it carefully instead of getting carried away.
And I learned that my waste pile still has value, even if that value is mostly education.
For this stage of the journey, that counts.
Not every step forward shines like gold.
Some of them look like sludge in an old children’s swimming pool.
Part of the Gold Experiment Series
This post is part of my ongoing gold fossicking and smelting experiment series:
Learning Gold the Hard Way: Fossicking, Smelting, and Small-Scale Experiments
You can follow the full progress log on the main hub page, where I will continue adding updates as the experiment develops.
** Originally posted on jaysndees blog **