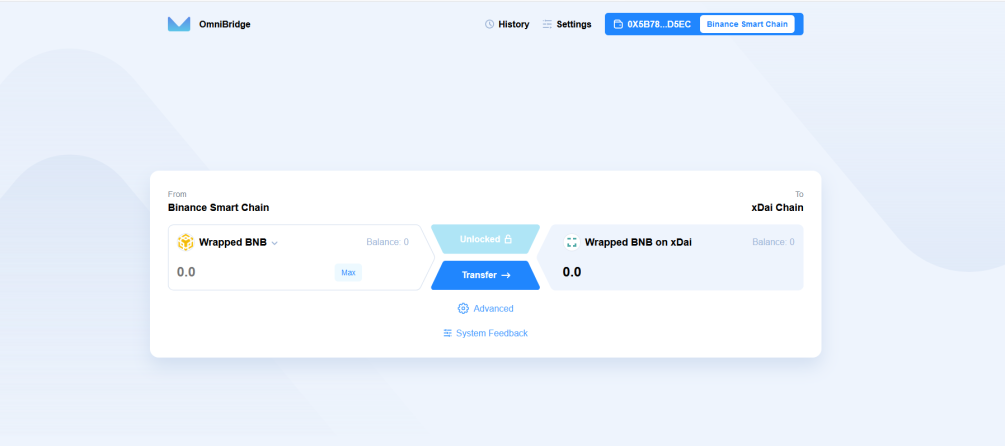
Here we are in the second part of the previous article on XDai. In this article, I will show you that there are also other bridges. For those who are on the "BNB" smartchain, there is a bridge from the smartchain to XDai.
I just give you the link, the manip. are more or less the same as in the example given in the first article (part 1).
https://bsc-to-xdai-omnibridge.web.app/
I also give you a link to configure your Metamask with the smartchain, if you are interested.
https://academy.binance.com/en/articles/connecting-metamask-to-binance-smart-chain
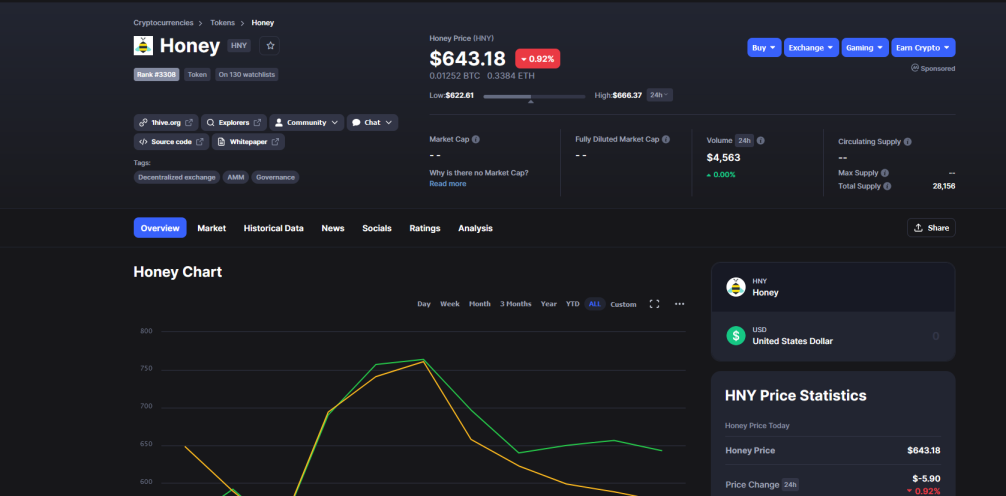
I am going to show you now how to exchange on a DEX which is called "1hive"🐝🐝🐝, I put the link to you. You can also find it on CMC because now they have a token.
https://1hive.org/#/home
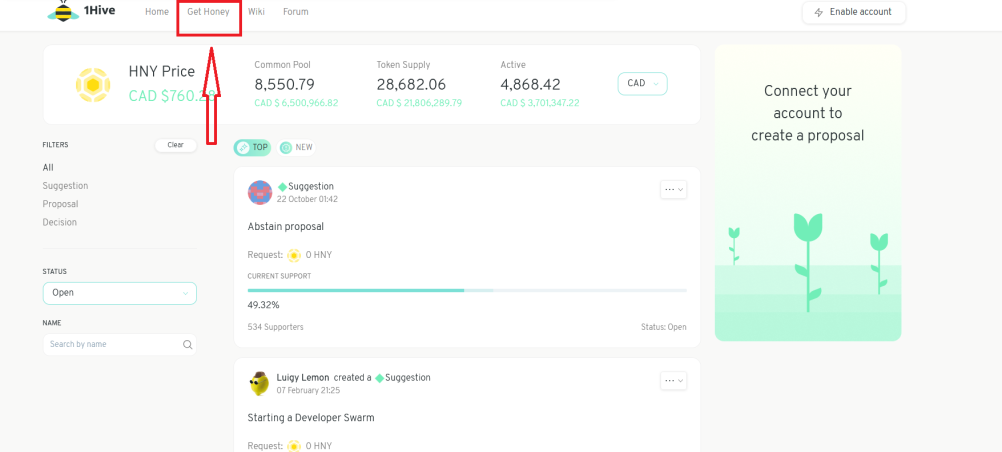
You arrive on the page as below, you click where there is the red rectangle.
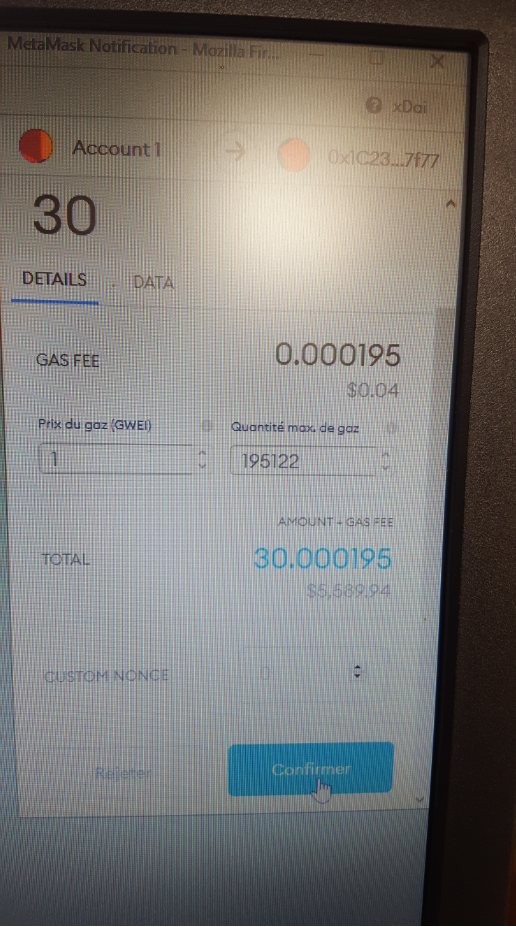
You arrive on this page, you select the cryptos you want to swap. In this example I chose the $ Donut. Then you confirm (like any DEX).

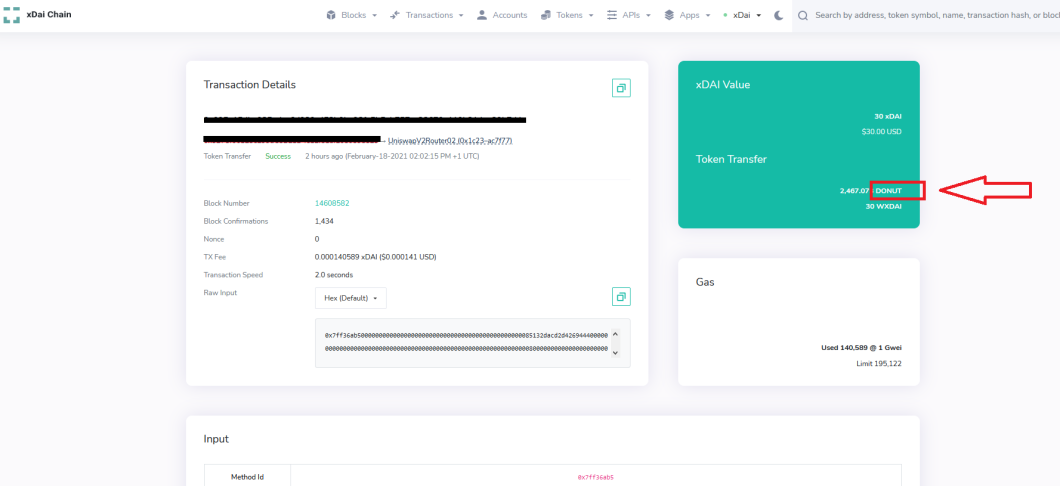
As you can see this transaction cost me $ 0.04 (sorry for the poor quality of the photo, I cannot take a capture at the same time). As you can see it is one of the cheapest network, even the smartchain can go to get dressed ...
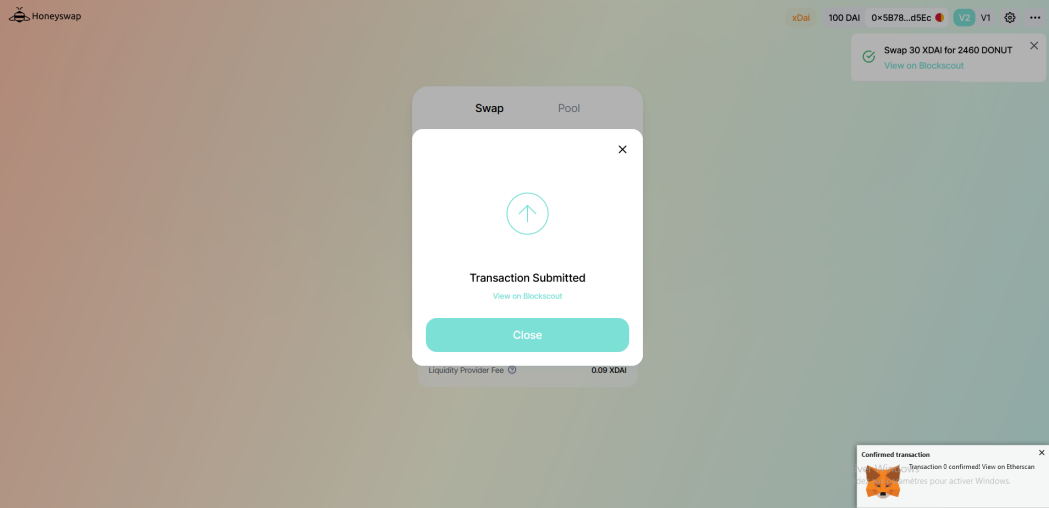
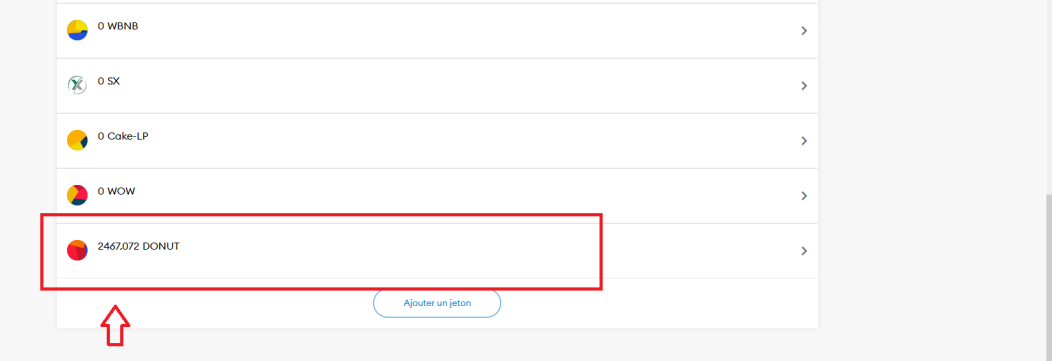
As you can see in the picture it worked fine, I have my $ Donut. But be careful, you must add the contract manually because they are not the same contracts as on the Eth blockchain.
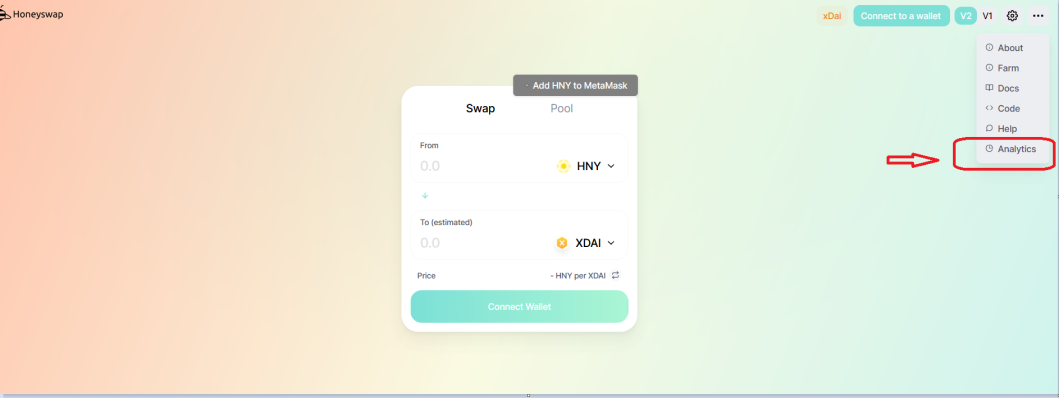
To do this you must click in Analytics (red rectangle).
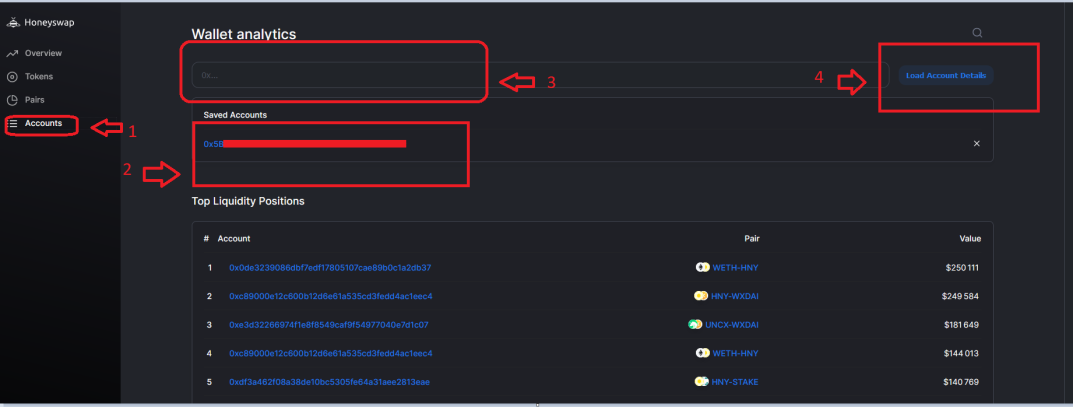
1 / You click on account
2 / you copy your address
3 / you paste it there
4 / you click on "load account details".
You click there
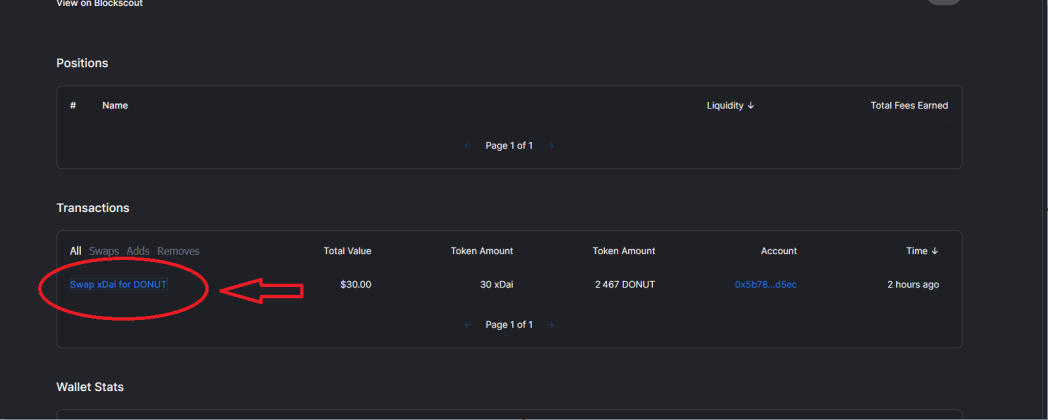
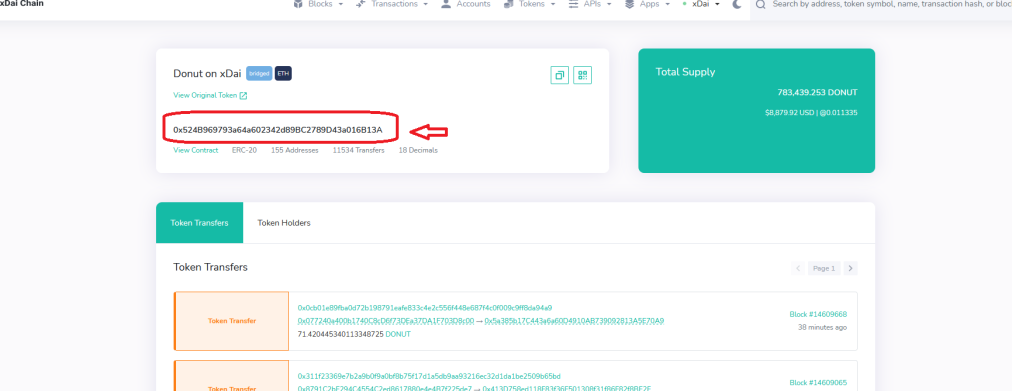
You click on the crypto you traded, for me it's $ Donut.
You arrive on the contract address, you copy it and you will have to add it to Metamask.
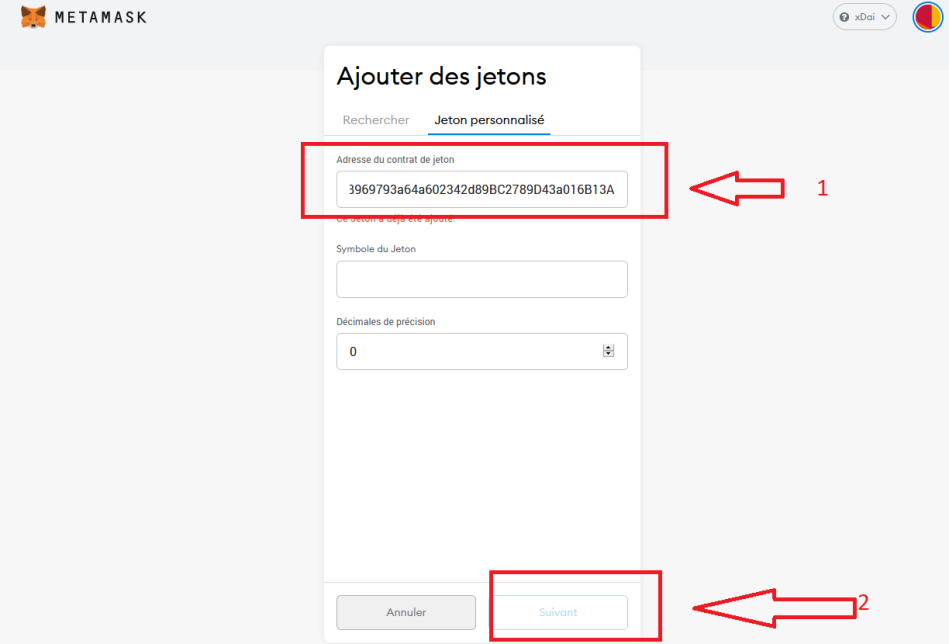
Then when you are on Metamask you scroll to the bottom, you do "add token", "customize a token", you put the address of the contract and normally the rest of the options should be displayed. You click next and then you save it and it's good.
Well, I hope this article will be useful to some of you. You can see on the XDai site, there is a lot more information and other nice options to do as a staker but I will not you explain that there because this article is already too long and it took me a long time to do. Good testing to you and see you soon.