

You may have read my previous article covering the Phemex mobile app, but today I will be covering how to navigate the website. I won’t go too far in depth on what Phemex is, but if you want to learn more about them, please feel free to read my previous article about the Phemex mobile app. Ill touch briefly on Phemex to get you acquainted with what they do. First off Phemex is a new derivative exchange ran by eight former Morgan Stanley executives that gives you the option to trade BTC, ETH, XRP, LTC, XTZ, Link and Gold.
MAIN MENU
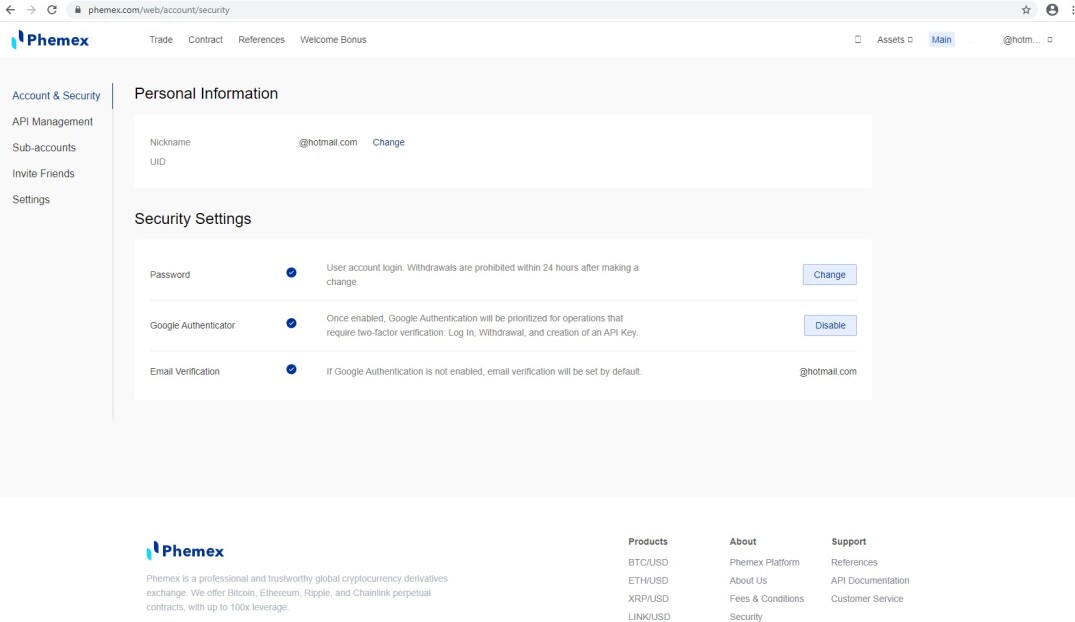
Upon opening the website, the first thing you’ll see once you log is in the following screen. If you don’t have an account you can sign up for one using the link at the bottom of the article or clicking here. There is no strings attached and you’ll get a free $2 sign up bonus and an additional $10 just for following Phemex on Twitter, retweeting their pinned tweet and tagging three of your friends. Again there is no strings attached and you can use your first $12 to start trading immediately. Once you’re finally logged in you’ll see a screen similar to this. On the left it’ll show Account & Security, API management, Sub accounts, Inviting Friends and your settings. This will be your main page that you can use to change your password, setup authenticators as well as email verifications. It’ll also show your username which is normally your email address as well as a UID. This is your assigned account number for trading. If for any reason you have to contact customer service you can give them your UID and they’ll be able to better assist you. Phemex prides themselves in trust and it definitely reflects in their customer service.
PHEMEX ASSET MENU
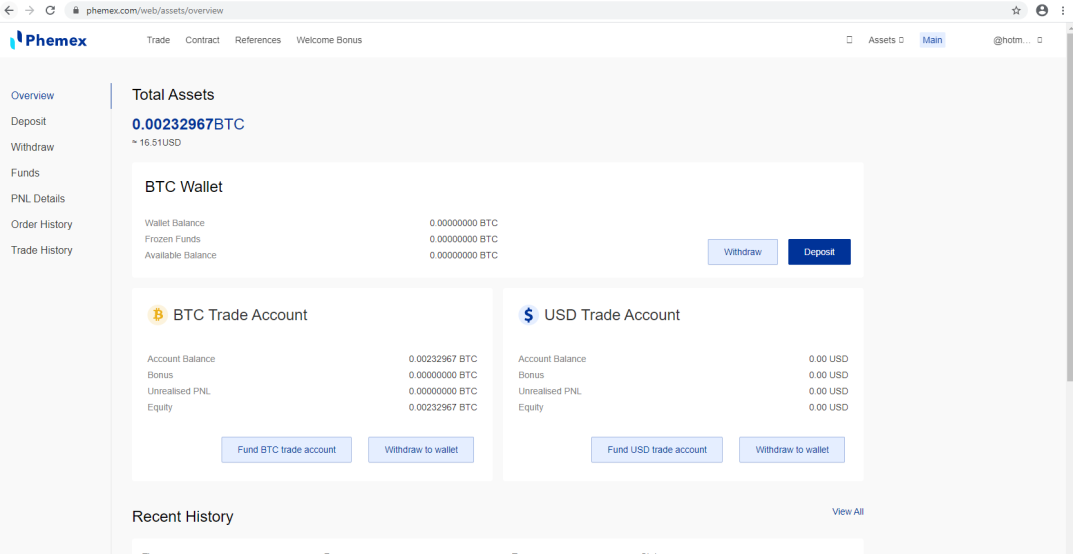
Once you’re all set up with your account you can click on the asset icon on the top right of your screen. This will give you your total asset balance and show you your trading account and BTC Wallet. Funding is very easy and straightforward and everything is on the left side of the screen. All you have to do is fund your BTC wallet using any other wallet you own. You also have the option to use a credit card to fund your account via Changely.
TRADE MENU
Last thing well cover today is the trade menu. If you look towards the top left of the page you’ll see a tab that says Trade. If you click on the trade tab it will bring up your trade exchange similar to the picture below. This is where you will conduct all your trading. You can elect to just trade in BTC or choose one of the other options they offer suck as ETH, LINK or even Gold. You can utilize the order book to choose your position or you can just set a limit price on the left side. Once you’ve set your price you can choose the quantity that you want to trade and then choose to long or short sell. Once you decide on whether you want to long or short, a box will pop up with your position and this is where you can set a stop loss measures. Setting a stop loss is highly preferred because it will help you from being liquidated especially if you are not familiar with technical analysis or you’re a first timer. Once complete you’ll enter your position and it will populate. At this point you can either elect to follow it or let it go till your order is filled.

TRADING CAUTION: Trading on exchanges are not for novices and if you are unfamiliar with the process of utilizing an exchange like Phemex, it’d be best to research how to trade first before jumping head first into it. This tutorial is meant for navigation of the website.
Free $12 just for signing up and retweeting on twitter as mentioned above. https://phemex.com/web/user/register?referralCode=D9DKK


