I never thought that I would use stylus pens more than traditional pens... actual pens... the ones that write on actual paper. It amazes me that I've been able to perform and subsequently archive a majority portion of my work and personal life electronically. It does make life easier but it also makes for yet another item that is slowly climbing its way up the priority list of necessities in day-to-day operations, a stylus pen.
Admitting you have a problem is the first step.
That being said, I personally have a knack for losing stylus pens. It is this character flaw that has brought me to post what lay before you. Ironically, when I was gathering the materials for this do-it-yourself, two of the lost styluses showed themselves...
It was as if they knew I was making a new one...
So, whether you have a penchant for losing stylus pens, refuse to pay for them, or your antisocial behavior categorizes you as an introvert, and time for the most part is limitless for you, enjoy the DIY (actual first step is below).
STYLUS PEN.
WHAT DO I NEED DUDE?
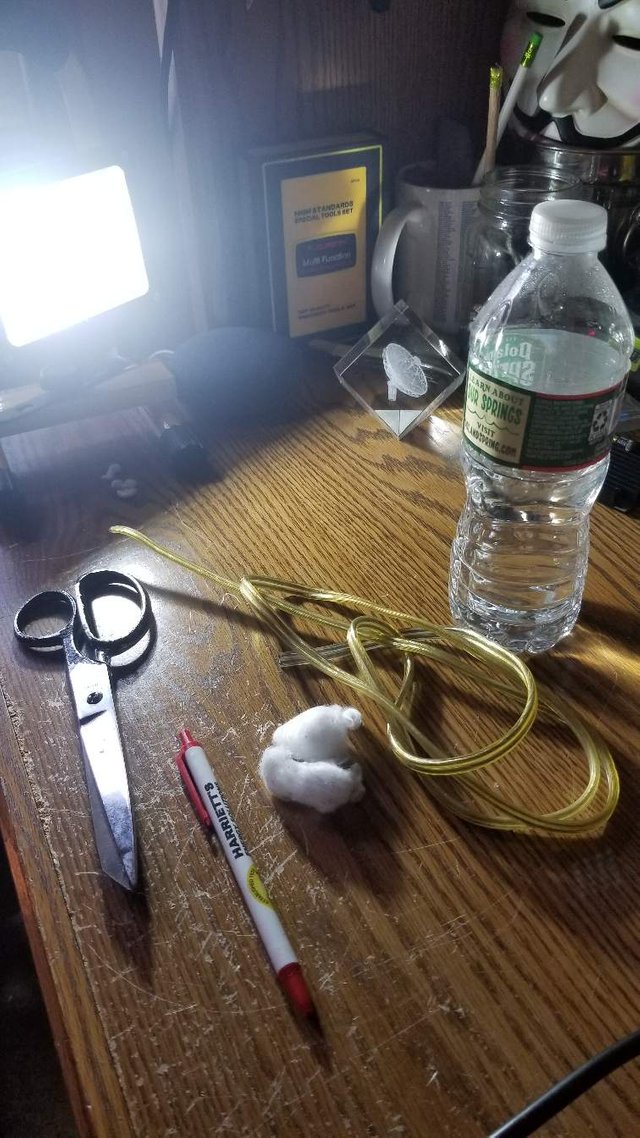
Here's what you'll need to have handy if you intend on completing this project:
Plastic pen
Cotton swab
Copper wire
Water
Scissors/knife/stripper (to harvest copper)
Small screwdriver (for optional step)
About 15-20 minutes
MacGyver-like ingenuity not required.
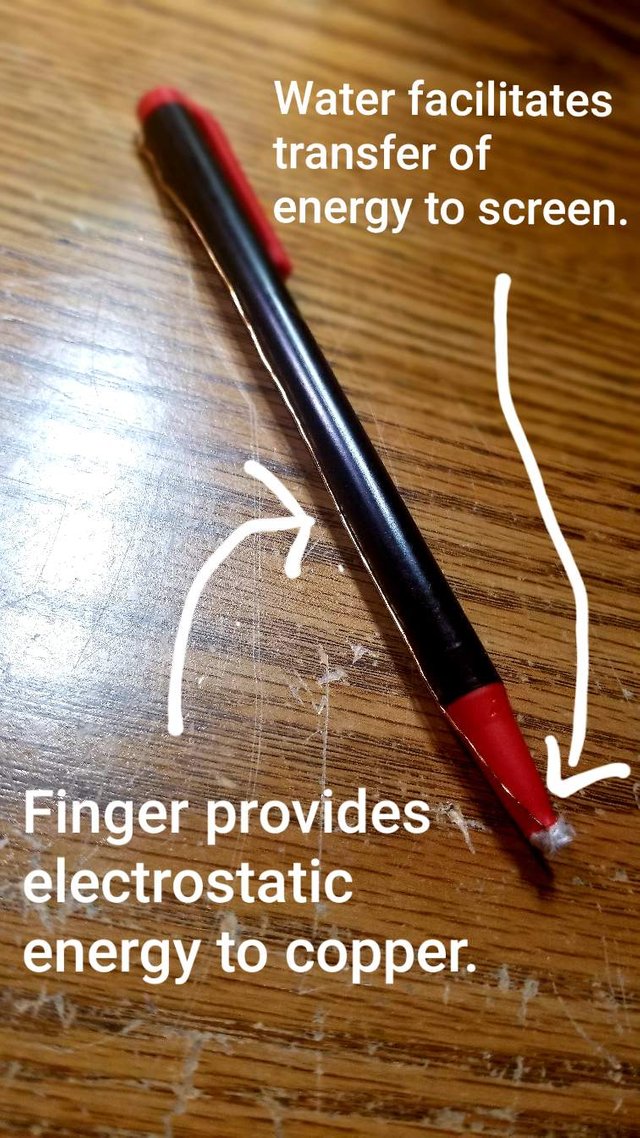
In case you don't feel like reading this whole DIY please see the photo above. I'd also like to note there are several methods of creating a DIY stylus. I selected this one because I thought most individuals would have the aforementioned materials and the instructions are rather simple. Oh, in addition to the photo, add a splash of water to the cotton for conductivity.
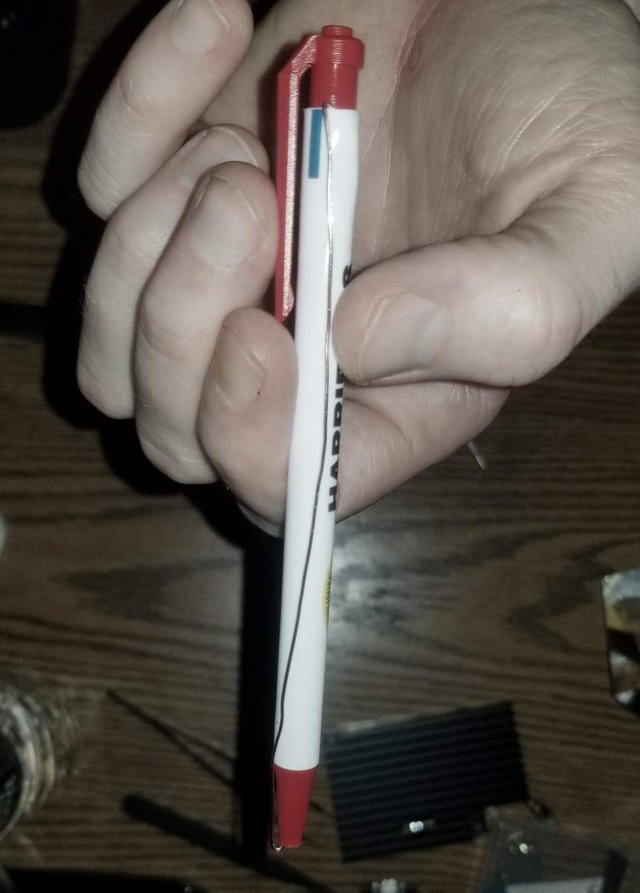
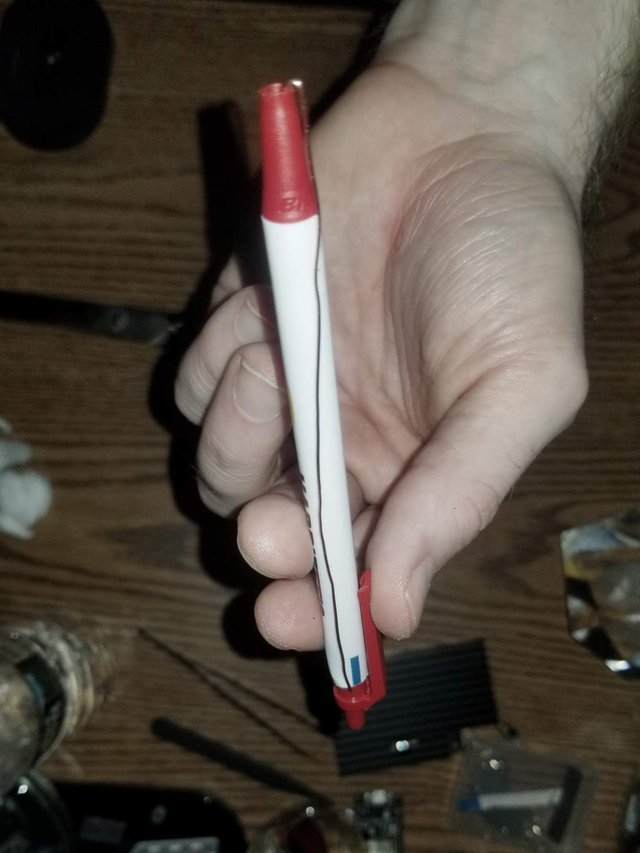
STEP 1 - DISASSEMBLING PEN.

You wouldn't think a photo of this was needed but, here we are.
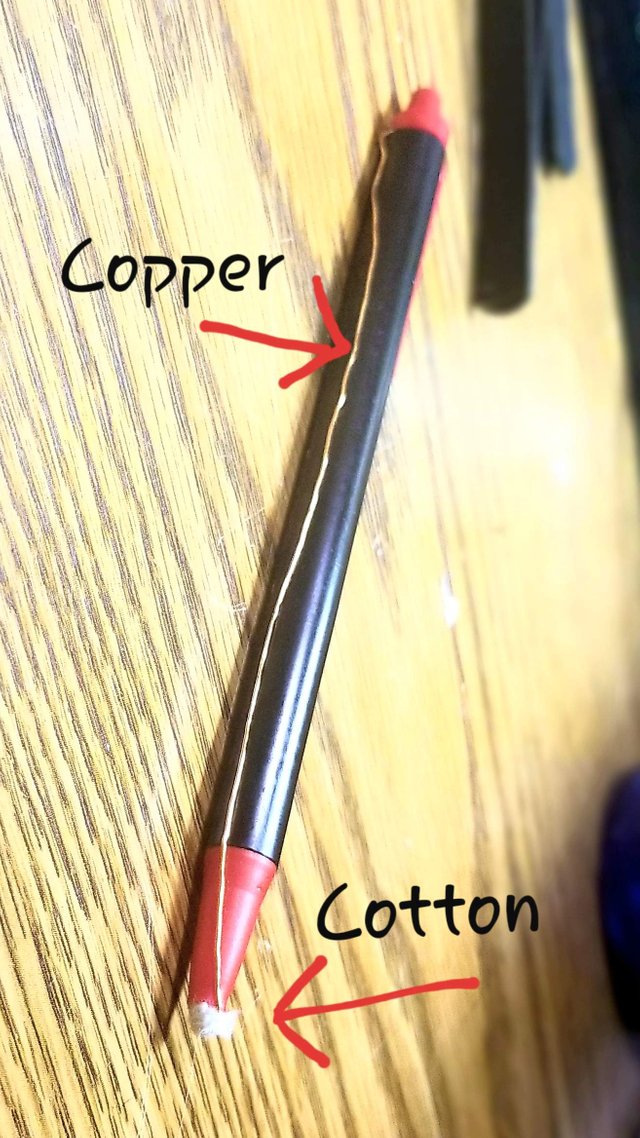
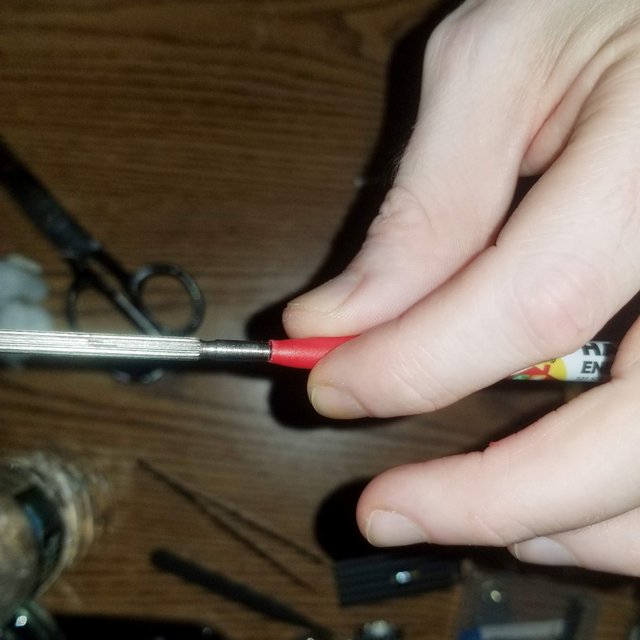
STEP 2 - HARVESTING COPPER.

I would like to think anyone who is reading this is intelligent enough to figure out where to find a piece of copper wiring that will suit this DIY. Stripping a standard electrical cable will do. Only one strand is required. I elected to use the inside of an old coaxial cable for that extra dense copper feel.
STEP 3 - BORING PEN.
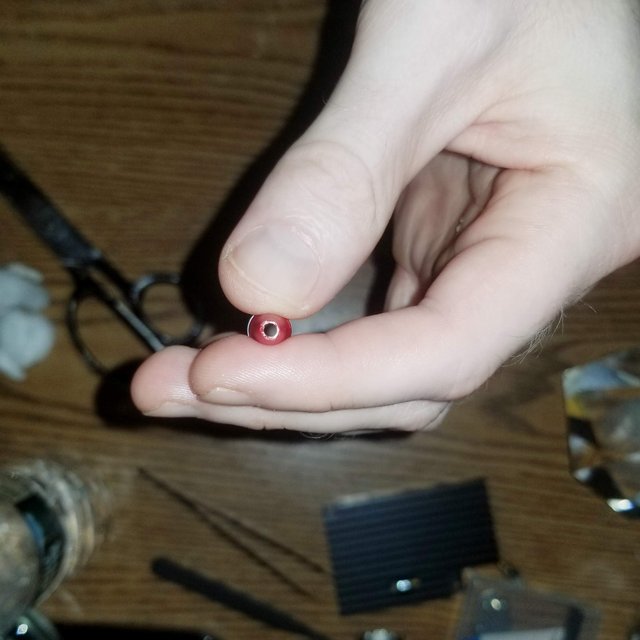
This step is optional but it makes things easier when it's time to insert the cotton. Just use a small screwdriver to bore into the tip of the pen and make the hole larger.
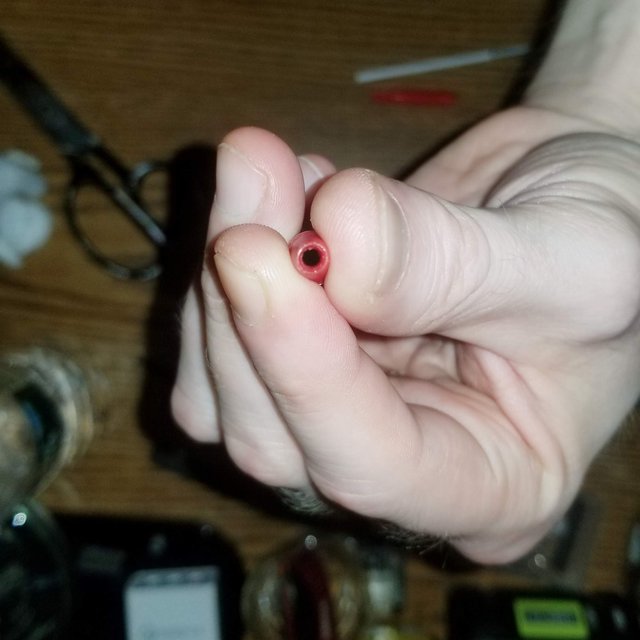
STEP 4 - WIRING PEN.
You get the idea right?
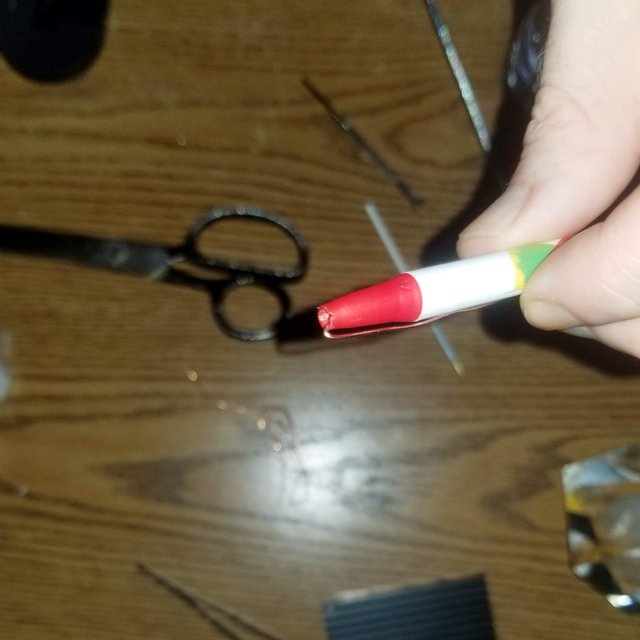
STEP 5 - SWABBING PEN.
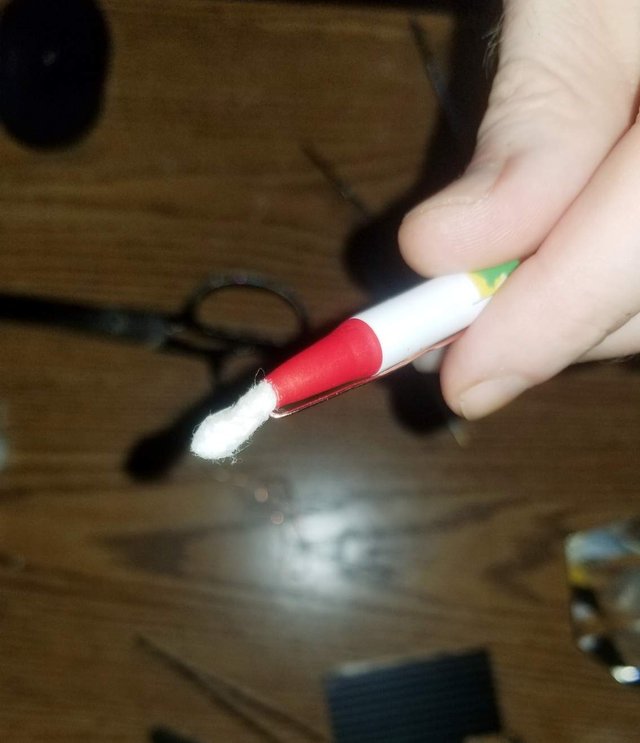
Rip off a piece of cotton.
Dip your fingers in some water.
Roll the piece of cotton through wet fingers, shape and form so you can insert into the tip of the pen.
You can trim or rip off any excess, I just crammed the cotton in as far as I could.
Do not dunk the cotton in water, it may become over-saturated and not work on the touch screen.
PLEASE NOTE: After a period of a use the stylus will most likely stop working. This is due to the water drying up. I would suggest before using, apply a small amount of water to the cotton swab. When fully absorbed, reuse.
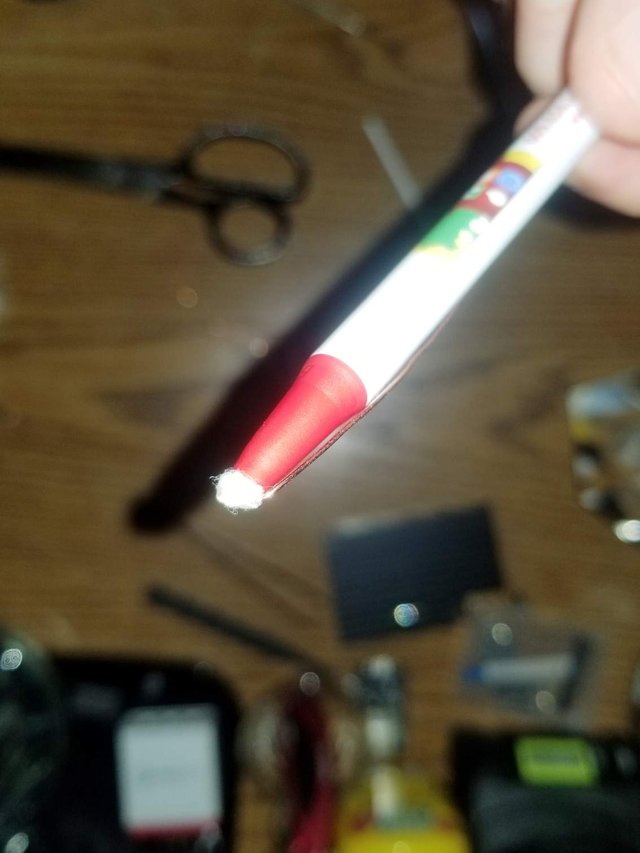
STEP 6 - TESTING PEN.
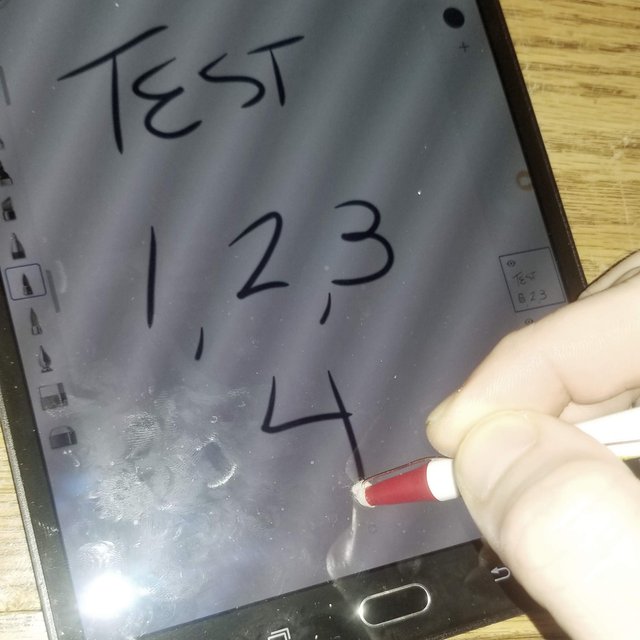
Give it a test run. It's important to make sure your finger is touching the wire as you use the stylus.
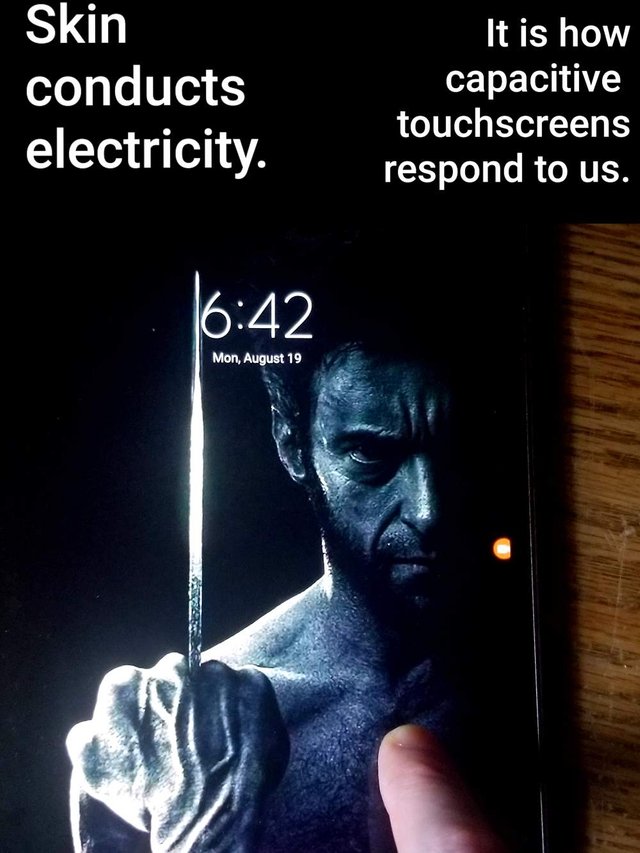
Please refer to the following layman's term, science classy-ish breakdown why a contraption such as this is needed instead of the eraser of a pencil:
SCIENCE CLASSY-ISH EXPLANATION.