
Hi friends!
The other day I got an idea to try to combine wdrawing in Realistic Paint Studiowith other graphic programs - for example, Paint Tool SAI
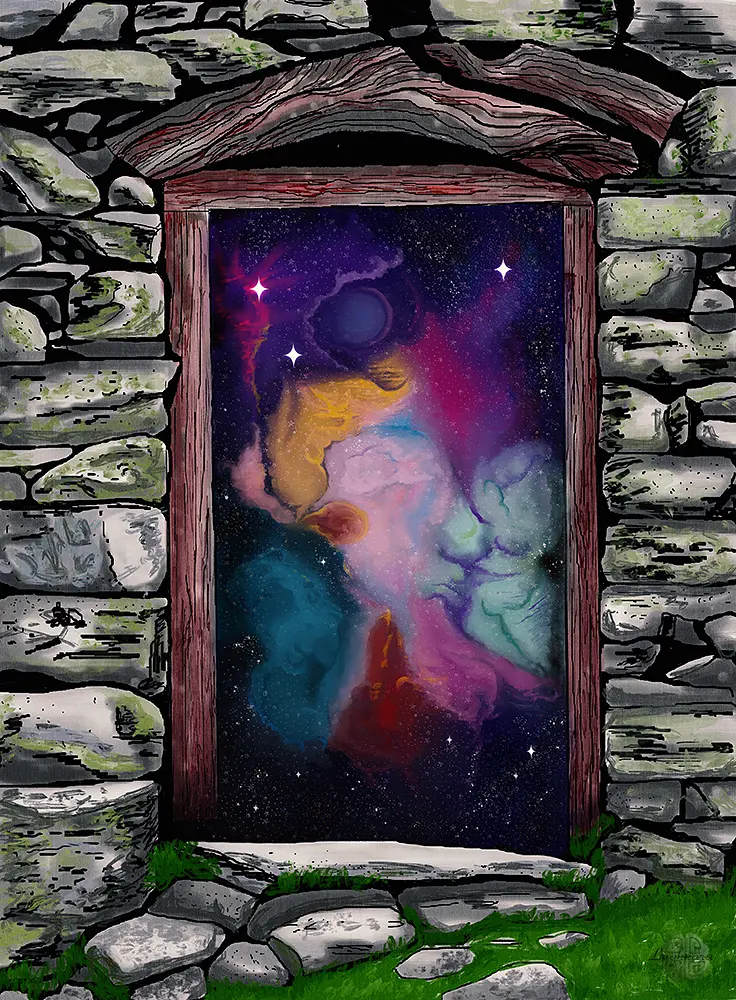
In Realistic Paint Studioyou can converting its file to .png.
This means you can work with it as a separate layer.
For the start, I will tell you how I organize my drawings inside the program.
When I open the program, I see icons with base sample files and a folder with lessons. But over time, when there are a lot of drawings, can simply get confused in the icons.
To prevent this from happening, the program has the ability to create new folders for my own artwork.

This is what's inside my works folder.
I create new file hier (with red mark button)
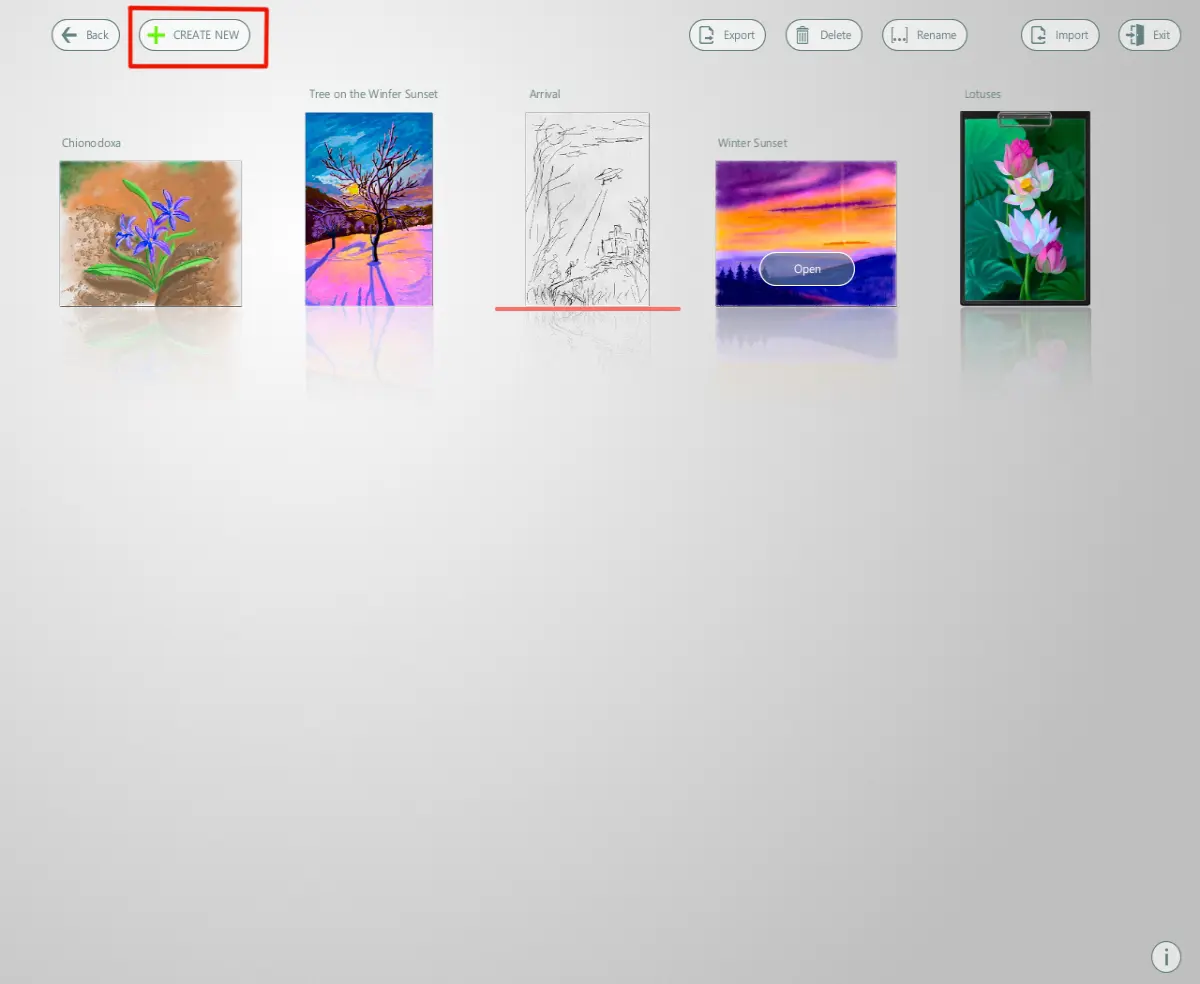
Then I choose an art style - "Drawing', because I want to draw with the same an exclusive tools as last tutorial

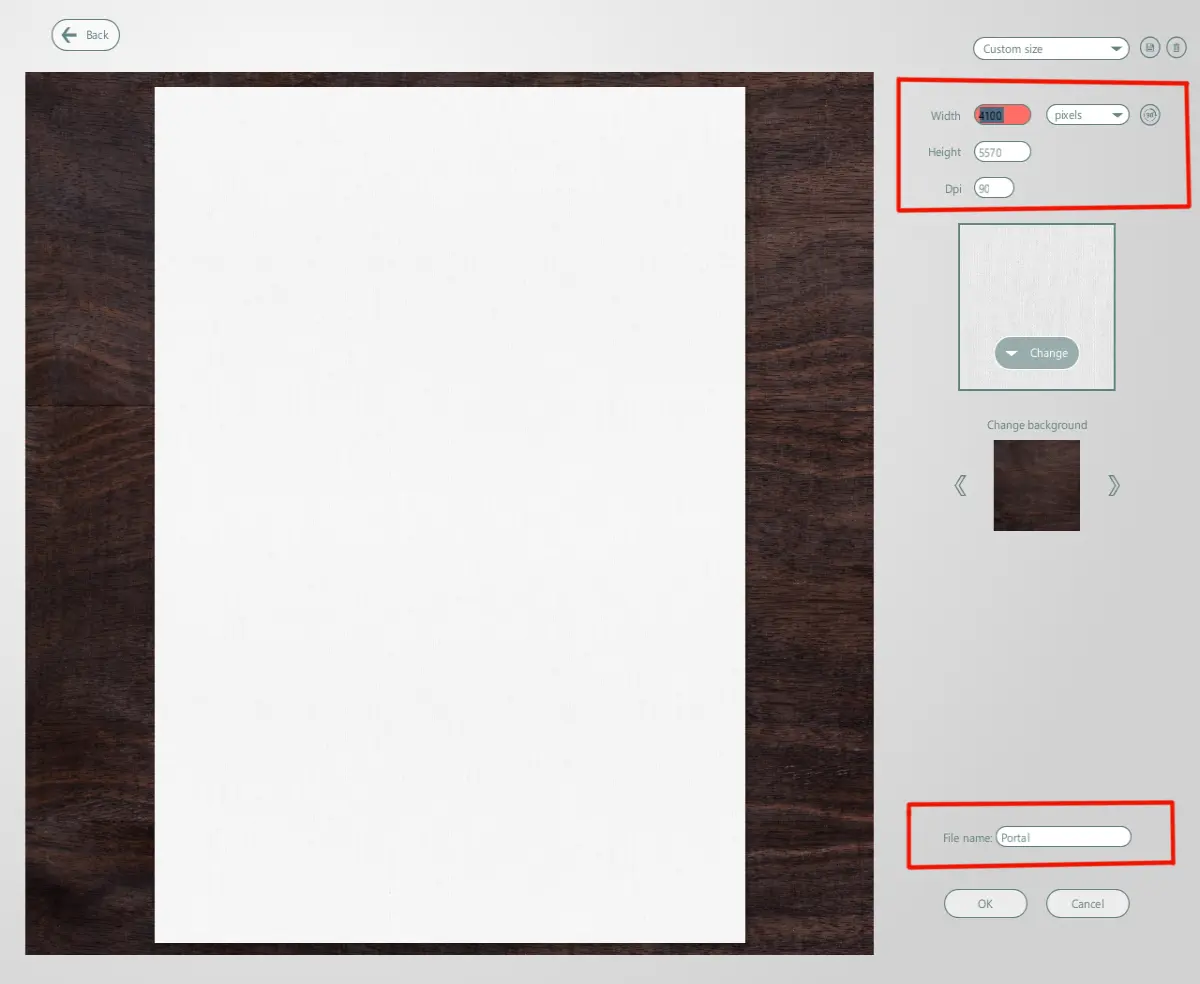
As always I create a custom file

I also select a parameters as I need - in this case, I was guided by the reference
At the same step I give the file a name (below the window)
I select the box with the tools I need (using right-left arrows) - the exclusive tool box is last on the box's list.
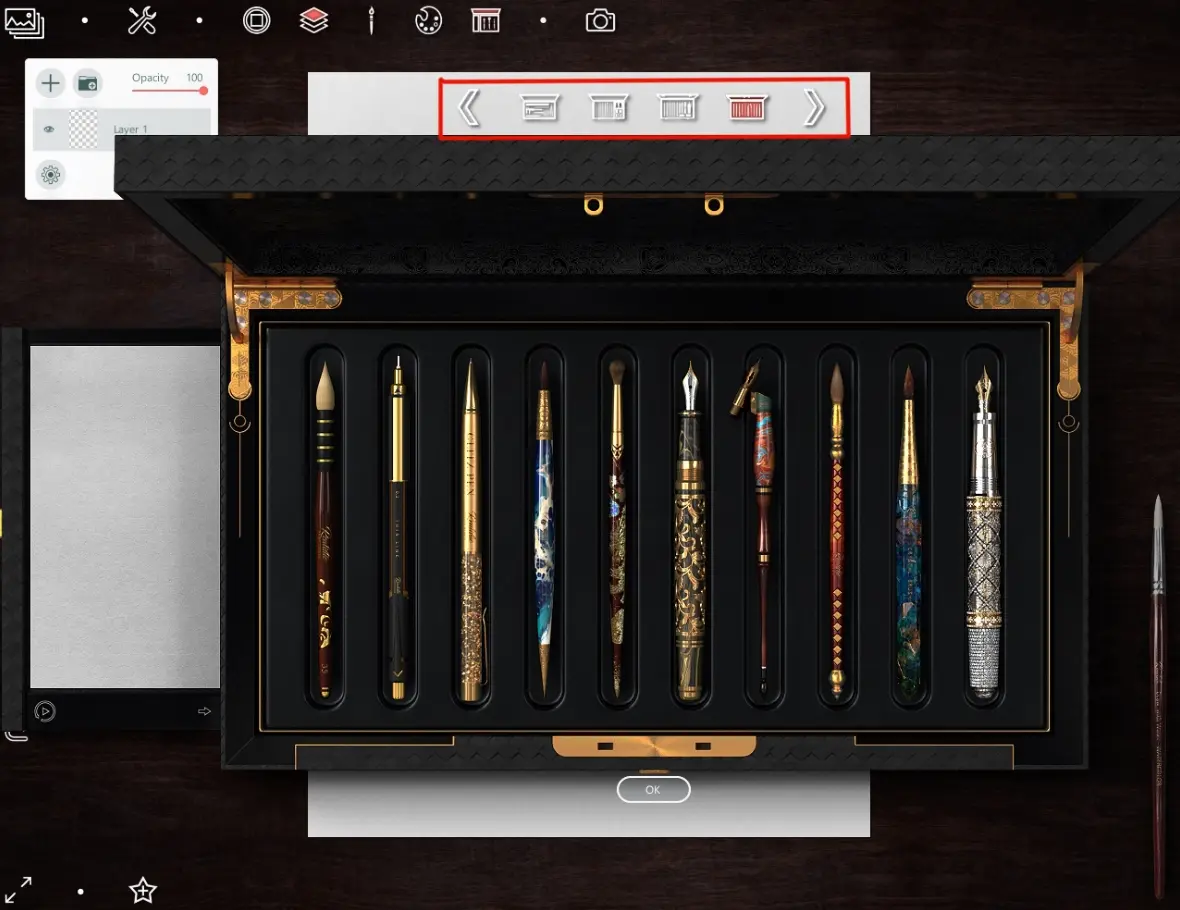
For first sketch I choose a mechanical pencil

Make some strokes for a sample - yes, it does!

Sketch

Create a new layer, select Fountain pen (with a standard nib for writing) and stroke a pencil paths

Unnecessary strokes can be erased using an eraser from the standard sketch tool box

If a line that should be straight looks a jitter, can choose a special tool box (first icon marked with red).
Here you can select a ruler and work with it like a real tool
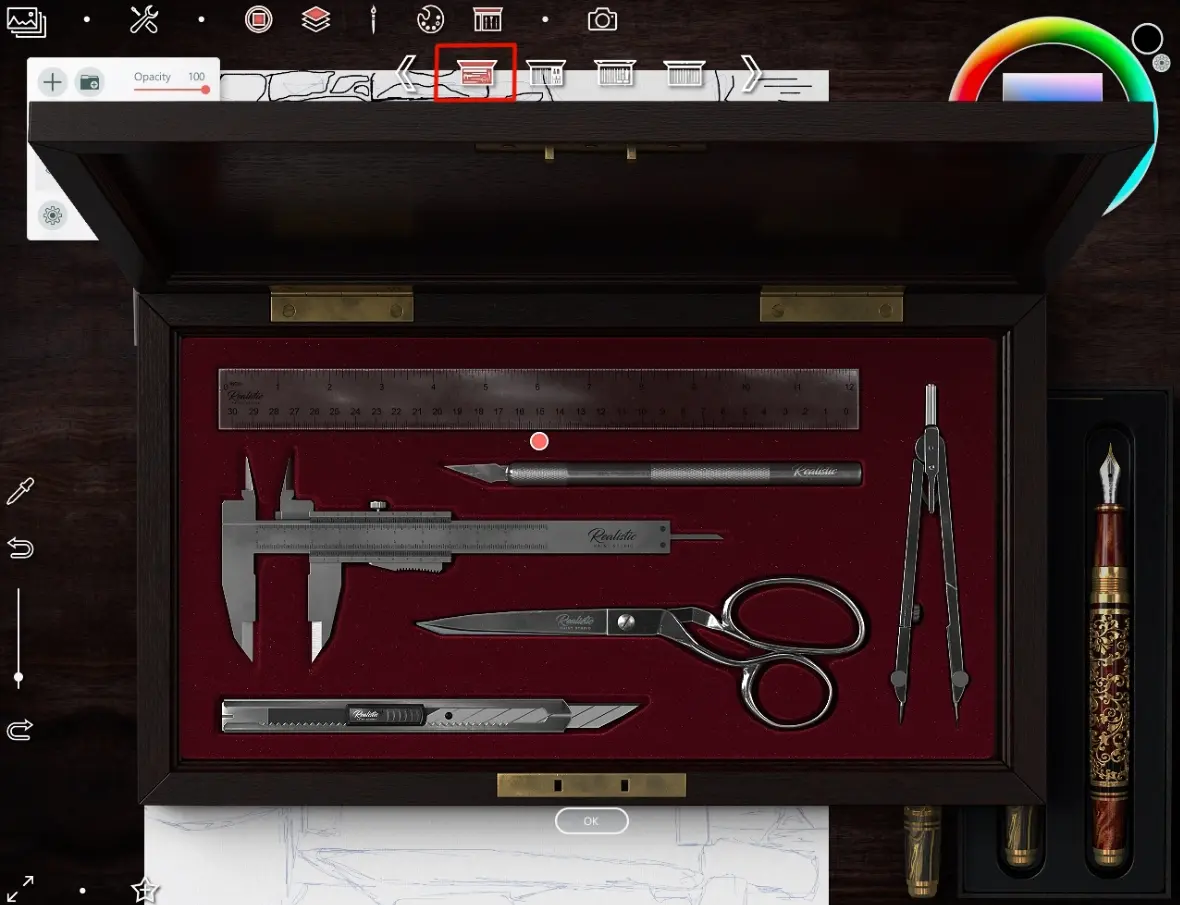
There are two blue round markers on the ruler.
Large center marker moves the tool across the canvas

And if I pull on the right small marker, to can expand the ruler vertically or diagonally, or as I want

And finally, all strokes are outlined.

So, I choose Artistic brush from exclusive tool box and drawing an areas between a stones

It turned out quite realistic, like traditional ink, right?

To create the wood texture, I use Fountain pen again.
Also, using Fountain pen, I add small details to the texture of the stones.

Now I want to tint a stones as if it were done with ink diluted by water
I create new layer below the ink outline layer.
Choose Artistic brush
Interestingly, the first brush in a set of brushes applies a color tone...

and the third (right) brightens individual areas.

Then I choose suitable color and with the same brush and a little bit with Fountain pen I draw a tint of wooden fragments

In order to paint a grass and a moss on stones, I'll choose the following set of brushes named Glass brush

Select somt shade of green, I draw it on new layer (above all layers)

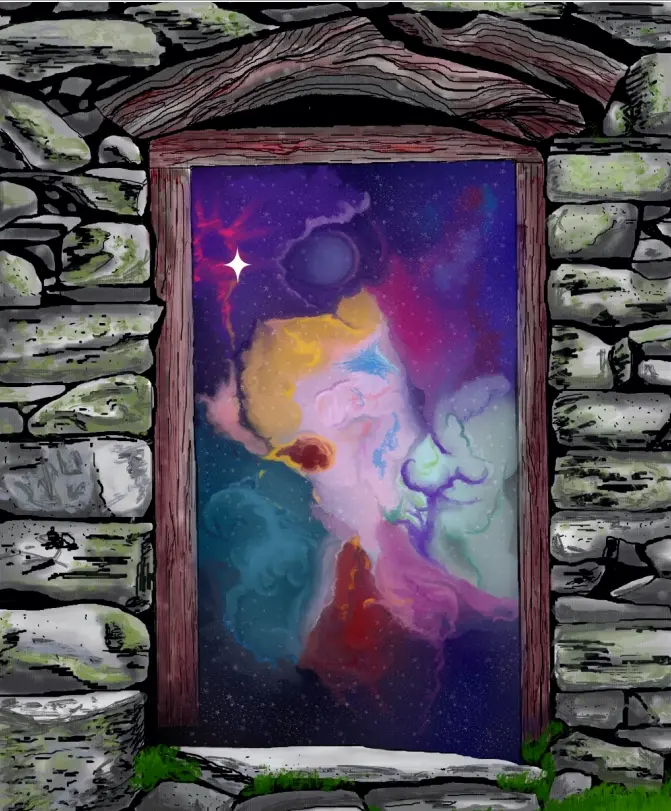
Something like this is the picture.
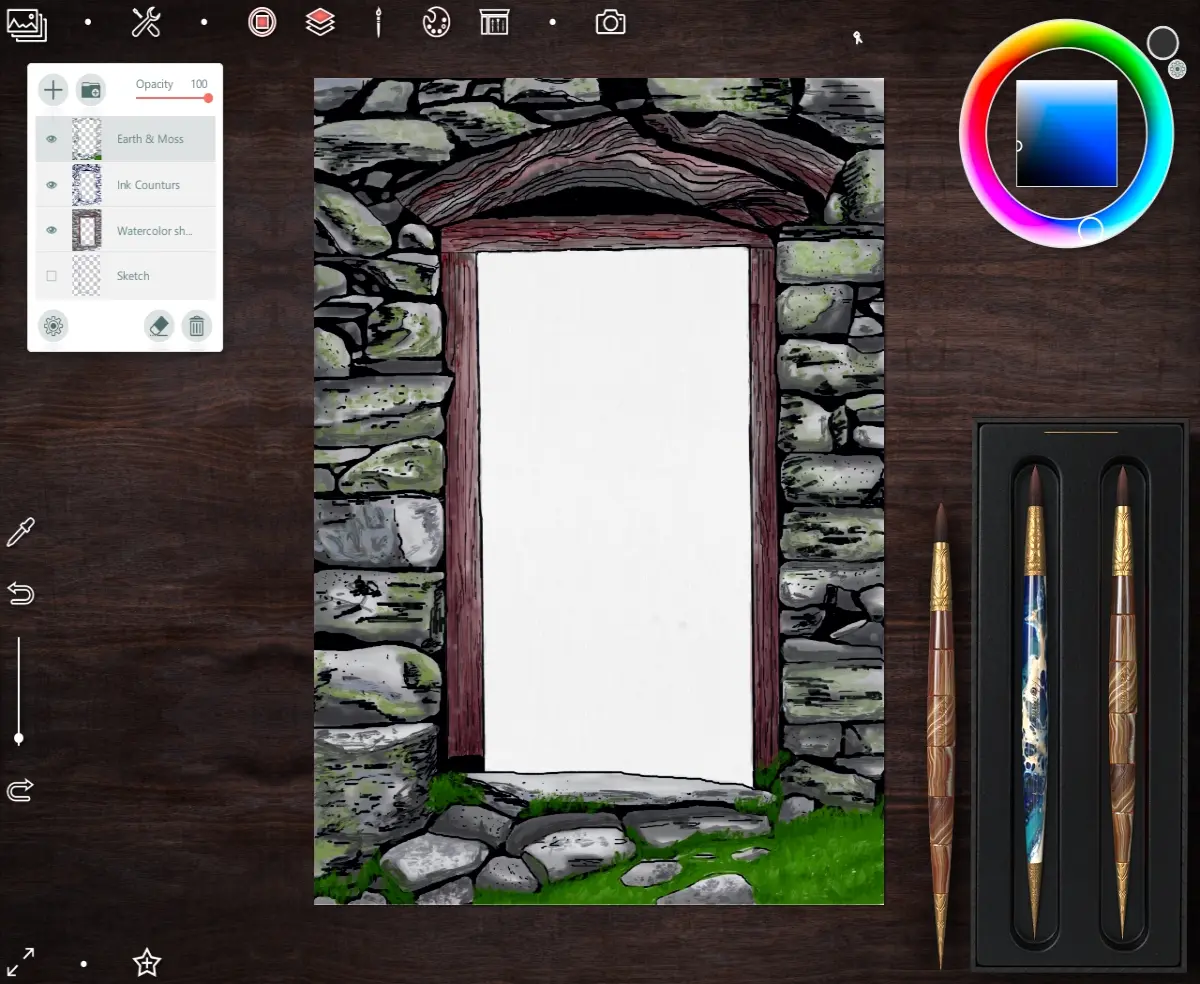
Then I save a artwork as a png

So, next step I open the saving file in Paint Tool SAI
Unfortunately, transparency in PNG is not supported when saving from Realistic Paint Studio

Use the Magic Wand and the Eraser I remove white area of a door.

Then I create new layer below layer with door and draw a space area

To make it feel like there is a really dark space behind the door, I add another layer below first layer and fill it with black.

Details

Then I added a new layer and make a star texture

Not very realistic, but attractive view
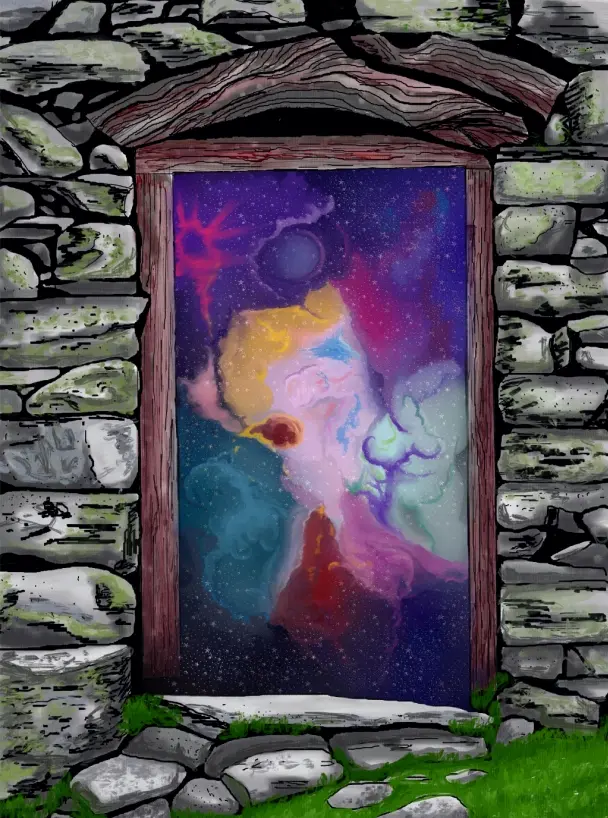
In SAI I can create stars using vector layers and Pen and Edit tools

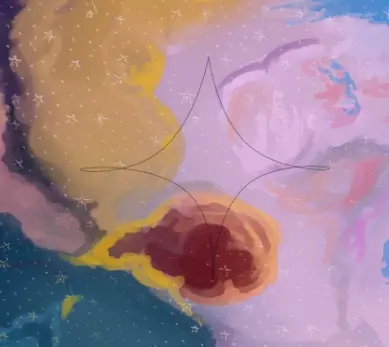
With Select and Select Eraser vector tools

And fill on new (raster) layer

I like it!
I create some star layers, resize with Ctrl+T

Then merge them in one layer (with red mark button)

Then I copy new layer and blur it with Gaussian blur to make a shine for stars

Finally color correction in Photoshop
Artwork is ready!
Thanks a lot for your attention to my tutorials!
Have a nice and creative day!
Regards
Cross-post from Hive, Whaleshares and translate from Golos







