
Metamask is an open source software, known as the leading non-custodial wallet for Ethereum and ERC-20 tokens. In fact, Metamask also supports NFT and every blockchain compatible with the "Ethereum Virtual Machine", now we will see how to add them. The interesting thing about this crypto-wallet is that it was born as an extension of the browser for the desktop and for this reason it has a high fluidity in the interaction with smart-contracts and De-Fi applications. For this reason, knowing how to interact with Metamask is very important for all those who intend to use it as a wallet and for those who want to have access to decentralized applications.
How to get started with Metamask
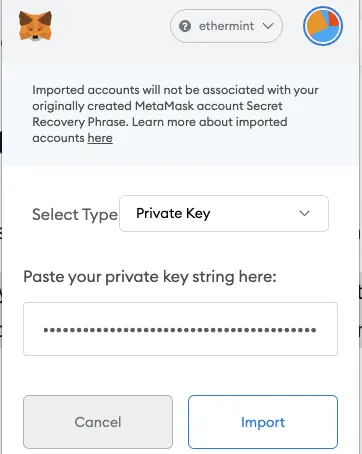
Starting is very simple: you have to navigate to the official page https://metamask.io/ (attention: there are many scam sites that offer fake applications) and download the extension for the browser you are using. The extension is available for Brave, Crome, Edge and Firefox. Subsequently, by clicking on "Get Started", Metamask will ask you if you want to create a new wallet or import another one existing. With the first option, a Seed and a new wallet will be created, while with the second it is possible to enter the 12 or 24 words of another wallet to import it on Metamask. By choosing to create a new wallet, you will also be asked to set a new password which will be used to access Metamask from the PC on which it is installed. To have access in case of uninstallation or change of the PC you always need the Seedphrase (remember to make a backup). Now the wallet is ready to be funded, but as it stands it only supports ERC-20 tokens. To have access to the Binance Smart Chain, for example, you need a further step that we will see later.
Safety and risks
Before continuing, it is good to dwell on some key concepts. First of all, it must be borne in mind that if you do not have the seedphrase of your wallet, you cannot access the funds it contains. Therefore, before moving liquidity within it, it is good to make a backup of the seed. From this it follows that anyone who came into possession of those 12 or 24 words could actually access your wallet and for this reason they must be stored safely. Never share your seedphrase with anyone. Further attention should be paid to the fact that there are different scam methods regarding browser extensions and for this reason it is good to hold only the liquidity that you intend to use on Metamask, for the rest there are cold wallets.
Unfortunately Metamask provides that during its use there is an internet connection and this, in the crypto world, is not synonymous with security. The exposure of the addresses on the screen, in fact, together with the possible presence of malware makes these operations risky. To avoid this it is possible to connect a cold-wallet to Metamask and sign transactions with it. The transaction signing process done by a cold wallet is always safer than using the simple Metamask hot-wallet. To connect it, just select the appropriate option at the time of installation and confirm it also from the cold wallet application. Metamask will read the balance inside, it will interface with the Dapps but the final signature will be done offline and securely.
How to add a network
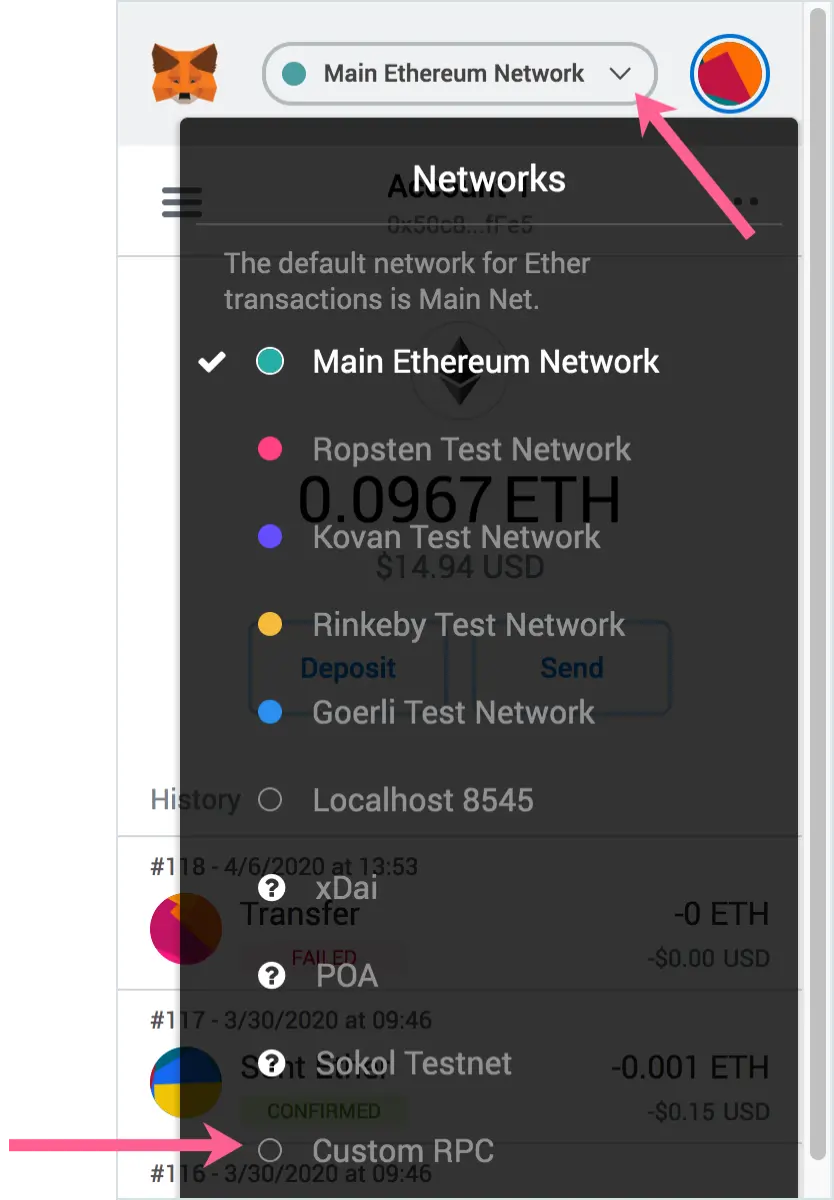
Now let's see how to add a network to Metamask to be able to interface it with other EVM-compatible blockchains. I already state that some are not compatible with this wallet at all, among which we find: Solana, Cosmos and Terra. Some of the main networks that can be added are BSC, Polygon, Avalanche and Arbitrum. To add them you need to open the browser extension, click on "Main Ethereum Network" and choose "Custom RPC". Now fields will appear to be filled in and which must be filled in differently for each network you intend to add. Below is a list of the various settings.
Binance Smart Chain:
Network Name: Smart Chain
New RPC URL: https://bsc-dataseed.binance.org/
ChainID: 56
Symbol: BNB
Block Explorer URL: https://bscscan.com
Polygon Network:
Network Name: Polygon Mainnet
New RPC URL: https://rpc-mainnet.maticvigil.com/
ChainID: 137
Symbol: MATIC
Block Explorer URL: https://explorer.matic.network
Arbitrum:
Network Name: Arbitrum One
New RPC URL: https://arb1.arbitrum.io/rpc
ChainID: 42161
Symbol: AETH
Block Explorer URL: https://arbiscan.io
Avalanche:
Network Name: Avalanche Network
New RPC URL: https://api.avax.network/ext/bc/C/rpc
ChainID: 43114
Symbol: AVAX
Block Explorer URL: https://cchain.explorer.avax.network/
Once done, just give the Ok and Metamask is ready to interface with the new networks and Dapps you want to use.
Mobile APP
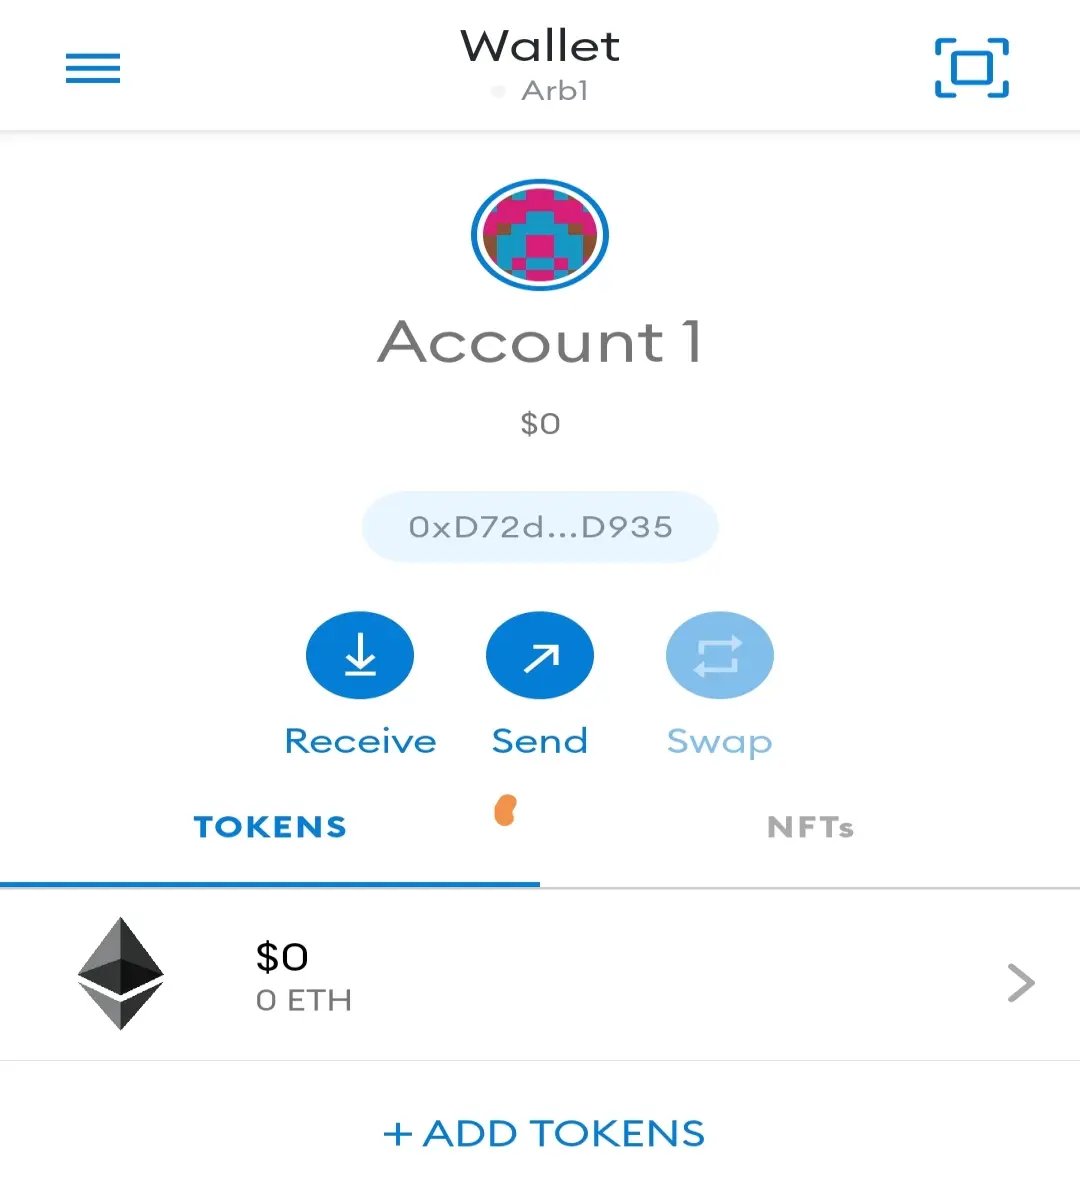
There is also a Metamask mobile application for IOS and Android. It is a program that you can download to your smartphone and use it both as a wallet and to connect to specific De-Fi application sites. From the point of view of safety it is certainly not the best, but in terms of use and comfort it is really worth trying. Once installed, thanks to the seedphrase it is possible to import your main wallet and thanks to the integrated browser connecting to sites like Pancakeswap, for example, is very fast. Furthermore, again from a mobile application, it is also possible to swap some tokens, keep NFTs or buy cryptocurrencies.
Conclusions
Metamask is a tool to navigate the decentralized web, knowing how to use it is essential if you want to interact with it. There are many other networks on which it is possible to configure it, I have reported here only the main ones. I remind all those who decide to install and use Metamask to read and study its functioning well and to understand it before moving funds. I hope this has been a useful guide for those who want to learn how to use one of the most popular wallets.
If you are looking for earnings like me, you will also be interested in: My CeFi experience #2: Celsius Network
If you liked this article please support me by following me here and on Twitter, leave me a like or use one of my referral links below. 👇
-Thank you-
L.
➡️ Join Celsius Network using my ref & earn $50 in BTC
➡️Use BlockFi and get up to 4% on Bitcoin. Read here how to do






