
Modifiers are one of the most important aspects of Splinterlands matches. Therefore, let's analyze the best strategies to use when you encounter the Explosive Weaponry modifier, starting with an analysis of the match context in which it appeared and then a more detailed strategy involving speed, damage, and resistance. Come check it out!
I'll be much appreaciated if you Upvote, Reblogs or give any Tips ( PIZZA 🍕, PGM 🎮, LOLZ 😆, ALIVE ❤️, etc ). Thanks and have good reading! 🍀
[ENGLISH VERSION]
Match Context

Source: Splinterlands Battle Link
Before discussing strategies and the chosen modifier, it's important to analyze the match context, examining mana, rulesets, and the chosen cards. The match we will use to analyze the strategy later was a Brawl match from last week, where we had 16 mana, meaning we couldn't put many units into combat. Furthermore, to further restrict the game, it's only possible to use two elements: Life and Dragon. This is why both summoners had the Life element in common.

Finally, we have a game full of Rulesets, with 3, the first being Maneuvers, where all units gain Reach, giving an advantage to melee units. Next, we have the Odd Ones Out rule, which, along with mana and elements, further restricts the players' choices, as it only allows summoning units with odd mana. Finally, we have the main rule, which will be the focus of the strategy: Explosive Weaponry. This rule grants all units Blast, an ability that deals 50% additional damage to units adjacent to the target.
Strategy in Explosive Weaponry

The Explosive Weaponry modifier is a very impactful rule in any Splinterlands game. As mentioned, it deals 50% damage to units adjacent to the unit hit by your card, making its impact on the match a real game changer. Therefore, learning how to handle this rule and use it in the best possible way is extremely important.

The first tip to use when encountering the Explosive Weaponry rule is to use it to maximize your damage as quickly as possible. Therefore, the tip is to choose the fastest units you have to deal quick damage and also damage adjacent opponent units, because since all units will have the Blast ability, a lot of damage will be dealt.
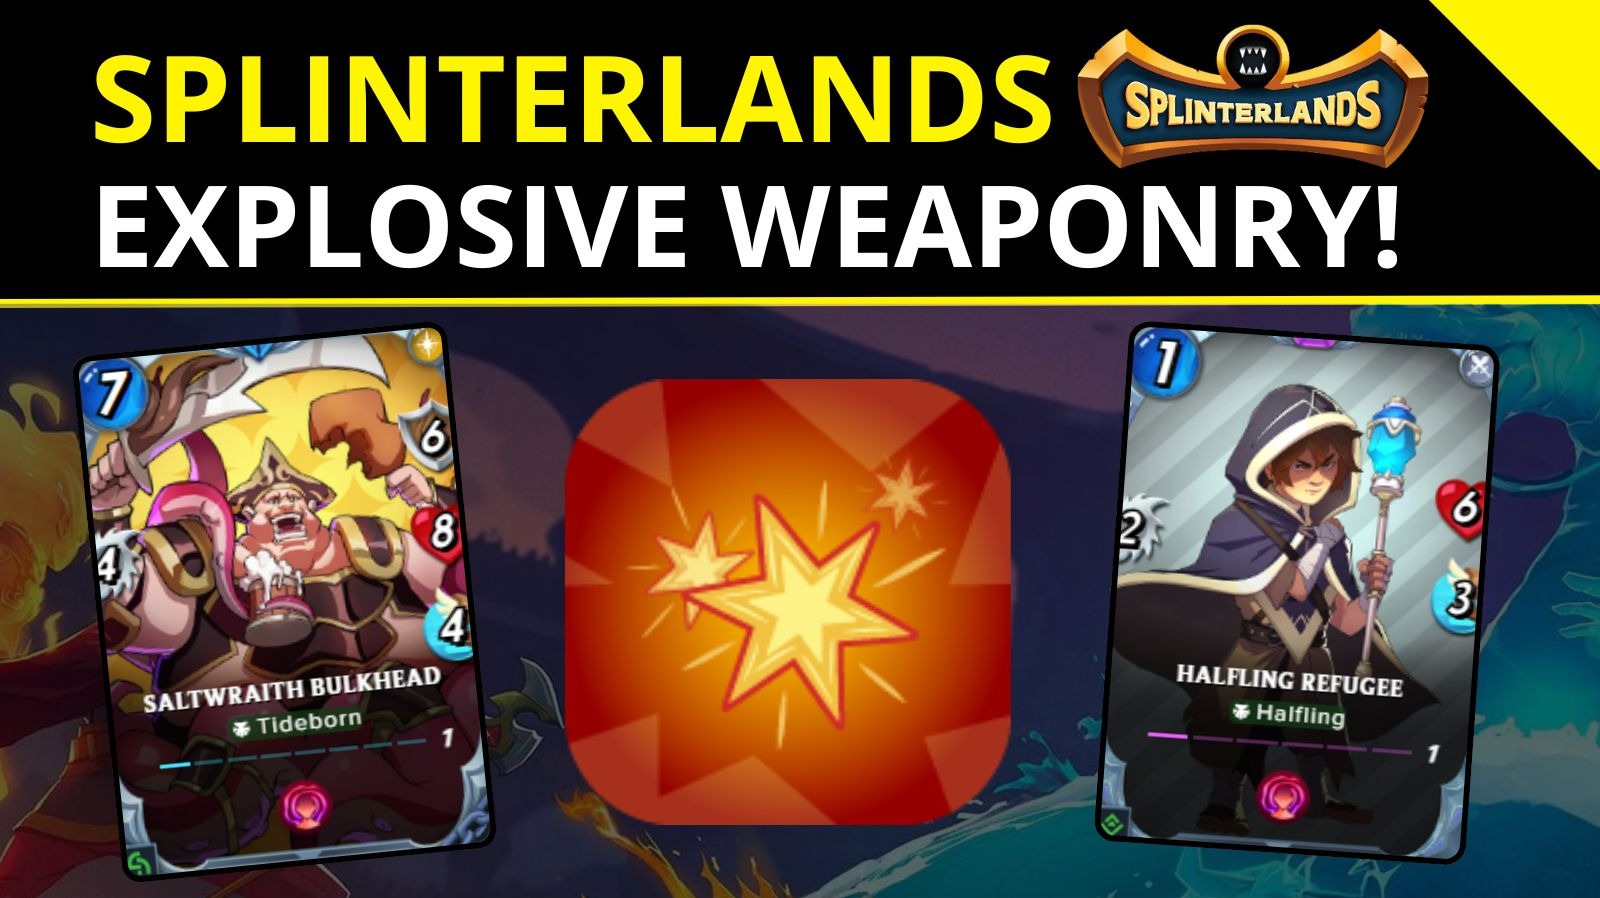
That's exactly why I chose to use the Saltwraith Bulkhead in the first position, because it's a resilient tank with 8 HP and 6 shield, and quite fast with a speed of 4, 4 melee physical damage, which will deal 2 blast damage. On the other hand, the opponent ended up with a much weaker tank choice, since the Halfling Refugee will end up being eliminated much more quickly, given that its tank stats are lower, having 6 HP, only 2 melee damage, and ultimately being defeated quickly.

Analyzing my opponent's composition more closely, it seems he made a big mistake by positioning the Ujurak Elder in the second position, and then the Palimpsest Prophet in the third position, because the Ujurak will soon go tank and the Palimpsest will be hit, causing both to be quickly defeated by the Saltwrith's blast damage, which deals 2 damage.
The card that consumed the most mana was Captain Katie, which he believed he could quickly use Bloodlust on, but it didn't happen because the damage wasn't enough to defeat my units, and his units fell very quickly. The opposite ended up happening with Bloodlust, with Hugo Strongsword managing to eliminate the opponents by last hitting them.