
What is the HollaEx Kit?
Ever wanted to hop onto the crypto trend with your own exchange platform but felt intimidated for the amount of knowledge you need to create something functional? Or maybe you think that you need to make a huge investment in time and money just to create a project that people will take seriously.
If this is your case, let me introduce you to the HollaEx Kit; An easy-to-use open source exchange software that allows anyone, even with no previous experience, to create a totally professional crypto exchange in minutes.
Today I'm gonna show you how to use this kit, what it has to offer, and the diversity of options it has for you and your dreamed crypto exchange.
Exchange general setup
First of all, you will need a bitHolla account, which you can create here
Now, go to the bitHolla Dashboard and login, then click on the big blue “create exchange” button; you will be redirected to a page like this:
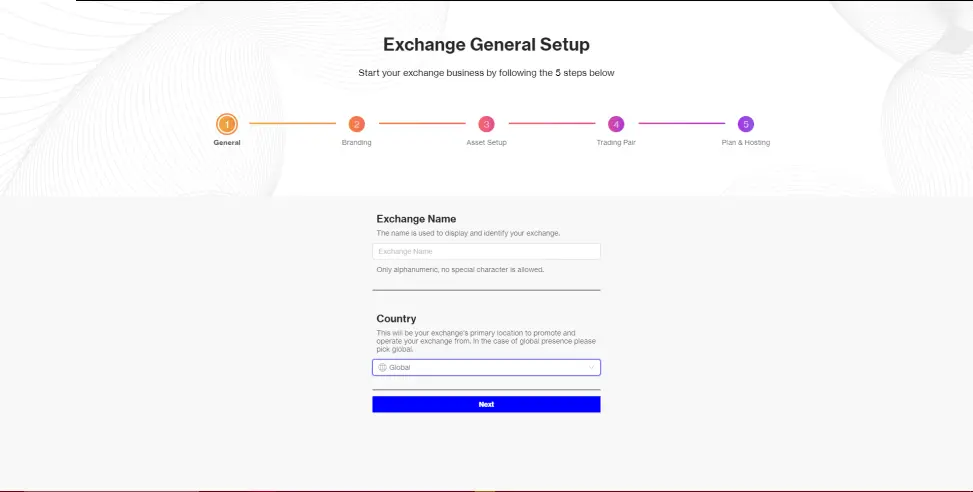
You will have to select your exchange name and primary location (Select global for worldwide presence), then click on “next” to go to the following step.
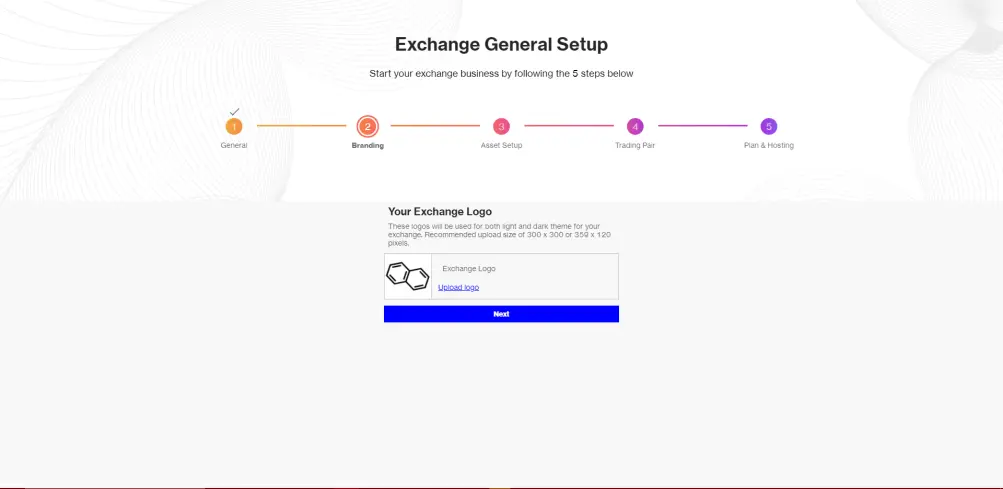
Here you can select your exchange logo, 300x300 or 359x120 images are recommended. Once you are done, go to the next step.
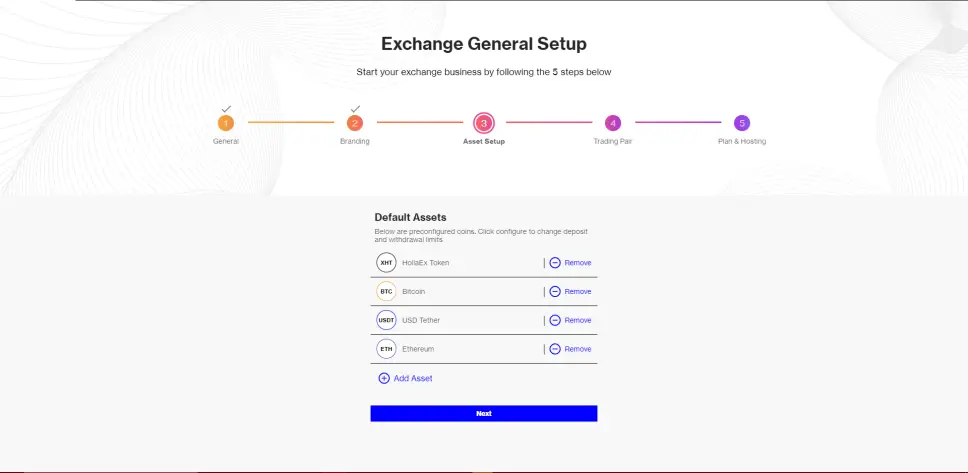
Here you will have to select your exchange’s assets, bitHolla offers a variety of common-use currencies, but you can add any crypto you want!
Make sure to add all the assets you want in your exchange and to check their parameters, then proceed.
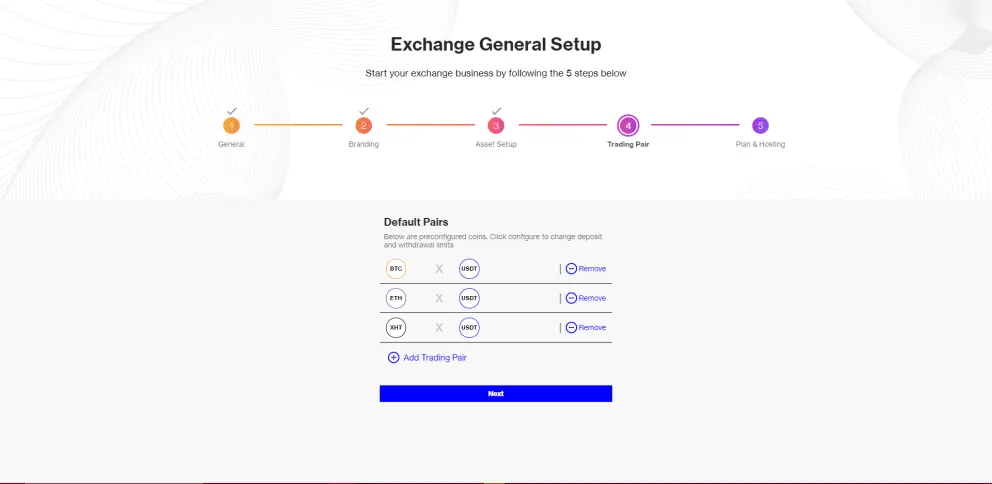
Now, using your added assets you will have to configure the trading pairs of your exchange, remember to check parameters here too.
bitHolla automatically gives you liquidity for common trading pairs like BTC/USDT or ETH/USDT so you can start trading with your exchange from the first day!
Once you are done and sure that you configured your exchange as you want it, you can proceed to the final dashboard step.
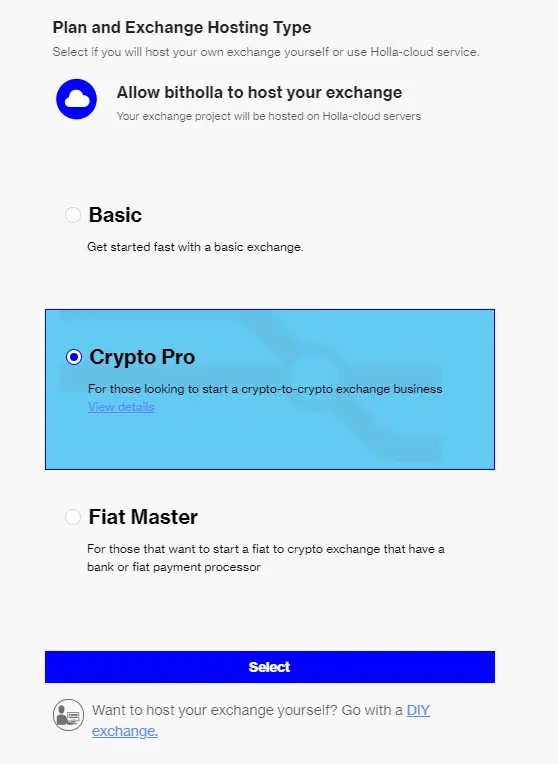
Now you will have to select a hosting service for your exchange. The HollaEx Kit offers a wide variety of options for your token, divided in two parts: Cloud hostage and DIY exchange.
Cloud hostage has different plans for different crypto creators, is very easy to understand and is practically automatic, while the DIY requires a little foolproof setup to start working, but is still very accessible to anyone and it's free if you figure out how to set it up yourself.
In this article we will be focusing on the cloud Hostage and the dashboard, for more info about how to set up the DIY hosting, go here.
After you finished your dashboard setup, you will see something like this:
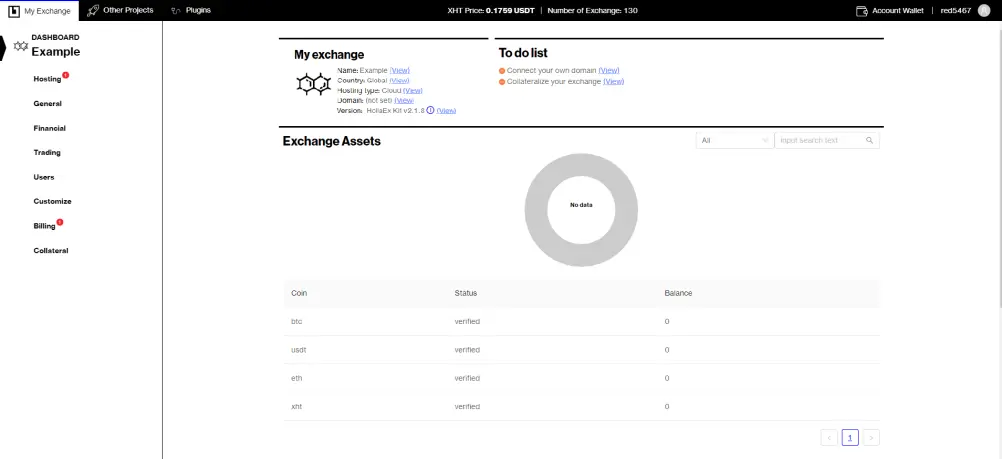
This is the main page of the Dashboard, you can see your exchange’s general info like its name and assets, but It’s not complete since you still need to ‘go live’ to see your exchange’s live data like users and coins.
To go live with your exchange and start using all features of the dashboard, you will first have to go to your billing page and select a Cloud Hostage package:
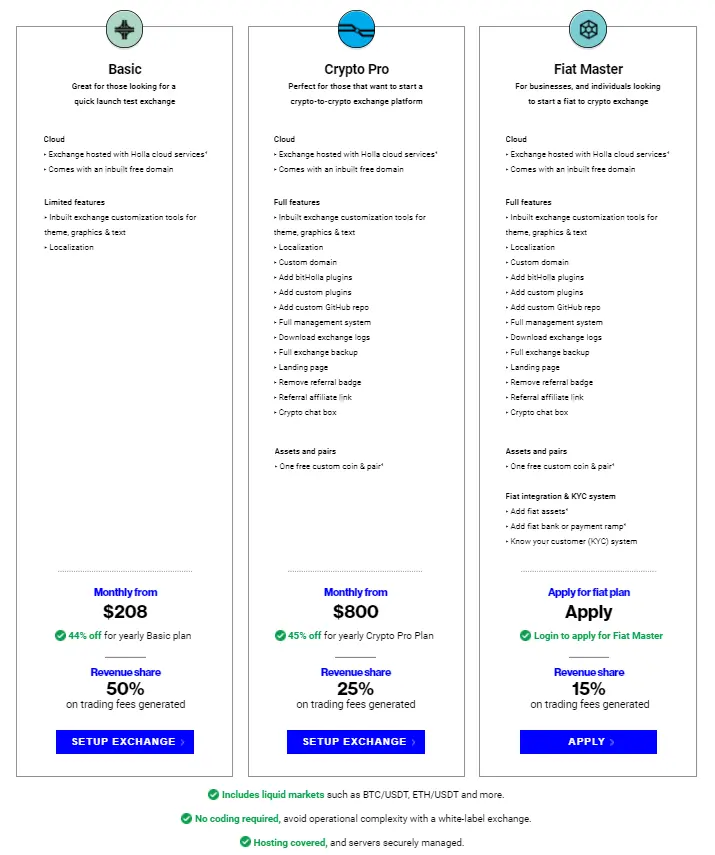
These are the three different options for an exchange bitHolla has to offer; Basic is designed for test or amateur exchanges, great to try out ideas or for beginners.
Crypto Pro is made for professional exchanges, it has a complete list of features like custom domain and plugins, which allows you to set up a 100% serious and functional exchange, with liquidity!
Fiat Master is designed for those who want to add Fiat assets (EUR, JPY etc) and payments into their Exchanges, Plus all the features of the Crypto Pro package. You will have to Apply by sharing more about your exchange idea for this one.
Once you have chosen your package you will be redirected to the payment section. bitHolla accepts PayPal, Bank Transfers or payment with crypto (which gives you a 10% discount XHT payments). Annual plans are highly recommended since you will be getting much lower prices, up to a 35% discount!
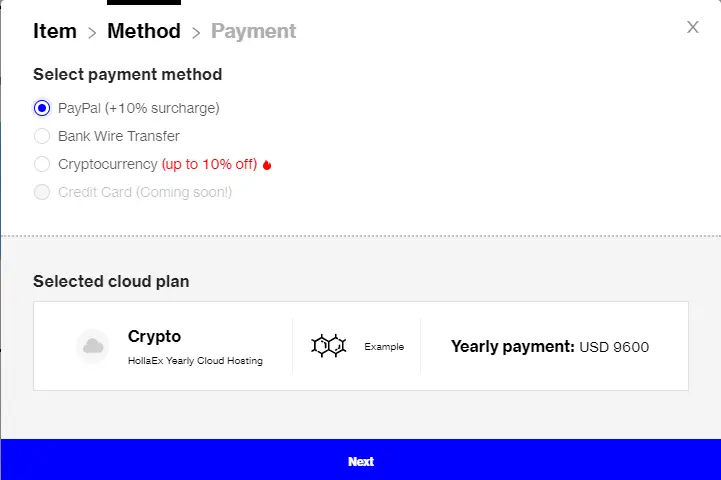
Once you’ve paid for your cloud subscription your current plan will be shown clearly in green as ‘Paid’.
Dashboard and admin account
Now that you’ve gone live you will notice your dashboard has changed:
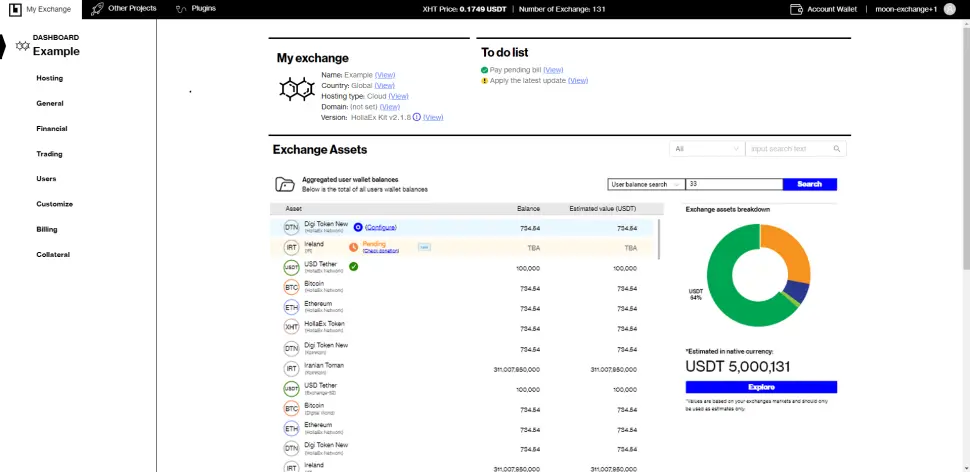
As you can see the main section is different, now you can see live info about your assets, users and fees.
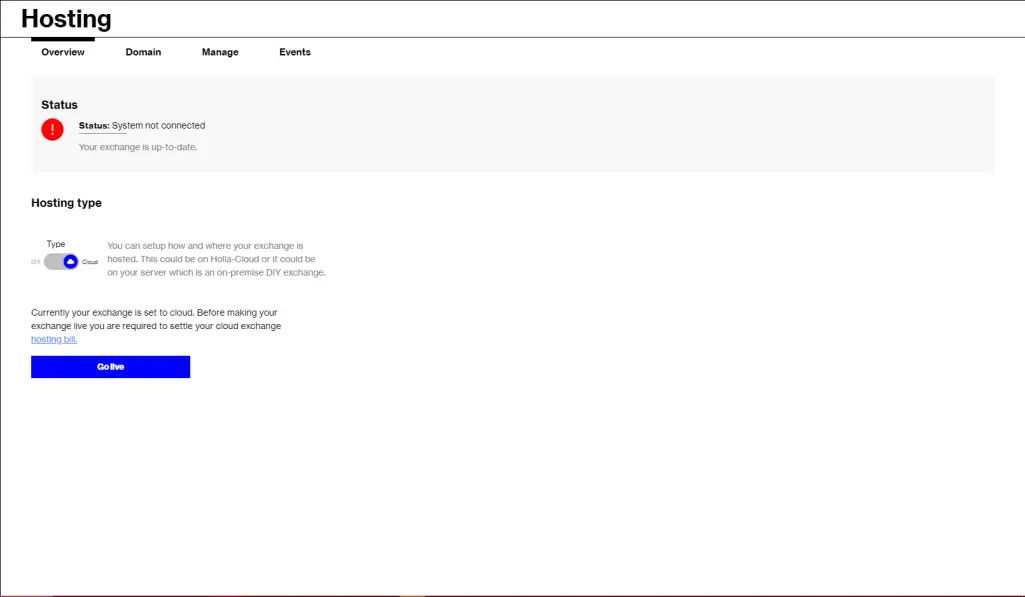
In hosting you will see info about your cloud plan and be able to do a couple of things like a backup or downloading logs (for upgraded clouds)
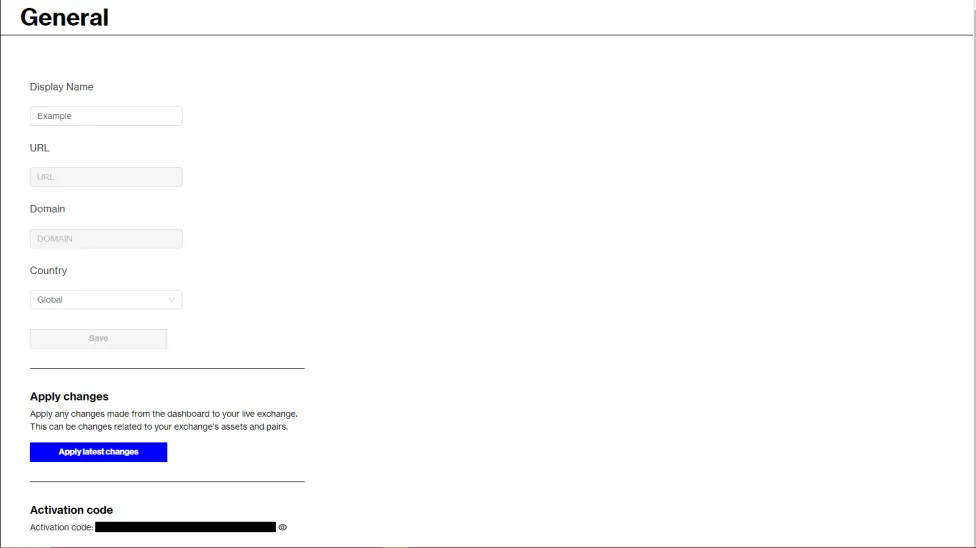
In the general section, you can see basic information about your exchange, like its domain that is locked in with name and country.
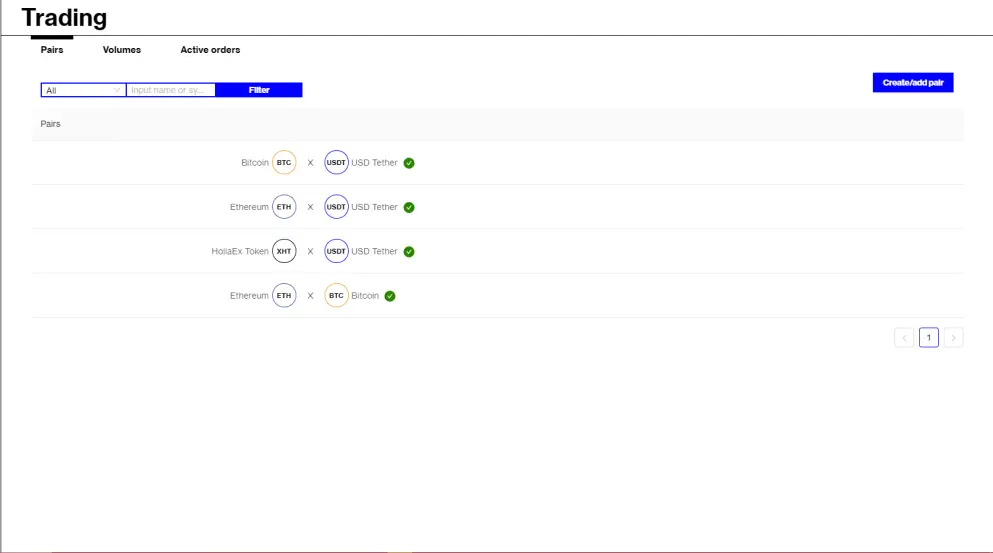
In trading you can see and add your exchange’s pairs, check the volume of each (coming soon) and the active orders of your service.
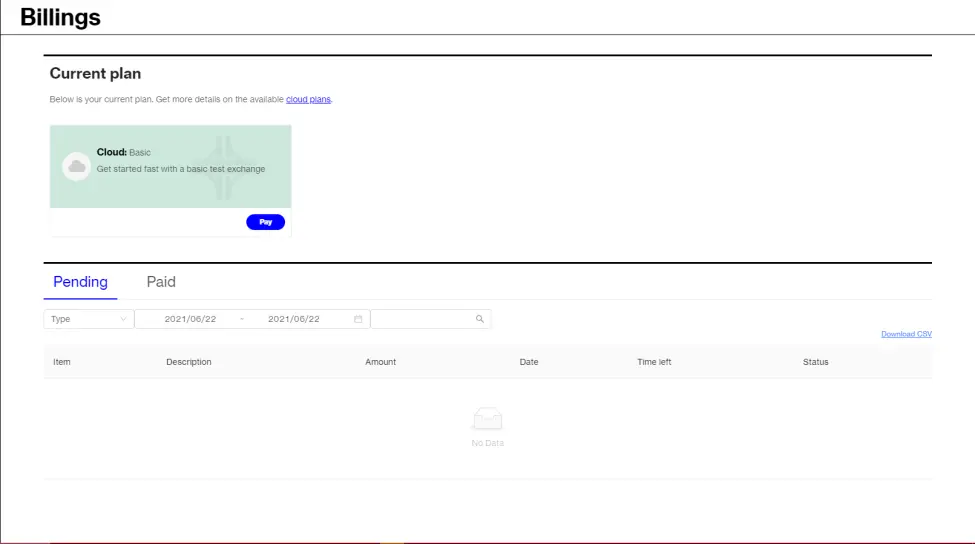
Billing will show you your exchange’s pending and paid bills, like the monthly/annual subscription to the cloud service.
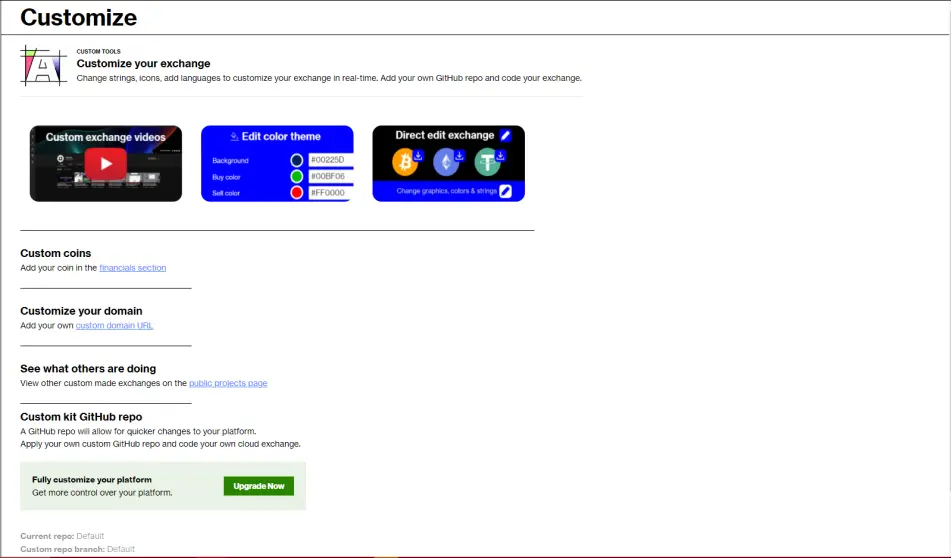
This section will allow you to Customize your coin in various ways, like changing colors, adding localization to different languages or changing icons. Much of this customization will happen on the actual exchange, after making your administration account for your exchange.
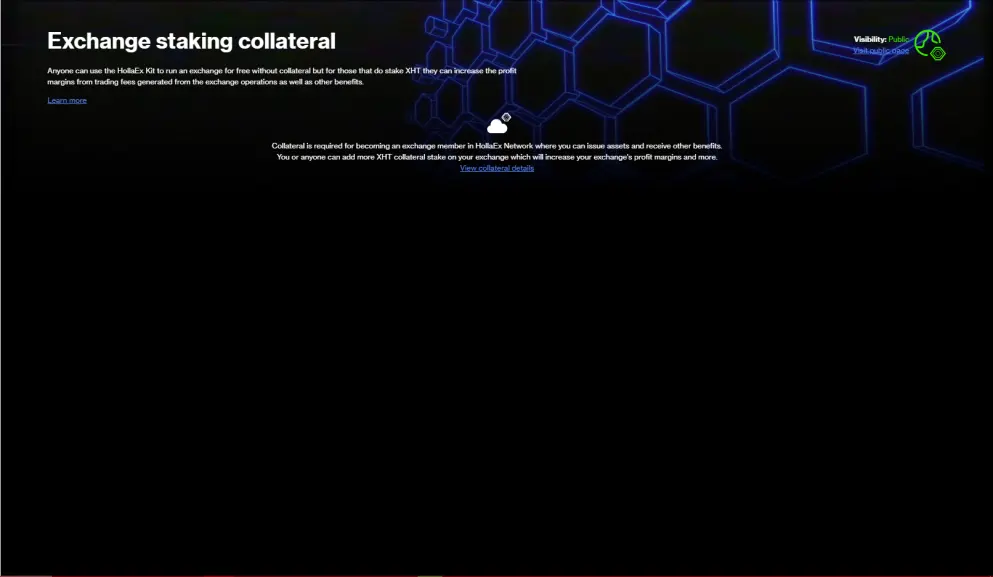
In the Collateral section, you will be able to stake XHT (HollaEx´s coin called HollaEx Token) for your exchange or others’ to get some nice extra profits.
So now that you’ve successfully paid for your package and you’re live you can visit your live exchange! Make sure to be 100% confident about your exchange parameters before making your admin account and before sharing your exchange to the world.
Once you’ve gone live, you can now set up a main admin account by going to your exchange's URL. If you're using a cloud service, it will be something like ‘myexchange.bitholla.cloud’.
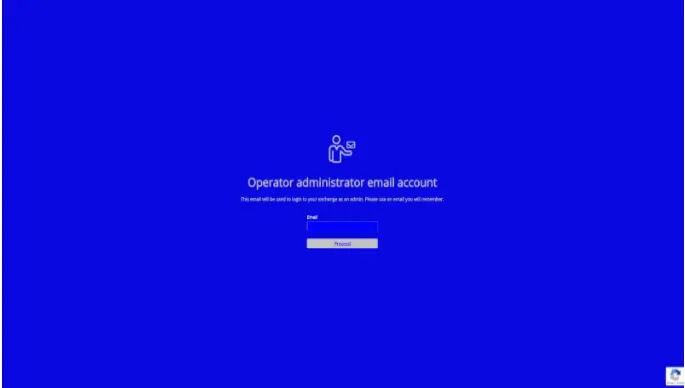
Once you’ve made the admin account and logged into your own exchange you can access all the exchange management features, like user management in an area called ‘operator controls’.
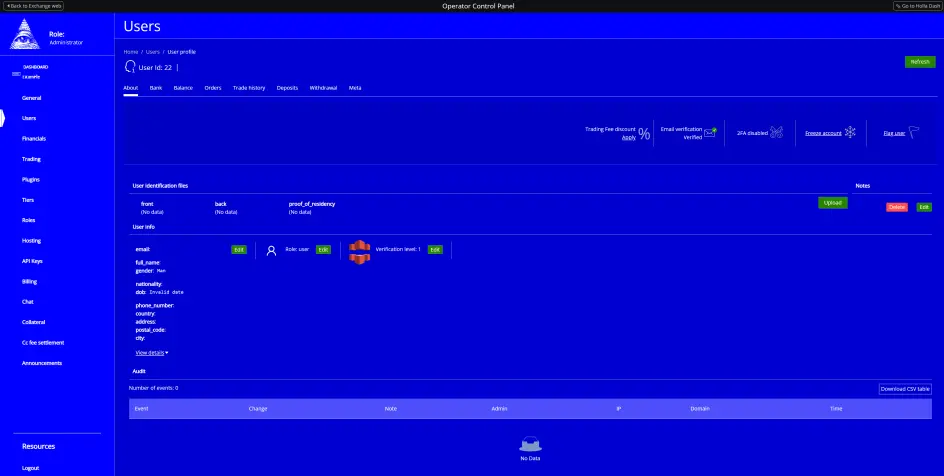
Operator controls allow you to take full control of your exchange and its data, for example here in Users you will be able to see general info about your exchange’s users and things like their role or verification status.
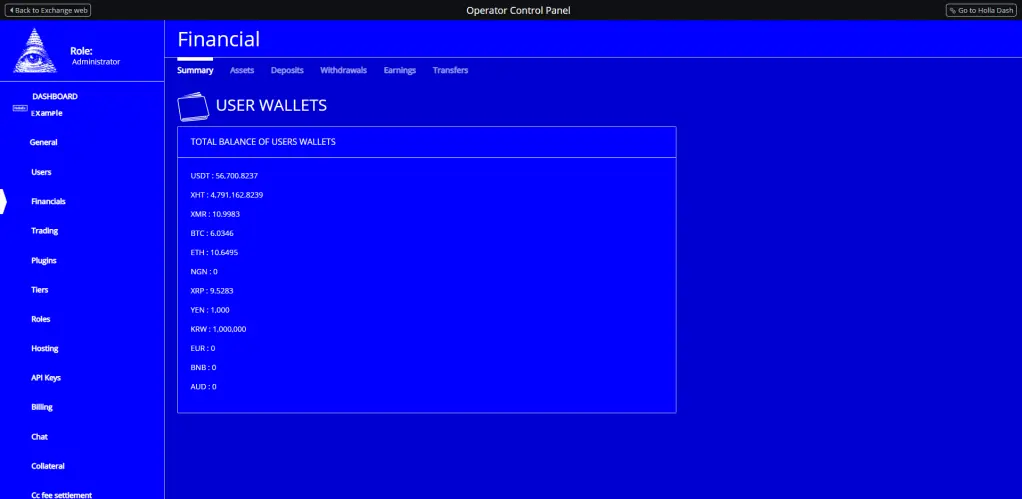
They also give you access to all data of your exchange, here in Financials for example you can see your exchange’s assets, as well as users’ withdrawals, deposits, wallets and more general info. You can Transfer crypto between your exchange users too.
As you can see, creating your own exchange has never been easier. Thanks to the HollaEx Kit and its cloud service, anyone, even with zero experience in programming, can create their own exchange in minutes and start enjoying the benefits that being part of the ever-growing world of cryptocurrencies offers!
That was all for today, if you have any extra questions, you can go to the HollaEx’s doc page or leave a comment on forums, also don't forget to check out the DIY version of HollaEx Kit on GitHub which is the other option for your exchange, made for those who like things done their way. Plus it’s totally free!
Last but not least, get behind the scenes on the Discord server!






