
Ever wanted to try your luck with an exchange but hosting prices were just too high? Or maybe you already have the infrastructure to host your exchange and are looking for the right tool. Maybe sometimes you Just need to do things yourself.
If you feel identified, let me introduce you to the HollaEx Kit; an easy-to-use exchange development software that will allow you to create your own professional crypto exchange in minutes, totally free.

Previous requirements
To create and host your own exchange, you will first need a computer that meets the minimum requirements, a bitHolla account and a domain for your exchange’s web.
Note: since most servers are run on linux-based OS the HollaEx kit is developed for that system, but it can be used on windows in two ways: one is by using the WSL, a new software tool developed by microsoft to run linux-based software on windows, more info here. You also have the possibility of creating a virtual machine, which is basically emulating another OS as if it was a different computer. We recommend the virtual machine for small or test projects since it’s not very resource-efficient and the WSL for professional exchanges.
You will also need some extra software to set up your DIY hostage, HollaEx Kit currently uses the following third-party services to operate:
Note: This software is optional, which means you can have an exchange that is totally functional without it, but we highly recommend its installation since it will improve a lot your exchange's quality.
- SMTP Server (Sending Email)
- Google reCaptcha (Site Security)
- AWS S3 (Image Storage)
SMTP (automated emails)
HollaEx Kit uses SMTP to send emails to exchange users. HollaEx Kit will require your SMTP server’s endpoint, account username, account password, and port number. For more information, click here.
Google reCaptcha (spam protection)
HollaEx Kit uses Google reCaptcha to protect your website from spam and abuse. To obtain your reCaptcha credentials, click here.
AWS S3 (data storage)
HollaEx Kit uses AWS S3 for storing user data. You will need to create an AWS access key, secret key, and S3 bucket. Click here to learn how to set it up.
Note: Minimum system requirements, domain and additional software ain’t needed with the cloud service bitHolla also offers which you can check here
Exchange initial setup
Now that you are ready to start, go to the bitHolla Dashboard and login, then click on the big blue “create exchange” button; you will be redirected to a page like this:
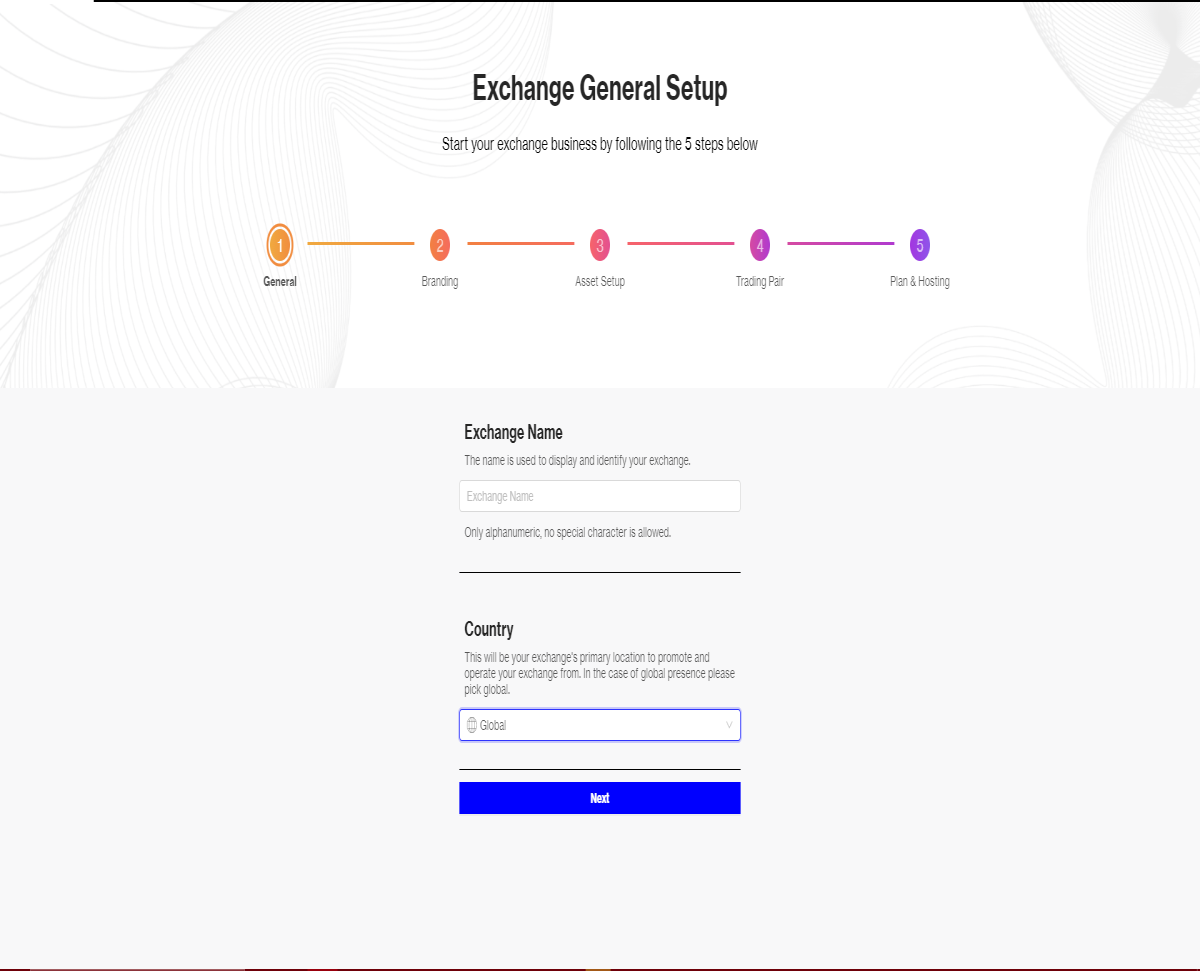
You will have to select your exchange name and primary location (Select global for worldwide presence), then click on “next” to go to the following step.
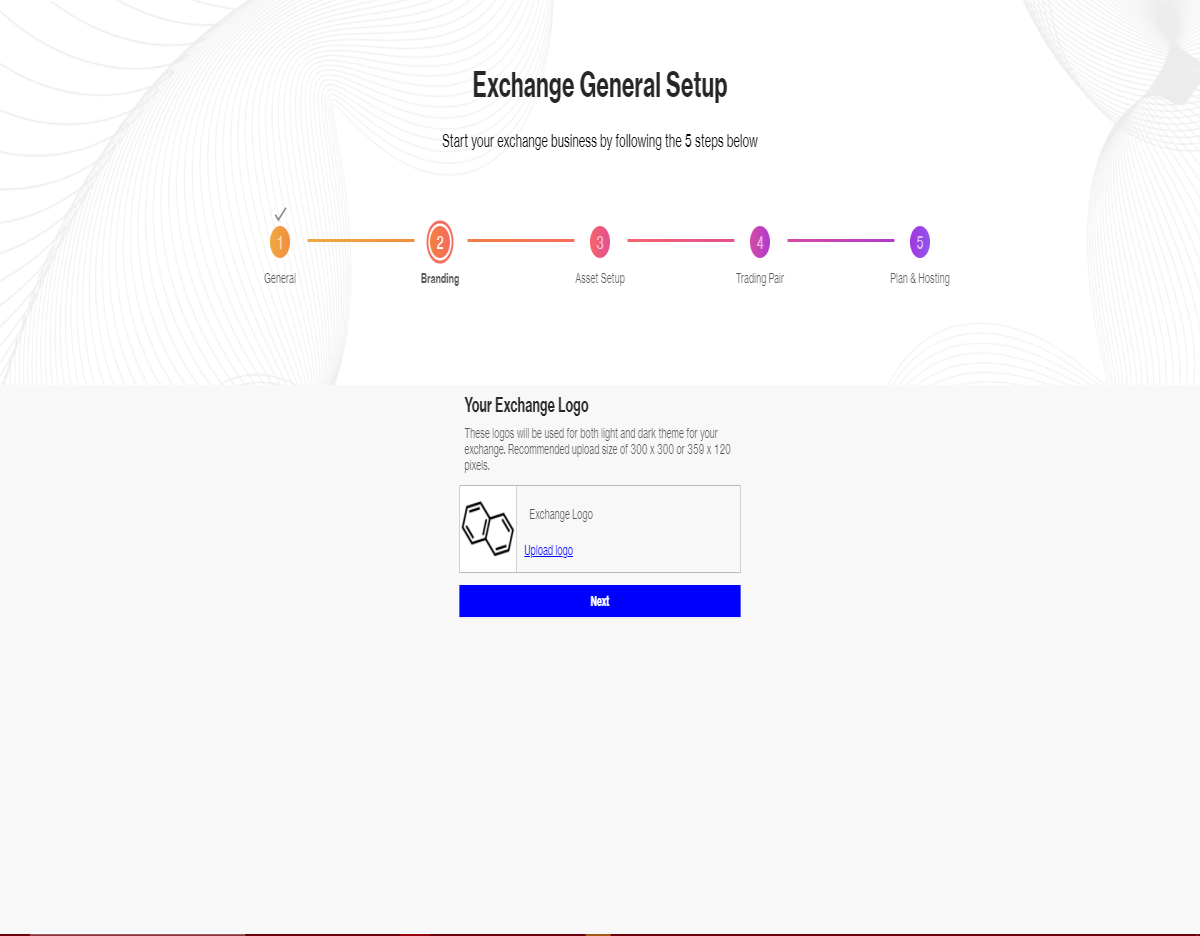
Here you can select your exchange logo, 300x300 or 359x120 images are recommended. Once you are done, go to the next step.
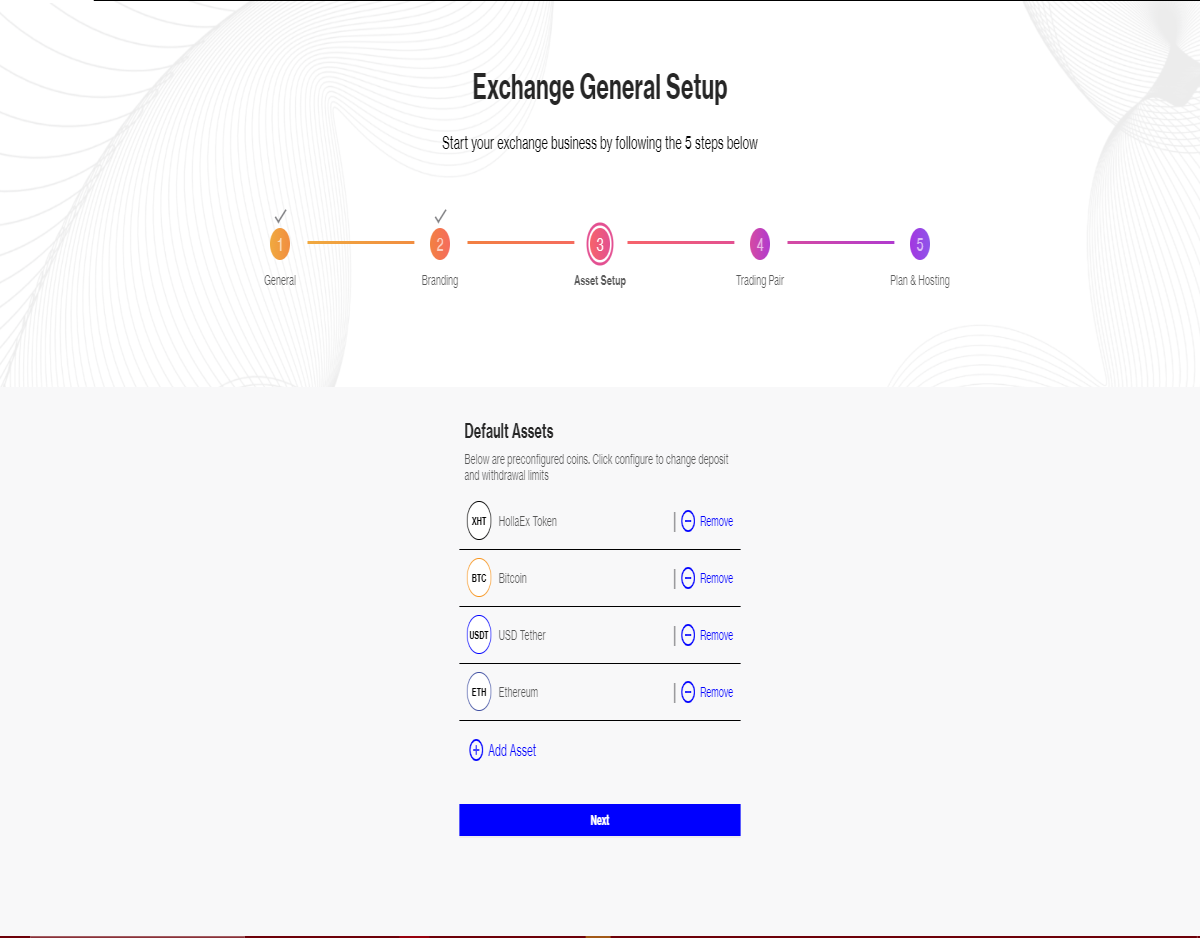
Here you will have to select your exchange’s assets, bitHolla offers a variety of common-use currencies, but you can add any crypto you want!
Make sure to add all the assets you want in your exchange and to check their parameters, then proceed.
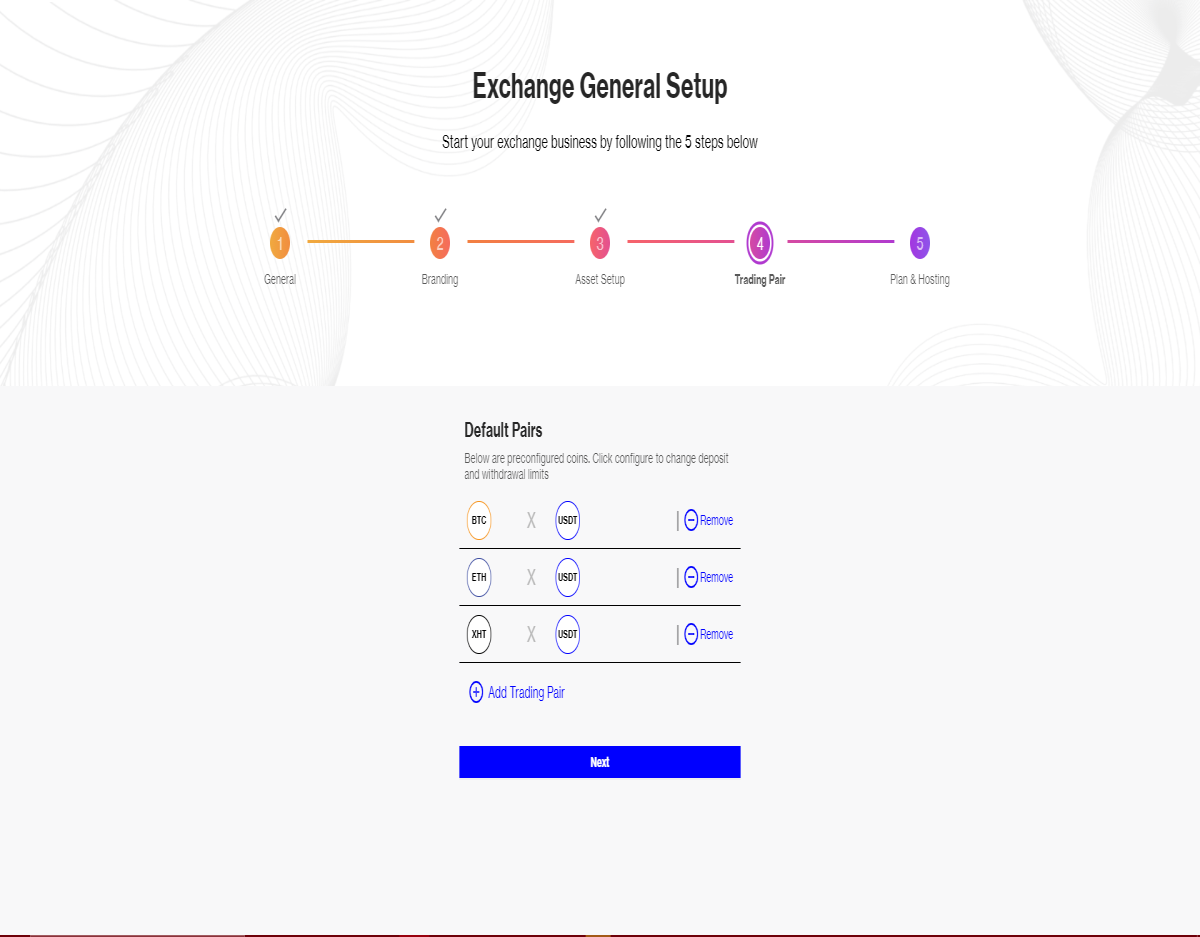
Now, using your added assets you will have to configure the trading pairs of your exchange, remember to check parameters here too.
The HollaEx software will automatically provide liquidity for common trading pairs like BTC/USDT or ETH/USDT so you can start trading with your exchange from the first day!
Once you are done and sure that you configured your exchange as you want it, you can proceed to the final dashboard step.
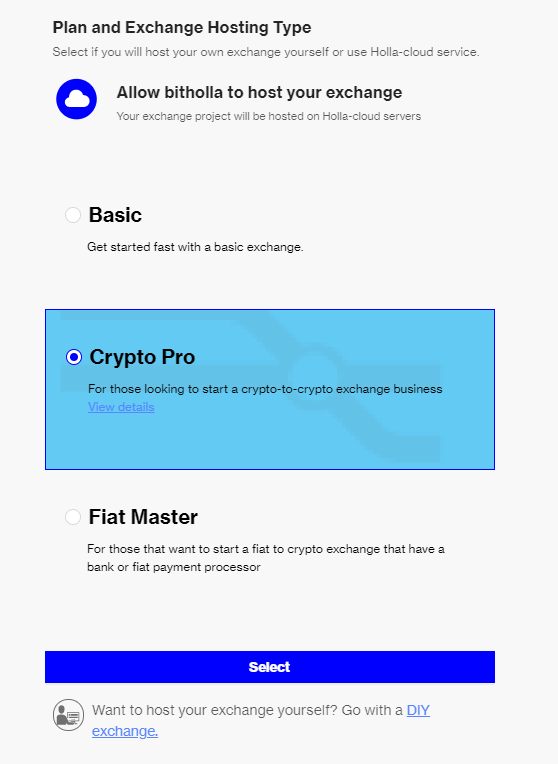
Now you will have to select a hosting service for your exchange. The HollaEx Kit offers a wide variety of options for your token, divided in two parts: Cloud hostage and DIY exchange.
As noted before, we already covered Cloud hostage in a previous article, so today we will be focusing on the DIY option. For more info about Cloud Hostage, click here!
Do-it-yourself exchange hosting (DIY Style)
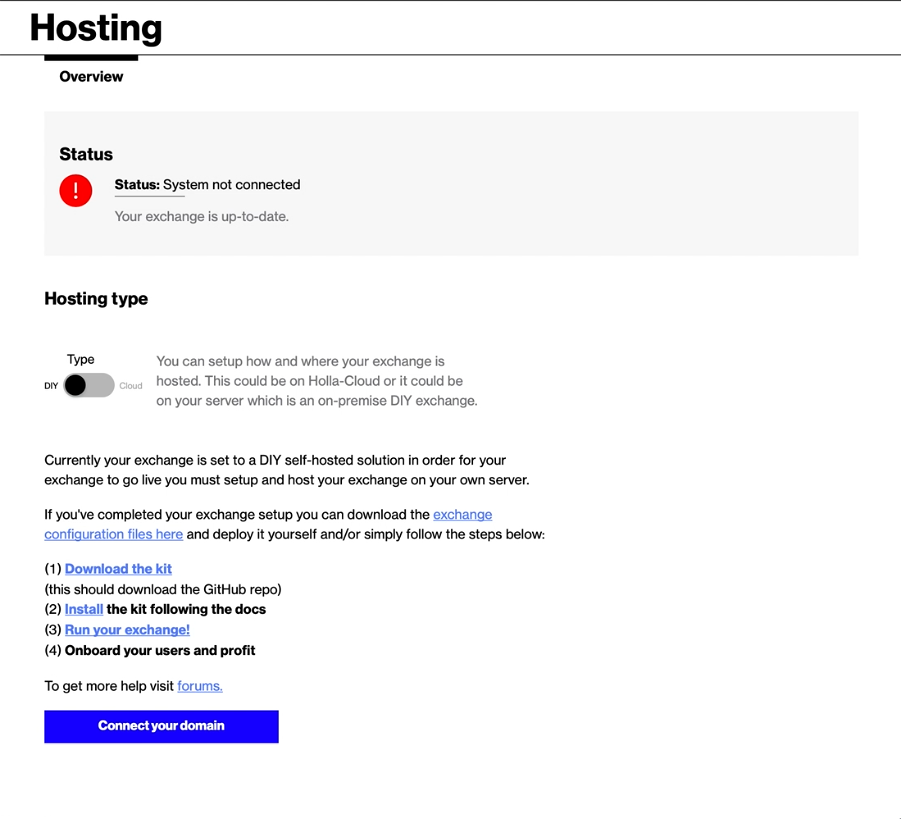
Before starting your server configuration, login to the bitHolla dashboard and go to hosting, there, make sure that your hostage option is “DIY”.
When you are done, execute your terminal, you can find it inside “applications/launchpad” in Ubuntu/MacOS, or by pressing Windows start button+R and then typing /cmd for Windows.
Then, type “sudo apt install git”, this will download some libraries that will allow you proceed with the next steps, it may take some time and/or ask for your computer’s password.

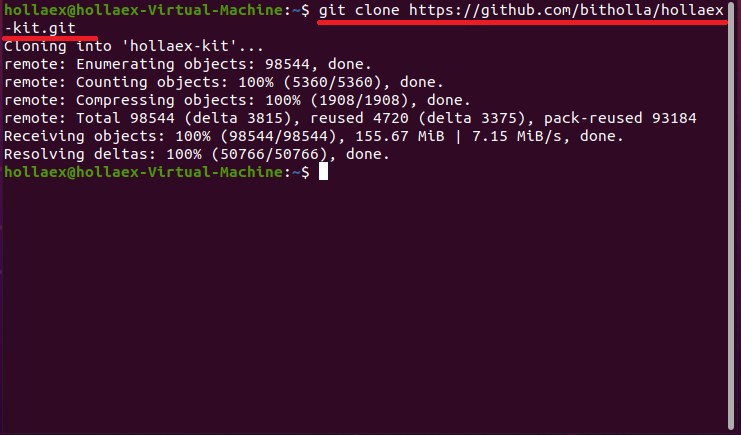
Now, to start with the DIY Hosting configuration, download the HollaEx Kit, which you can do by executing the following command: “git clone https://github.com/bitholla/hollaex-kit.git”.
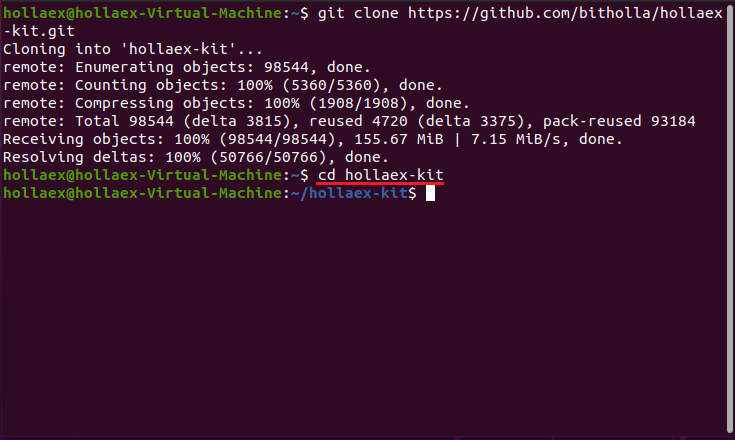
Then you will have to install HollaEx’s CLI, which is another set of libraries. You can do this by typing “cd hollaex-kit”, this will take your terminal to the Kit’s directory within your computer.
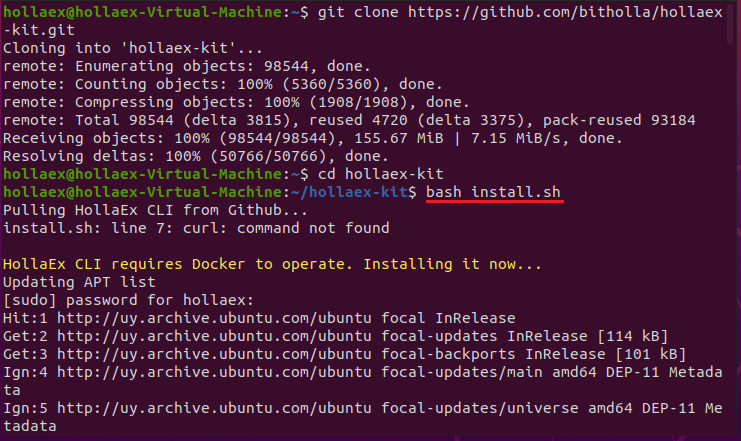
After you are there, type “bash install.sh” to install the CLI, you will have to type your computer’s password.
This process normally takes some time, but usually no more than a couple of minutes.
Note: you may get an error saying “curl: command not found”, this is normal and you may get it or not depending on your system, it can be solved by typing the command “sudo apt install curl”.
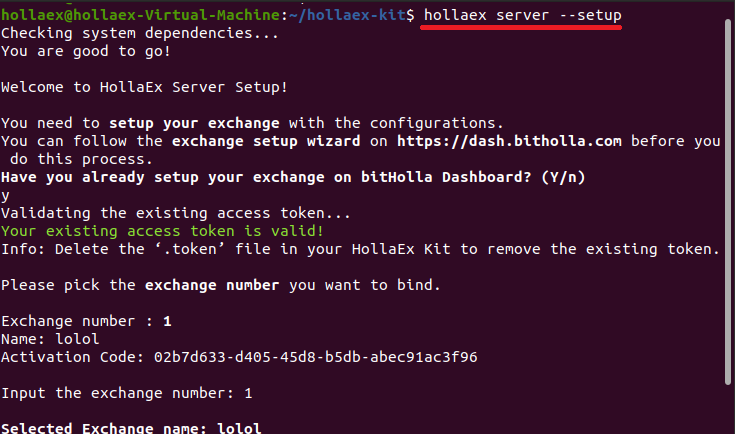
When the CLI is installed, you can run the server for your exchange, to do this, first type “hollaex server --setup”.
Since you already did, when it asks you if you already configured your exchange, just type “y”, it will ask you to login to your account (that’s the account you signed up with on dash.bitholla.com). Then, if you don’t know what an OTP code is or don’t have one, just press ‘enter’ to continue.
You will be presented with a list of your exchanges, each with an assigned number, select the one you wanna host by typing its number (If this is your first exchange using the kit it will probably be 1), press enter, then type “y” to make the confirmation and start the process.
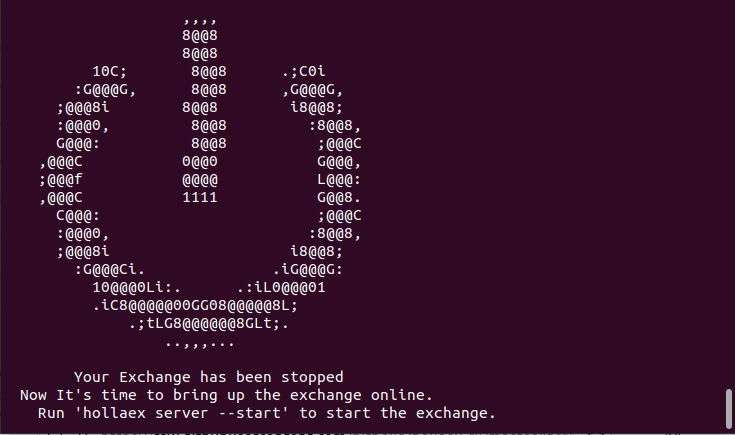
It will take some time, so relax and wait till it’s done. Once the server is live you will see something like this:
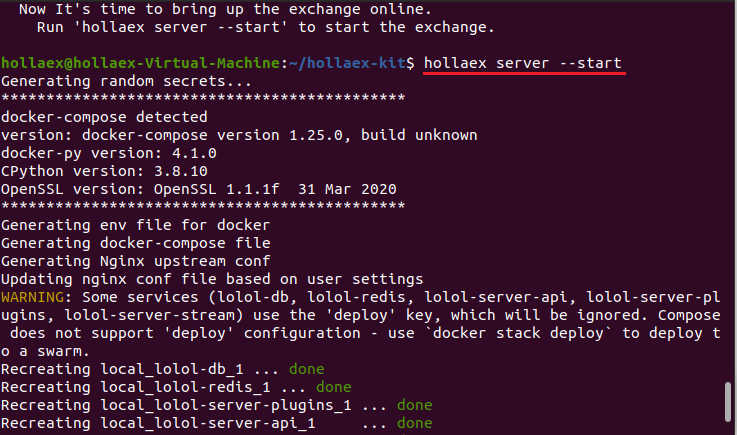
Now your server is ready, but not online, to start using it, type “hollaex server --start”, you will have to wait some seconds.
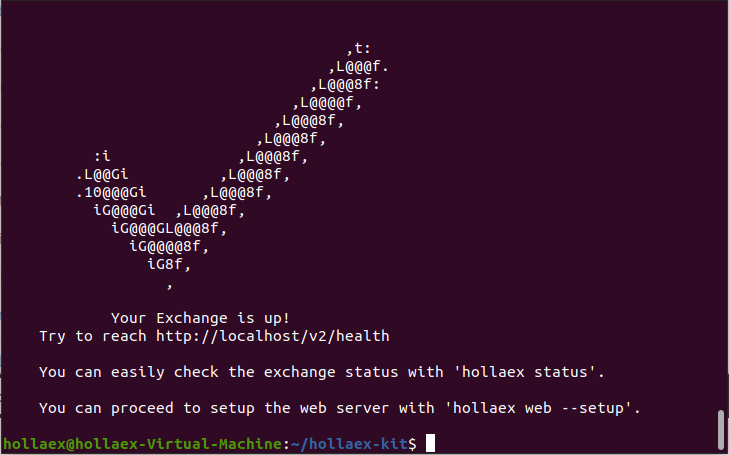
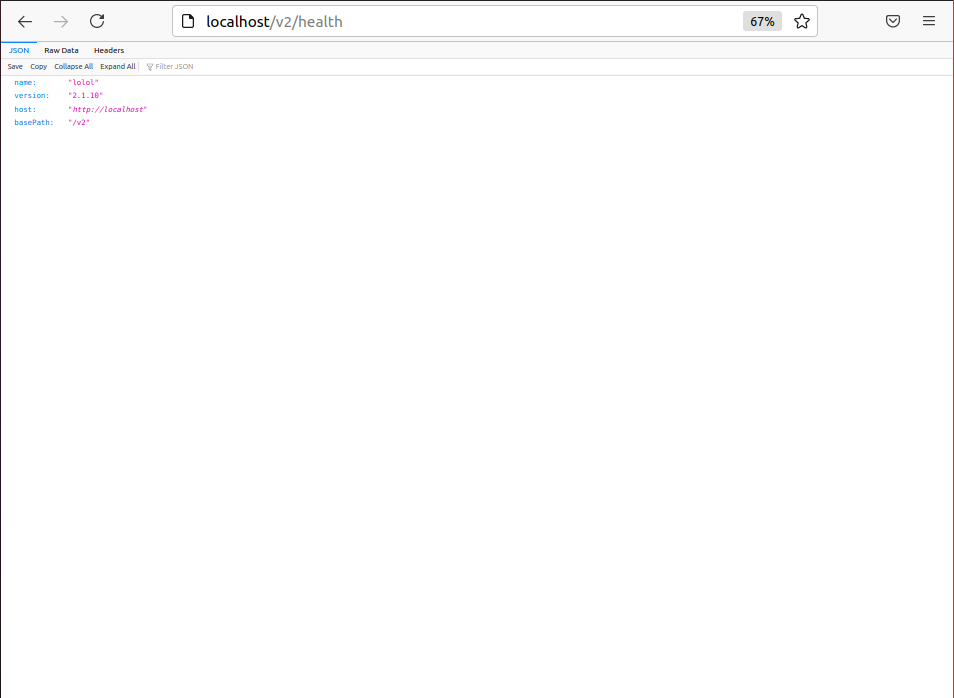
And that's it! your exchange is up and running. You can check its state by going to “http://localhost/v2/health” on your browser.
This is what you should see if your exchange is live:
Web setup
Now, even though it’s completely usable by anyone in the world in this state, you will need a web (the user interface) to make it accessible for the general public.
Note: Have in mind that you need a Domain for your web for other people to access it, you can still set up and personalize it, but it will be inaccessible for other people. You can set up a domain for your web on the dashboard.
To start, type “hollaex web --setup”. Don’t feel scared if you see it get stuck on some operation, this process can take up to half an hour (while waiting you can check bitholla's videos!).
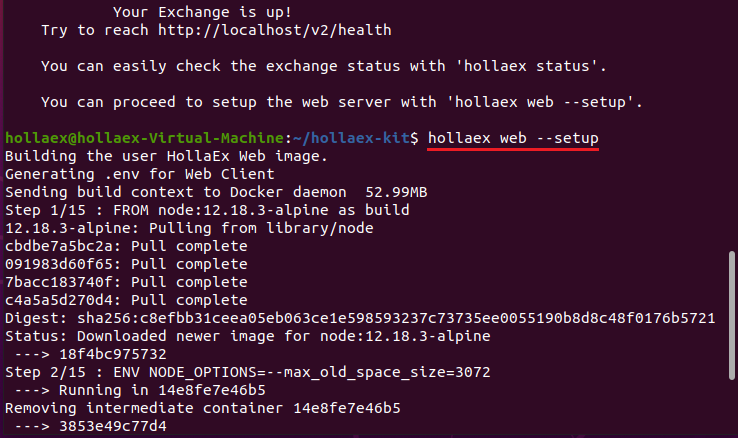
When the process is over you should see something like this:
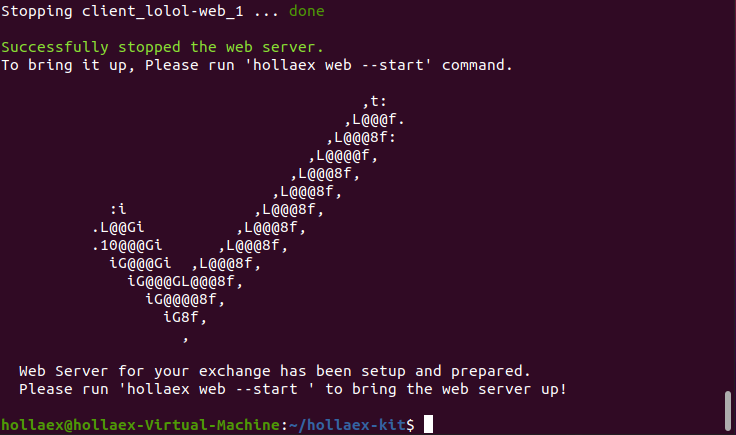
Now that it’s configured, to make your web go online just type “hollaex web start”
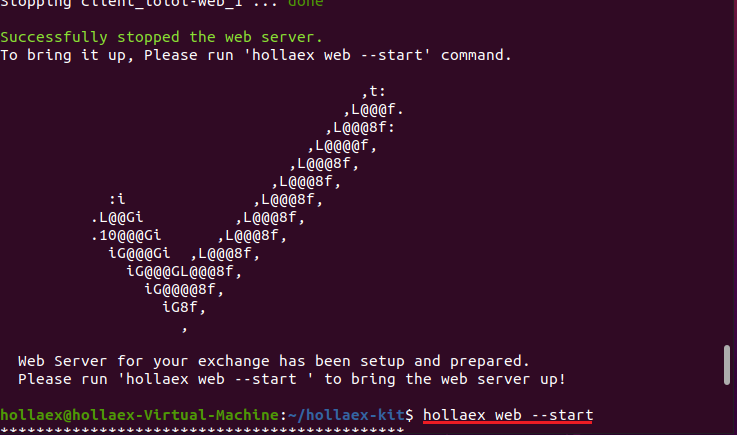
It can take a couple of minutes, once it’s done you will see this:
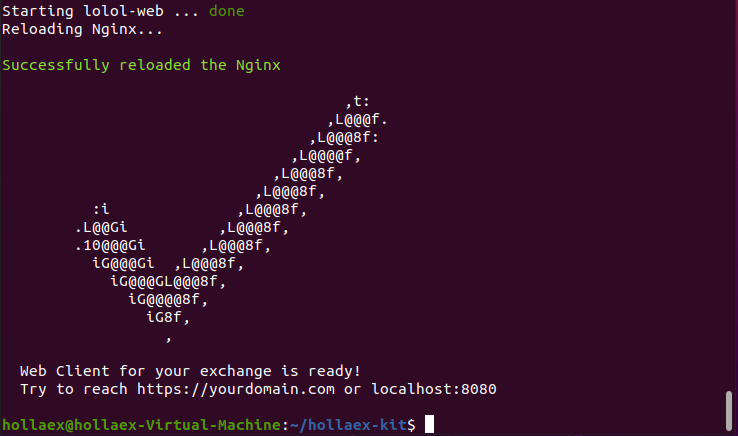
And that 's all! your exchange and its web are now up and running.
To go to your exchange’s web, just type “localhost:8080” in your browser, you should see this message:
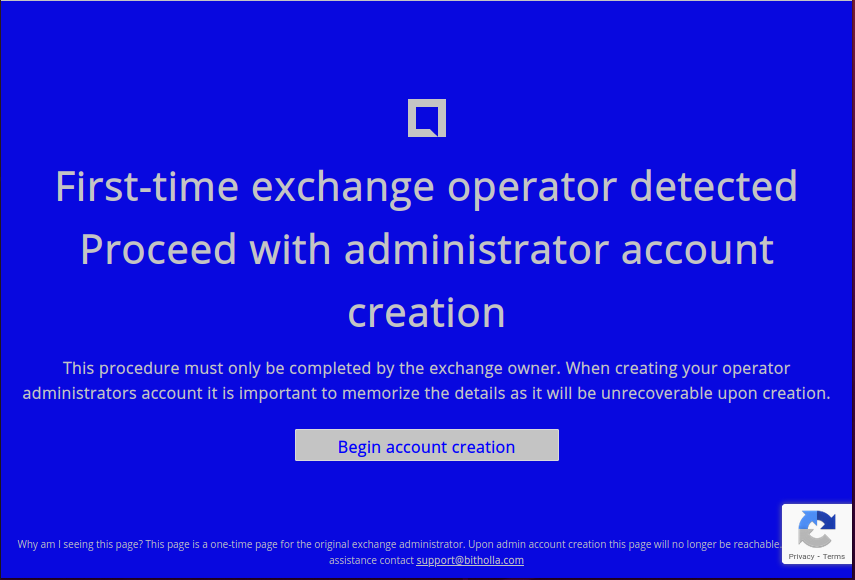
The web will automatically detect you as the owner and will ask you to create an administrator account, this process is very intuitive and won’t take you more than a minute. When you have your admin account created, you will be able to change your exchange’s domain, aspect, see detailed live info, etc. This is what it should look like:

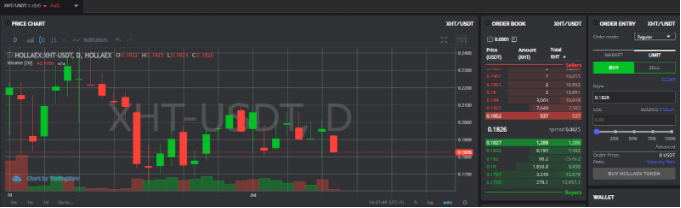
Remember that the web is fully personalizable from the ground up, this means that you can personalize it coding or by using the built-in interface you can see in the image’s lower left corner.
Conclusión

And that was all for this article! If you have any extra questions, you can go to the HollaEx’s doc page or leave a comment on forums, also don't forget to check out the Cloud version of HollaEx Kit, the best hosting option if you like things done automatically or if you can’t host your exchange.
Last but not least, get behind the scenes on the Discord server!


