
Another member of the fleet is a 2003 Toyota Yaris/Vitz which is a brilliant car, only slightly let down by sun-damaged headlight lenses. This seems to affect a lot of early 00's cars when many manufacturers moved over to use plastic lenses rather than glass for reasons of cost. The headlight lenses have suffered with age and gone cloudy and yellow. Thanks to the colour of the bodywork on my example, this looks less bad than it would on a flat colour, but still not ideal.
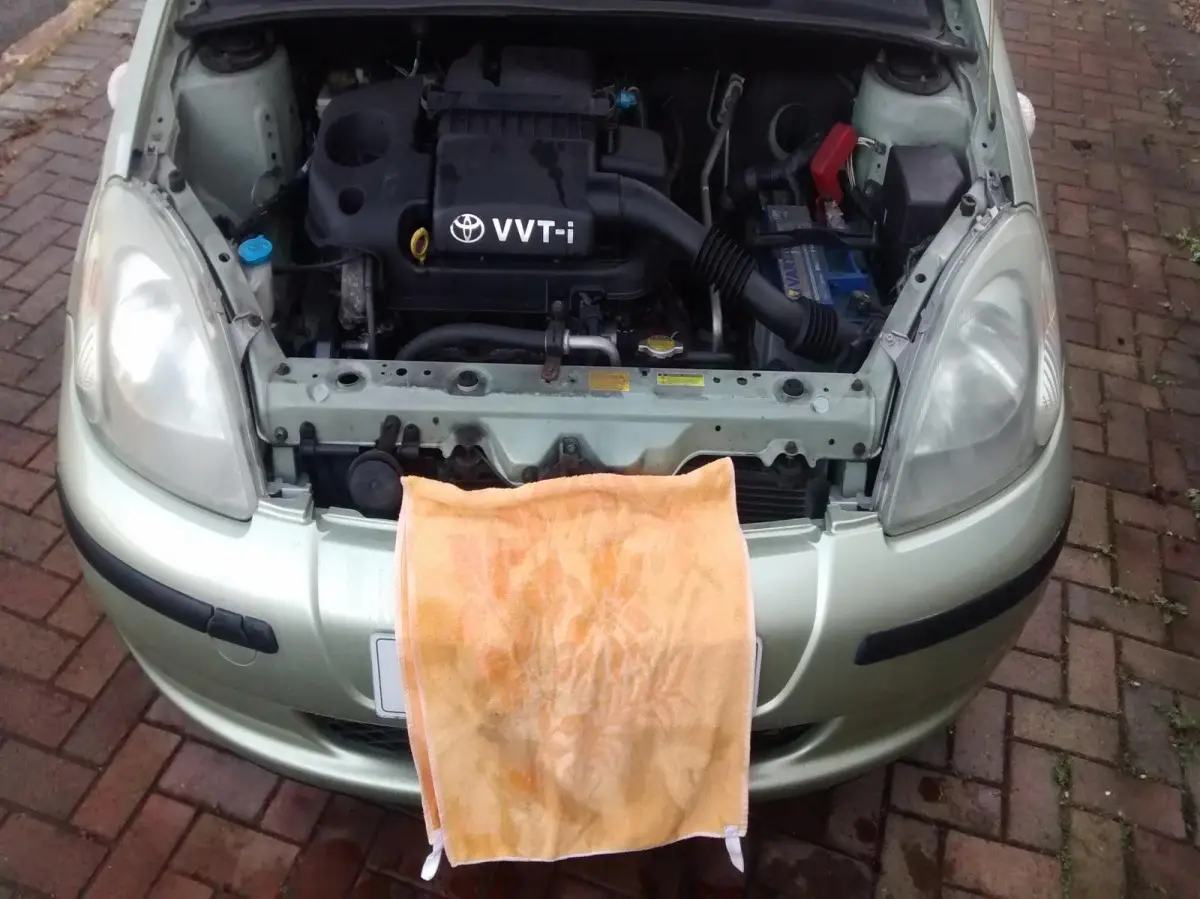
As you can see, they aren't very clear. I've not yet driven it at night but suspect the vision is a bit sub-optimal.
So, First of all the passenger side one. I had a look at removing them and doing the polishing on my workbench but couldn't work out how they came off and didn't want to break anything so tried it in-situ.
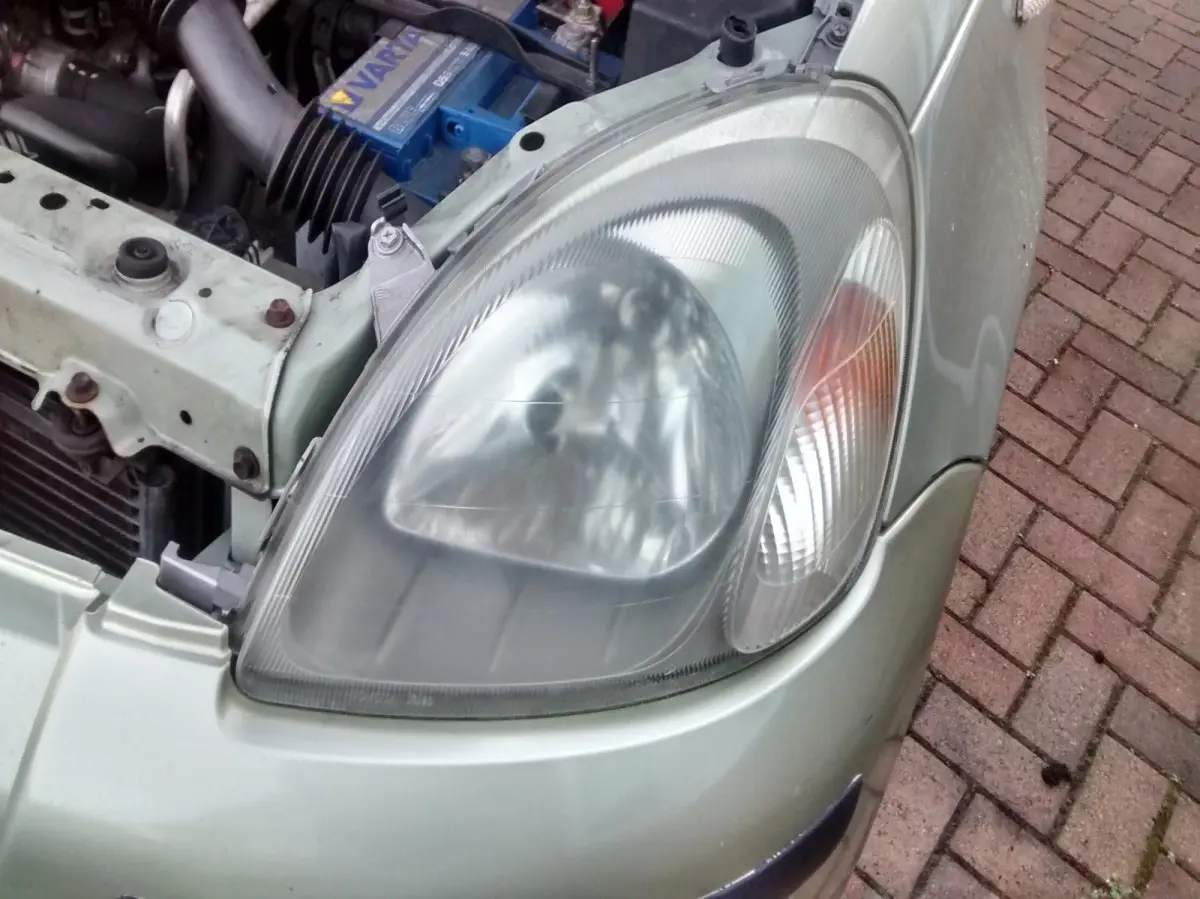
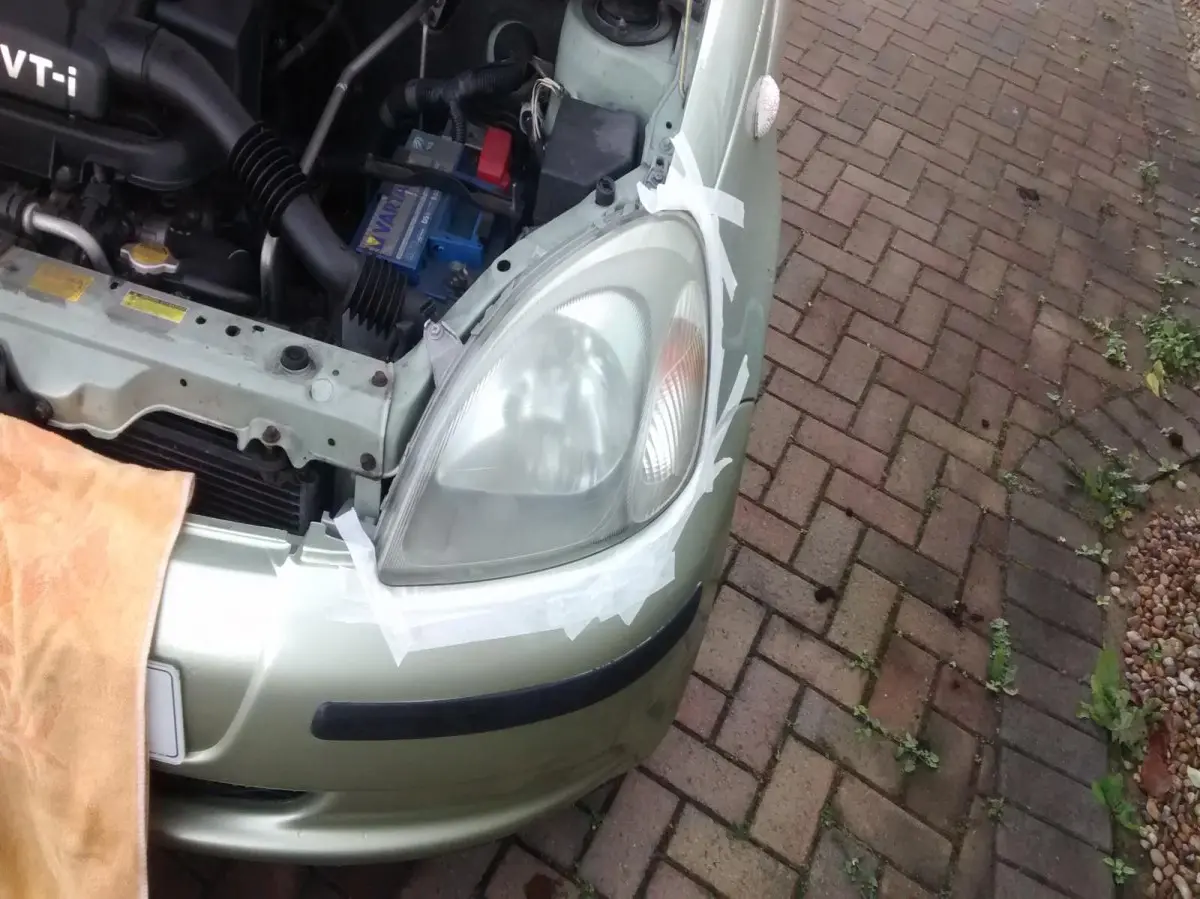
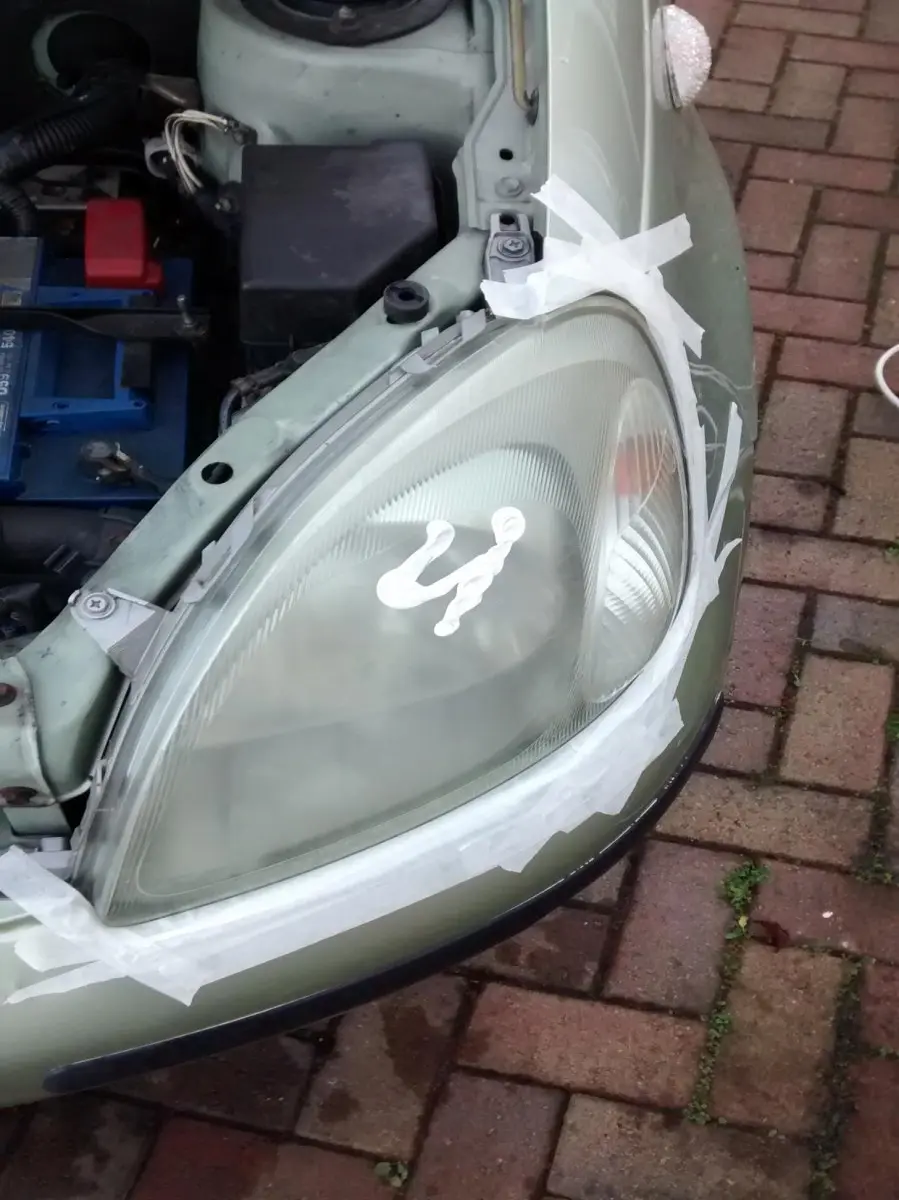
I masked it off to prevent me accidentally polishing through the paint on the bumper
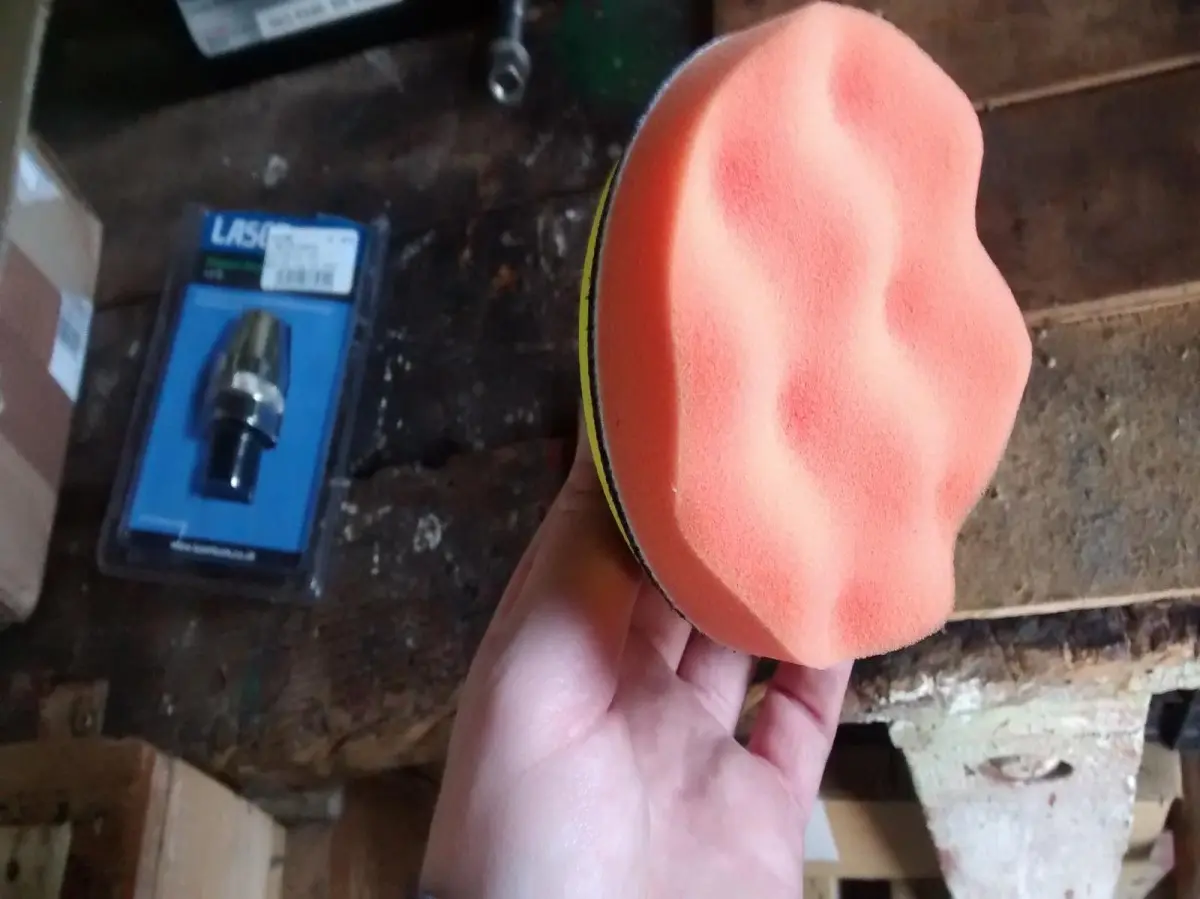
Then went and retrieved the drill-mounted buffing pads I bought months ago
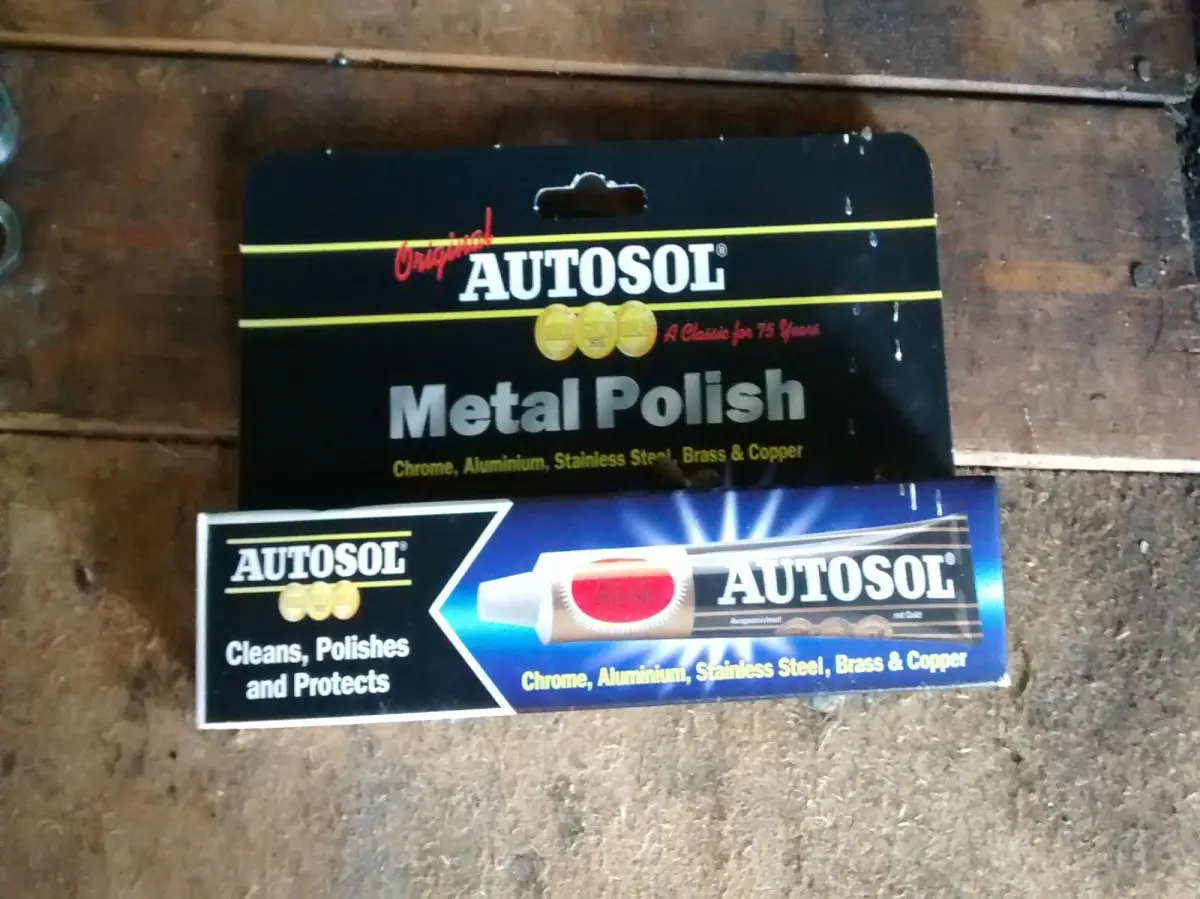
And the Autosol metal polish which is supposed to be pretty good for this sort of thing
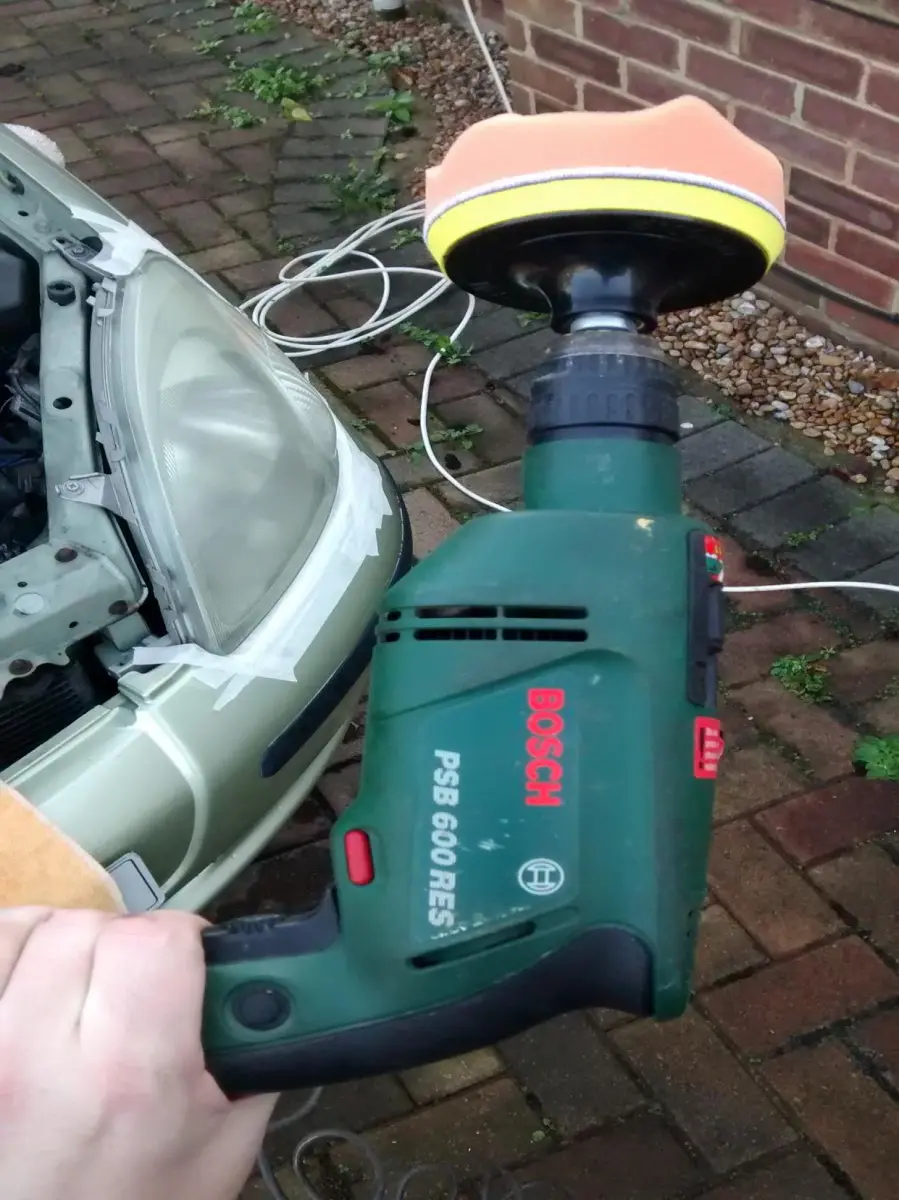
Here it is attached to the drill. Because it was cheap you have to run the drill backwards otherwise the pad backing thing just unscrews which is poor design but then it was only about £6 for the whole set so serves me right!
Next, a splodge of Autosol
Then set to with the drill. I set it to the slowest speed nd kept it moving the whole time to prevent it burning the plastic, I gave it about 10 minutes with regular re-applications of polish, followed by the flat pad slightly wet, then a wipe over with a damp towel and finally a buff with the lambswool attachment.
This was the end result:
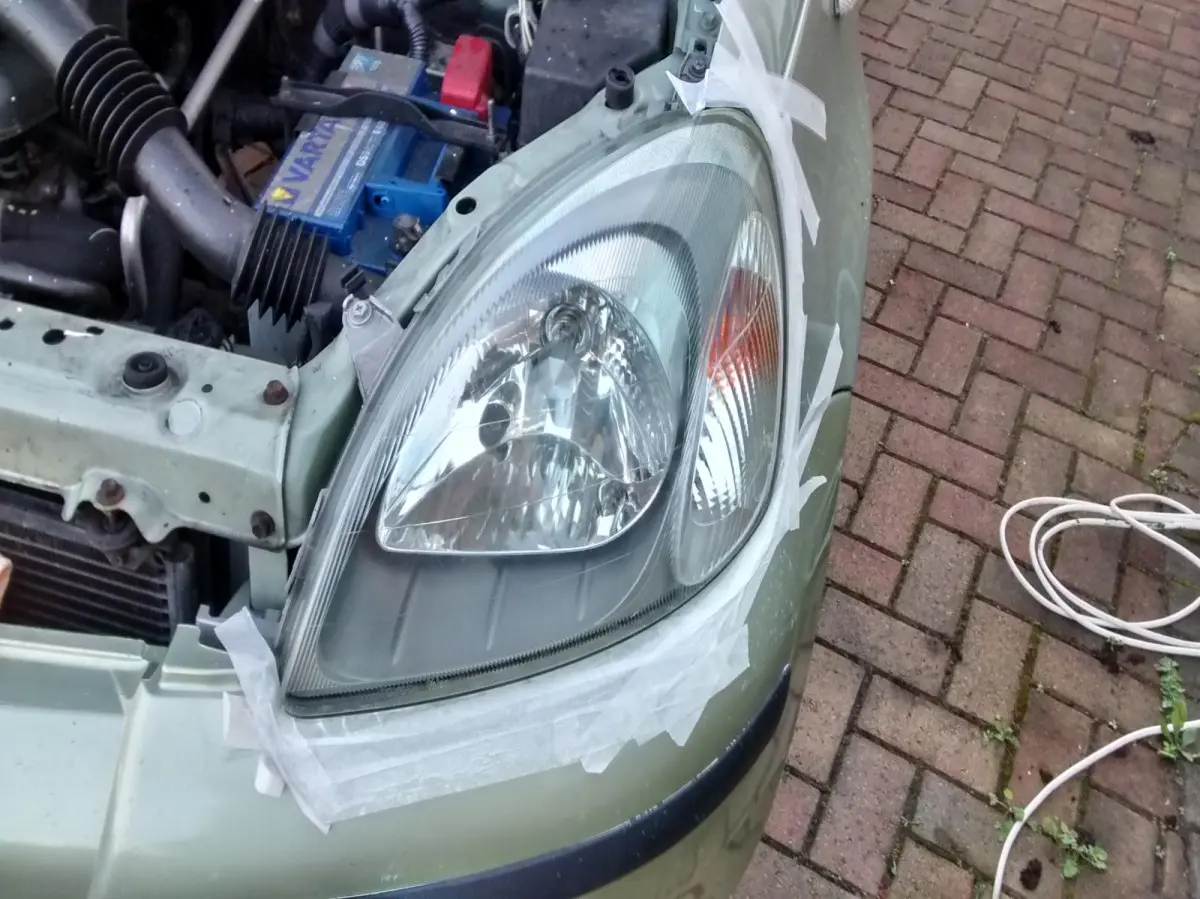
You can see the difference between the 'done' one (right) and the 'not done' one (left) here:
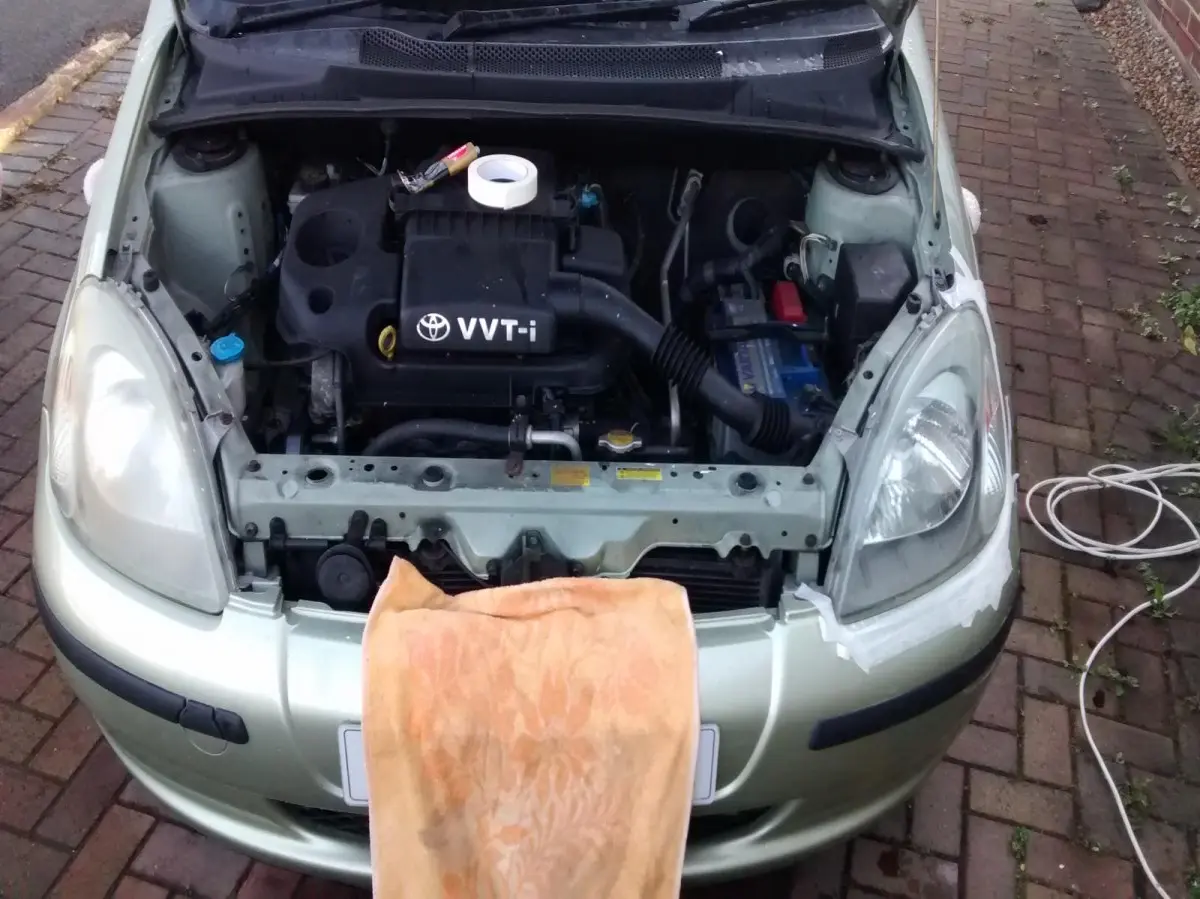
Next, I masked off the drivers side one and repeated the process. Here is the end result:
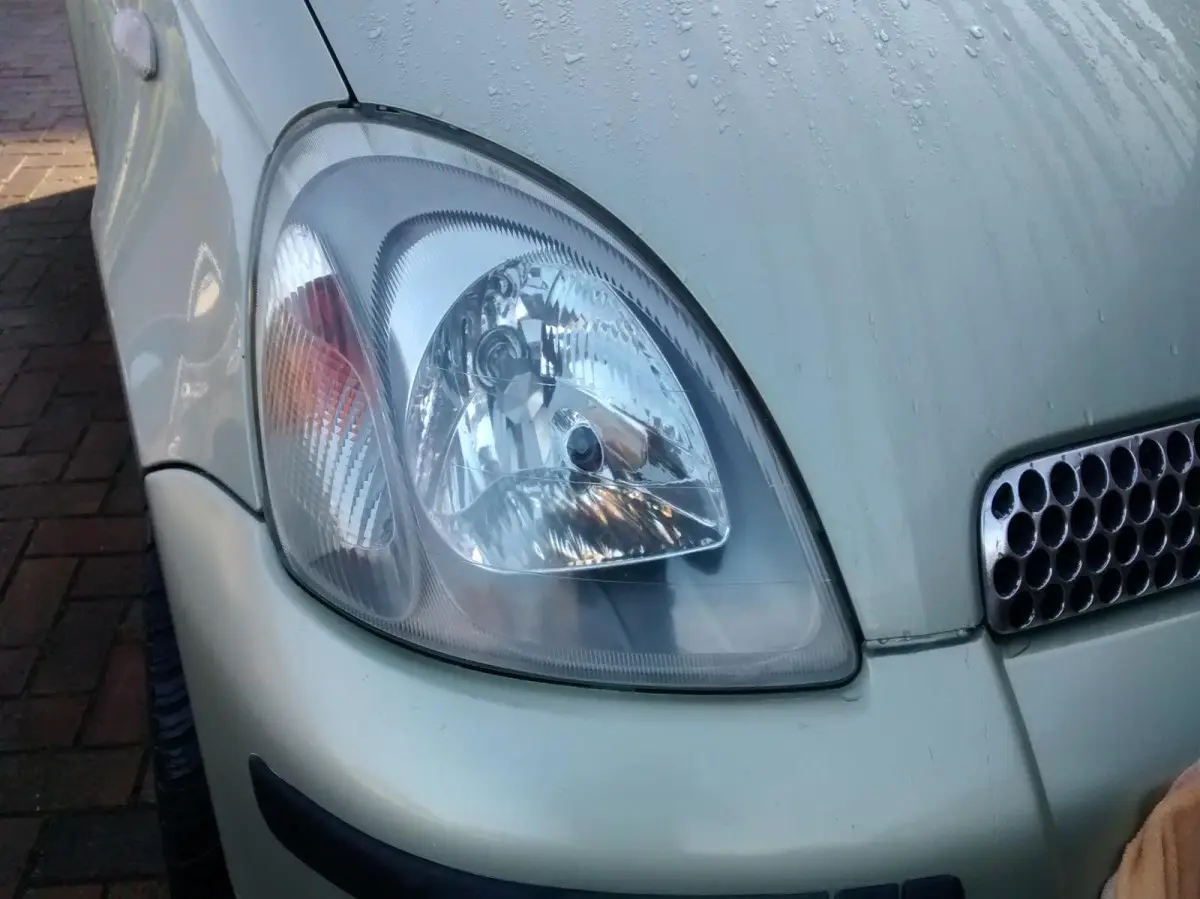
And both of them finished here:
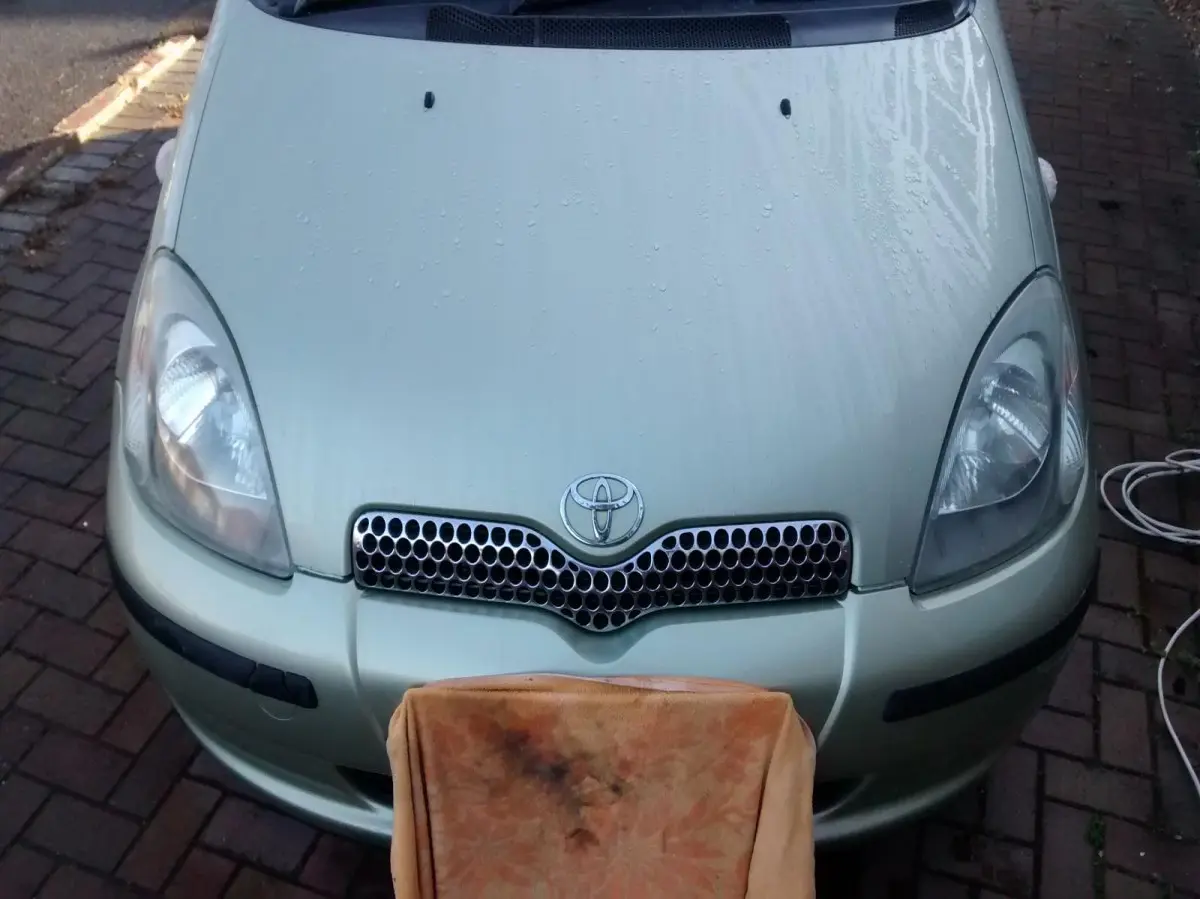
I gave them a wipe over and buff off with some wax to see if it staves off the return of the yellowing but time will tell.
I then spent 20 minutes cleaning speckles of Autosol off everything within a 10m radius of where I'd been working! It does make a bit of a mess but looks to be well worth it. Total time taken was about 1 hour and total cost was zero as I already had all the bits. Even if I hadn't, the polish was about £4 from Halfords and the buffer set was £6 from ebay so £10 all in. A lot cheaper than new lights!






