
One outstanding item from the last test was and advisory notice that the the nearside track rod end balljoint dust cover was damaged but not (yet) allowing ingress of dirt. The MOT chap reckoned it was easier to replace the entire TRE but this would require the tracking to be sorted at the same time, amplifying the cost. I reckoned I couldn't make the situation much worse by trying to replace just the dust cover, with the bonus that if I pulled the job off, the tracking should remain fine.
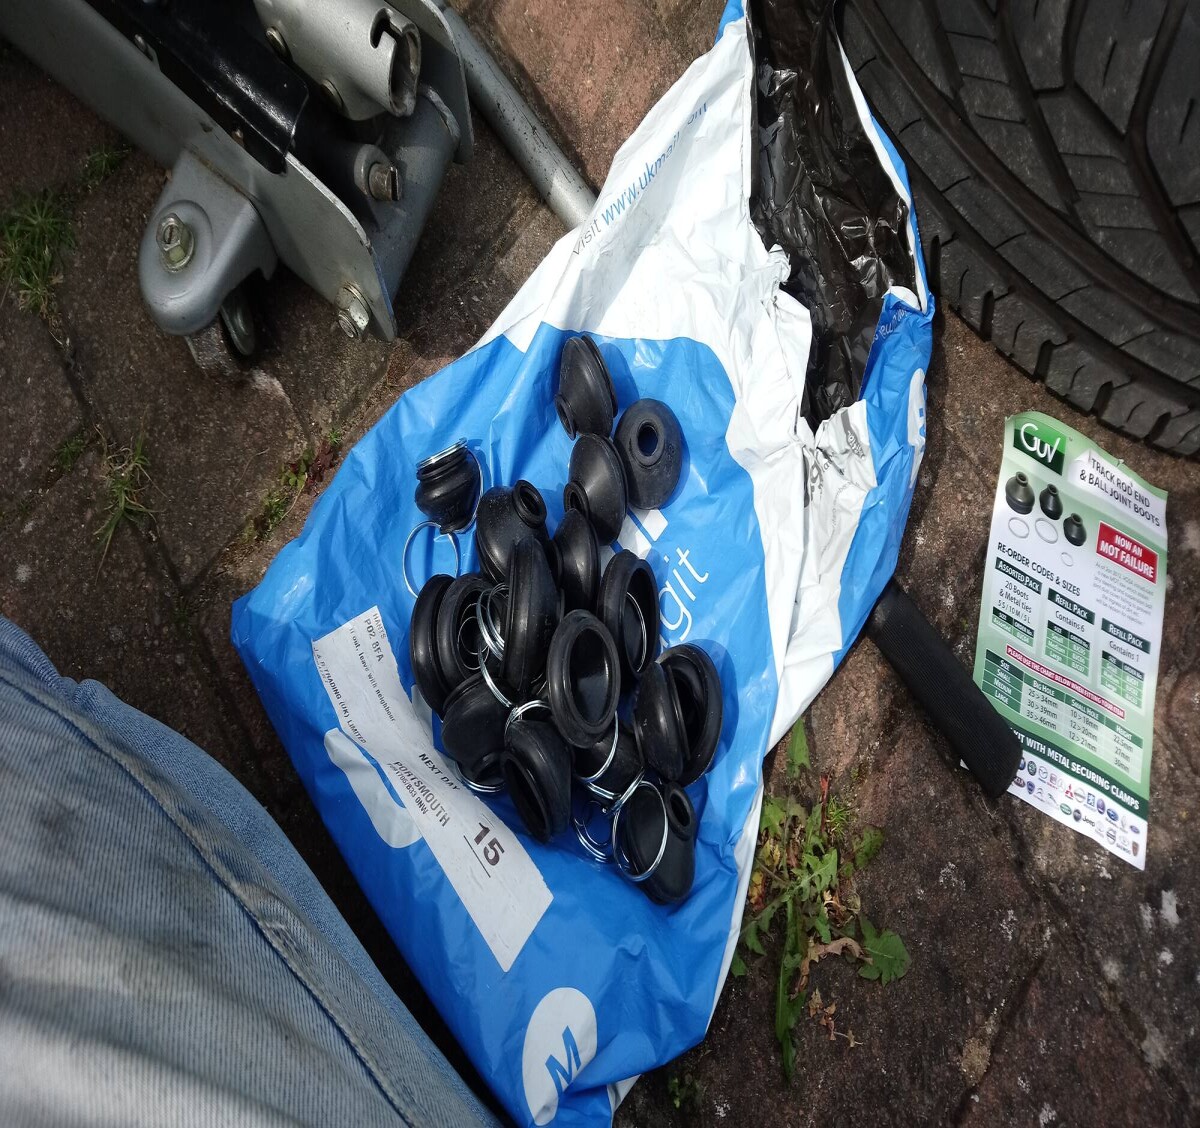
I ordered a bag of assorted sized dust covers as I wasn't sure what I needed for this job, and a mixed bag of 20 covers plus spring clips was the same price as 3 individual ones. It arrived in the week and today I set to replacing the damaged one
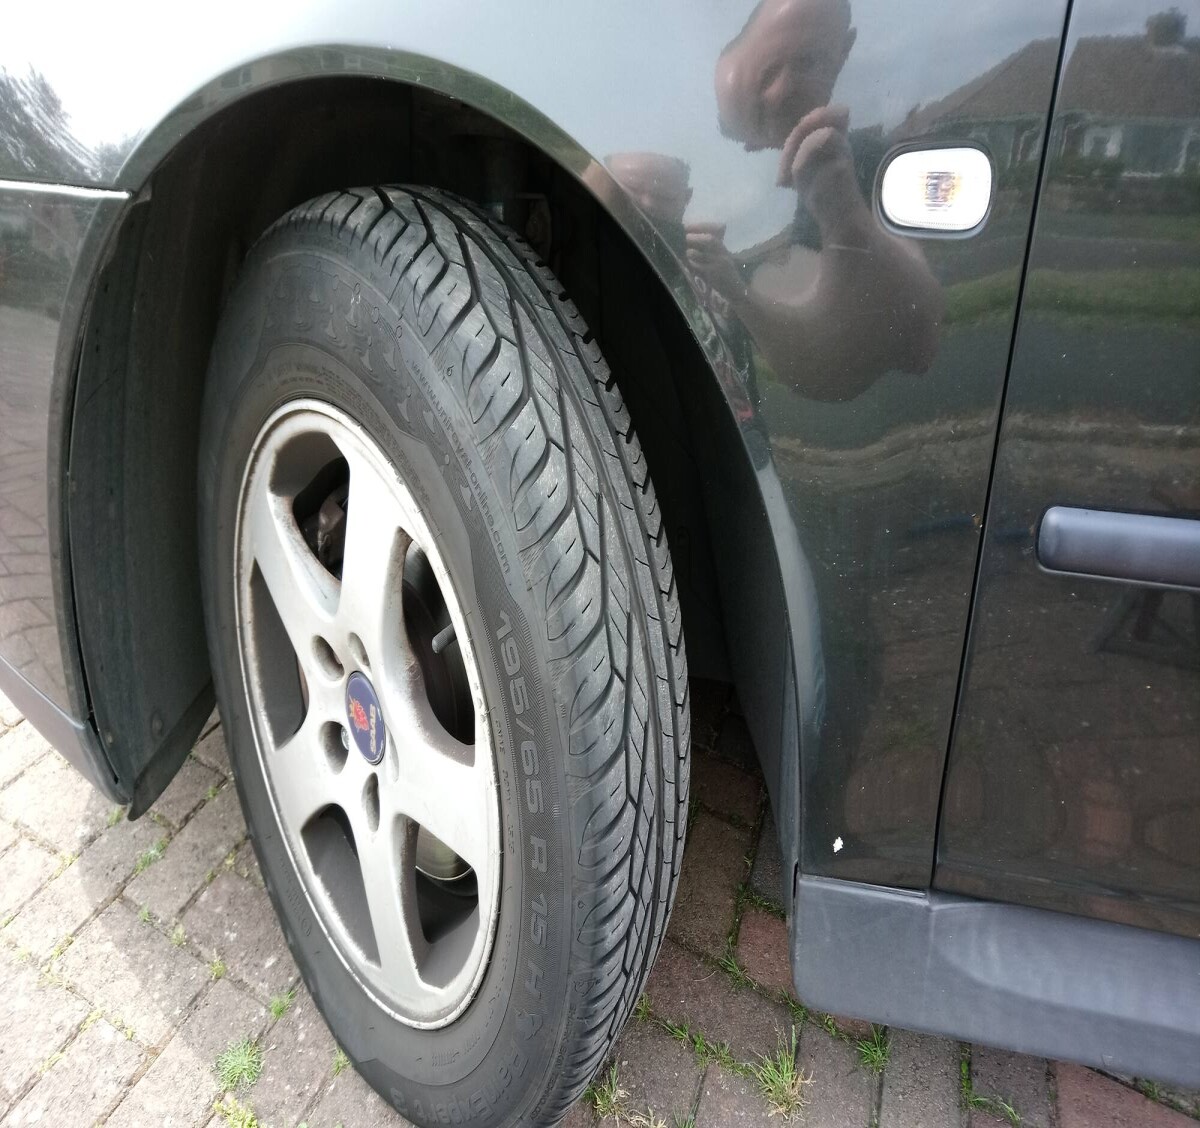
Car parked and steering turned to full right lock to allow better access. Jacked it up and put an axle stand under the chassis rail then whipped the wheel off
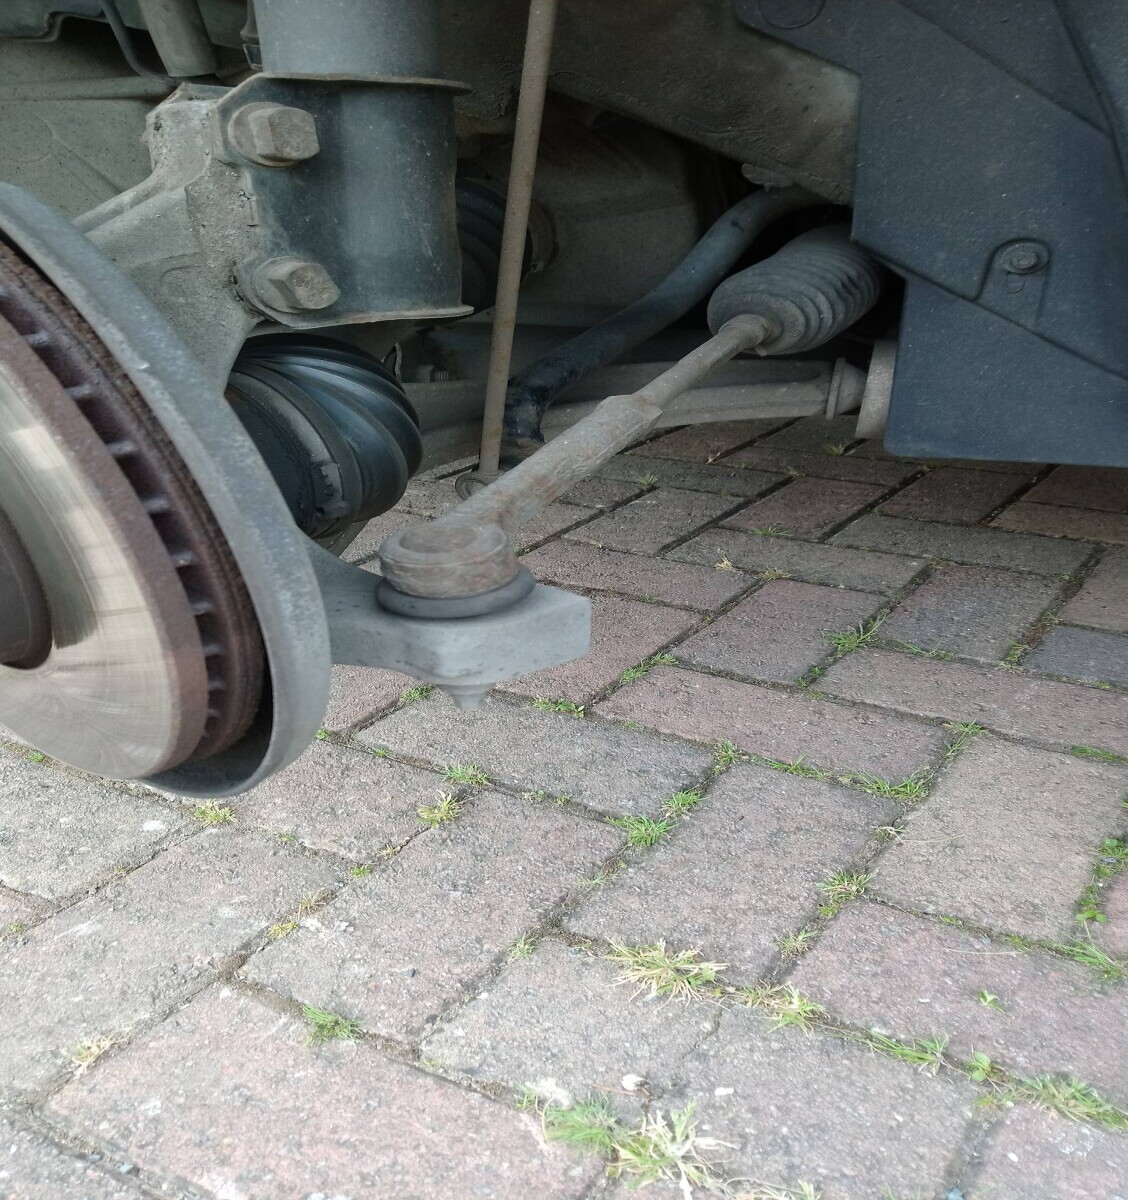
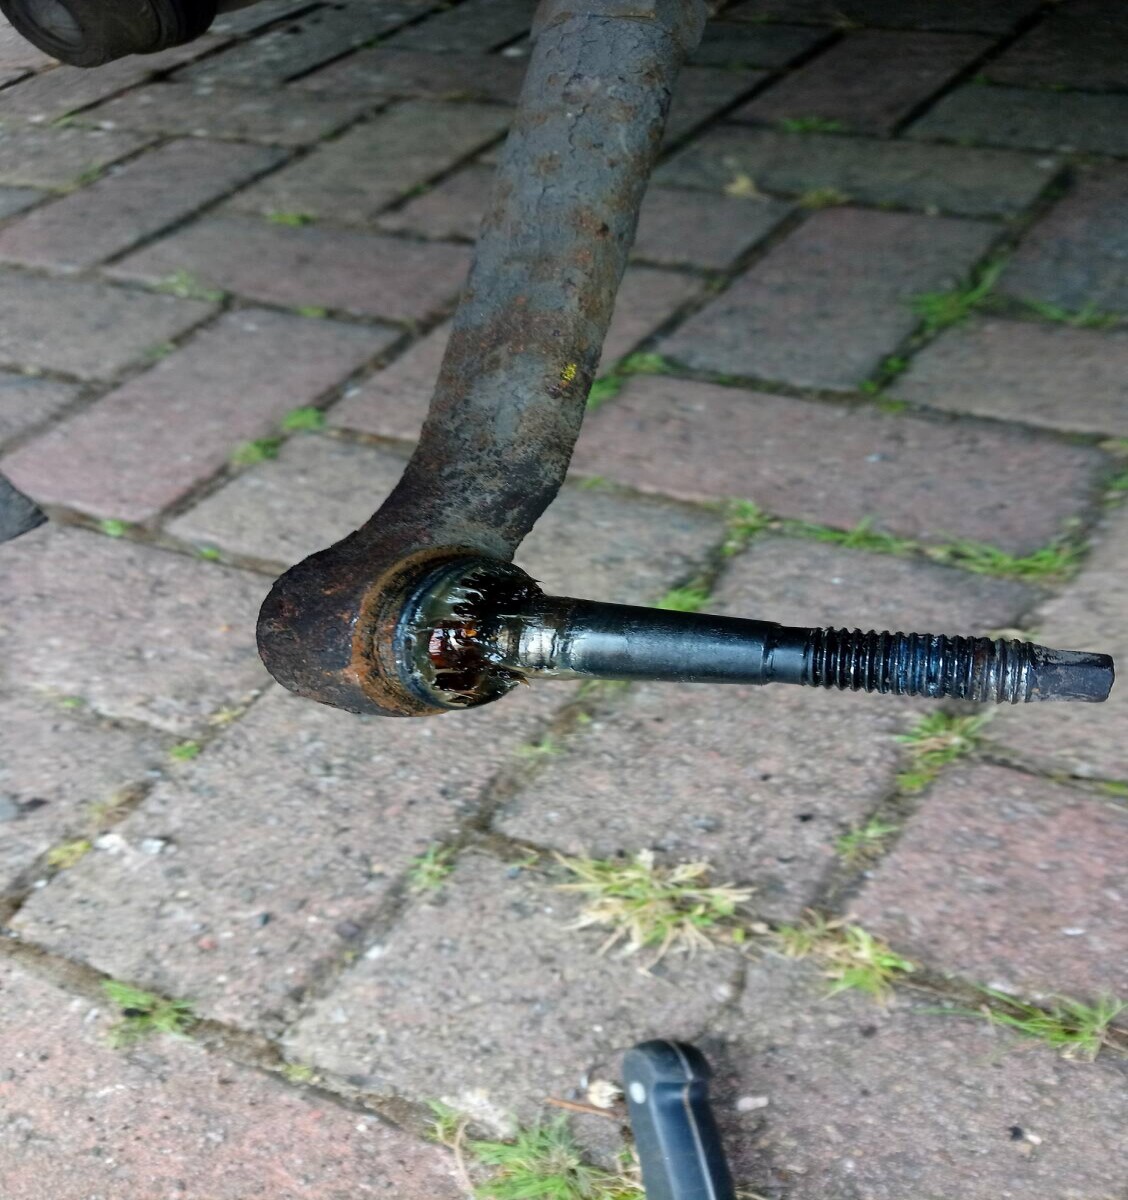
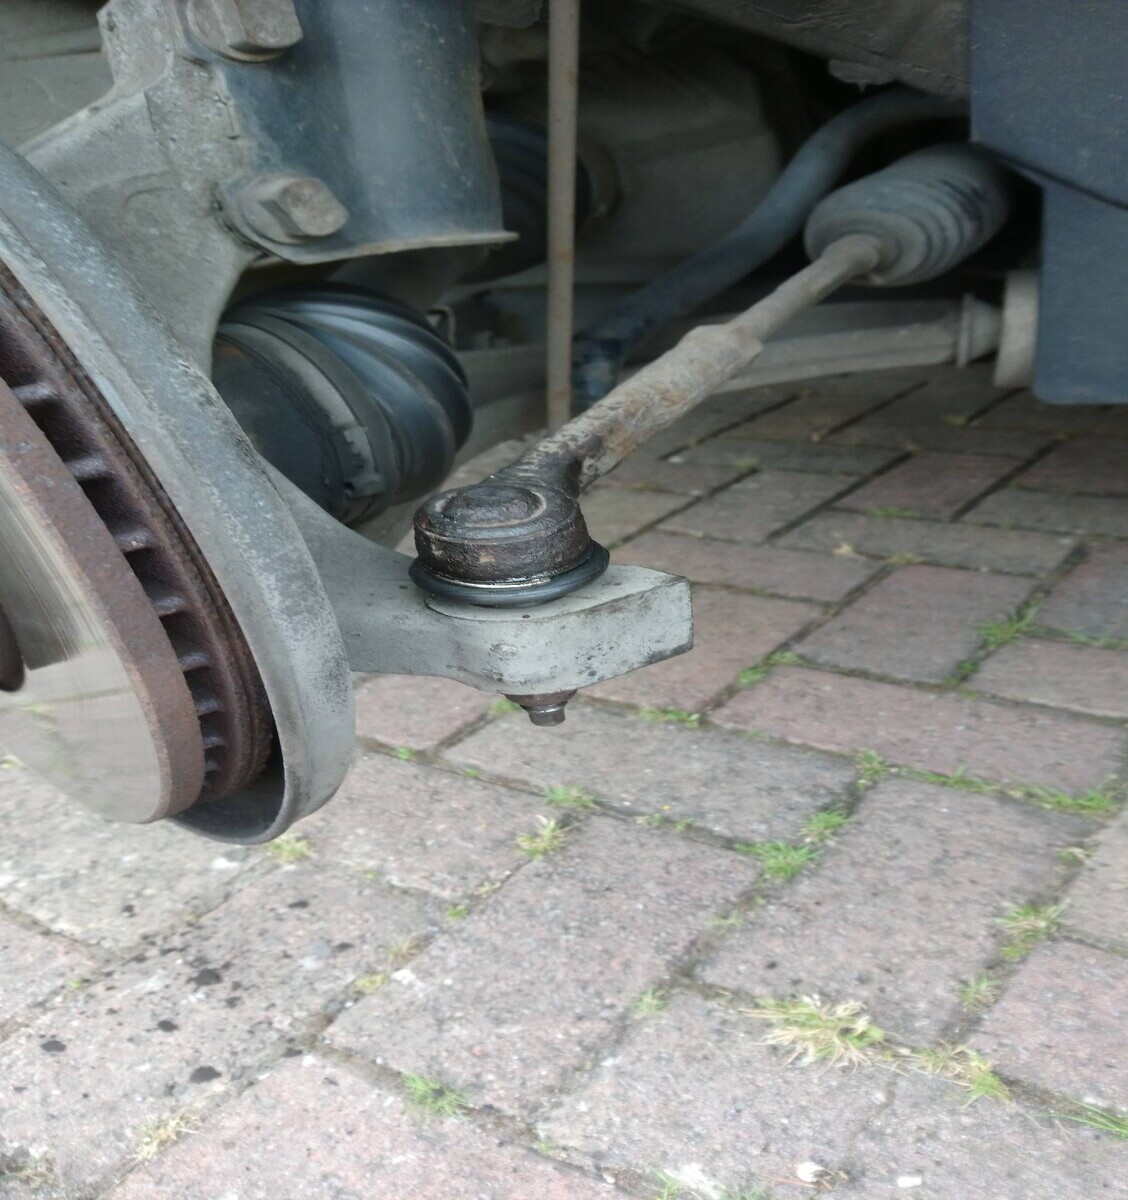
Here's the offending item. Looks ok to me?
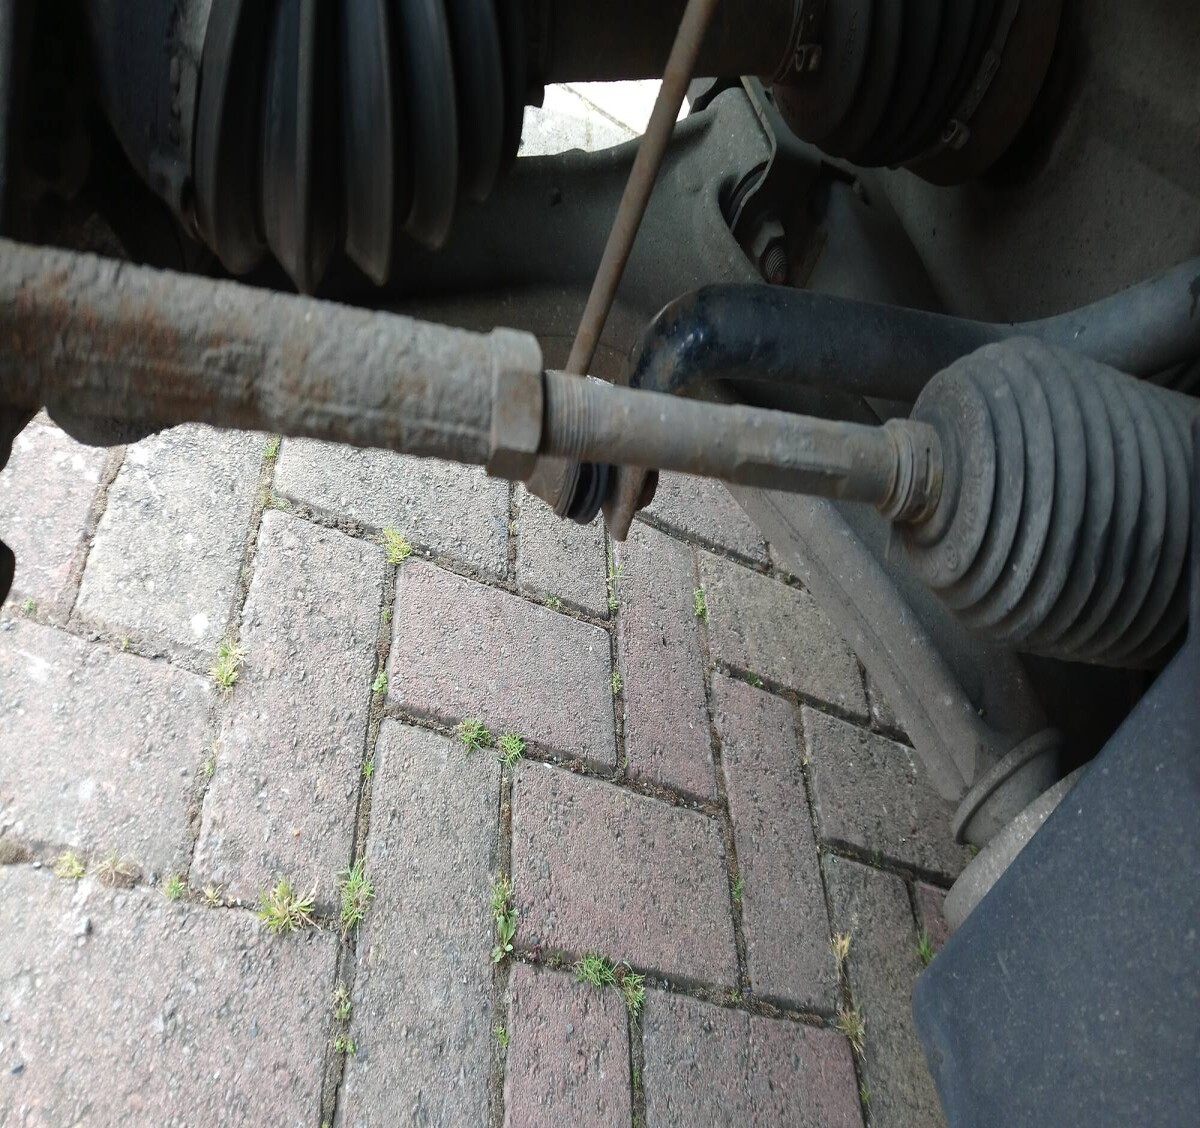
As suspected, the track rod threaded section looks pretty crusty. Crusty enough that getting it to come off would likely have been a right old carry on. Underneath the hub is a 18mm nut, I got a socket and long bar on it and with a bit of effort it came off. I walloped the end of the threaded section with a rubber mallet to pop it out the top without mushrooming the end. Et voila

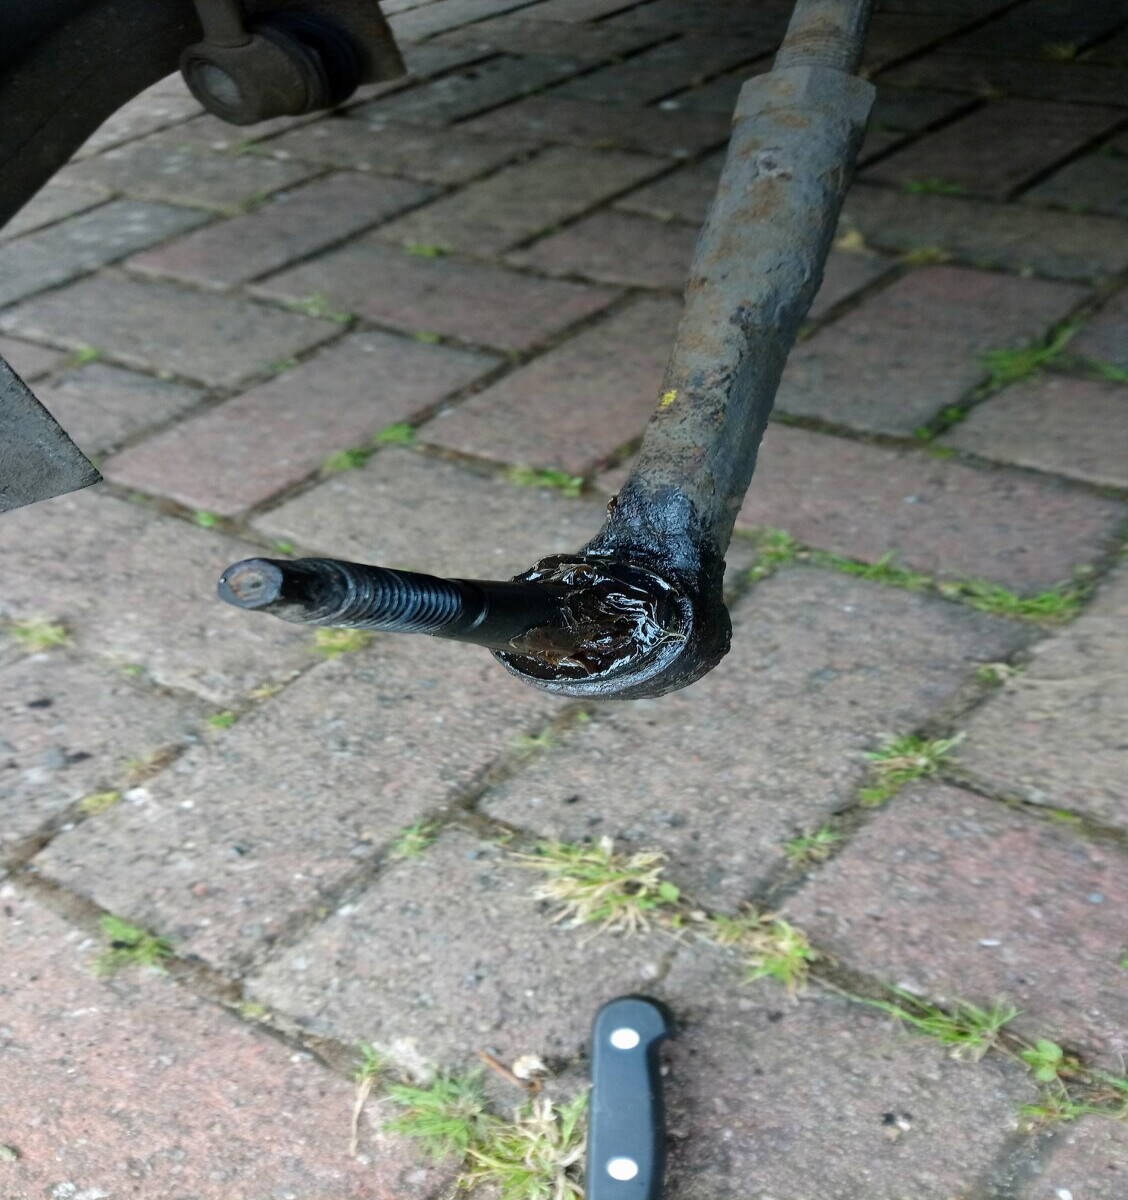
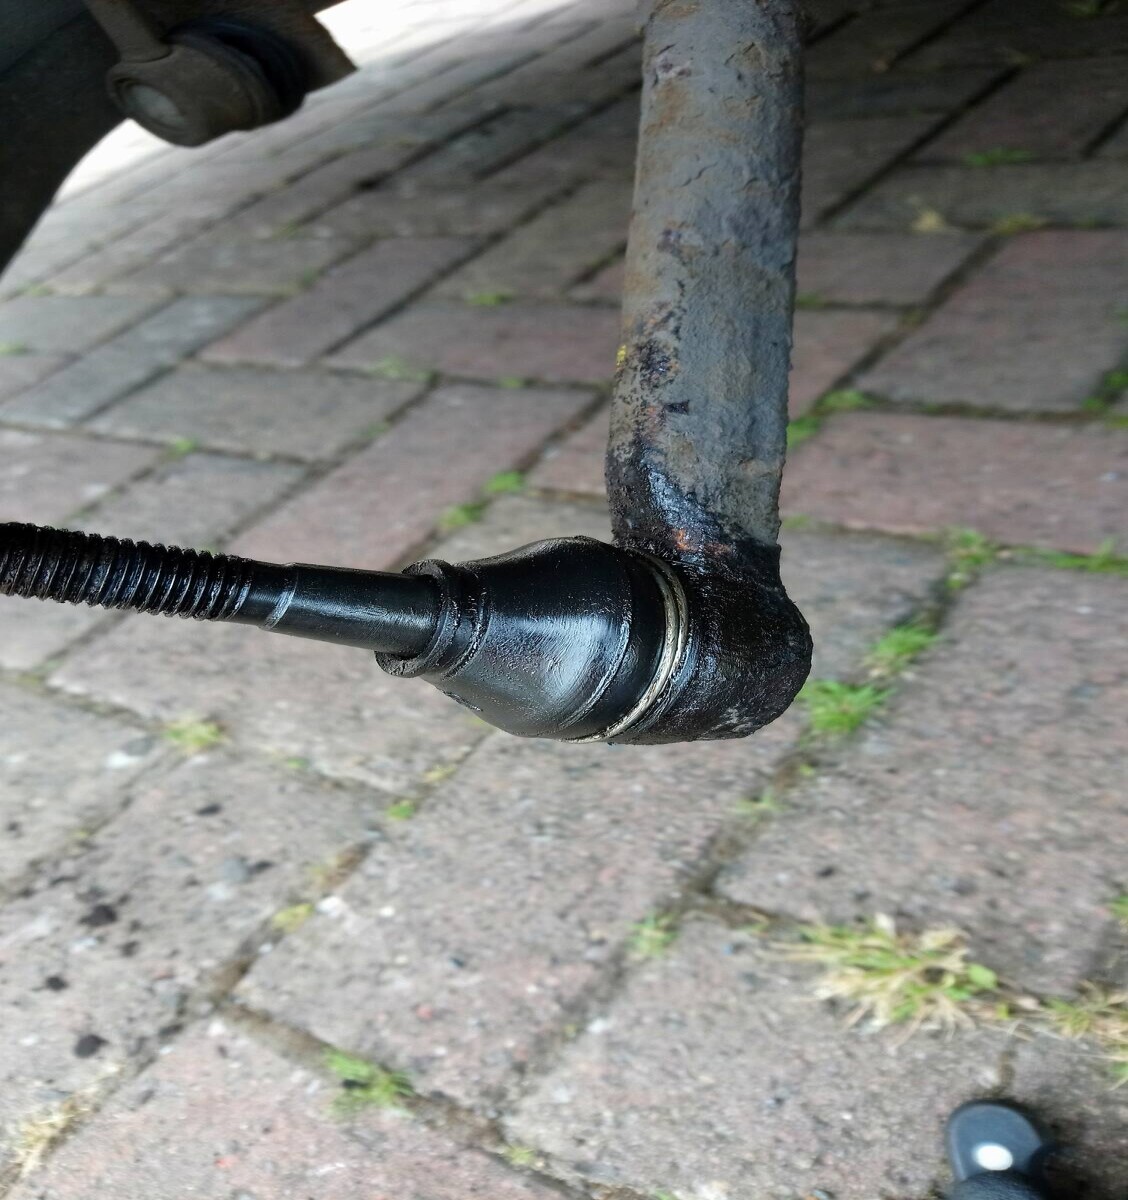
Easy enough so far. With it out of the hole there is loads of articulation. I carefully removed the bottom clip with a screwdriver, then ran a stanley blade round the top where the boot attaches to the lipped section of the TRE and slid the old one off
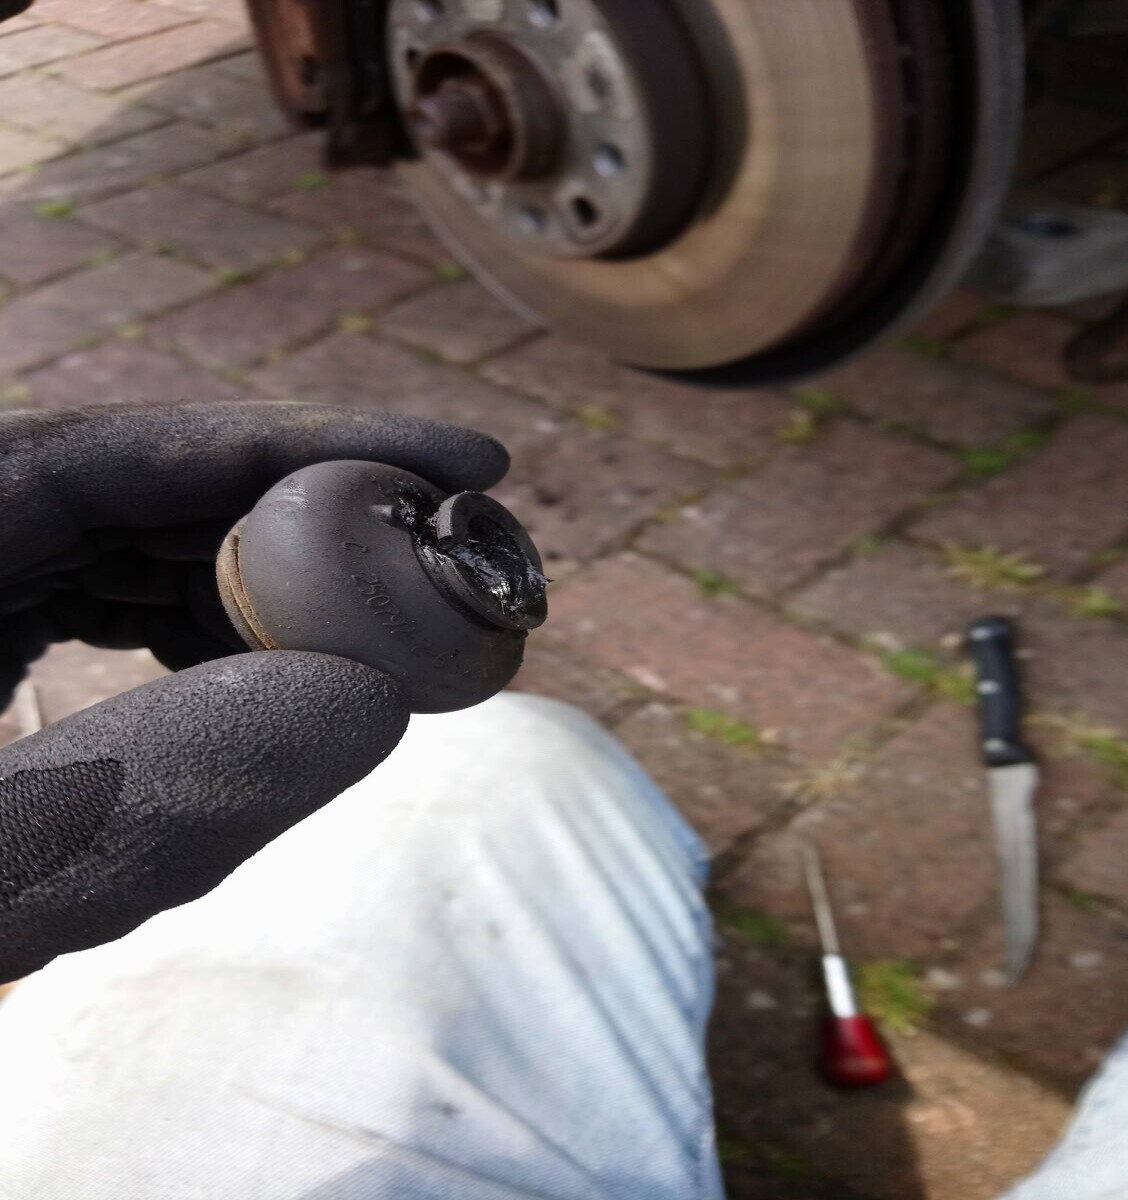
As you can see, it is indeed ripped a bit where the rubber has gotten old. How the tester managed to spot this goodness knows but there. With the boot removed we can see the crusty TRE and greasy balljoint.
There is a lipped section on the top of the TRE which the clip holds the boot onto, round the split section this was a bit cruddy and rusty so I cleaned it up with a screwdriver and stanley blade. Next up was to add more grease into the balljoint. I just used regular multi-purpose stuff and wiggled the threaded end around to work it into the joint
Next was to break open the bumper bonus bag of balljoint boots
And measure up the old one against the new ones to work out which one I should use
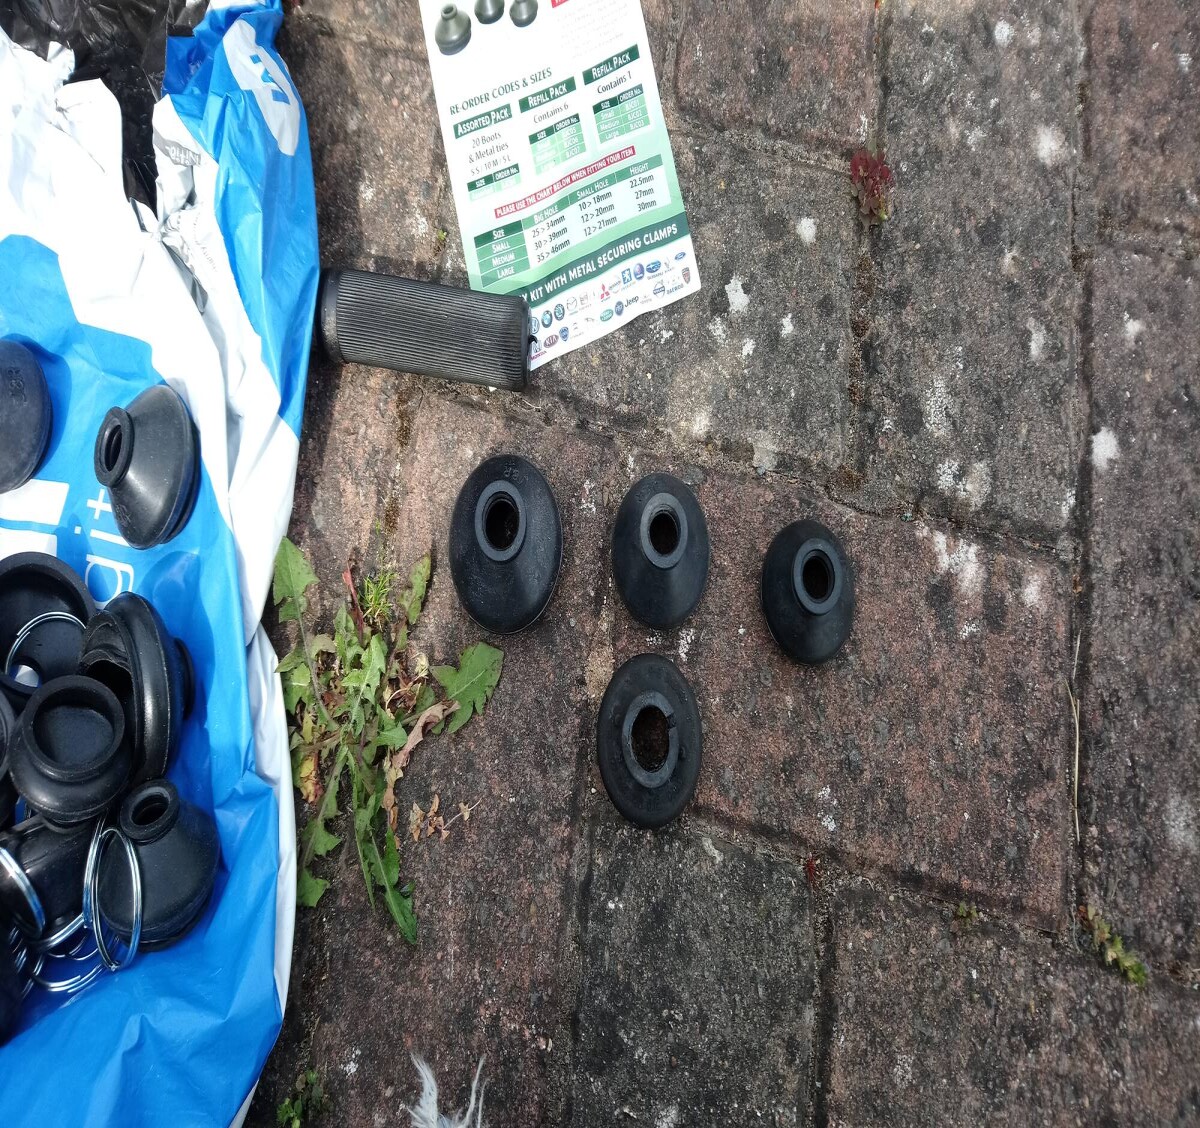
Medium it is then! You can see the clips in the left of this pic. This is where the fun began. There are 2 clips, a big on that clips the boot to the lip on the top edge of the TRE (the bit I cleaned up earlier) and then a much smaller one that fits to the top of the boot to stop grease squeezing out the top of the boot when you tighten it all up. The clips are identical sizes, regardless of which boot you use. They are also incredibly stiff and virtually impossible to get over the boot in situ, especially with greasy hands. I tried using a set of tongs to stretch one out and was going great until I applied too much POWER and bent the clip and wrecked it. With a massive amount of luck, the next one stretched just enough to wiggle it over the boot, and I used two screwdrivers to lever it off the tongs and into place. Incredibly I didn't rip the boot doing this. Here it is in place
The smaller one was slightly less of a faff, as you can slide the clip on and lever it into place on the top edge of the boot with screwdrivers. Again, I managed this without ripping the boot by pure luck. Here is is fully fitted. Is there a special tool you're supposed to use for this? The clips are sort of like the double rings you get on keyrings? Its like you need to apply outward force evenly all round the inside of the clip? But its a right old war to do with tongs and screwdrivers.

All that was left then was to refit the TRE into the hub and do up the nylock nut. This introduced more fun as with a socket on the nut, the balljoint just spun in the socket, unlike when I removed it. Eventually I realised the threaded section has a square end, so you can put an 8mm spanner on that to hold the threaded section still while you use an 18mm spanner to do up the nylock nut. Its fiddly but we got there in the end
Job done. I took it for a run to make sure it seemed OK and there were no horrible noises or stiffness in the steering so I hope that's sorted it? Worst case scenario it falls apart and I have to cave in and do the entire TRE and have it re-tracked. I was going to do both boots, including the offside but after the carry-on with the clips I CBA. I suspect its not far behind this one but the MOT man didn't mention it so maybe something for next year?


