
Introduction
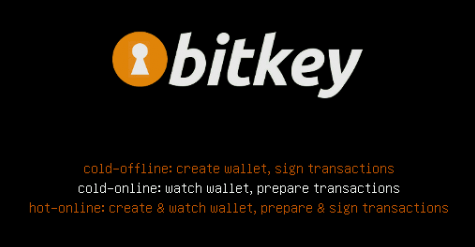
Hello! Anidel here for another simple but useful tutorial. Today I want to show you how to create a bootable USB Bitkey is a bootable iso.image that can be burned to a CD/DVD or copied into a bootable USB drive or USB flash drive. It contains many tools to enable its users to make offline bitcoin transactions.
Task List
- Download all necessary files.
- Install and setup the software and hardware we will be needing.
- Test the software we have installed.
Requirements
- RUFUS USB utility program
- Bitkey ISO image
- Internet connection
- Web browser
- Computer (where we will boot the created bootable USB drive)
Equipment used
- HP Elitebook G1
- Kingston 4GB USB Drive
Procedure
The first thing we would like to do is to download the necessary files that is needed to accomplish our task There are only two primary files that we will be needing the RUFUS USB utility program and the Bitkey ISO image. You may download the files here: RUFUS and BITKEY.
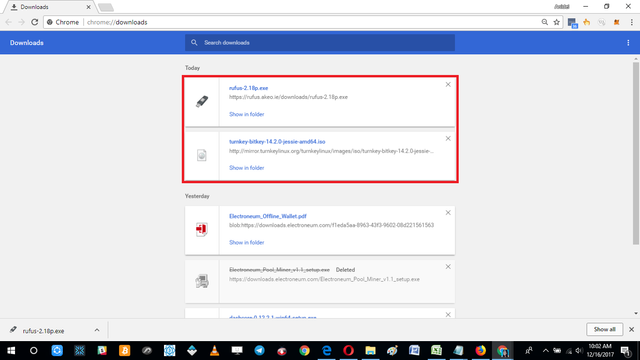
After you are done downloading the file we put them in the same folder so that you can easily access them and start creating the bootable media. There are two ways of doing this. The first method is just by burning the bitkey ISO image in a CD/DVD, or we could use RUFUS to create a USB Bootable drive. USB's are a lot more convenient to carry and more durable so we are doing that.
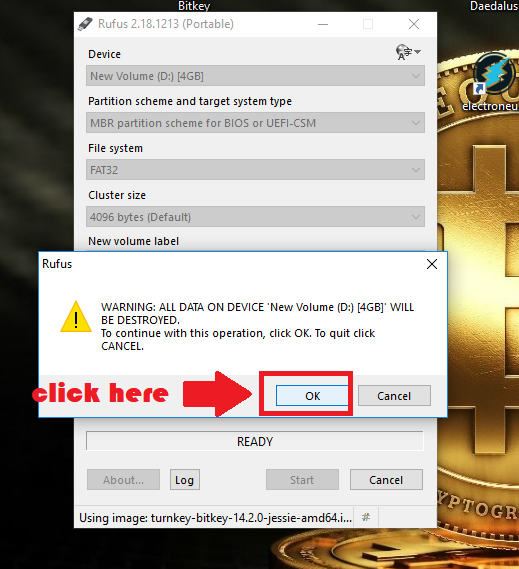
We start the creation process by opening the RUFUS and setting it up for the proper image copying to the USB drive. Make sure that the USB drive is inserted and recognized by the computer system you are using to create the bootable USB drive (RUFUS will erase information on the drive, make sure you remove all important files in the USB drive or store it somewhere else.)
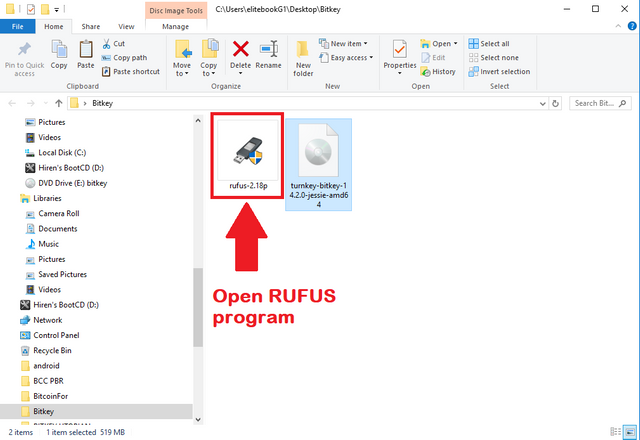
When you try to open the portable executable file of RUFUS you will get some warning messages and permission requests. Just confirm all the warnings and permissions request I can assure you that RUFUS is malware-free. Once open you will see something like this:
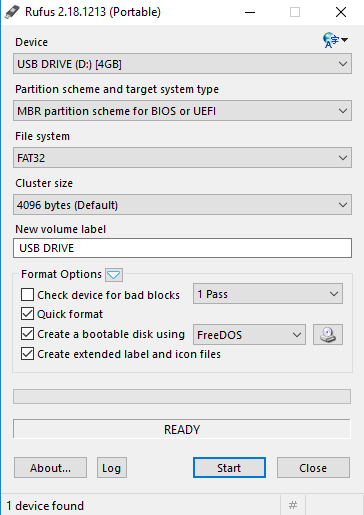
After opening the RUFUS we set it up to copy the bootable ISO image to the USB. Just follow the directions shown at the screenshot below:
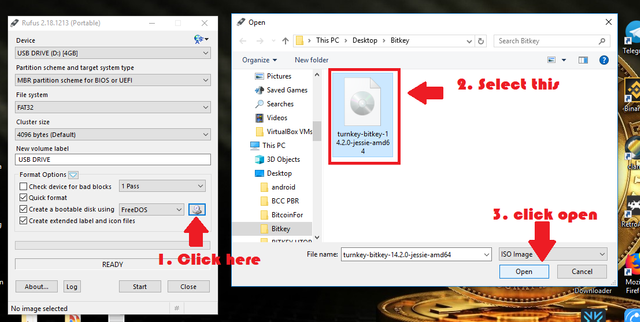
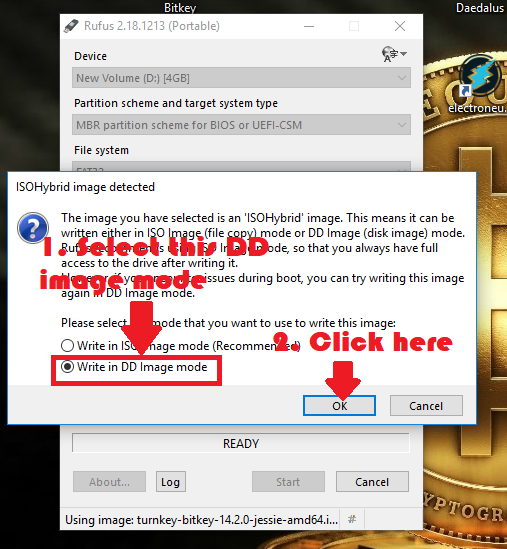
Once the ISO image is selected and loaded in the RUFUS program we set up the parameters of the program as shown in the screenshot below:

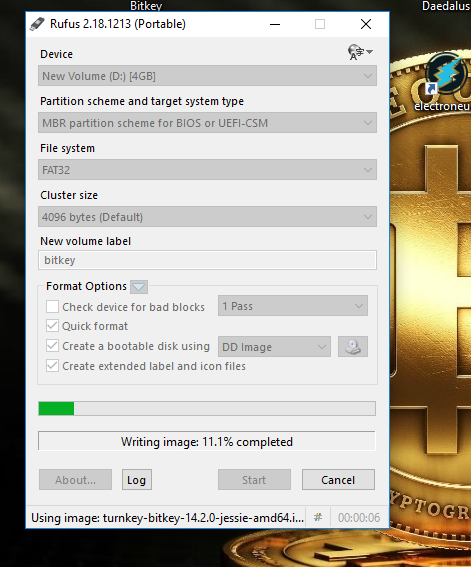
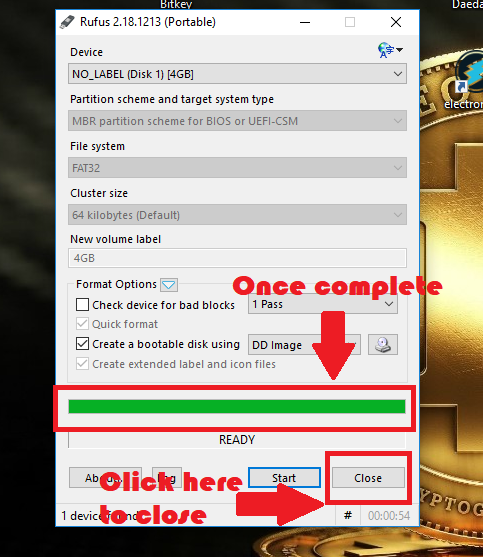
Once the progress bar is full green this means that RUFUS is already done copying the ISO image. Now we test it in a computer.
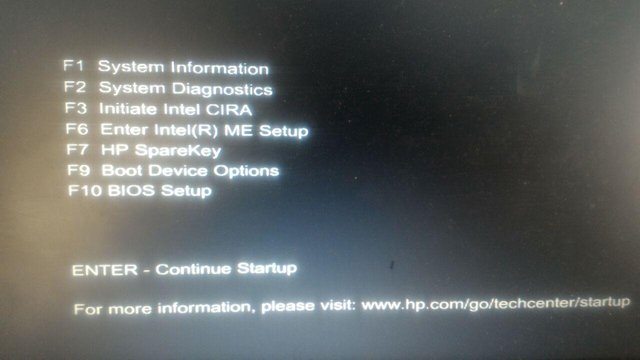
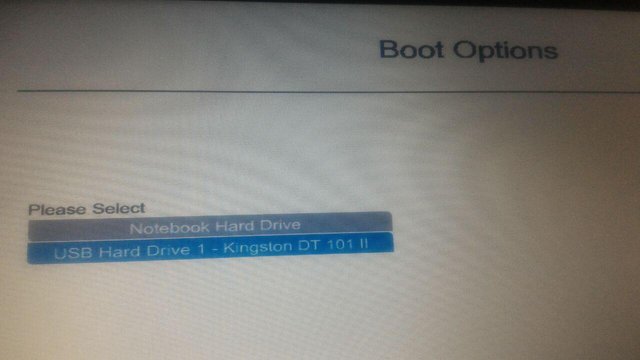
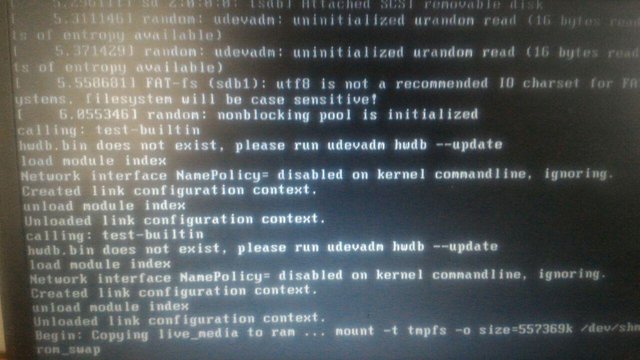
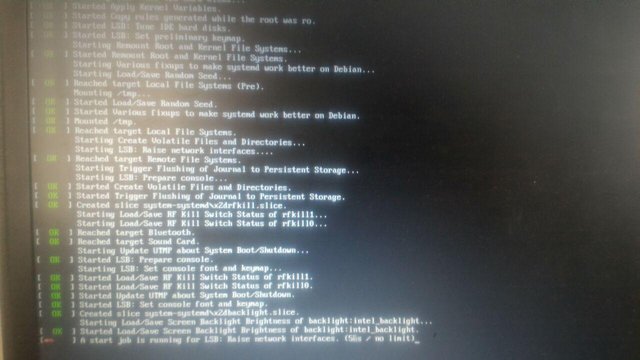
Restart and set your computer to boot from USB. You don't need to change the default settings. Just follow the screenshots posted below until you reach the desktop of the Linux based Bitkey bitcoin tool box.
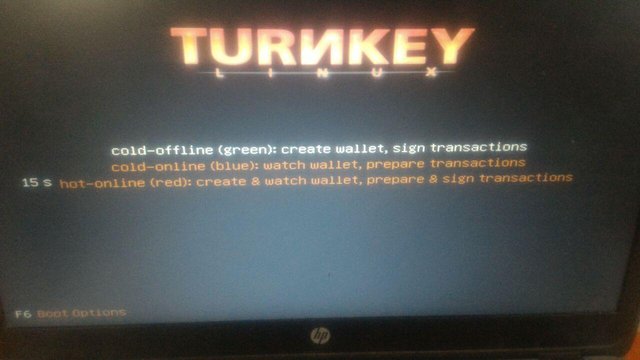
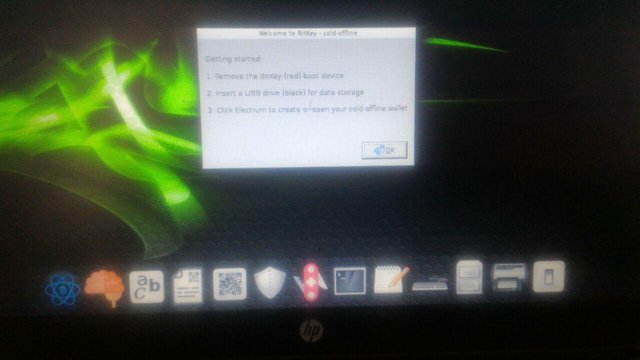
If you reach this above photo you have successfully booted from the USB. Now you can create your wallet and explore Bitkey. Thanks for reading my tutorial I hope you find it useful. Until next time Goodbye!


