
3 steps to subscribe to smart-contract events
Prerequisite: Knowledge of Node.js and a basic understanding of blockchain and Ethereum smart contracts
One of the biggest issues with decentralised applications (DApps) is user experience. DApps can be clunky and difficult to work with. Providing real-time, up-to-date information in your DApp is essential.
Here’s how to subscribe to smart-contract events so your DApp can always display the most up-to-date information from the blockchain.
1. Load web3
Firstly, we need to connect MetaMask to our DApp by loading web3 in the browser. Figure 1 shows how we can do this.
const Web3 = require("web3");

window.web3 = new Web3(window.ethereum);
window.ethereum.enable();
Figure 1: Load web3
Line 4 shows the command that attempts to connect MetaMask to our DApp. When this is called, MetaMask will open a prompt window requesting a connection, shown in Figure 2.
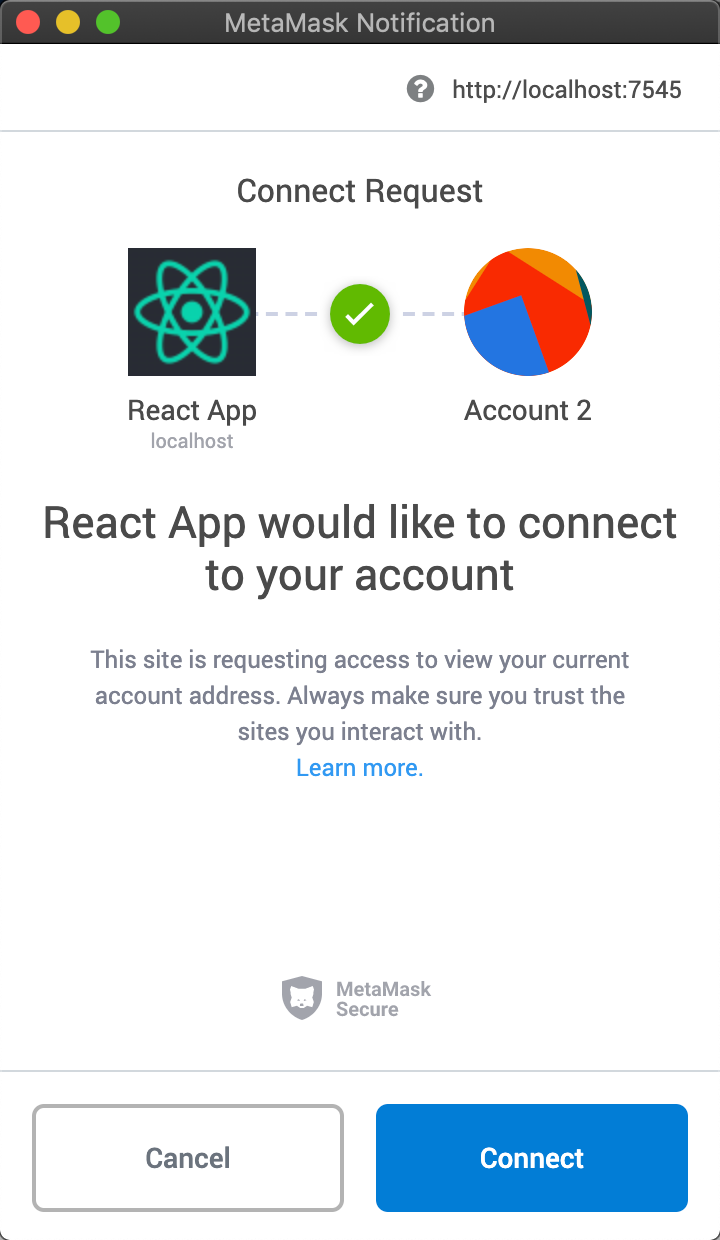 Figure 2: Metamask prompt
Once accepted, your DApp is connected.
Bonus tip: Use this pattern when loading to the blockchain for even better user experience.
2. Load the Smart Contract
Next, we need to load the smart contract, which emits the event we want to subscribe to. For this example, we have a smart contract called MyContract, which emits an event called MyEvent.
import MyContract from "./contracts/MyContract.json";

const networkId = await web3.eth.net.getId();
const deployedNetwork = MyContract.networks[networkId];
const myContract = new web3.eth.Contract(
    MyContract.abi,
    deployedNetwork && deployedNetwork.address,
);
Figure 3: Load the smart contract
Figure 3 shows how we load the smart-contract instance into our DApp. On line 1, we import the compiled smart-contract JSON file. Lines 3 and 4 collect network details. Then, line 5 initializes our smart-contract instance by calling web.eth.Contract() with our network details. We can now interact with the smart contract on the blockchain using the myContract instance.
3. Subscribe
Using the instance we created in step 2, we can subscribe to listen out for any events that it emits.
myContract.events.MyEvent({})
    .on('data', async function(event){
        console.log(event.returnValues);
        // Do something here
    })
    .on('error', console.error);
Figure 4: Subscribe to "MyEvent"
As stated earlier, the event we want to listen for is called MyEvent, and figure 4 shows us how. Our myContract instance has an accessor called events from which we can target MyEvent. This is an asynchronous function that returns a promise, and it’s called every time MyEvent is emitted.
Line 3 defines what happens once data has been returned from the promise. Here we’re simply logging the event values to the console, but this is where we’d code features like alerts or interface updates to update the user on the event that’s just occurred.
Using this logic, every MyEvent emitted from MyContract will be caught here.
Learn More
If you’re interested in Blockchain Development, I write tutorials, walkthroughs, hints, and tips on how to get started and build a portfolio. Check out this evolving list of Blockchain Development Resources.
If you enjoyed this post and want to learn more about Blockchain Development or the Blockchain Space in general, I highly recommend signing up to the Blockgeeks platform. They have courses on a wide range of topics in the industry, from Coding to Marketing to Trading. It has proven to be an invaluable tool for my development in the Blockchain space.


