

Today I drew the character of the Actor Sylvester Stallone. I love this character very much; if you see Sylvester Stallone in any movie, then know that the movie will be very exciting. He has grown old, but he still delivers a very good performance. Drawing him will be a very great honor for me. I hope he sees it one day. And you who are viewing this artwork, I hope you interact with it; maybe I will get some financial return from it.

This is the first stage of the drawing, in which I focused on sketching the basic facial features of Sylvester Stallone with thin and clear lines, without details or shading.
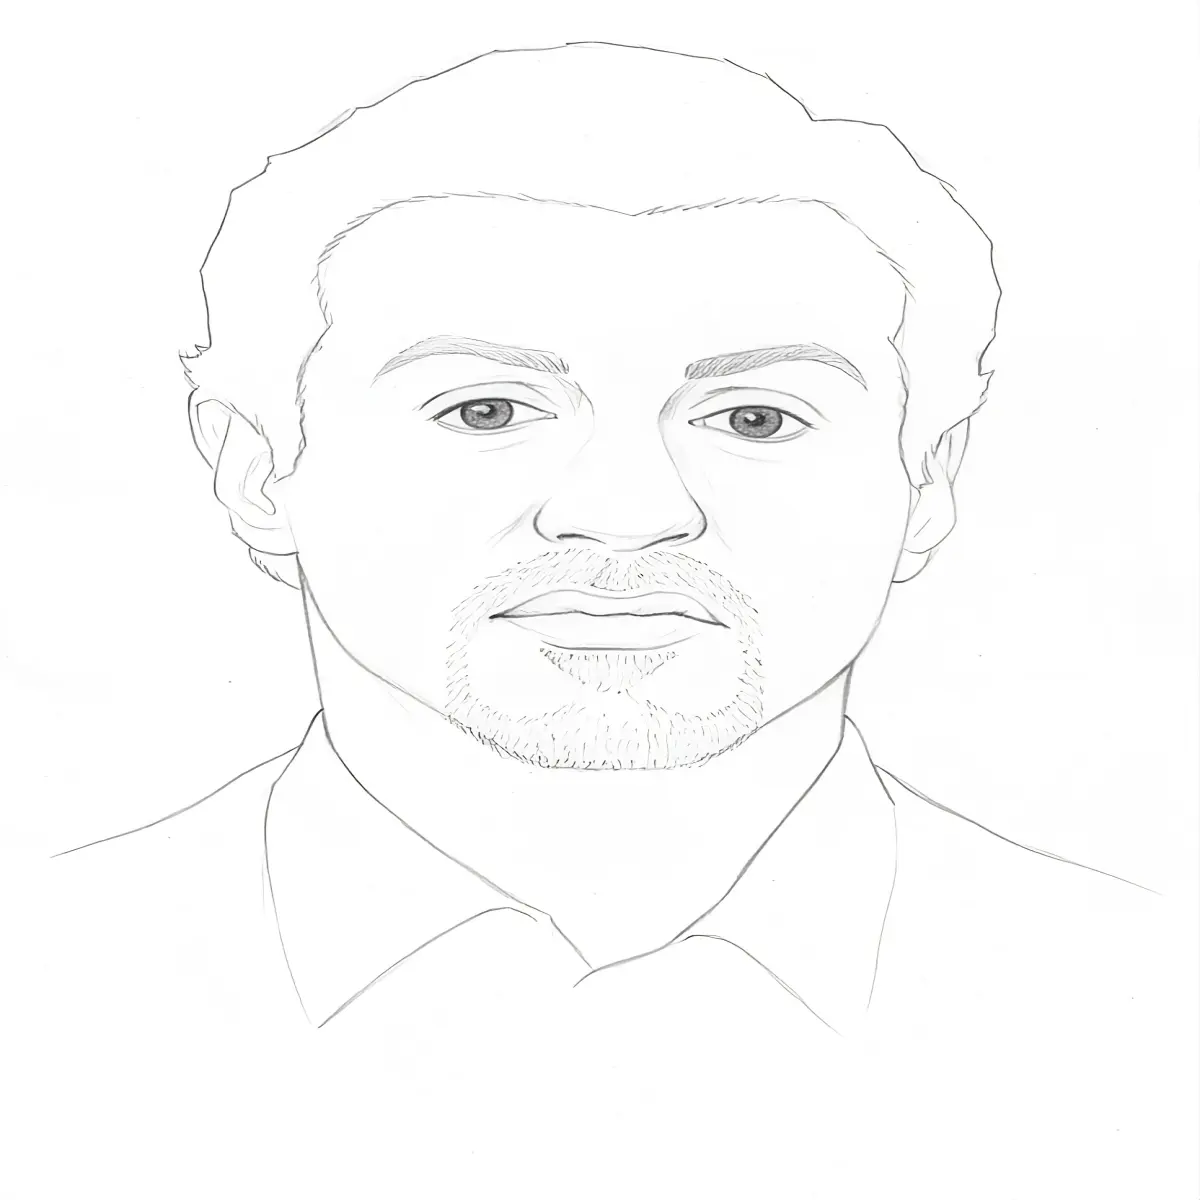
In the second stage, I added the basic details of Sylvester Stallone features, such as the features of the eyes, nose, and mouth with greater precision. I also began to show the facial expressions and add light shading and a short beard that give the character its distinctive realistic appearance. This step gave the drawing greater depth and made the features closer to reality.
In the third and final stage, I completed the drawing of Sylvester Stallone character ✏️.
Here I added deeper shading to highlight the facial details accurately, focusing on the wrinkles and fine lines that reflect his strong features. I also added the beard texture realistically, and drew the suit and tie to give him his well-known elegant appearance. This stage finished the work and made the character look alive, as if he is about to step out of the paper.
And with this, I have finished drawing the character Sylvester Stallone, where I documented for you every stage I drew. I hope you like my drawing. It is not professional drawing, but I put all that I have into these drawings, and I hope you like them.
You can follow us on
Twitter: https://x.com/Philip_jones__
steemit : https://steemit.com/@tradeexperts
blurt.blog: https://blurt.blog/@philip.jones
Publish0x: https://www.publish0x.com/@Philip-jones
Tools Used in Drawing
Stage One: I used a pencil to draw the initial lines and outline the character's features.
Stage Two: I relied on Picsart Pro to change the background and add the basic coloring.
Stage Three: I used Snapedit.app to improve the final image quality and make it clearer and more precise.






