
INTRO
Imagine two students with the same skills. One says "I can design." The other shares a simple page with three real projects, a short explanation of each and an easy way to get in touch. Who would you trust with a job?
A portfolio is simply proof of your work in one place. It doesn't need to be fancy, it doesn't need to cost money and you don't need to be an expert. This guide shows you exactly how to build one, step by step.
Why a portfolio matters
A CV lists what you say you can do. A portfolio shows what you have done. For students with little formal experience, this is often the biggest advantage you can give yourself. It also works for anyone: writers, designers, coders, tutors, engineers and social media managers.
What a strong portfolio page contains
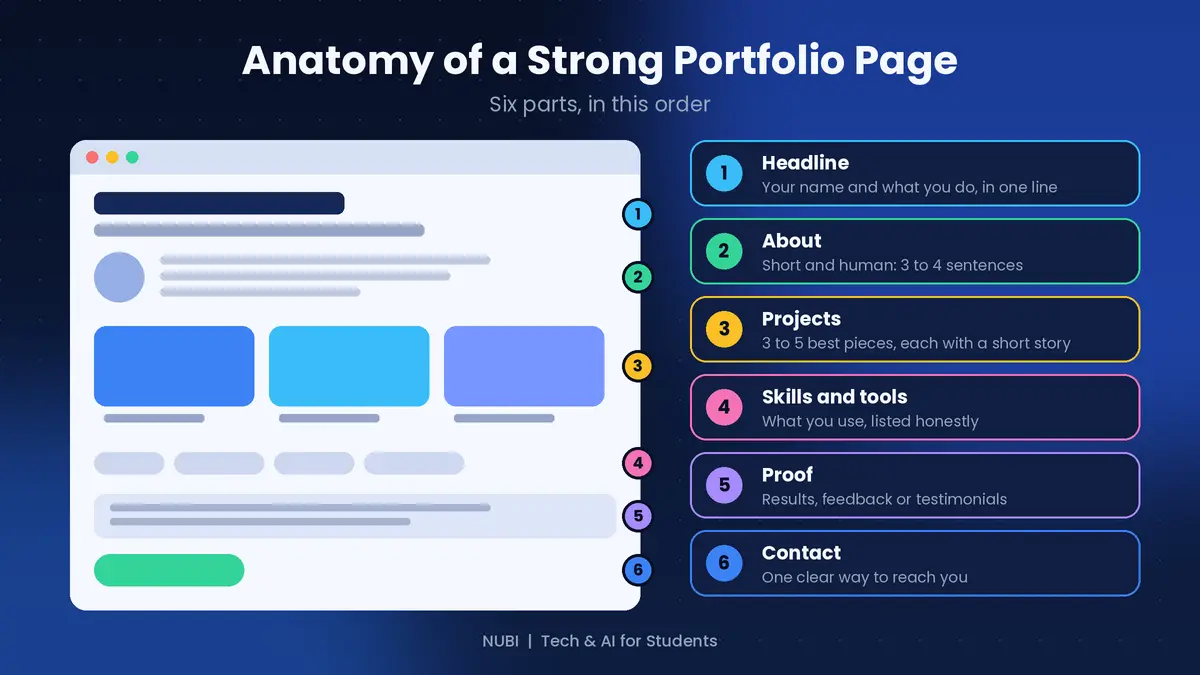
Keep it to six parts, in this order:
Headline: your name and what you do, in one line. For example: "Student writer helping beginners understand tech."
About: three or four short, human sentences. Who you are, what you're learning and what you want to do.
Projects: your three to five best pieces, each with a short story.
Skills and tools: what you use, listed honestly. Don't list a tool you can't use.
Proof: results, feedback or testimonials, if you have them.
Contact: one clear way to reach you.
If a visitor can't tell who you are and what you do within five seconds, simplify the top of the page.
Where to host it for free
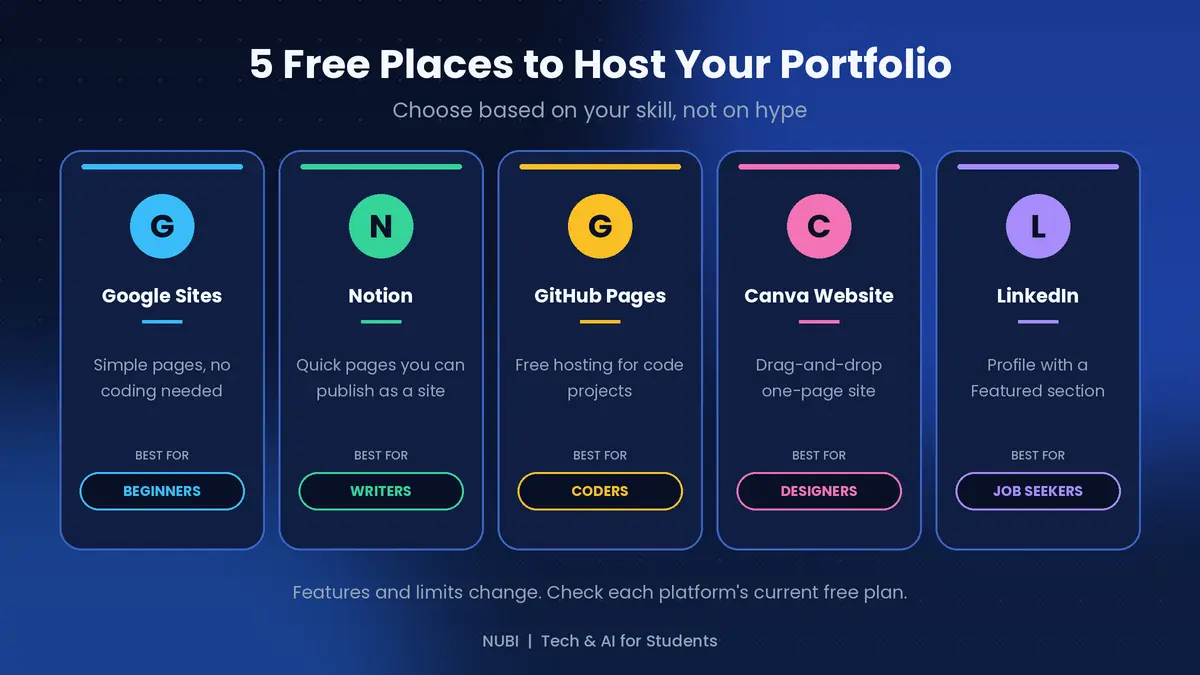
Google Sites: simple pages with no coding. A good first choice for beginners.
Notion: quick pages that you can publish as a website. Good for writers.
GitHub Pages: free hosting for code projects. Best for people learning to code.
Canva Website: a drag-and-drop one-page site. Good for designers and anything visual.
LinkedIn: a profile with a Featured section where you can show work. Good for jobs and networking.
Pick one and start. Don't spend weeks comparing, because a simple page published today beats a perfect page that never launches. Free features and limits change over time, so check each platform's current free plan before you commit.
Write each project as a story
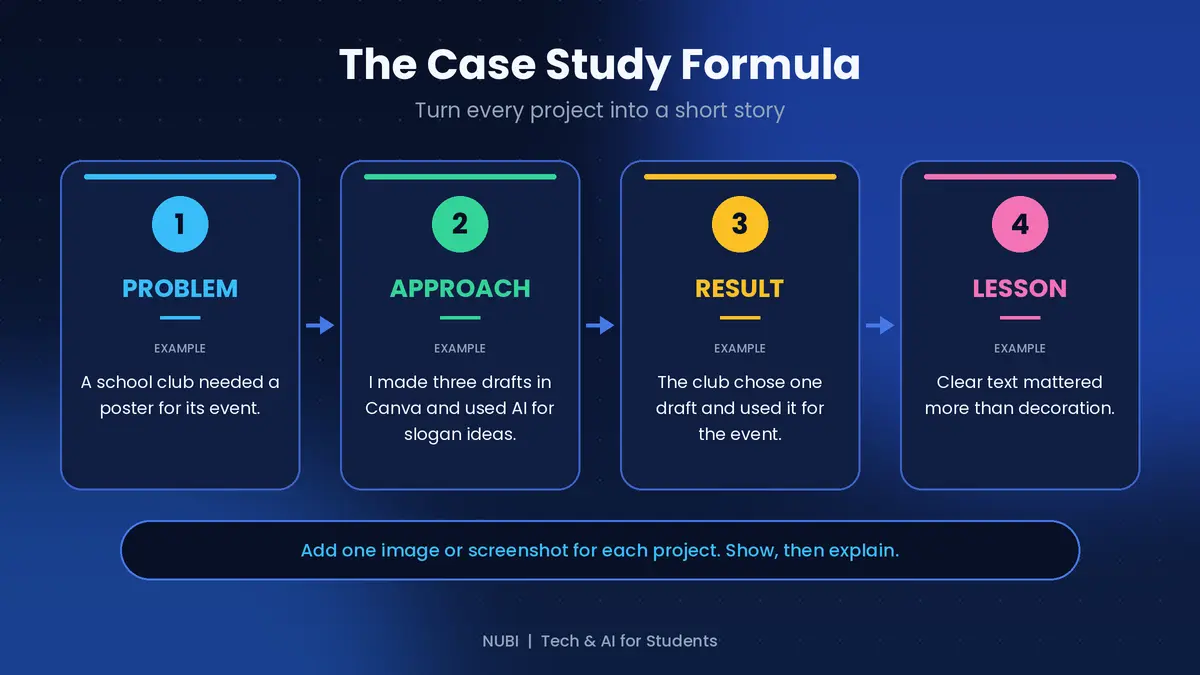
Most students post an image and nothing else. The students who stand out explain their thinking, using four short parts:
Problem: what needed to be done.
Approach: what you did and which tools you used.
Result: what happened.
Lesson: what you learned.
For example: A school club needed a poster for its event. I made three drafts in Canva and used AI for slogan ideas. The club chose one draft and used it for the event. I learned that clear text mattered more than decoration.
That's four sentences, and it shows planning, tool use and reflection, which many employers and clients care about.
What if you have no projects yet?
Make them. Redesign a poster for a real event, write a guide on something you know, build a small tool or make a study plan for a course. Self-started projects count as long as you're honest that they're self-started.
Use AI to help, not to fake
AI is useful here. Ask it to tighten your project descriptions, suggest headline options or check your spelling. For example: "Here is my project description. Make it clearer and shorter, but keep it accurate and in my voice." Never use AI to invent results, clients or testimonials. If someone checks and finds a fake claim, your credibility is gone.
Build it in 7 days
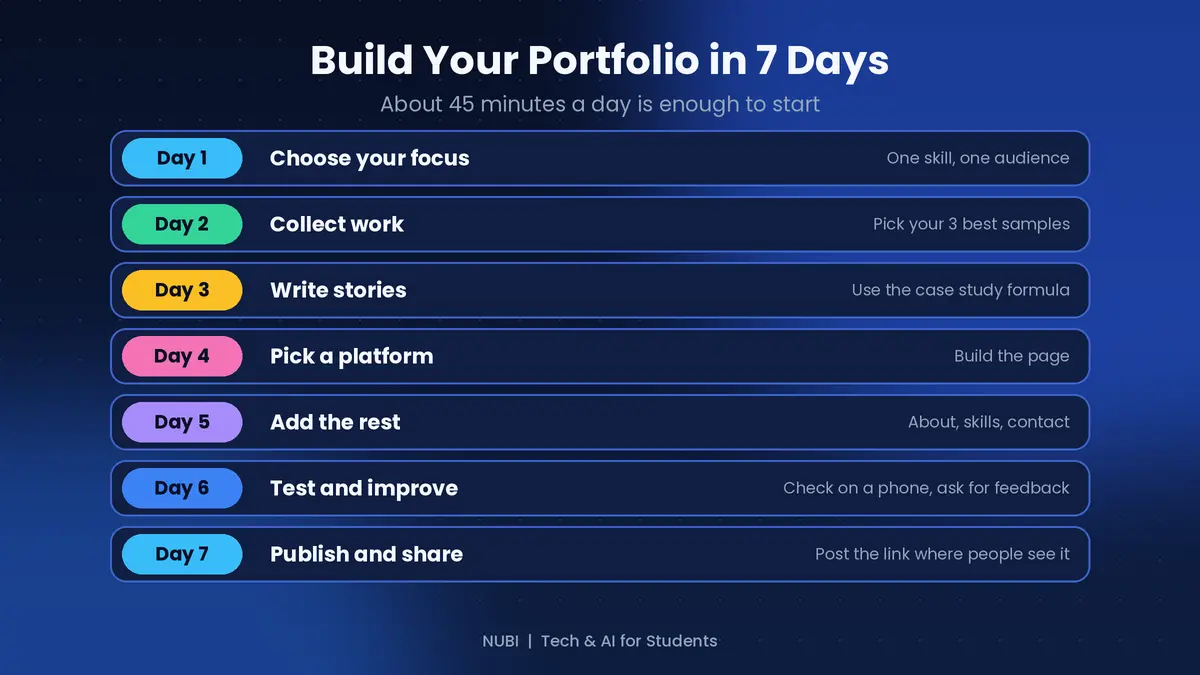
Day 1: choose your focus. One skill, one audience.
Day 2: collect your three best samples.
Day 3: write the project stories using the formula above.
Day 4: pick a platform and build the page.
Day 5: add your About, skills and contact sections.
Day 6: test it on a phone and ask a friend or senior for feedback.
Day 7: publish and share the link.
About 45 minutes a day is enough to get started.
Check this before you publish
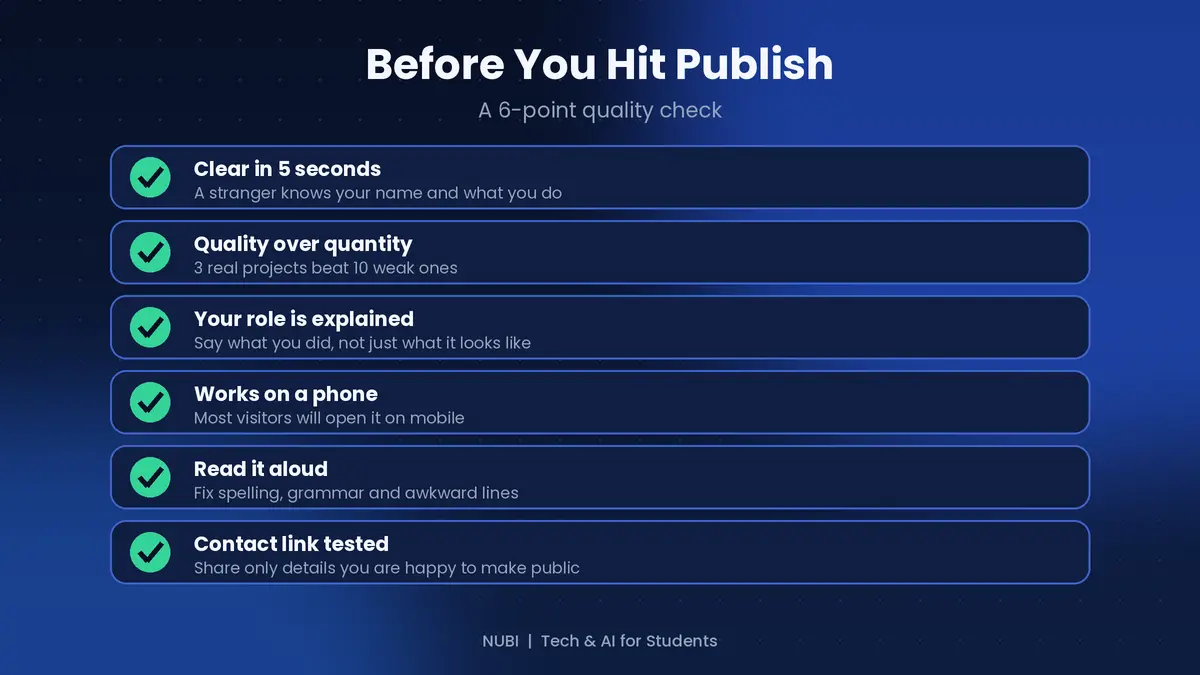
A stranger understands who you are in five seconds
You show three real projects, not ten weak ones
Each project explains your role
The page works on a phone
You've read it aloud to catch mistakes
Your contact link works, and you only share details you're comfortable making public
On that last point, don't put private information like ID numbers, your home address or passwords on a public page.
Quick recap
A portfolio shows your work, not just your claims
Use six parts: headline, about, projects, skills, proof, contact
Host it on a free platform that fits your skill
Write each project as a short story
Use AI to polish, never to fake
Publish, share and keep improving
Final thoughts
You don't need a perfect portfolio, just a real one. Start with three projects, publish this week and improve it as you grow. Which platform will you use? Tell me in the comments and I'll write a detailed guide on it.
Support this blog
If this guide helped you, you can tip me. Every bit helps me keep creating free guides for students. Thank you!
Next: how to spot fake AI content and misinformation online. Follow so you don't miss it.






