Hi all!
As I told you in my previous post, I'm a professional illustrator and comic colorist. What I want to do here is to share my work with you, explain the process, the steps from the first sketch to the final drawing, and have your opinion about it.
The first illustration I wanted to show you is this little fairy. I love this one because I had much fun painting it!
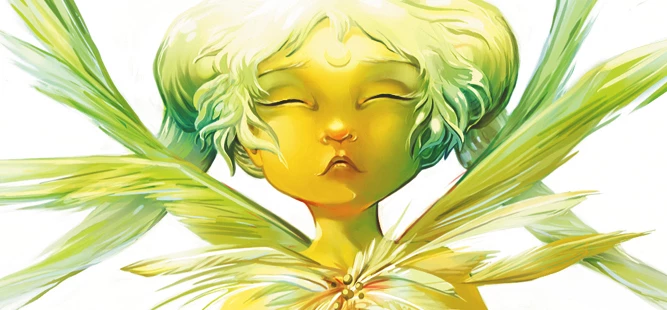
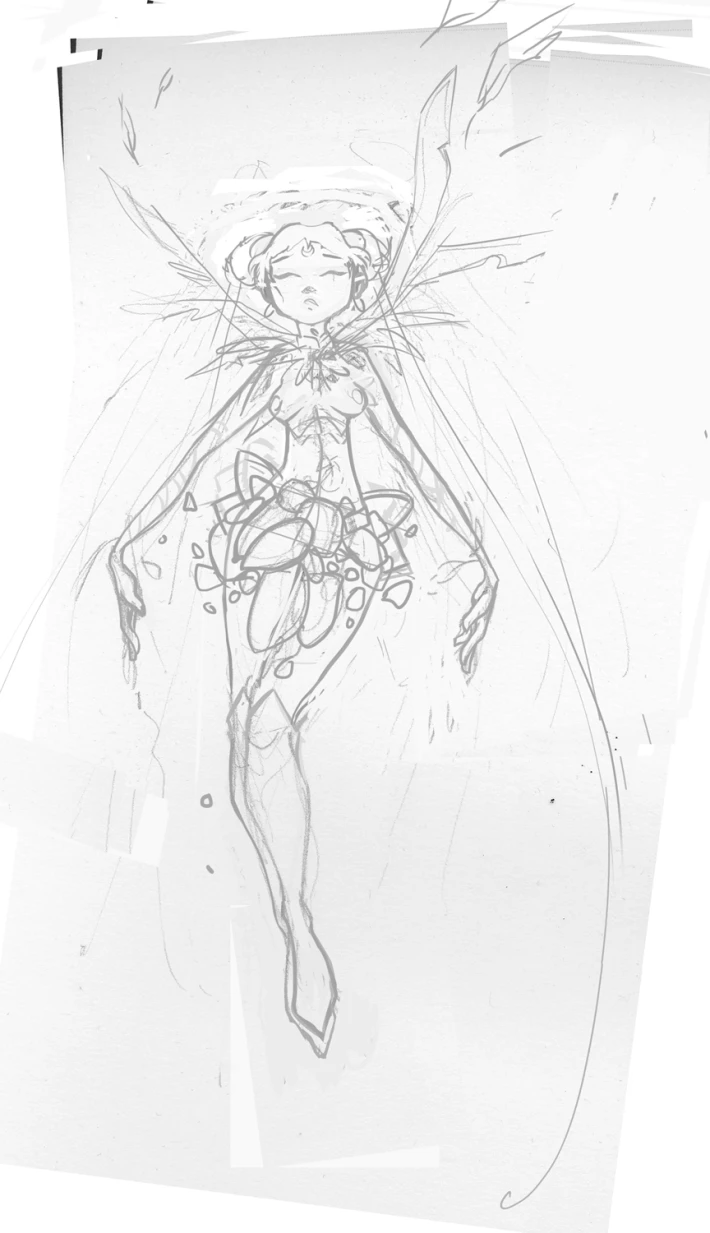
I began with a pencil sketche, on a piece of paper. That's the start point.
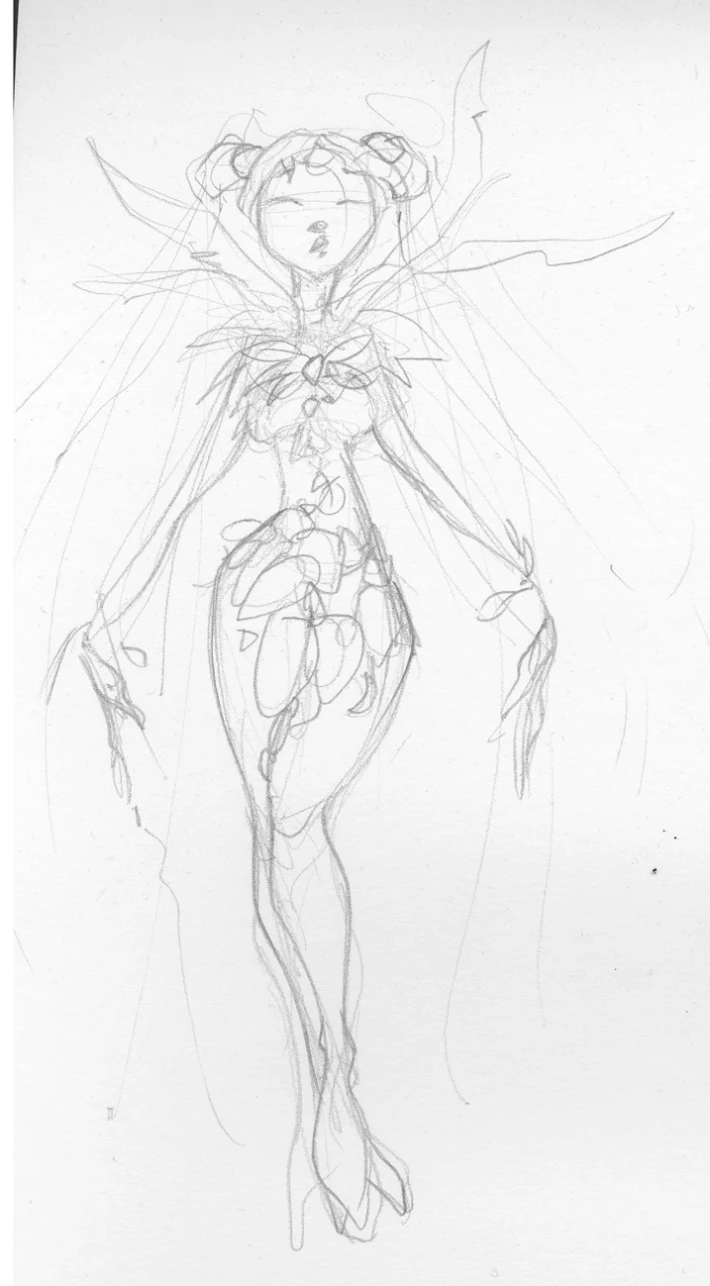
I scanned it and reworked it with the pencil tool on Photoshop. The next steps are only digital, I didn't use a real pencil anymore. Here, I tried a version with the head turned on the right side, but I was not convinced...
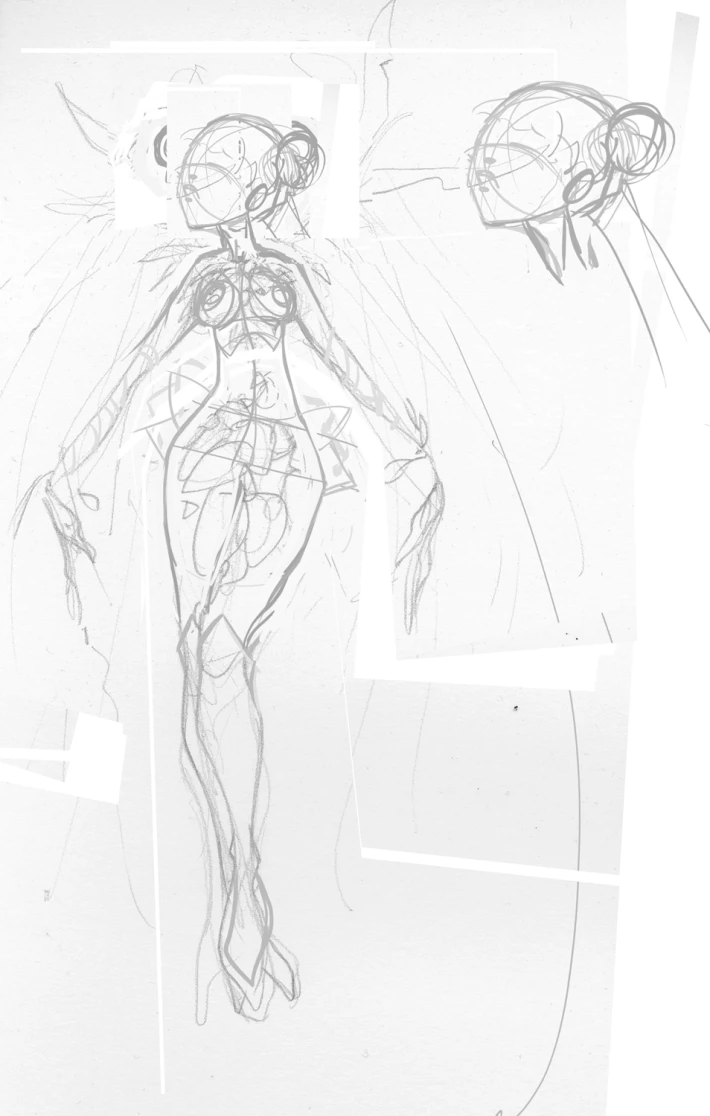
So I changed it, and I was more satisfied, even if it was not perfect yet :-) I also worked on her chest, I didn't want it to be too big...
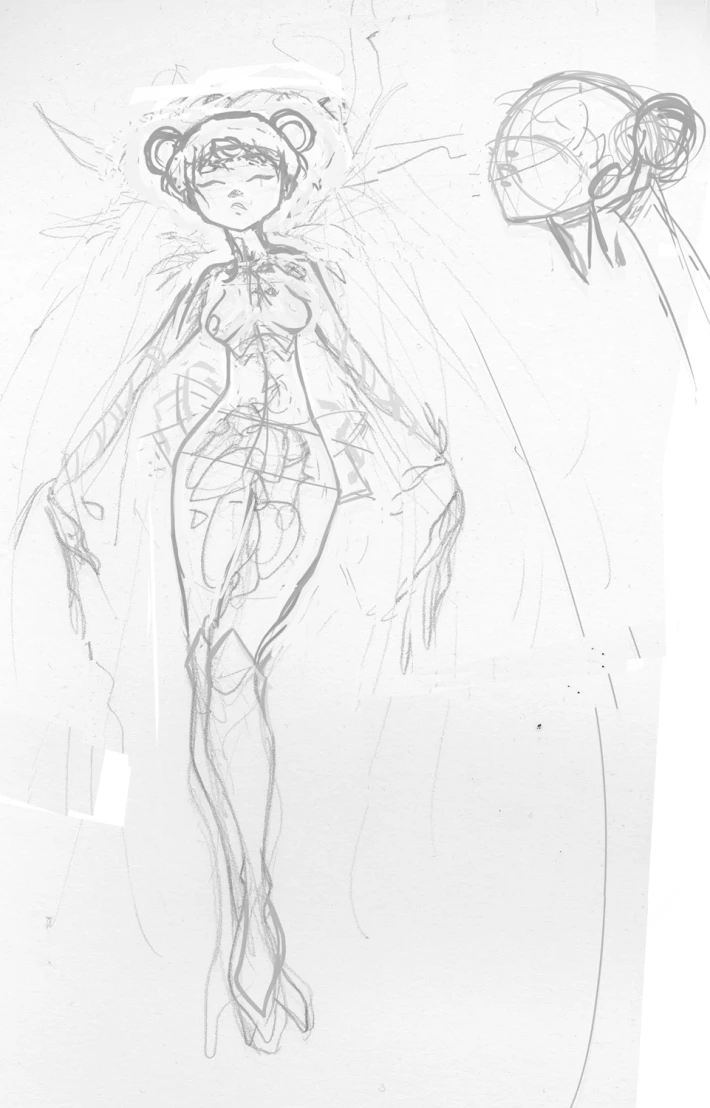
Then I made a rotation of the whole image, and put the head at the right place. I added details and the hands, and drew a sketch of the wings behind her. I wanted it to be delicate, majestic and magic...
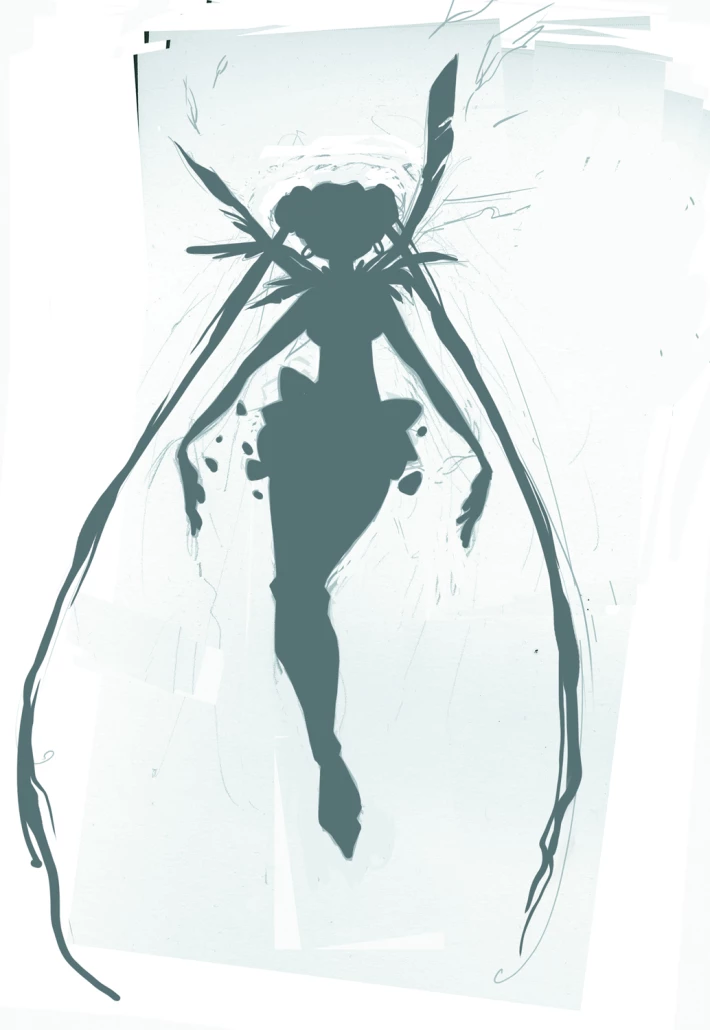
Last step before coloring: I overpainted the character to see the global shape. I think it has to be understandable to be a good charadesign...
And here are the steps for the coloring!
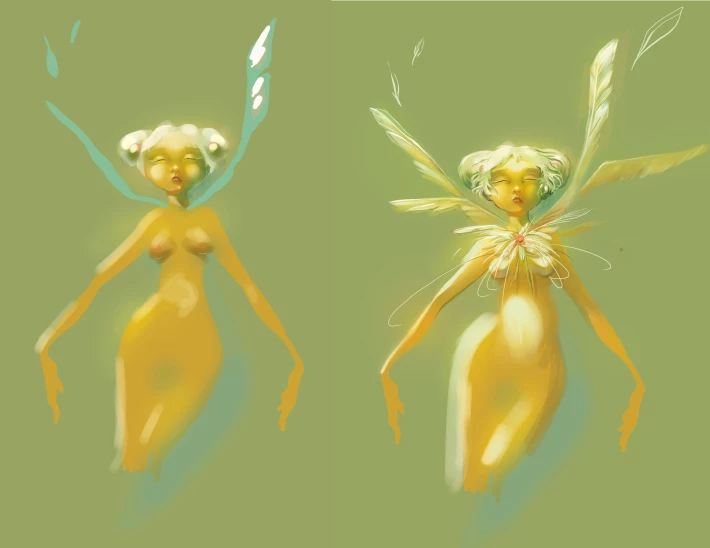
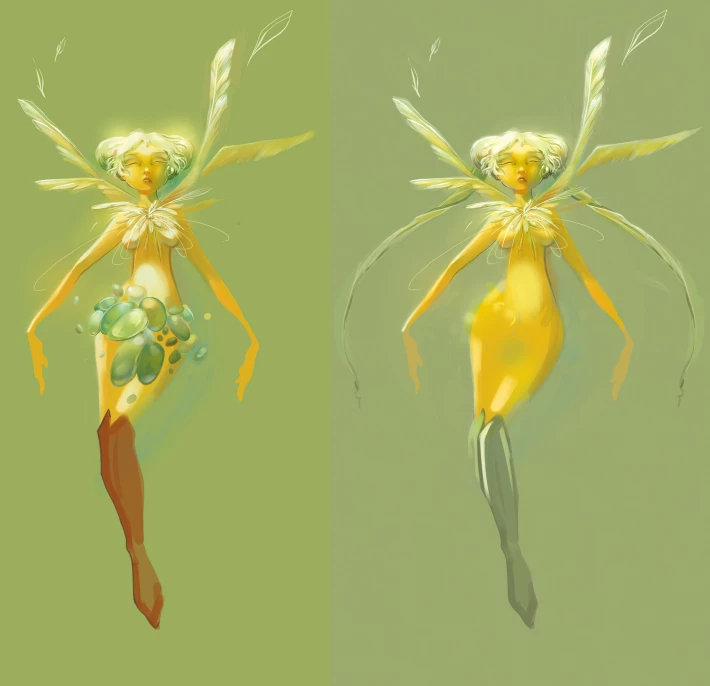
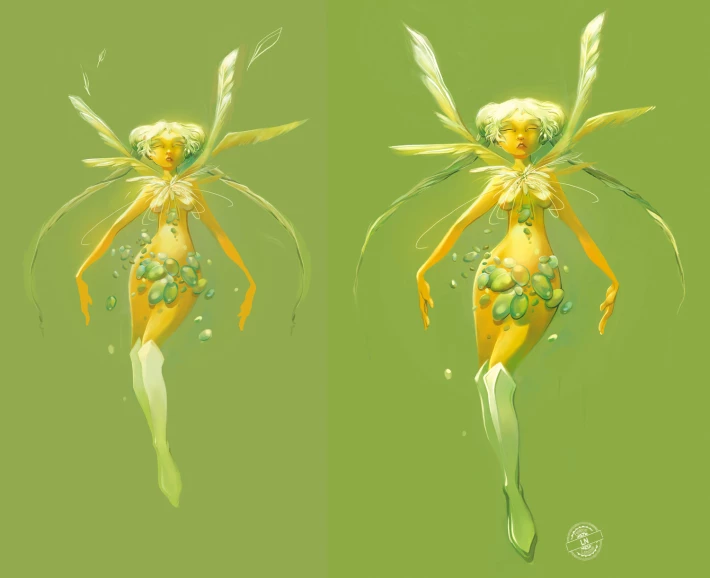
At this point, I was satisfied, it was already nice. But I was not totally conviced by the background color...
I decided to change, and simply tried a white one... That was better!
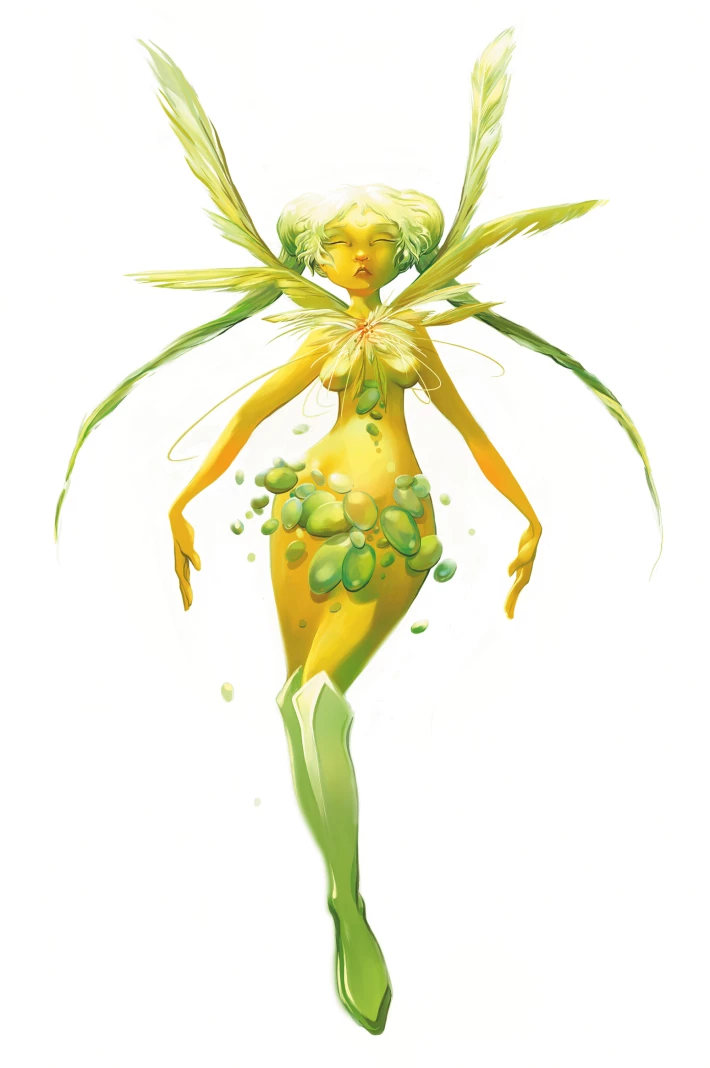
Then I decided to soften some parts of the fairy, and the result pleased me :-)
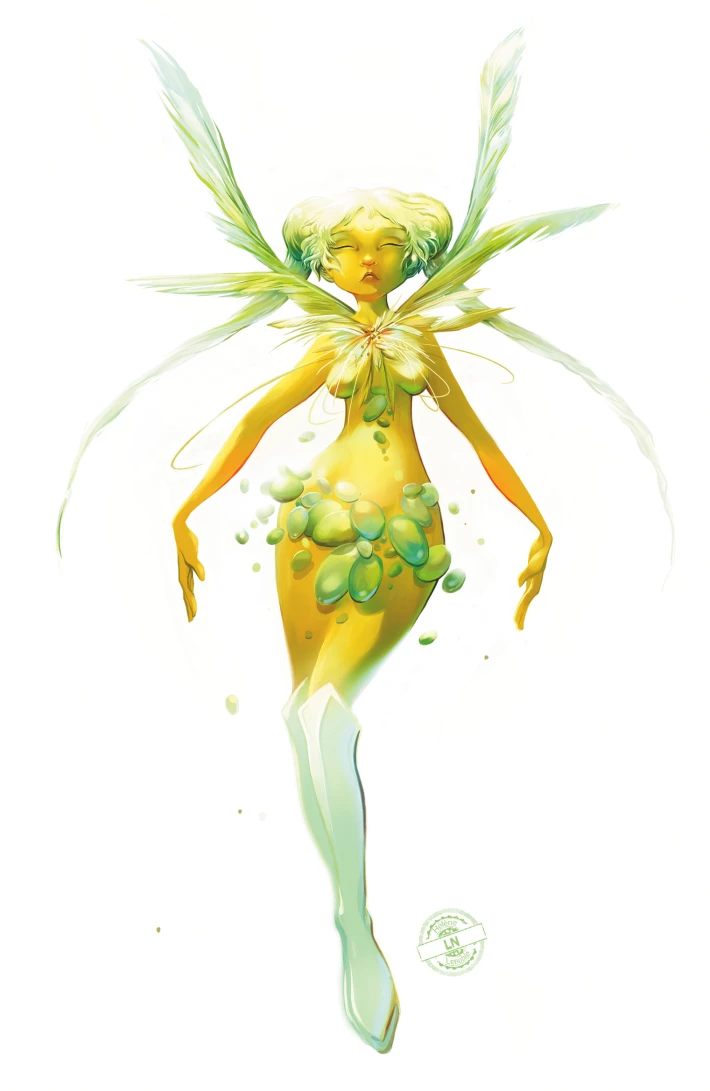
I hope this step by step was interesting :-) If you think I could have made it better, don't hesitate to give me advices in the comment section!
Thank you for viewing!
https://www.instagram.com/lenoblehelene/
https://www.artstation.com/helene_lenoble
https://www.inprnt.com/gallery/helenelenoble/
https://www.facebook.com/Helene.Lenoble.art/
http://helenelenoble.tumblr.com/
https://www.behance.net/lenoble_heaf38
https://www.twitch.tv/ellen_tv
See you soon!
Hélène






