When the full moon is shining and the wolves are howling, it's time for Halloween's spooky spectacle. The snickering grins of jack-o'-lanterns glow from lit porches. Kids skip down the block in spooky costumes, carrying bags full of candy and shouting "Trick or Treat!". The Nightmare Before Christmas is almost here...
Do you see dead people???
Alright Enough of that, in this Spooktacular video I am going to create an Arduino based 3D printed Halloween Décor.
It's super easy, fun and spooky....
3D Printing
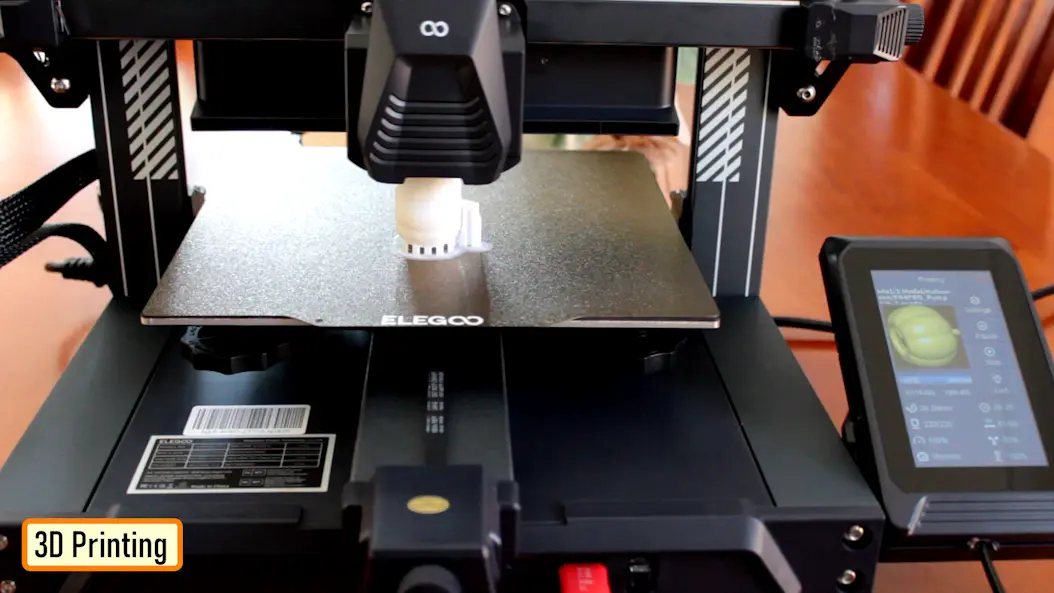
3D Printing is a highly addictive hobby! This is the very first time I am using my 3D printer to print something electronics related. The STL files used in this project are all downloaded from www.Thingiverse.com. I have uploaded a copy of all the 3D Objects to my GitHub repository, the link is in the description below.
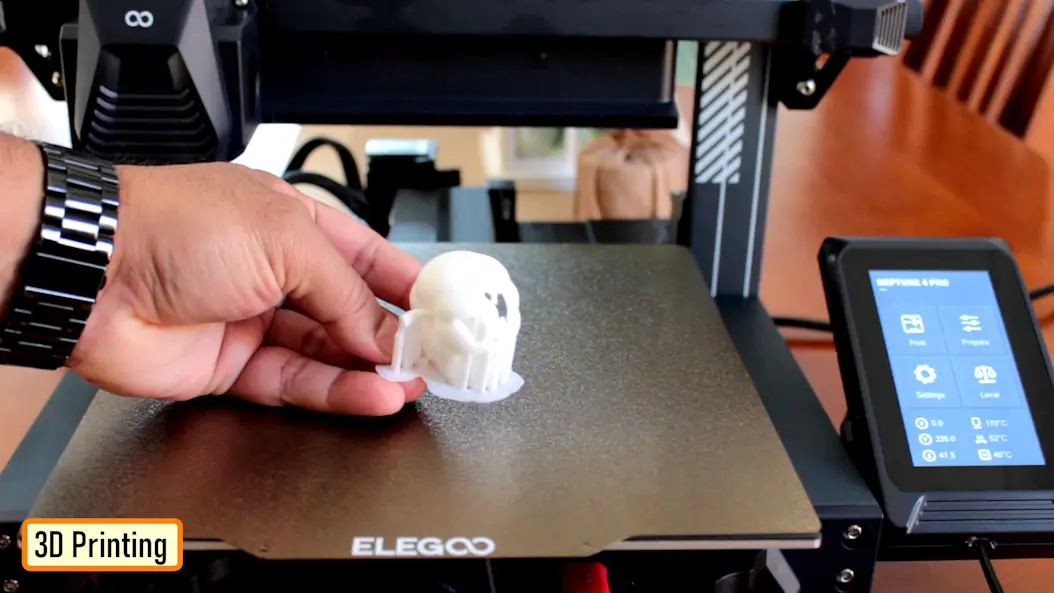
3D printing has changed my life. There are so many things you can do using a 3D printer. From designing 3D Models to printing them using the 3D printer has now become my new hobby. I've been a "maker" since I was 10 years old, and have always constructed and made my own stuff. 3D printing for me is a blessing. I am totally lost in the 3D printing heaven.

3D printing has changed my electronics workshop life forever. Before when I used to order parts, I always used to wonder if the parts would fit into my projects resources... but after I got my 3D printer... it doesn't matter at all, because if it doesn't fit - I could design and print it myself. The 3D printer was definitely "The Missing Piece" from my electronics workshop.
Schematic Diagram
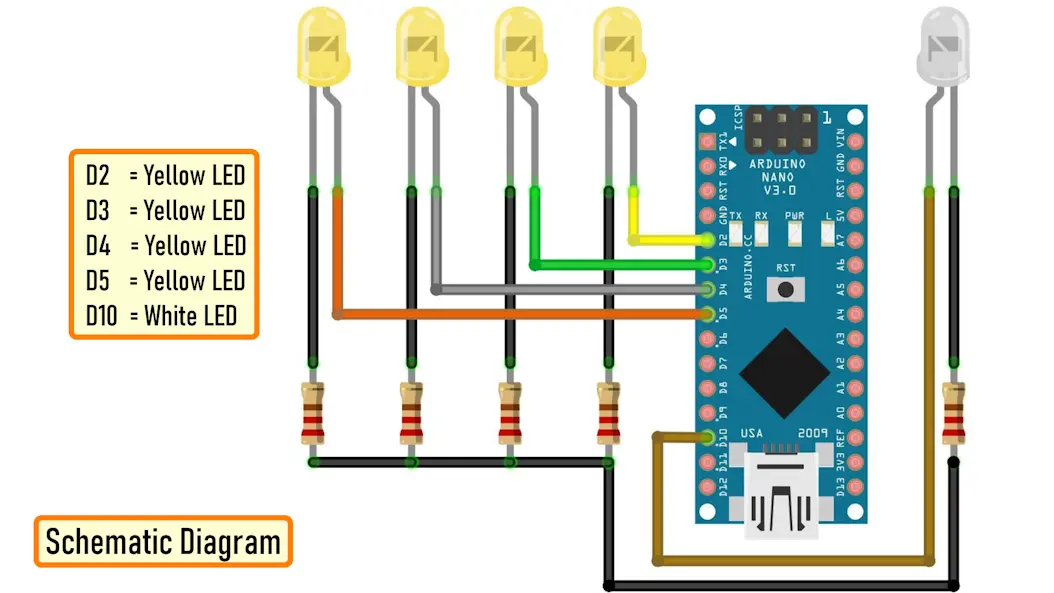
Now that we have all our 3D Models printed, lets have a look at the component assembly.
The assembly is super simple. We just need to connect 4 Yellow LEDs to D2, D3, D4 and D5 pins of Arduino via 220ohm current limiting resistor.
Then connect the white LED to Analogue Pin D10 of the Arduino via a current limiting resistor.
That's it, as simple as that.
The Code
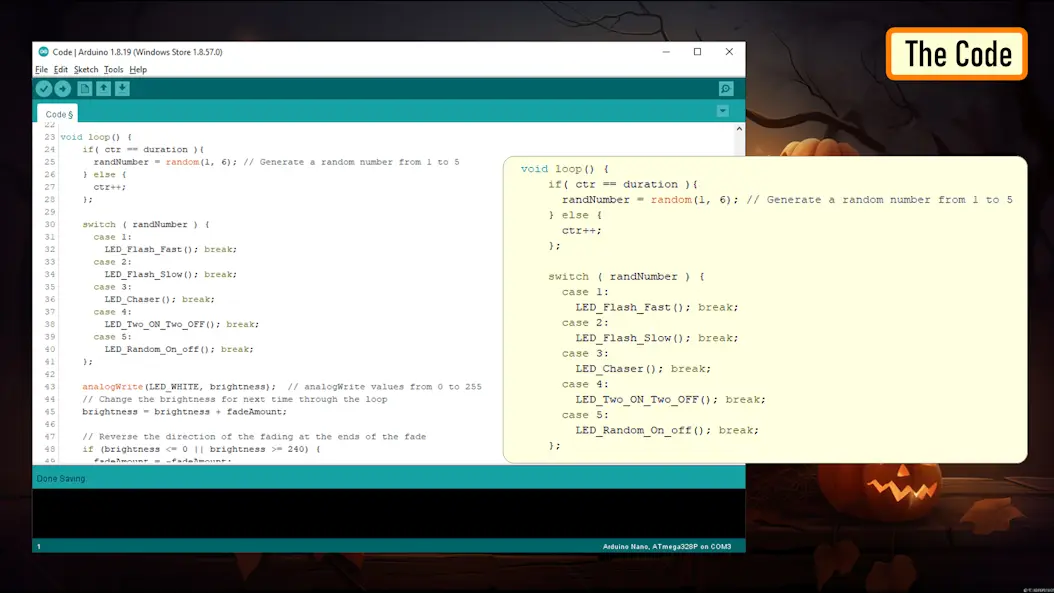
Now, lets have a look at the code that will drive the LEDs.
Lets start by defining all the variables.
Then in the setup section lets define all the pin modes.
To flash the LEDs I chose 5 different Flashing patterns:
1. All LEDs Flash Very Fast For 10 Seconds
2. All LEDs Flash Slowly For 10 Seconds
3. 2 LEDs Turn On and 2 LEDs Turn Off for 10 seconds
4. LED Chaser Circuit for 10 seconds
5. One LED Randomly Turn On for 10 seconds
The switch statement in the loop() section randomly picks up one of these patterns and runs it for 10 seconds.
The white LED also fades in and out after every cycle.
At the bottom of the code, I have defined all these 5 LED flashing patter in their respective functions.
Demo on Breadboard
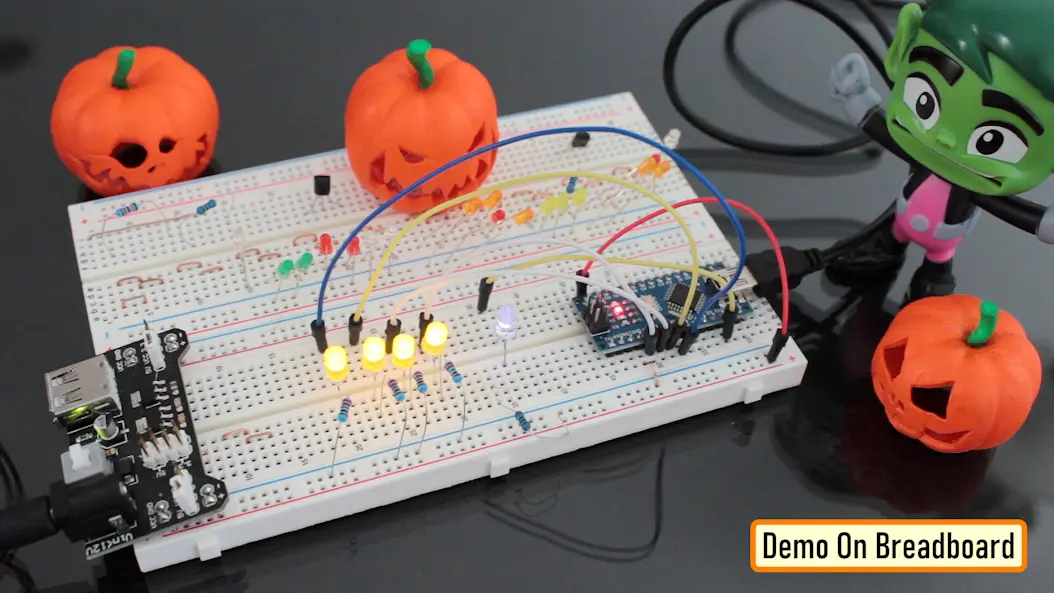
After loading the code on an Arduino Nano this is how it looks like.
The white LED will go inside the Ghost and the Yellow LEDs will go inside the Pumpkins.
Humm, that looks promising, isn't it?
Assembling
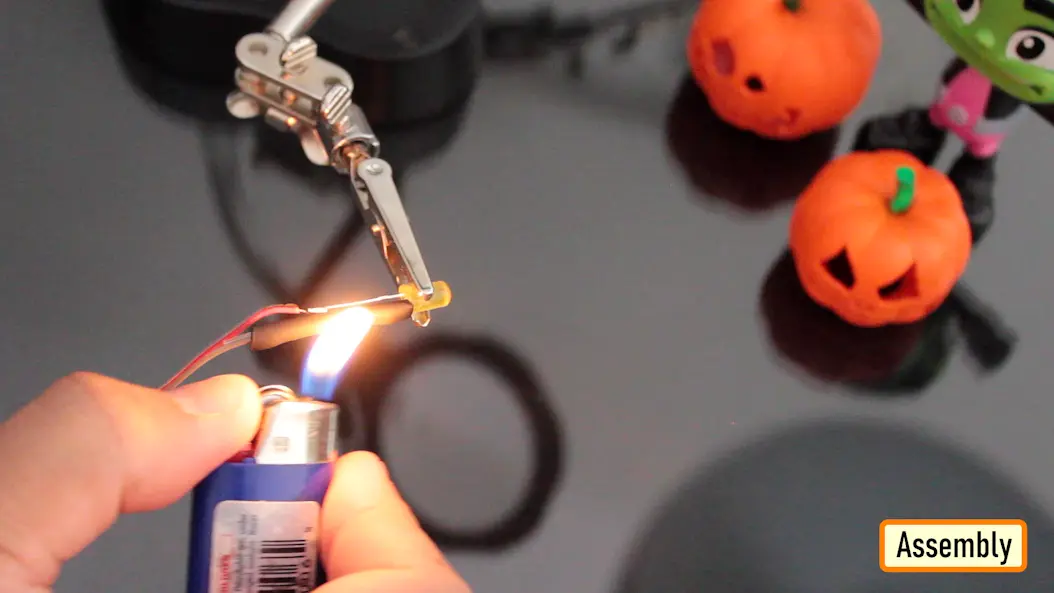
Let's start by soldering the wires to the LEDs.
Then lets solder the Arduino Nano to a perf-board and then solder all the resistors to the board.

Next, lets soldered the LEDs to the D2, D3, D4, D5 and D10 pins of the Arduino via the current limiting resistors.

That's all you have to do for the electronics bit. Now, let's hot glue the perf-board inside the coffin, followed by all the LEDs to a wooden block.

Before putting the 3D printed components on the LEDs, let's do a quick test to verify everything works as expected. Look at that...
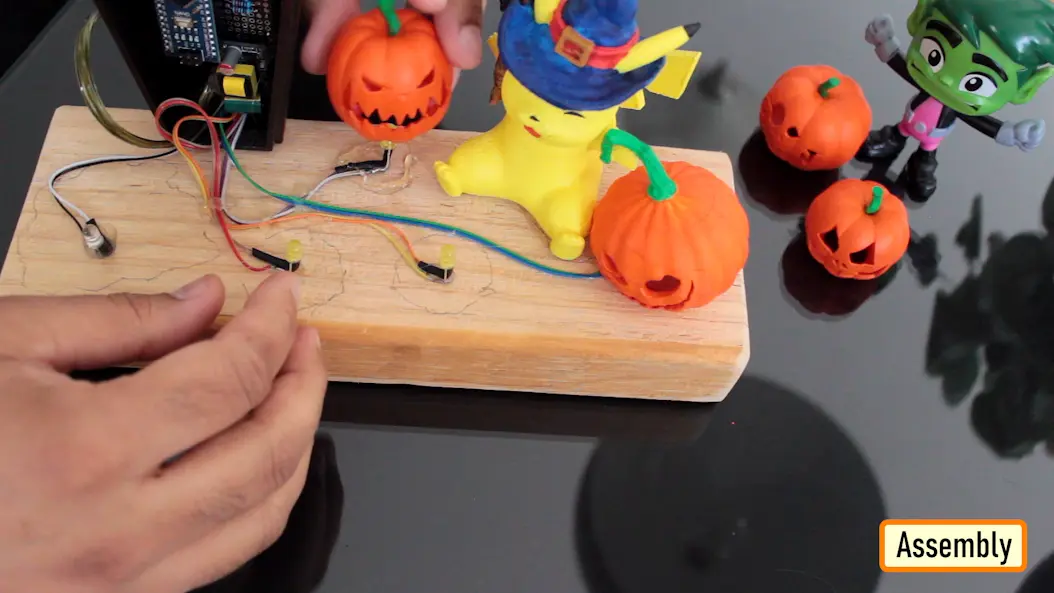
Now, one by one lets hot glue the 3D printed components to the plank. To finalize the setup, I added a few dry grass leaves to hide the wirings. That's it all done.
Final Demo
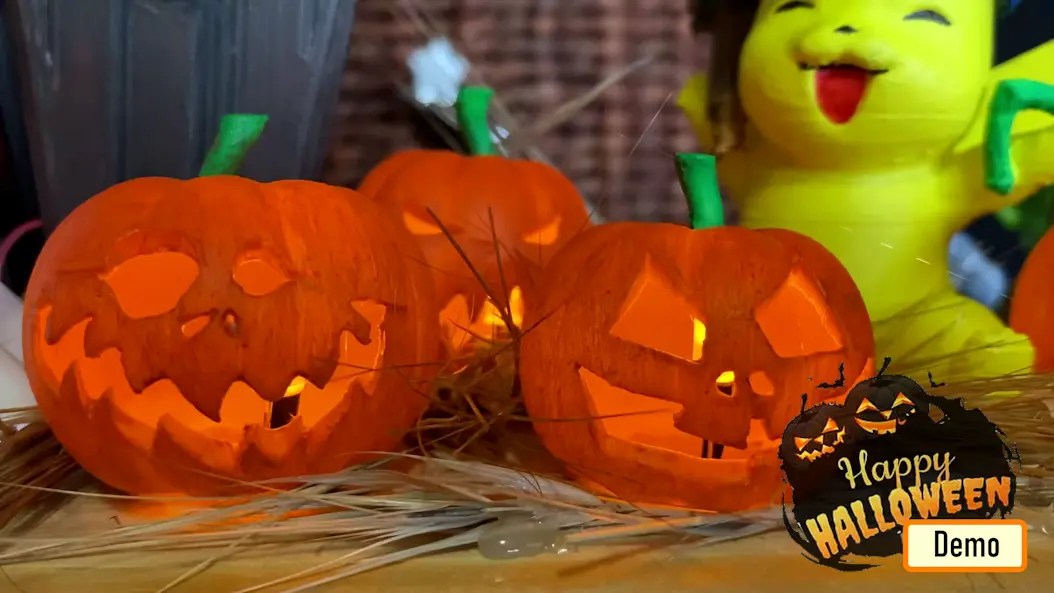
So this is how my final setup looks like.
Do comment and let me know if there are any scopes of improvement. Until then, Happy Halloween....
Thanks
Thanks again for checking my post. I hope it helps you.
If you want to support me subscribe to my YouTube Channel: https://www.youtube.com/user/tarantula3
STL Files:
- Coffin: Download
- RIP: Download
- Pumpkins: Download
- Pikachu: Download
- Ghost: Download
- Instructables: https://www.instructables.com/3D-Printed-Arduino-Halloween-Décor/
Support My Work
- BTC: 1Hrr83W2zu2hmDcmYqZMhgPQ71oLj5b7v5
- LTC: LPh69qxUqaHKYuFPJVJsNQjpBHWK7hZ9TZ
- DOGE: DEU2Wz3TK95119HMNZv2kpU7PkWbGNs9K3
- ETH: 0xD64fb51C74E0206cB6702aB922C765c68B97dCD4
- BAT: 0x9D9E77cA360b53cD89cc01dC37A5314C0113FFc3
- LBC: bZ8ANEJFsd2MNFfpoxBhtFNPboh7PmD7M2
- COS: bnb136ns6lfw4zs5hg4n85vdthaad7hq5m4gtkgf23 Memo: 572187879
- BNB: 0xD64fb51C74E0206cB6702aB922C765c68B97dCD4
- MATIC: 0xD64fb51C74E0206cB6702aB922C765c68B97dCD4
Thanks, ca gain in my next tutorial.






