
HTML
In part one of my journey I will cover the basics of HTML (or Hyper Text Markup Language) as that is the place one finds the background or fundamentals for learning coding. HTML is mostly outdated, but it isn't very difficult to learn, and gives you a basic understanding of coding and a platform from which to start building.
HTML is a programming language that is used to describe, organize and give information about the webpage to the browser that is used to open the said page. The contents of the page usually has opening and closing tags, these tags place the content in a category (header, paragraph, lists, images etc)
Headers
When making a header using HTML one would use an opening tag such as <h1> for header one and a corresponding closing tag </h1> take note that the opening tag and the closing tag differ from each other as the closing tag has a forward slash after the opening bracket.
If we create a header for a post <h1> Coding made Easy </h> would look like this:
Coding made Easy
you can also create header two <h2> HTML </h2>
HTML
header three <h3> The basics </h3>
The basics
and so on. Do note that each header's text is a little smaller than the previous.
Paragraphs
Next we can add text with the use of paragraphs <p> </p> All text that appears between the opening tag and the closing tag will appear in a paragraph on the corresponding web page. More than one paragraph can be added and all paragraphs have an opening tag <p> and a closing tag </p>.
Lists
When making lists on your website you can make use of unordered lists, or ordered lists.
unordered lists are created with <ul> and ends with an </ul> the items in the list all have separate opening and closing tags <li> and </li> when creating an unordered list of some of the types of posts you'll find on publish0x it will look this:
<ul>
<li>Cryptocurrencies</li>
<li>Blockchain</li>
<li>Blockchain games</li>
</ul>
The output would look like this:
- Cryptocurrencies
- Blockchain
- Blockchain games
Ordered lists will be coded like this:
<ol>
<li>Investments</li>
<li>Crypto Gems</li>
<li>Trading analysis</li>
</ol>
And the output would look like this:
1. Investments
2. Crypto Gems
3. Trading analysis
Images
Now we would like to add a picture to our website otherwise it would look really bland. When adding an image we use the img loading="lazy" decoding="async" element, and it will direct to the image's URL by means of an src. It will look like this:
<img src="https://www.pxhere.com/en/photo/1204308">
We also give an alt attribute to an image to give a description of the image incase it doesn't load. Usually if you hover your mouse pointer over an image on the internet you'll see some kind of description of the image. For the above image which is an image of Japanese candlesticks we'll use alt text trading chart.
<img loading="lazy" decoding="async" src="https://www.pxhere.com/en/photo/1204308" alt="Trading chart">
(you'll note that the links above contains a class element as well, these weren't added by myself but when the post is published it is added automatically. class="lazyload" basically means that the image doesn't load upon opening the post, but as the reader/user scrolls down to where the image is in the post, it gets loaded. So if you don't scroll down to the image it will never actually load)
It will load the following image:
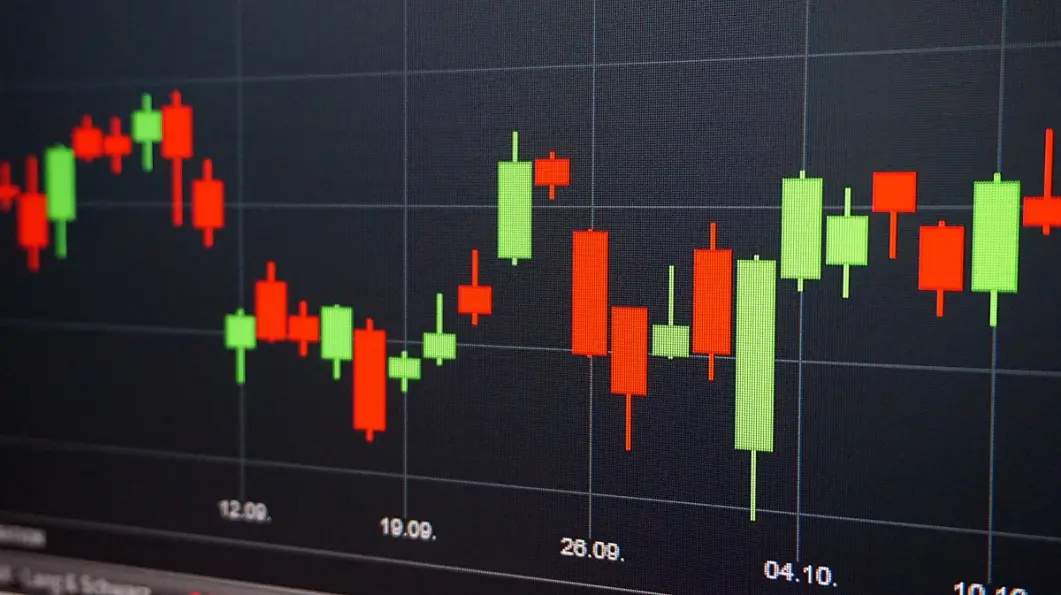
This image is Free for personal and commercial use (not copyrighted) No attribution required
External links
Sometimes we want to link to external websites on our webpage (maybe to improve search engine optimization or SEO). For this we use anchor elements that directs you to the external page called an href. For this we also need anchor text which is the same as alt text in the example above with the image. Linking to an external page will look like this:
<a href="https://www.publish0x.com?a=9wdLoZWbjP"> If you haven't signed up to use publish0x use this link </a> in this example it will look like this:
If you haven't signed up to use publish0x use this link the anchor text becomes the link that you can click on which will take you to the destination page.
Sometimes you want the image to contain the link, so that clicking on the image will take you to an external page. You do this by placing your image within an anchor element:
<a href="https://twitter.com/OeschgerA"><img src="https://twitter.com/OeschgerA/header_photo" alt="My twitter incase you want to follow"></a>

You should be able to then click on the image which directs you to an external web page, in this case my twitter account.
This is the end of the first edition, hope you enjoyed reading this post.
Feel free to follow me for more (part 2 coming soon!) you're welcome to also follow me on twitter by clicking the image above.
Thanks for reading
Here is to owning our future.






