
Hi friends!
When I drew autumn sketches, in one of the drawings I used Inkscape free vector program
It's liked my I wanted to continue to work with this program
To begin with, I decided to repeat my own drawing "Burning Sunset in South Africa" - it seemed to me that it would look good in a vector version.
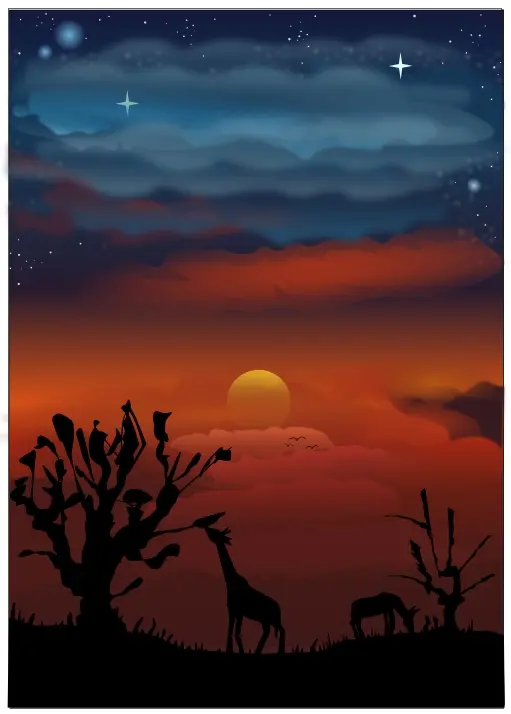
So, I open the picture in Inkscape by going to "File - Import"


Resizing to borders of work file

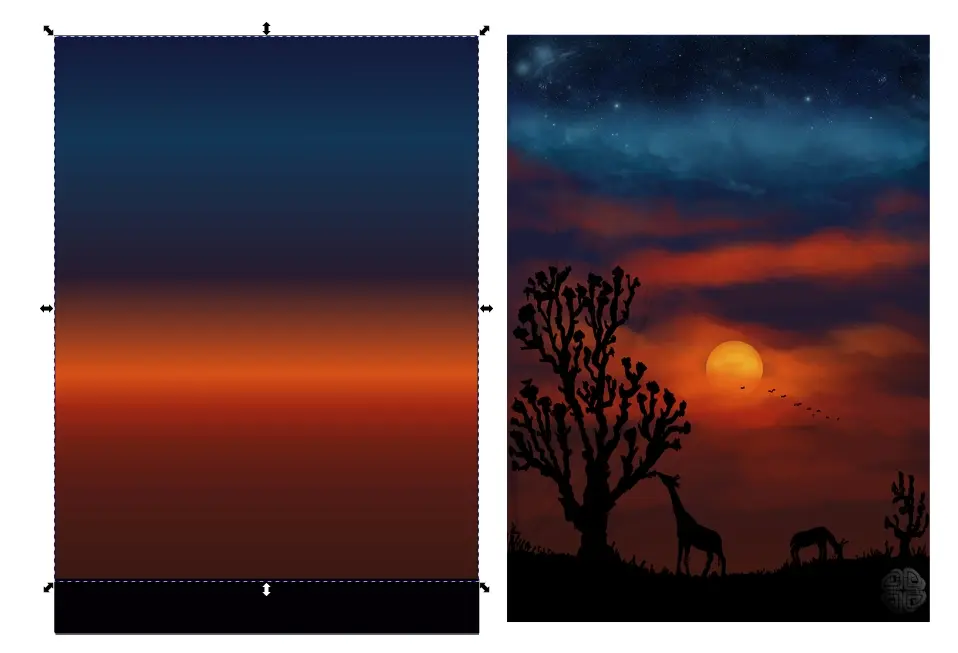
Then I choose Draw Bezier curves and Straight Line tool and draw a rectangle to borders of picture and fill it with colors i pick with Eyedropper on top of picture.
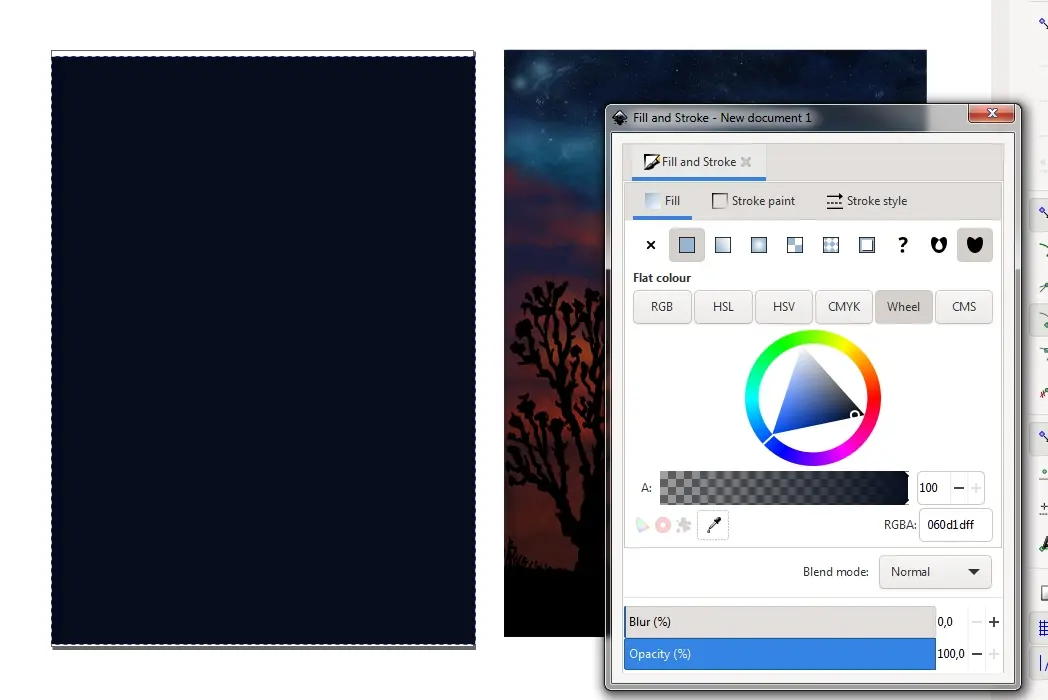
To make a gradient fill I chose an linear gradient icon on Fill and Stroke palette.
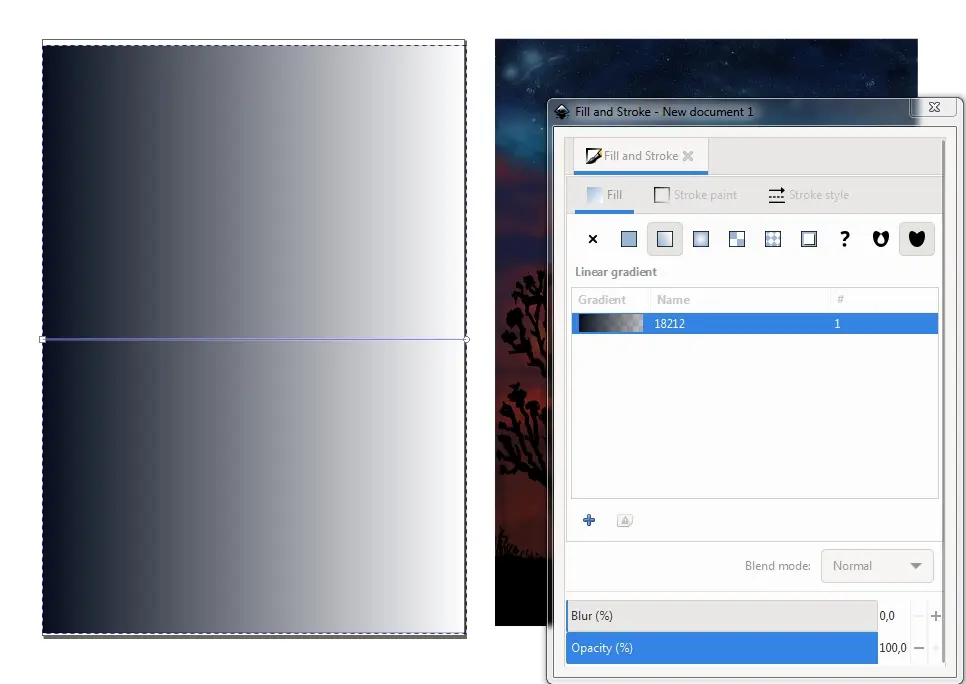
Select lower point and add a color like bottom sky - dark red

Since the sky is multicolored, I add one more point to the gradient line and choose a new color for it.
And resize a sky rectangle again to leave a place at the bottom for earth rectangle

Colorful sky
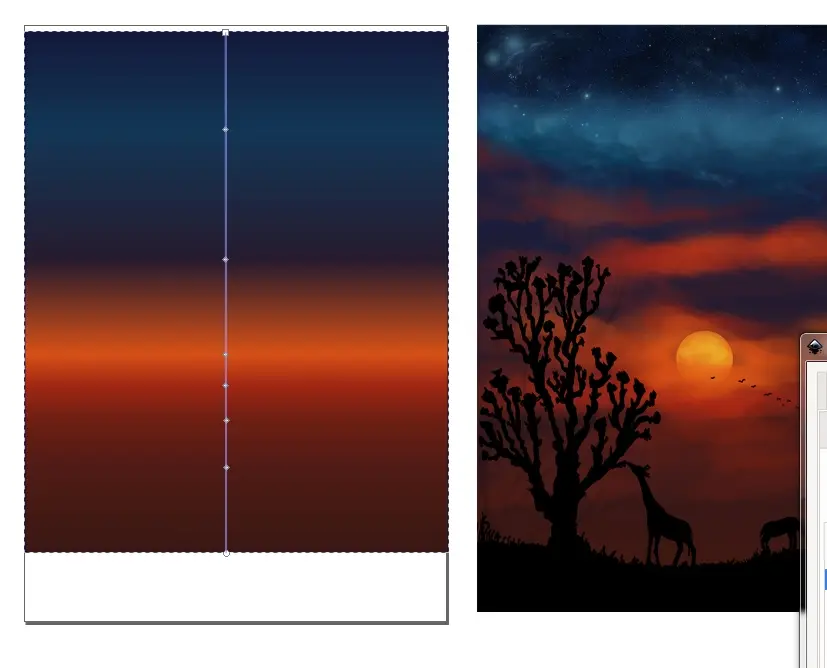
Sky and earth base is ready!
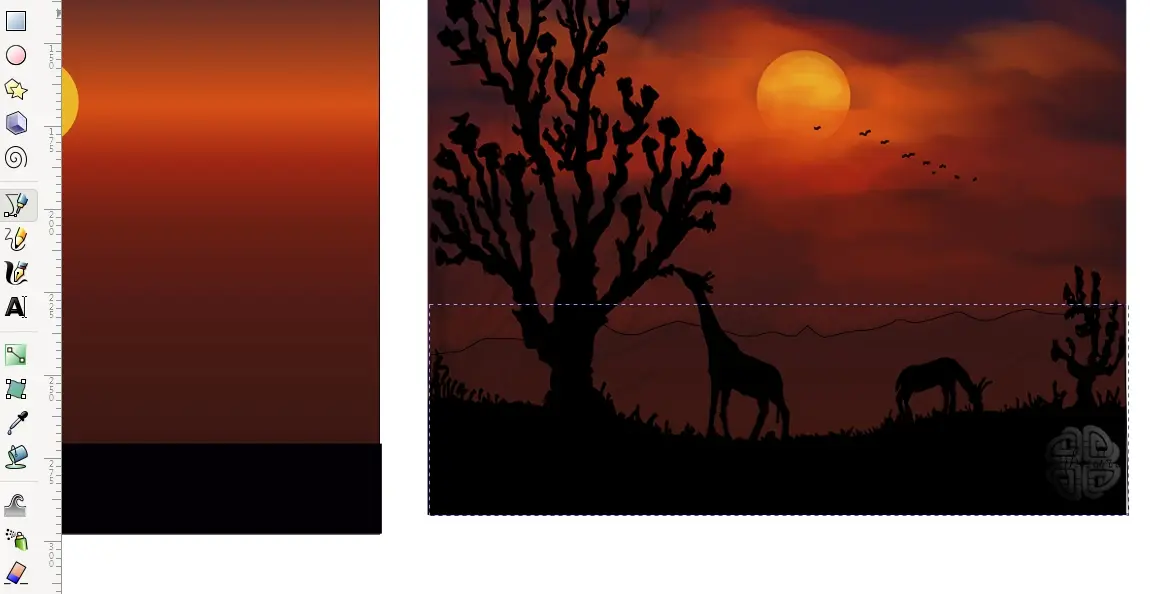
In next step I draw the sun with Create circles, ellipsis and arcs tool

Pick a color right from the picture

and replace to artwork

For drawing a sunset clouds I choose Draw Bezier curves and Straight Line tool again
fill it with linear gradient

and replace to artwork too

and move it one object lower (lower than the earth)

I paint other clouds in the same way


I also take a color directly from the picture of the sample
I try not to copy the sample picture one to one, but at the same time I keep some separate fragments, as in the original
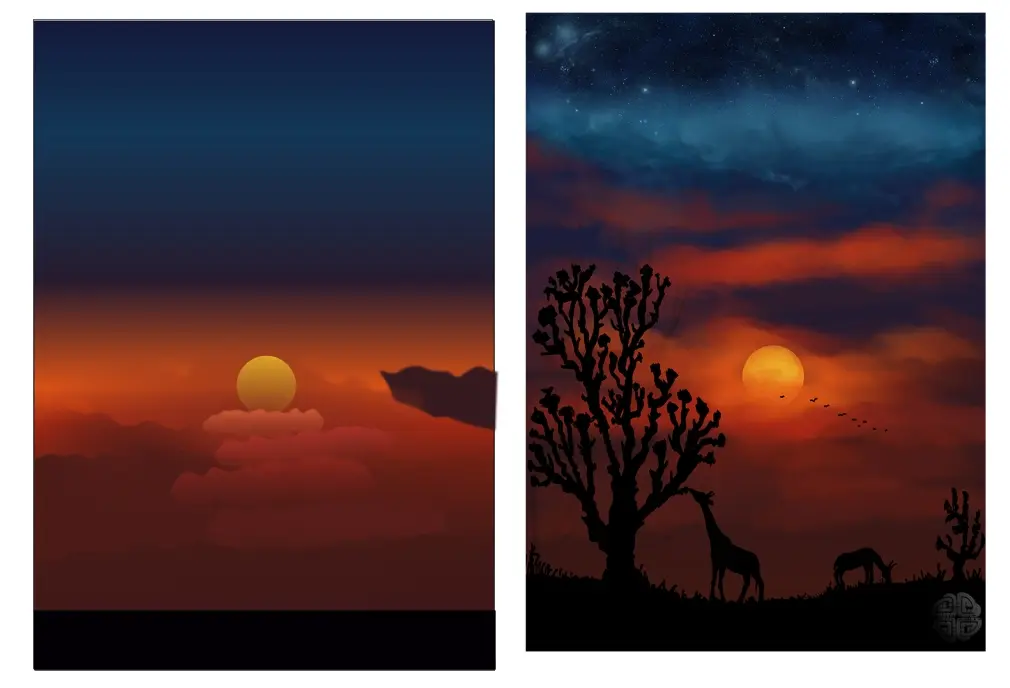
Some clouds I modify with Edit path by nodes tool to make them look more dynamic

This is how the sky and the sun will look like in the setting clouds.
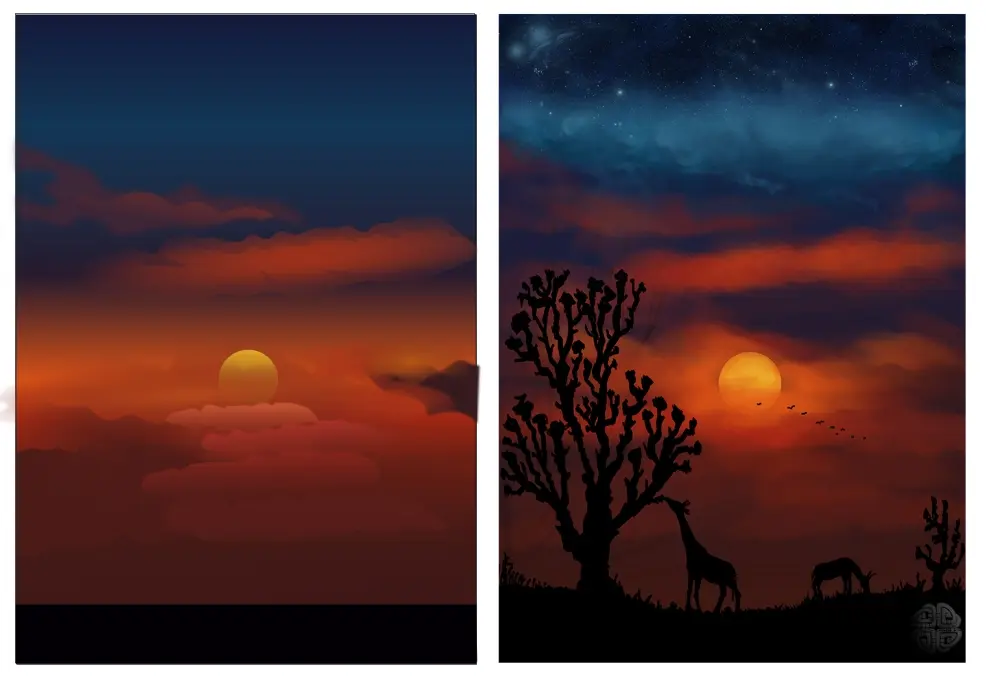
So, time to draw upper atmospheric clouds!
I just fill the first cloud with color, blur it slightly and lower the opacity.

And then I just improvise with shapes and gradients.

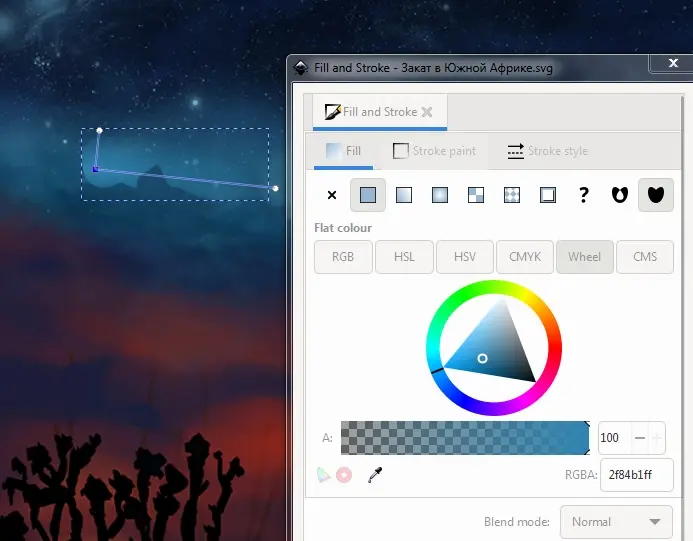


You can also create multi-color gradients by simply adding new markers to the lines.
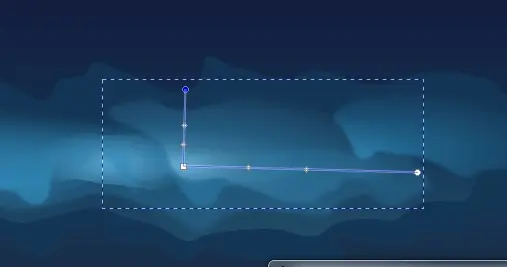
and modify the gradient for some clouds I need

Very nice and airy!

Then I draw a star with Create stars and polygons tool
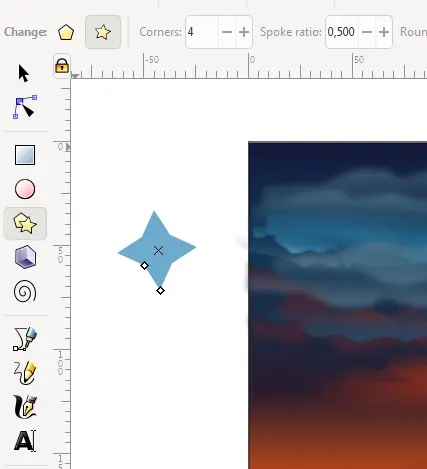
Modification with Edit path by nodes tool
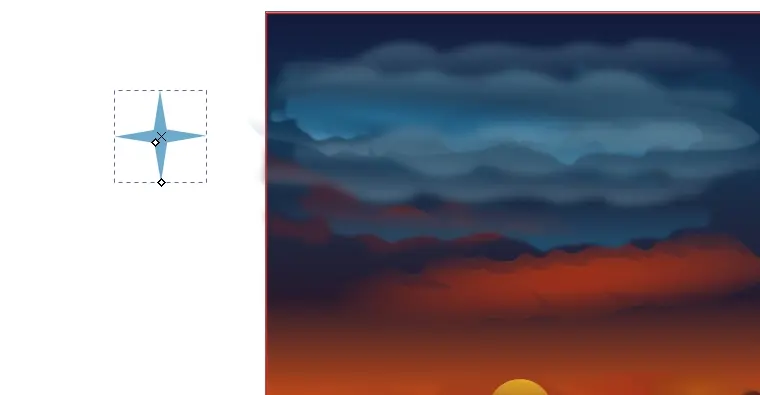
I move it to the picture and adjust the size, along the way change the color to a lighter one

I select a star, copy and paste in place, then change a size and opacity for it

To draw the nebula, I zoom in on the document to 300% and create several small circles of different sizes.

Then I group them into one object

Fill it white and with Spray object by sculpting or painting tool draw a big cluster of stars
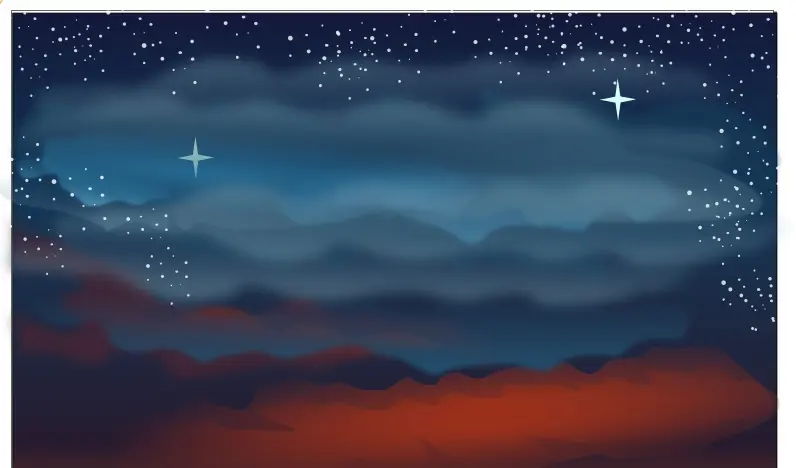
If there are too many stars, you can switch to the Eraser in the tool properties panel and erase unnecessary elements.
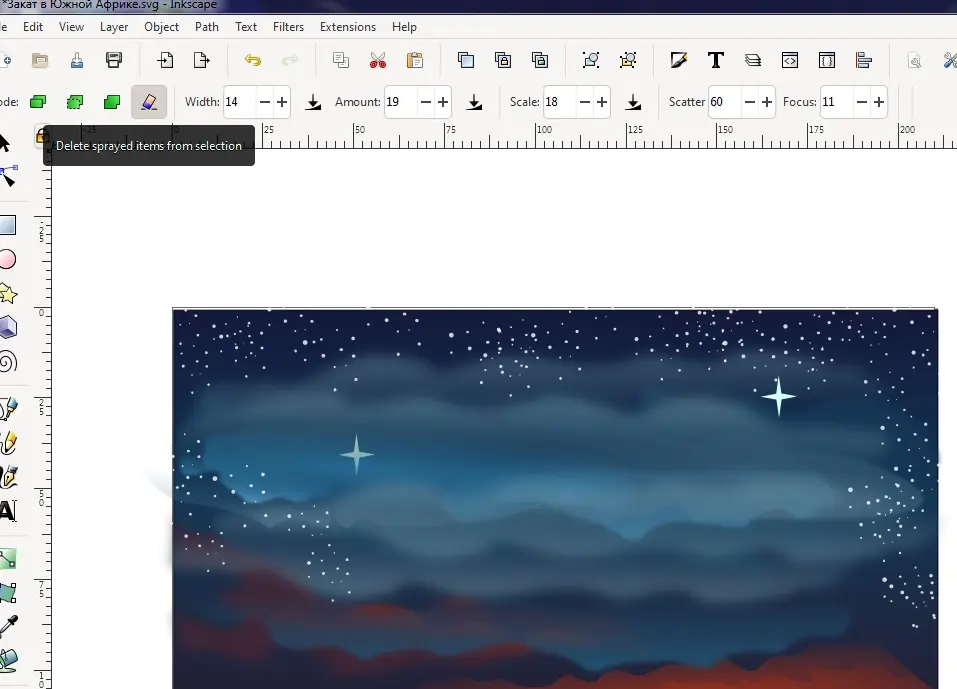
Then I select all objects, move them to the background, blur and lower the opacity

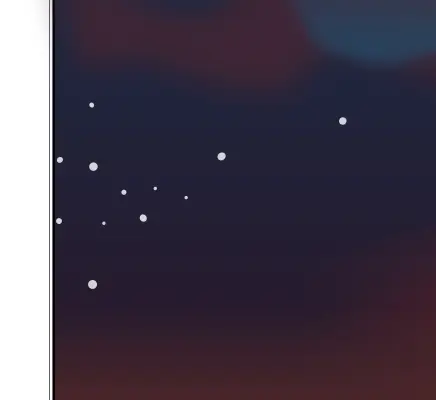
I again ungroup individual nebulae and move the stars in different ways.

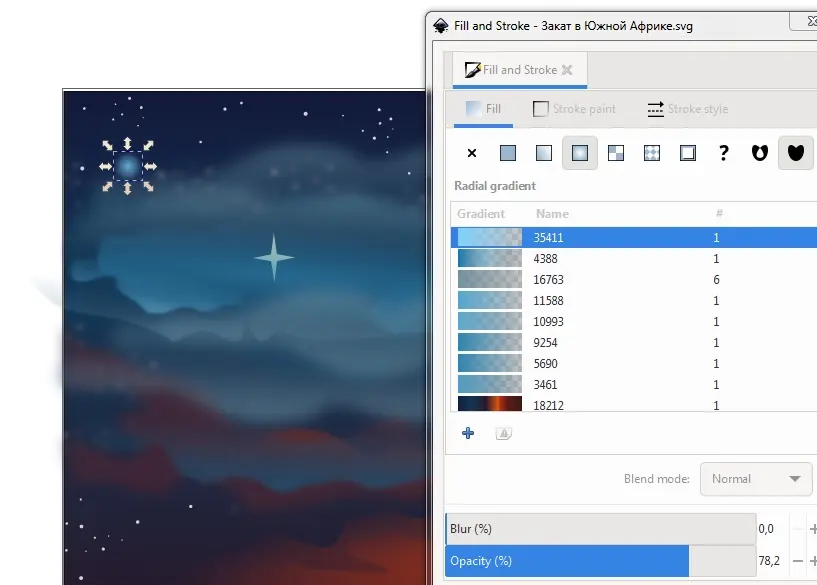
To draw a distant planet, I draw a circle with Create circles, ellipsis and arcs tool, choose a base color for it and in the "Fill and Stroke" palette click on the icon of the radial gradient.
The object is automatically filled with a gradient from color to transparency and gets beautiful blurred edges.
The sky is completely ready,
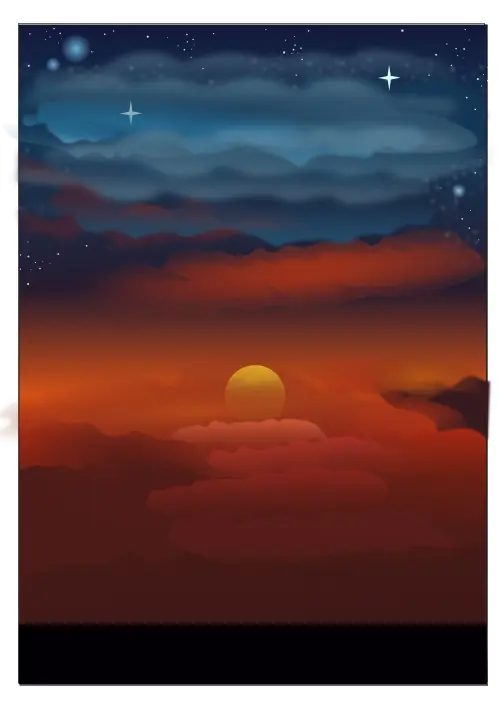
I move on to the creation of the earth use Draw Bezier curves and Straight Line tool for it again and black color
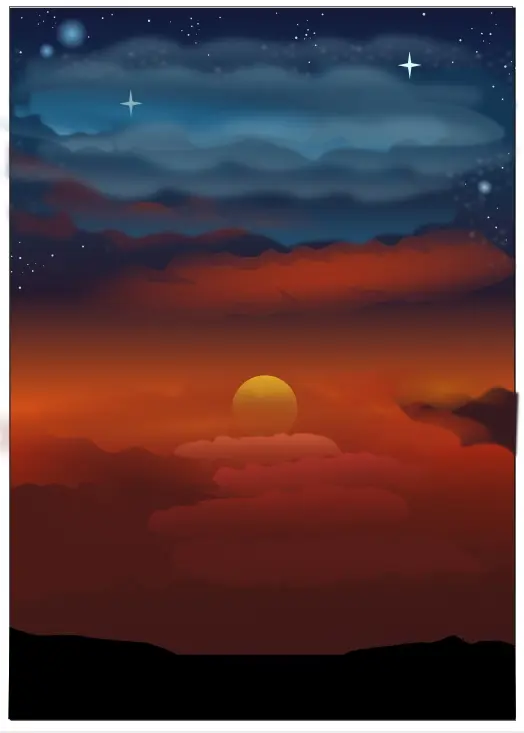
I also draw the tree trunk using Draw Bezier curves and Straight Line tool

Replace to the picture
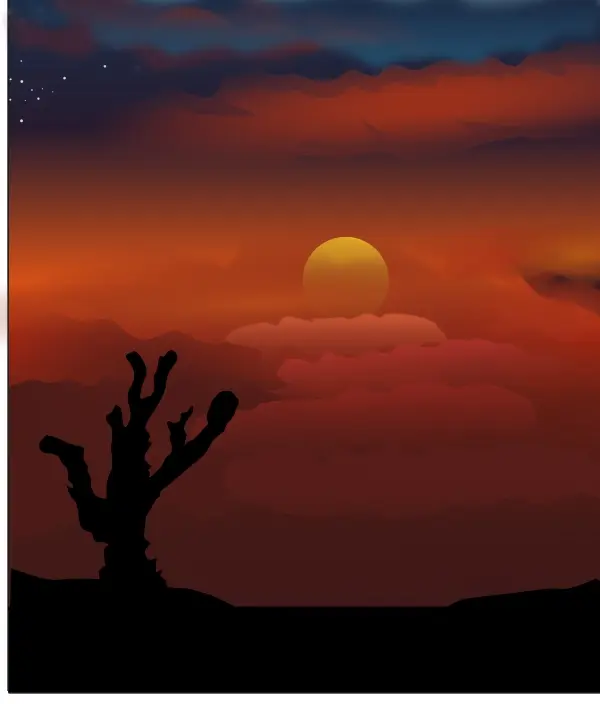
But I want to draw the tree branches using Draw freehand lines tool.
This tool, like Draw Bezier curves and Straight Line tool, has an option in the settings, in which you can draw with objects from the clipboard

So, I draw several bizarre shapes, like these

I copy one or the other to the clipboard and do the strokes by Draw freehand lines tool

Each of the branches, if necessary, can be modified using Edit path by nodes tool (but first converting it to a contour ( Path - Object to Path )

Does this plant look like an African exotic tree?
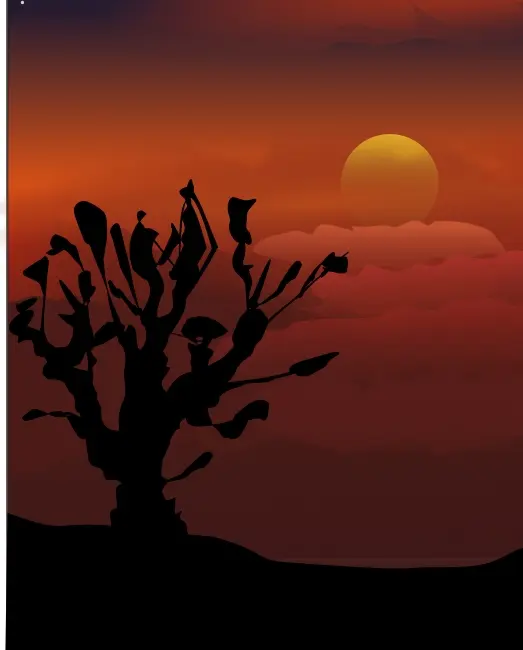
I also draw silhouettes of animals and grass using Draw Bezier curves and Straight Line tool

Oh yes, and birds, of course!
Its Create circles, ellipsis and arcs tool and Draw Bezier curves and Straight Line tool

That's it, I made my vector African burning sunset!
Two variants - an original (in right) and vector copy

I hope you find my new tutorial very informative ;)
Thanks for your attention!
Have a nice and creative day for all!
Regards
Cross-post from Hive, Whaleshares and Read.cash






