
Ravencoin is a fork of Bitcoin specifically designed for making the transfer of assets as efficient as possible. It's also one of a few coins (like Monero) designed to be ASIC-resistant, so that anyone can mine it on their own computers without having to invest in expensive, specialized hardware. This makes it a great coin for hobby miners. Here I'm going to show you how to install the wallet software.
Step 1 - Download Raven Core Installer
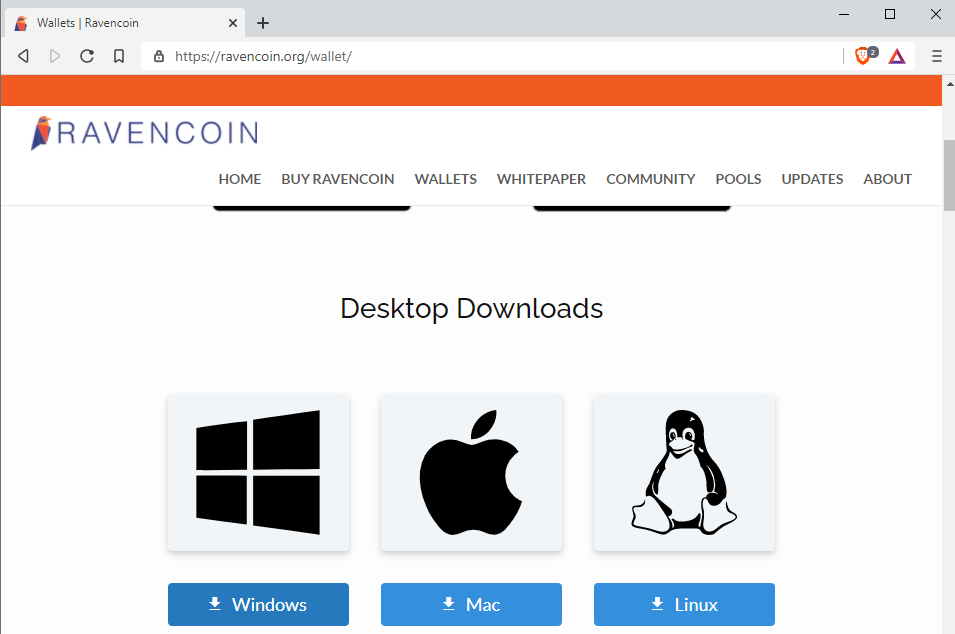
Visit https://ravencoin.org/ and click on "Get Your Wallet"

Step 2 - Download the Installer
On the downloads page, find the installer for your computer, in our case it's the Windows installer.
Step 3 - Run Installer
Find the installer you just downloaded and run it. If Windows SmartScreen pops-up, just click "Run Anyway".

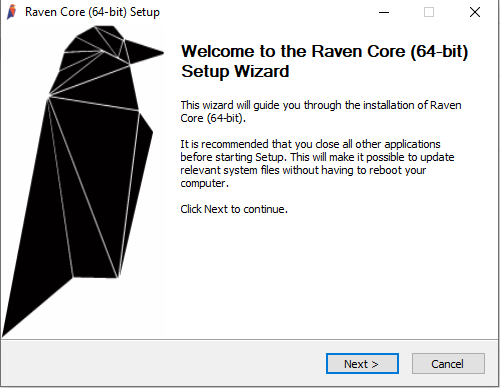
Step 4 - Complete Installation
Click next on the first page.
Unless you want to change the install directory, just click next to continue.

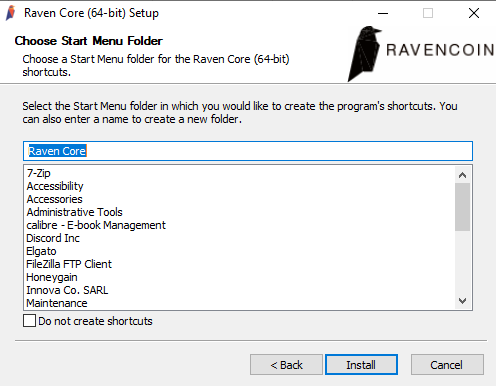
On the next screen click Install.
The installer will run for a few minutes, when it's completed click Next.

Installation is now complete. Click Finish.

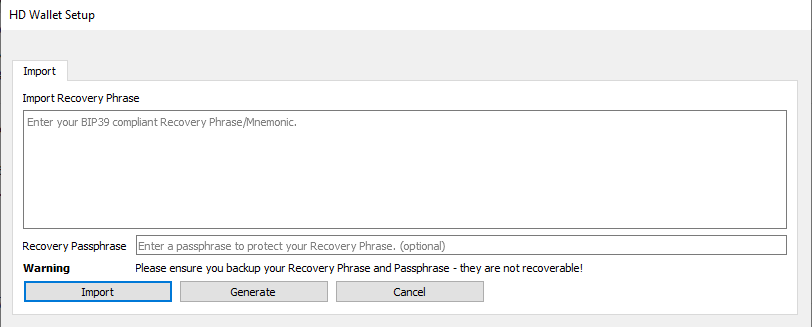
Step 5 - Generate Wallet
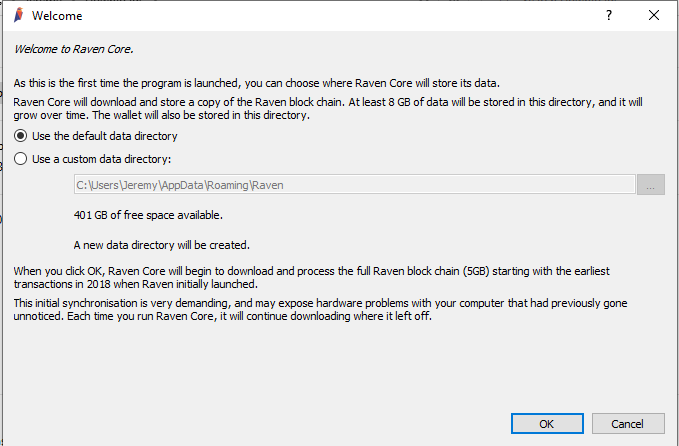
Start the Raven Core application that was just installed. Like other wallet software, you will need to download the blockchain data and keep it synced. This can take up a large amount of space, so make sure you pick a location with enough storage. Once done, click OK.
On the next screen, click Generate to create a new wallet Recovery Phrase. If you wish you can give it a password. Make sure to write down your Recovery Phrase and Passphrase and keep it safe and secure. After you have generated a phrase, you can click Import to continue.
Step 6 - Wait For Sync
Now that the software is setup and wallet created, you have to wait for it to download the blockchain data so you are synced with the network. This can take some time. Once it's caught up, you can start sending and receiving Ravencoin!

If you don't have any Ravencoin yet, check out Dutchy Final AutoFaucet where you can earn some! Also watch for my next piece showing you how to mine Ravencoin.


