
New update on £19 car. Having given it a service, my eye was drawn to a couple of the cosmetic challenges that the car was suffering with. Being a 2001 Mercedes, unsurprisingly its afflicted by the replacement of oil-based paint in the production process by some poster paint that Chrysler accountants stole from a local preschool on the "I'm sure it'll do" principle of cost saving.
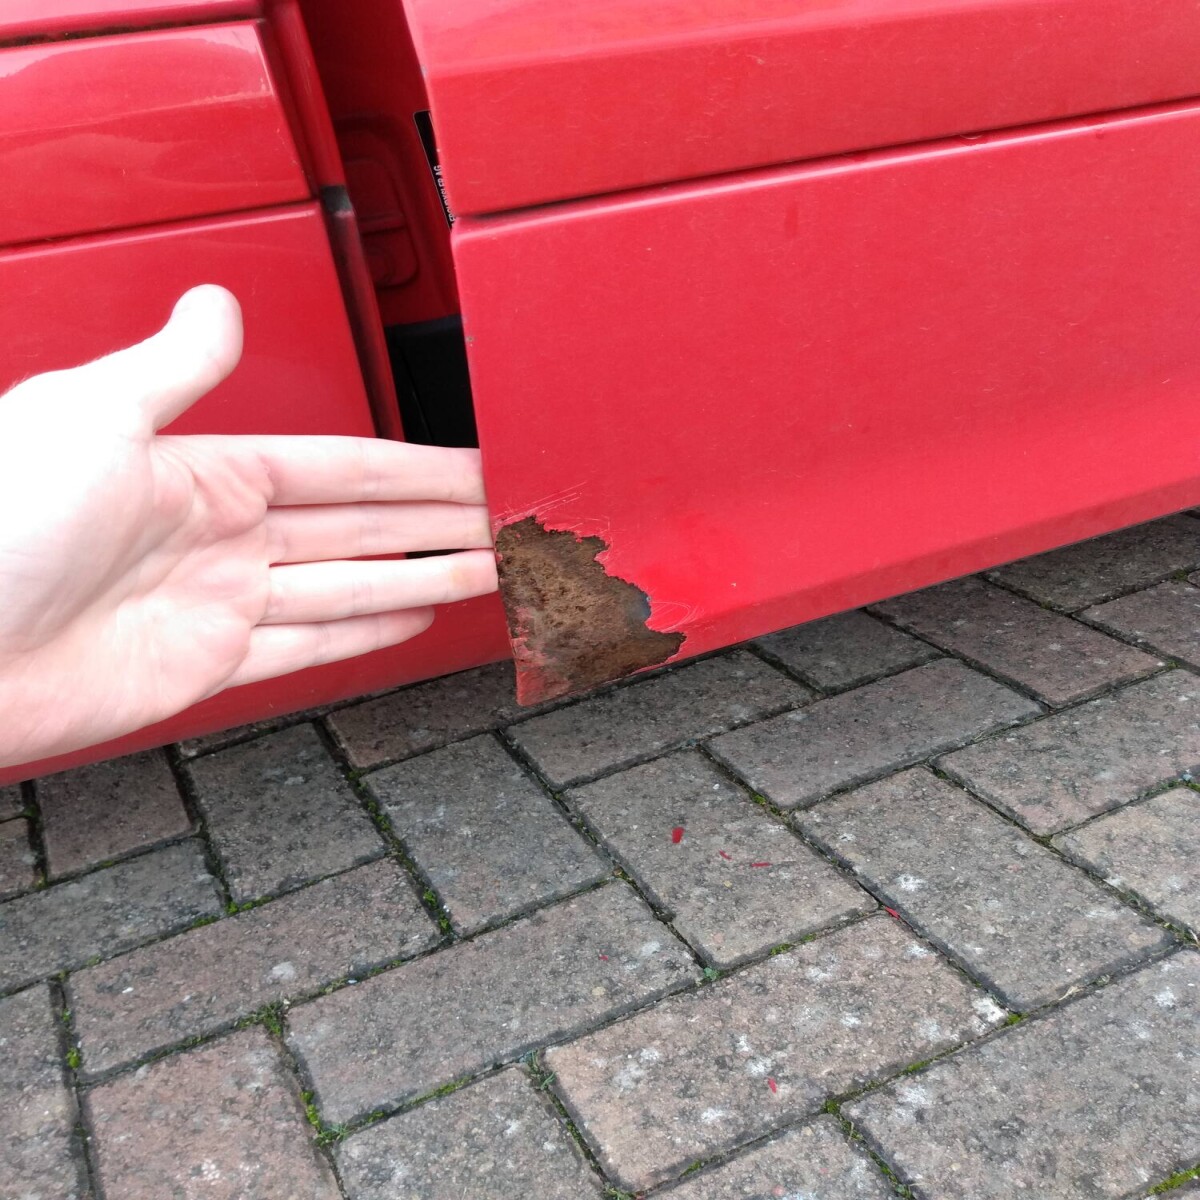
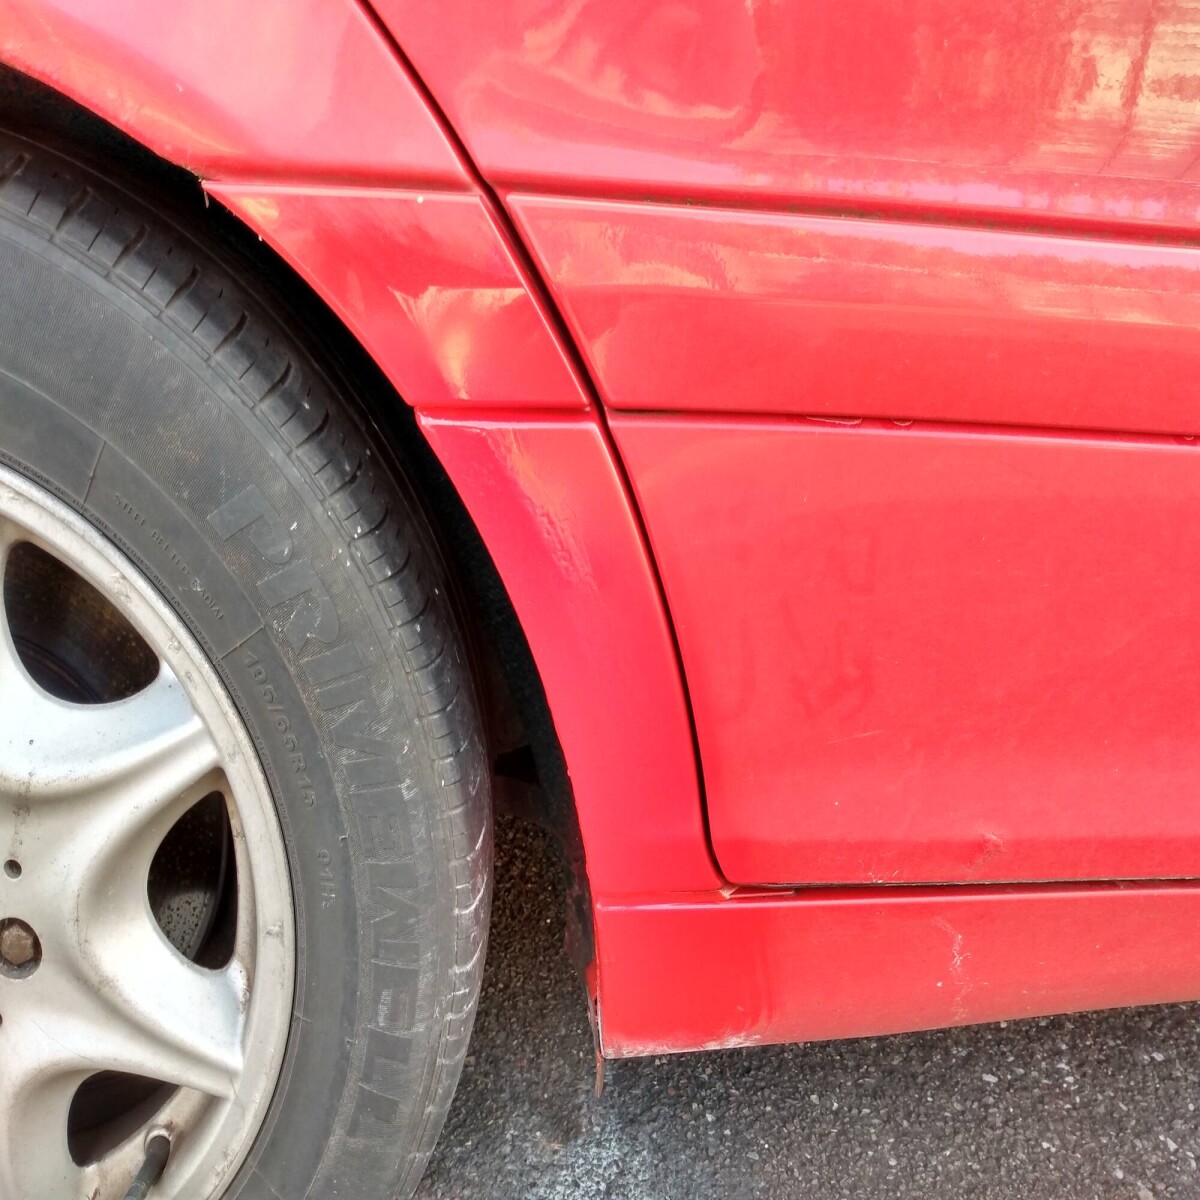
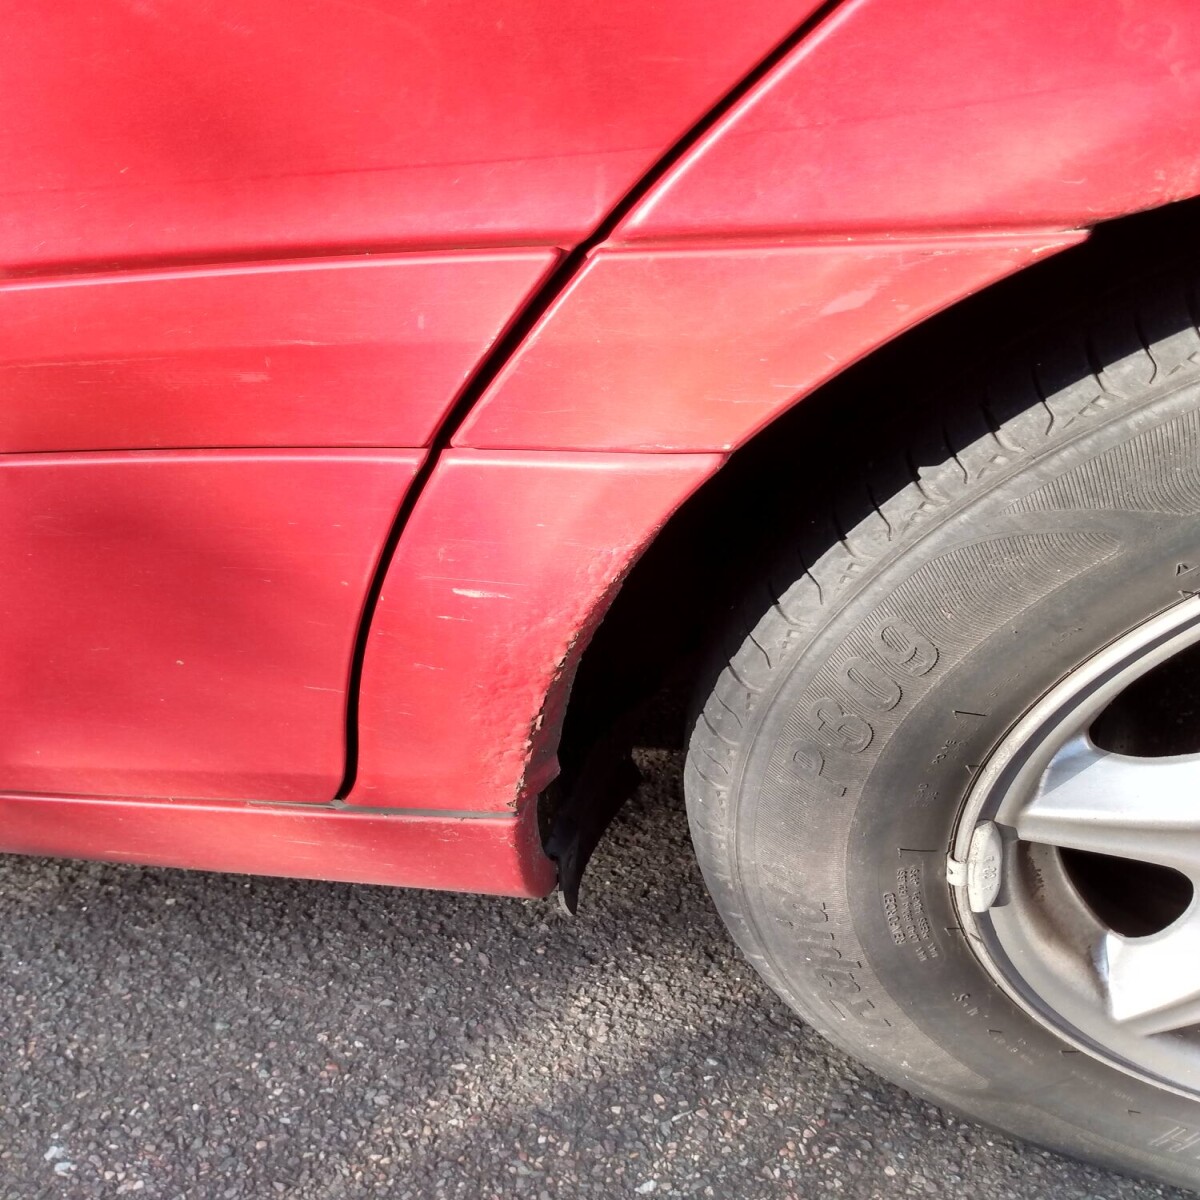
Perhaps unsurprisingly, its not very good, and the arches are getting blisters and the drivers door bottom trailing corner is very crispy. See picture taken from earlier in the thread
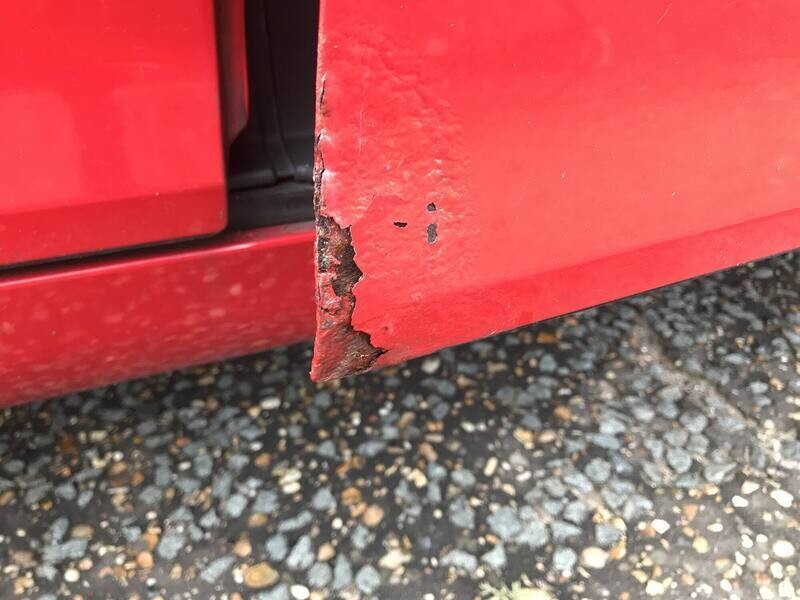
I thought about using my angry grinder with the wire wheel attachment on this as it made very short work of the scabs on the Daewoo rear arch, but I was a bit nervous that it might remove the bottom corner of the door entirely so started out with a balding hand-held wire brush. This revealed that the scab was quite big, but didn't seem to go very deep - it was largely surface corrosion.
So I took the decision to assault it further with my drill-mounted brass wire wheel which is more aggressive than the hand-held brush, but less of a nuclear option than the grinder. I took the paint back to clean metal on the door, then set to with the rear arch leading edge and arch lip
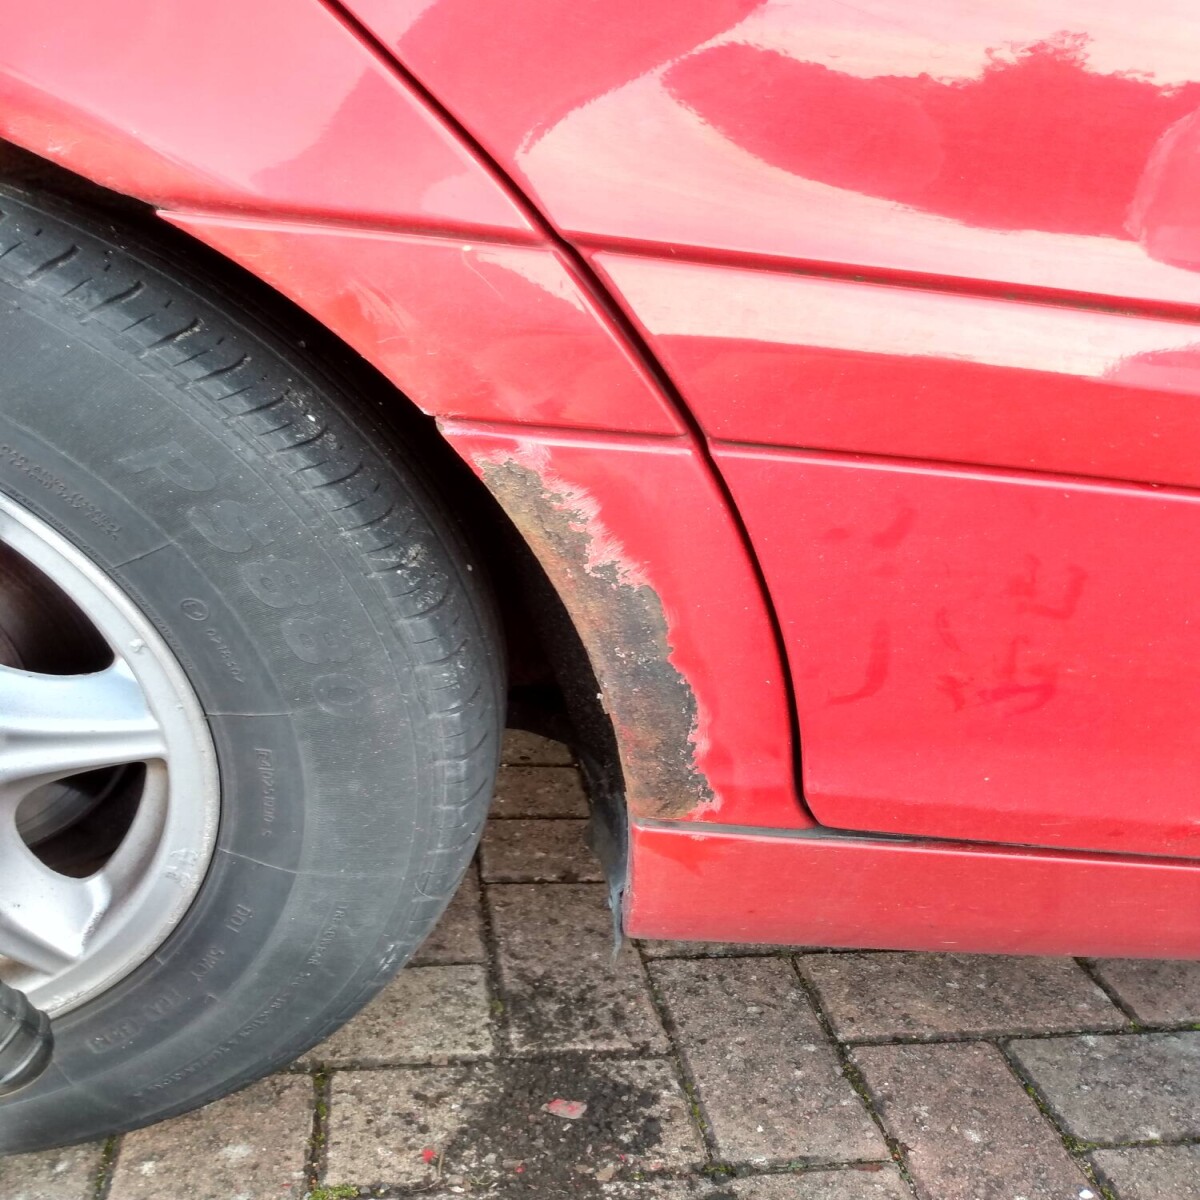
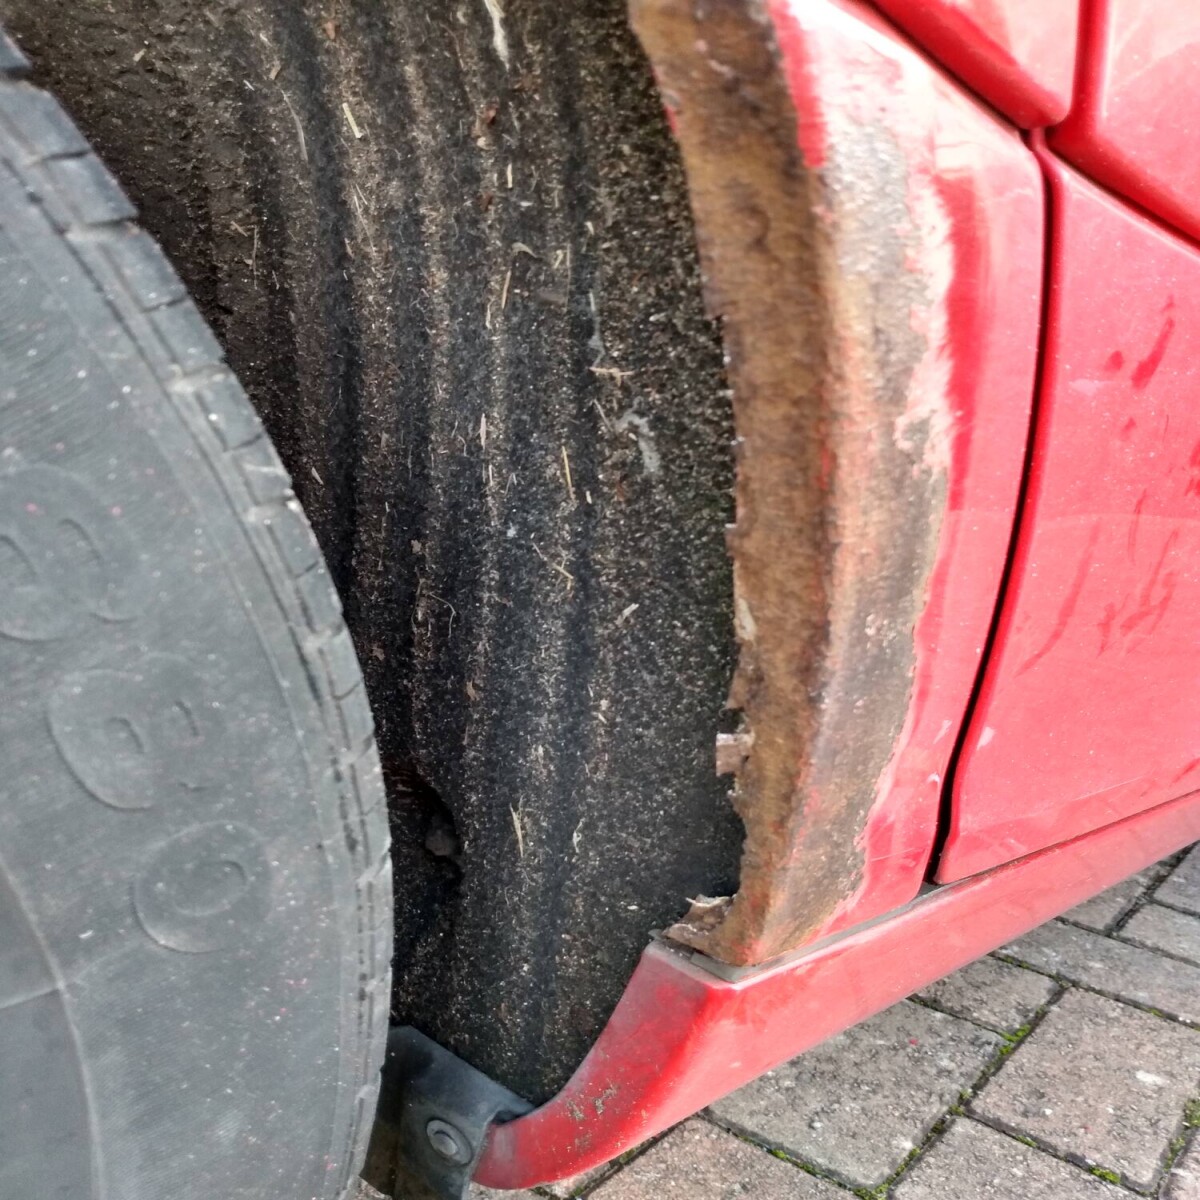
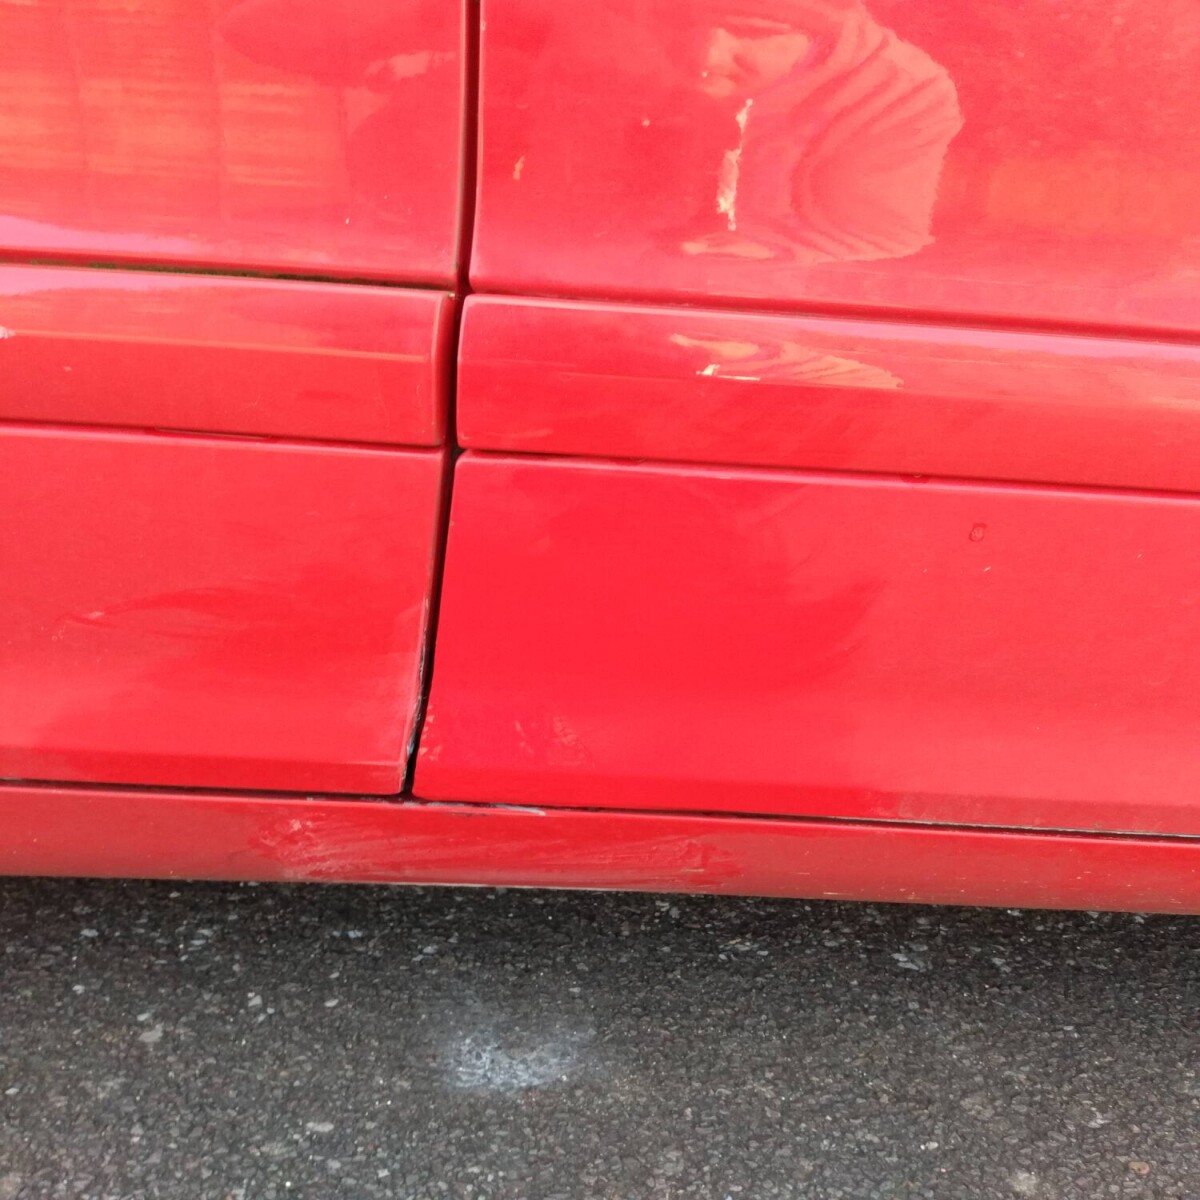
Which is distinctly crusty towards the bottom...
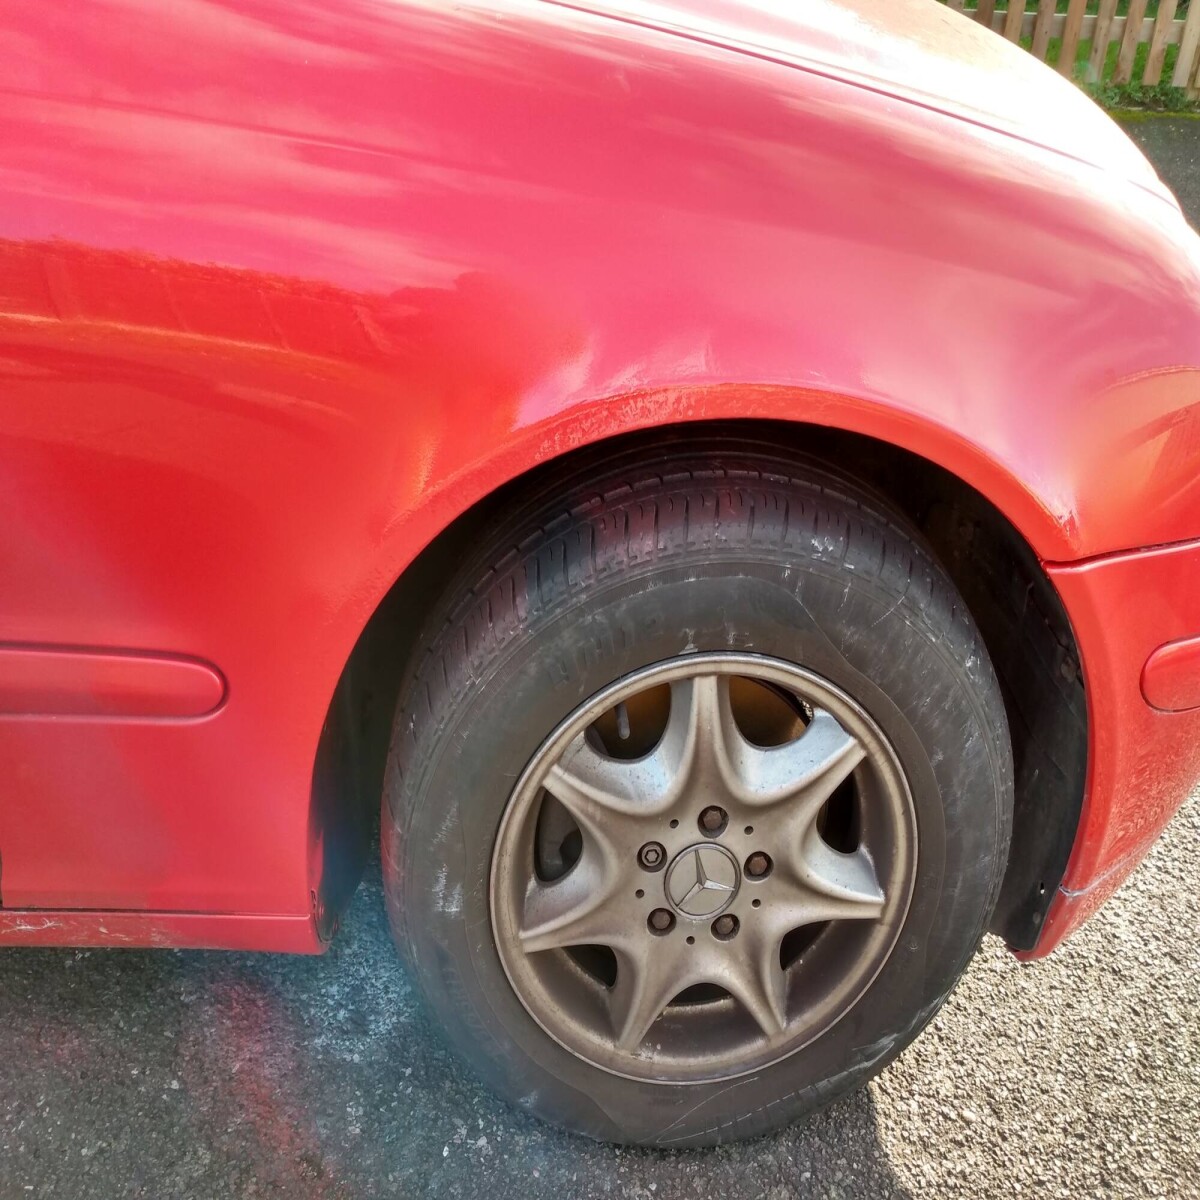
And front arch which has lots of bubbles but actually surprisingly few holes
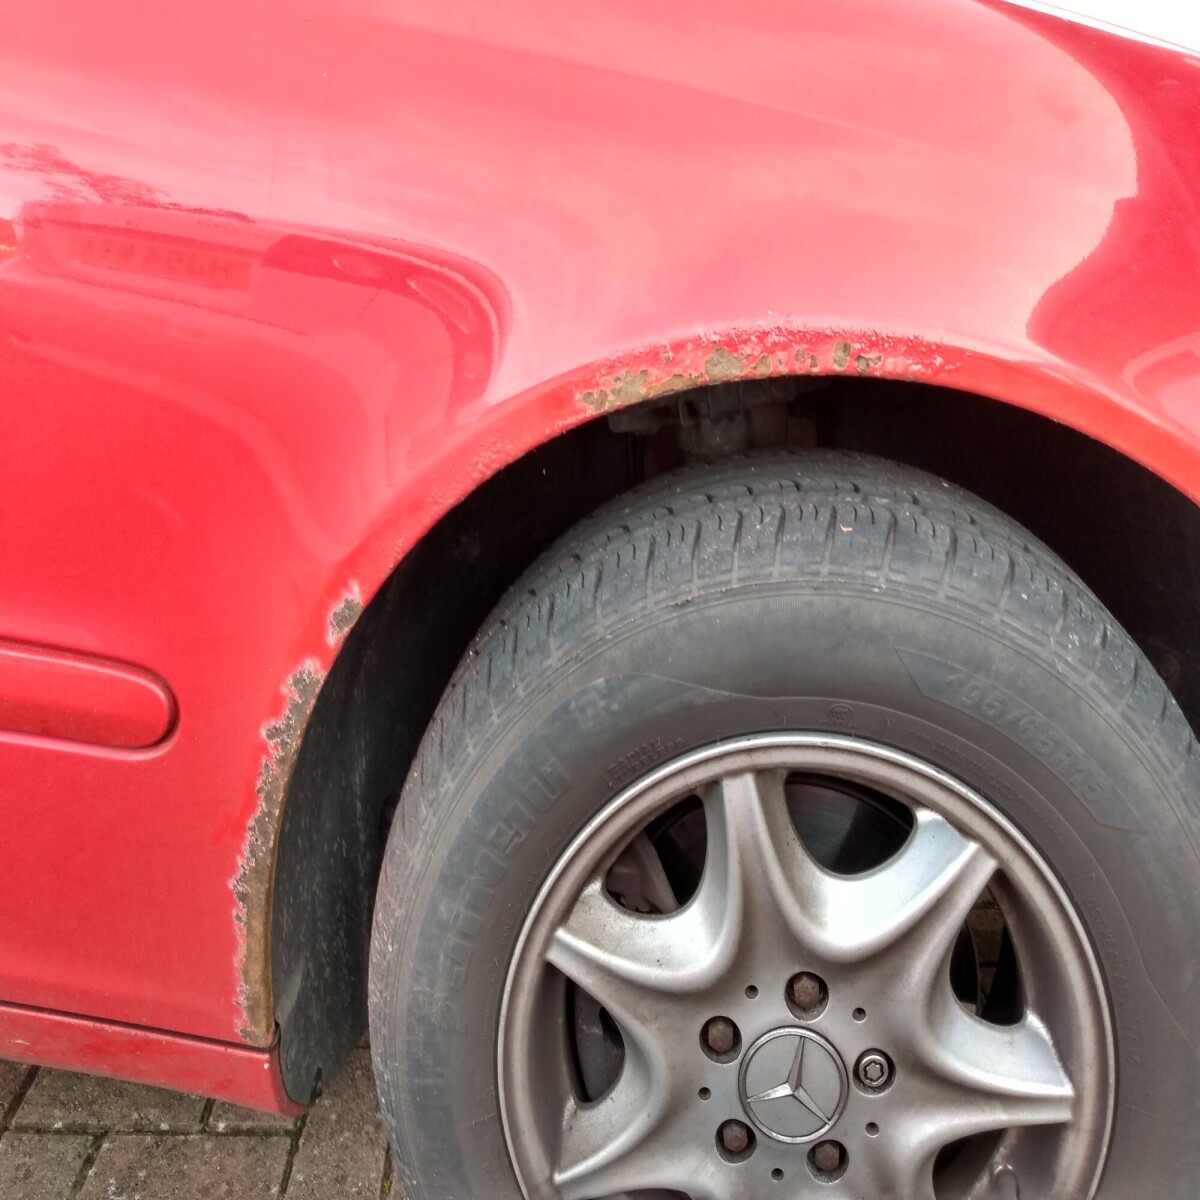
The wire brush tends to remove paint well, and flaky rust too but not strip back to clean metal as ferociously as the grinder wheel. This is a bit of an experiment now because I was going to Vactan it, and the Vactan instructions say to apply to rust rather than good metal. So here we go. What's the worst that can happen?
Vactan merrily painted onto the rusty bits. Here it is starting to cure, it goes on white like milk, then begins to go purple, then when cured it goes black
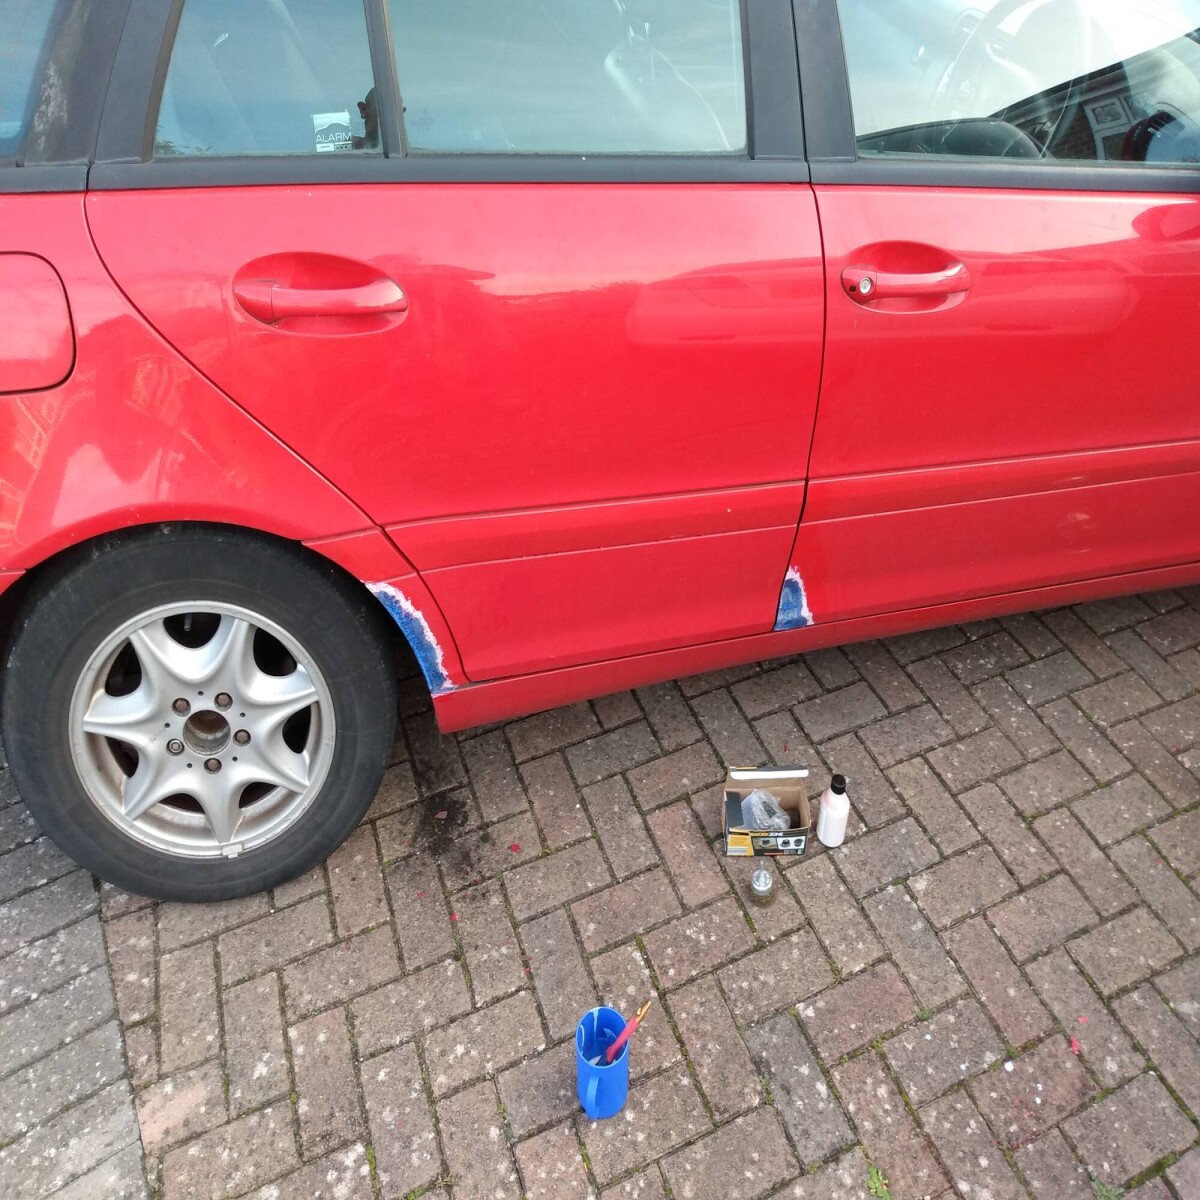
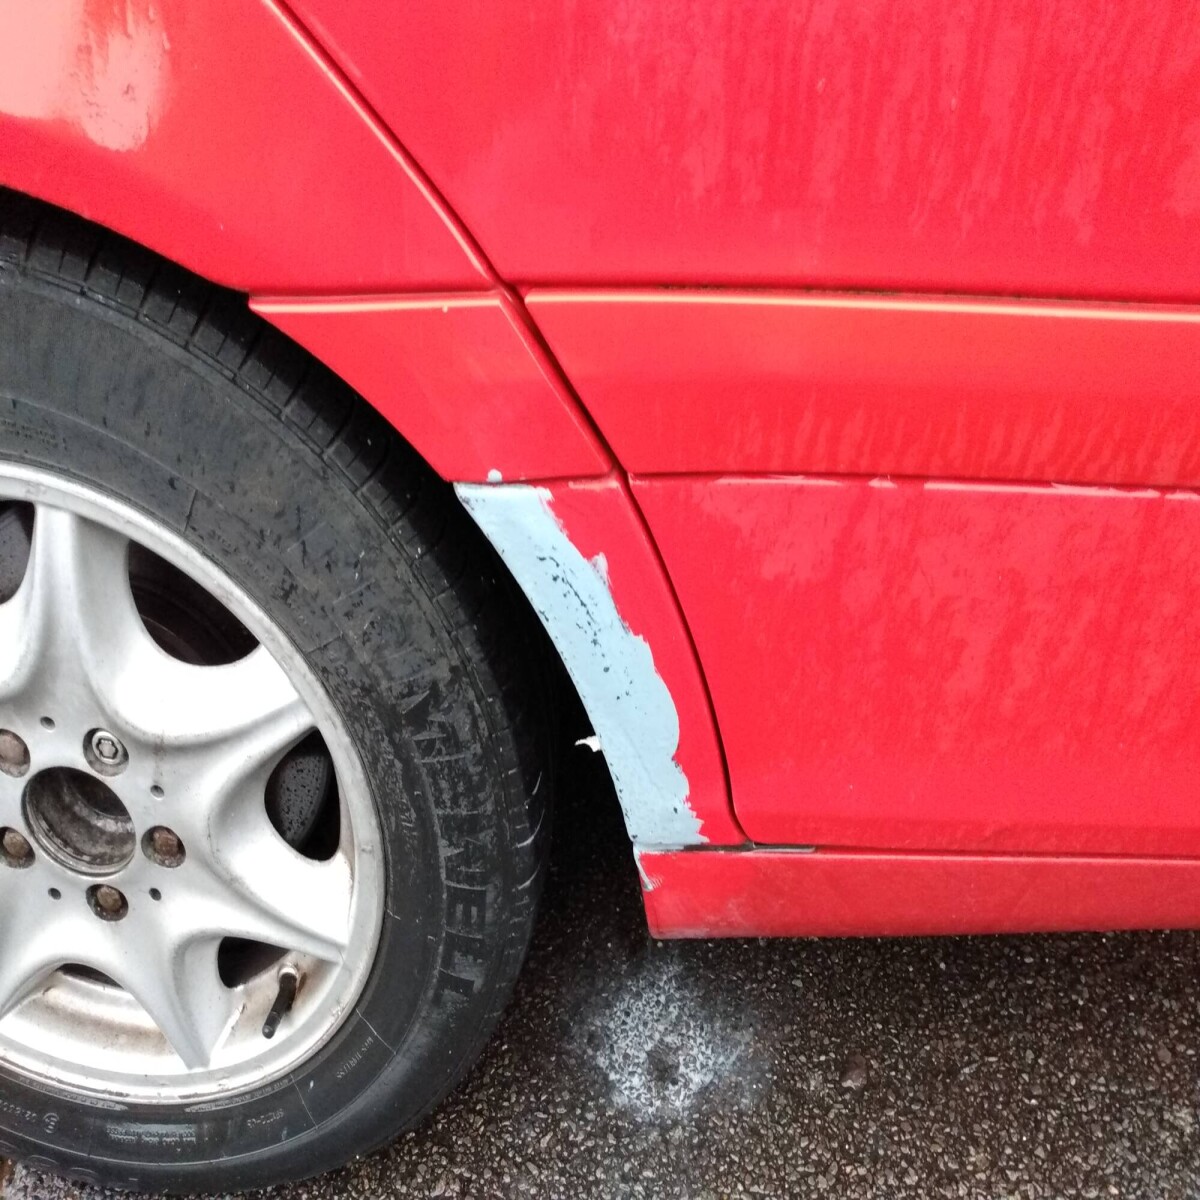
I left it overnight and it had completely cured. Its self-priming/sealing but luckily the weather stayed dry (though cold) for a few days, allowing me to let the Vactan fully cure and then slapped some Zinc182 primer on it all with a brush
This made a big improvement, because the Vactan had cured black, from about 10 feet it looked like several areas of the drivers side had rotted away completely before it was primed!
Today, in the pouring rain (more on this later) I decided I'd take the primer back a bit. I procured some wet n dry paper in 400 and 800 grit grades and went out with some small sections cut off. As it had been raining for quite a while, and continued to do so while I was out, wetting the area proved no problem! I rough sanded the primer down with the 400 then gave it a going over with the 800 to smooth it off and give it a good key for paint.
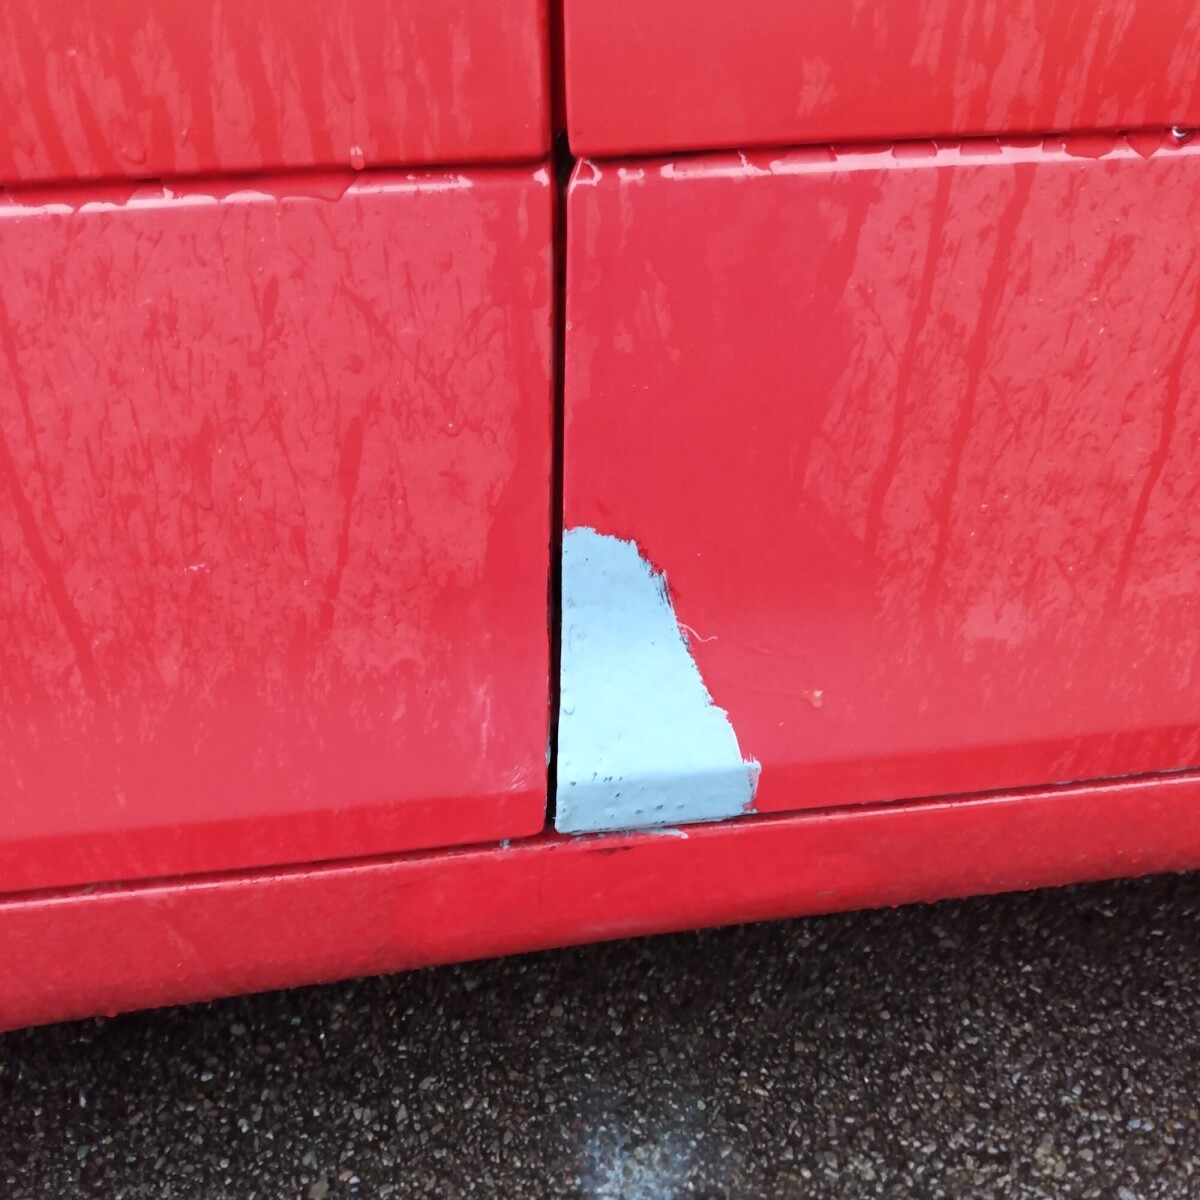
I may have been too aggressive, its gone through in a couple of tiny areas to the Vactan coat (as you can see from some tiny purple speckles in the grey primer) but we'll see what happens. Worst case scenario if I still have it in the spring I'll take it all back with the angry grinder and start over, but it should be OK. The reason I went out in the rain to do this was that the following day was scheduled to be both dry and relatively sunny here, so I aimed to get basecoat and lacquer on if I can. Since its cold I wanted to do the wet sanding so the areas for paint are relatively dry the next morning as it'll want a few coats which will take a while to dry as its so damn cold.
Last this I did was to make sure the aerosols of paint I'd bought from ebay were the right colour. I gave the can a good shaking up and sprayed some on an old bit of kitchen roll tube from the recycling bin
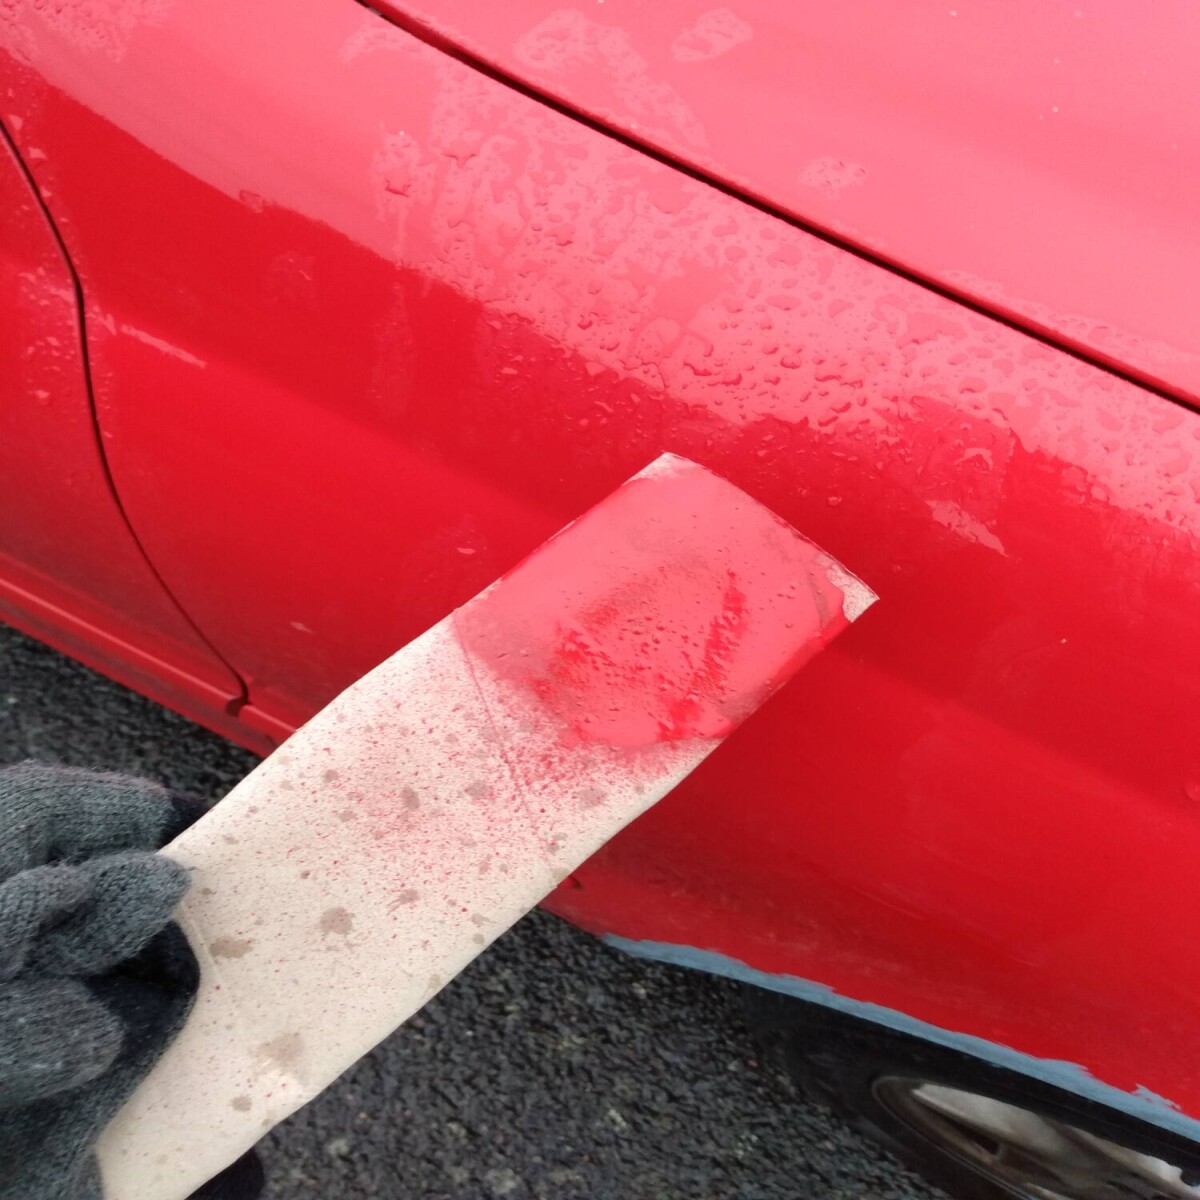
Thats good enough for me. Mercedes 'Magmarot' and a nice flat solid colour which makes blending the paint in a damn site easier than metallics which are a pig to do in my experience.
As promised by the met office, the next day was sunny, dry and cold. perfect* weather for paint application.
I had dozens of jobs to do, including the dismantling and greasing of the Daewoo brakes, trimming the overgrown topiary by the front door of the in-laws house, ivy removal and paint application. Paint application first.
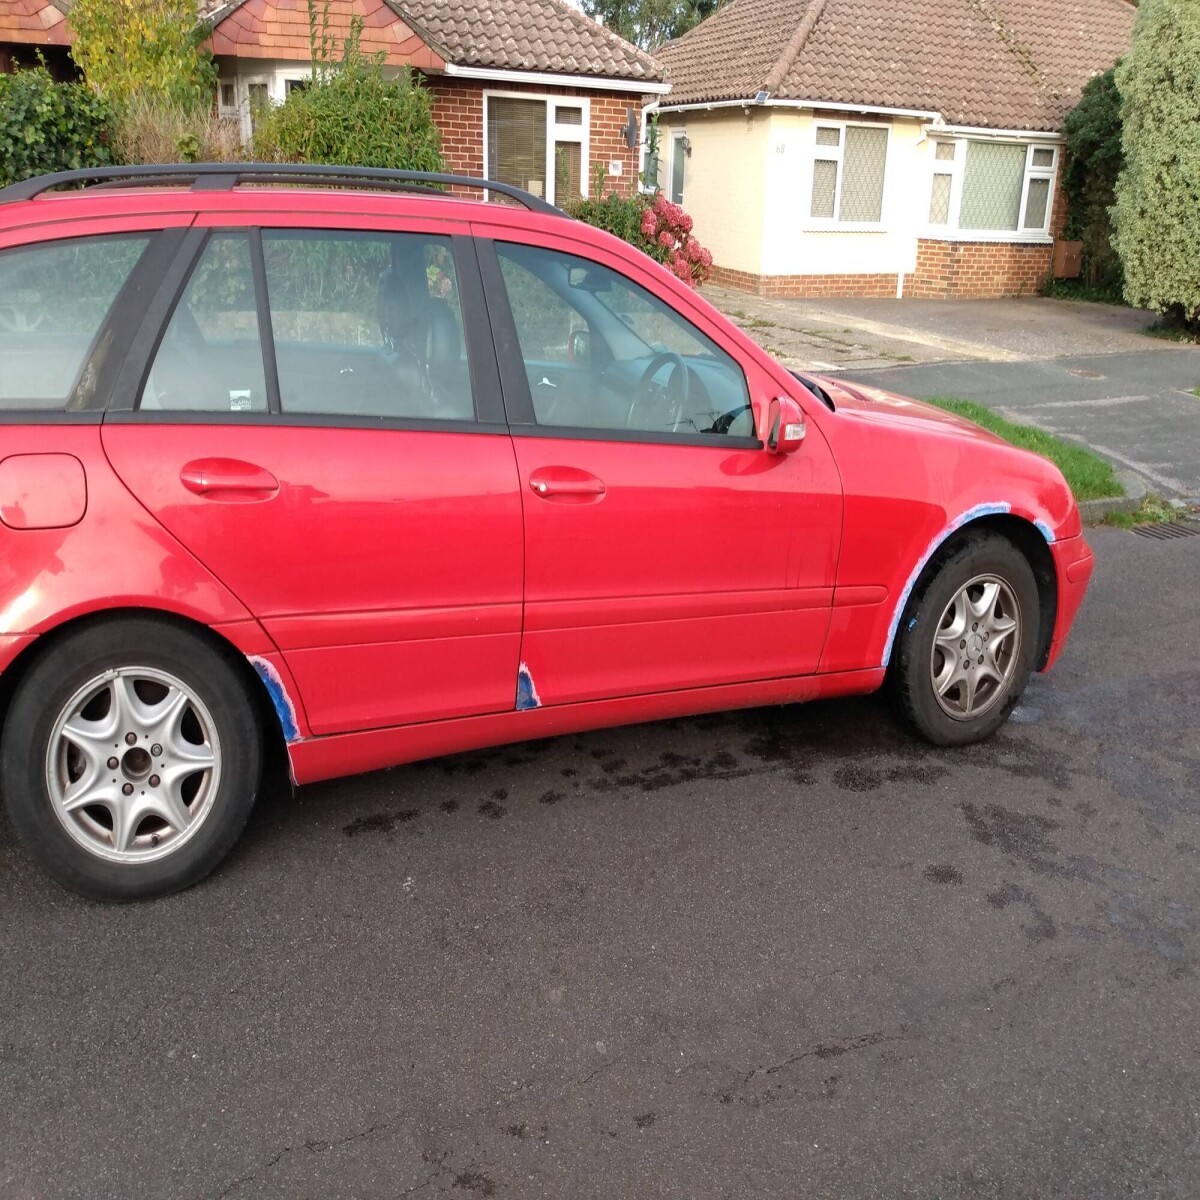
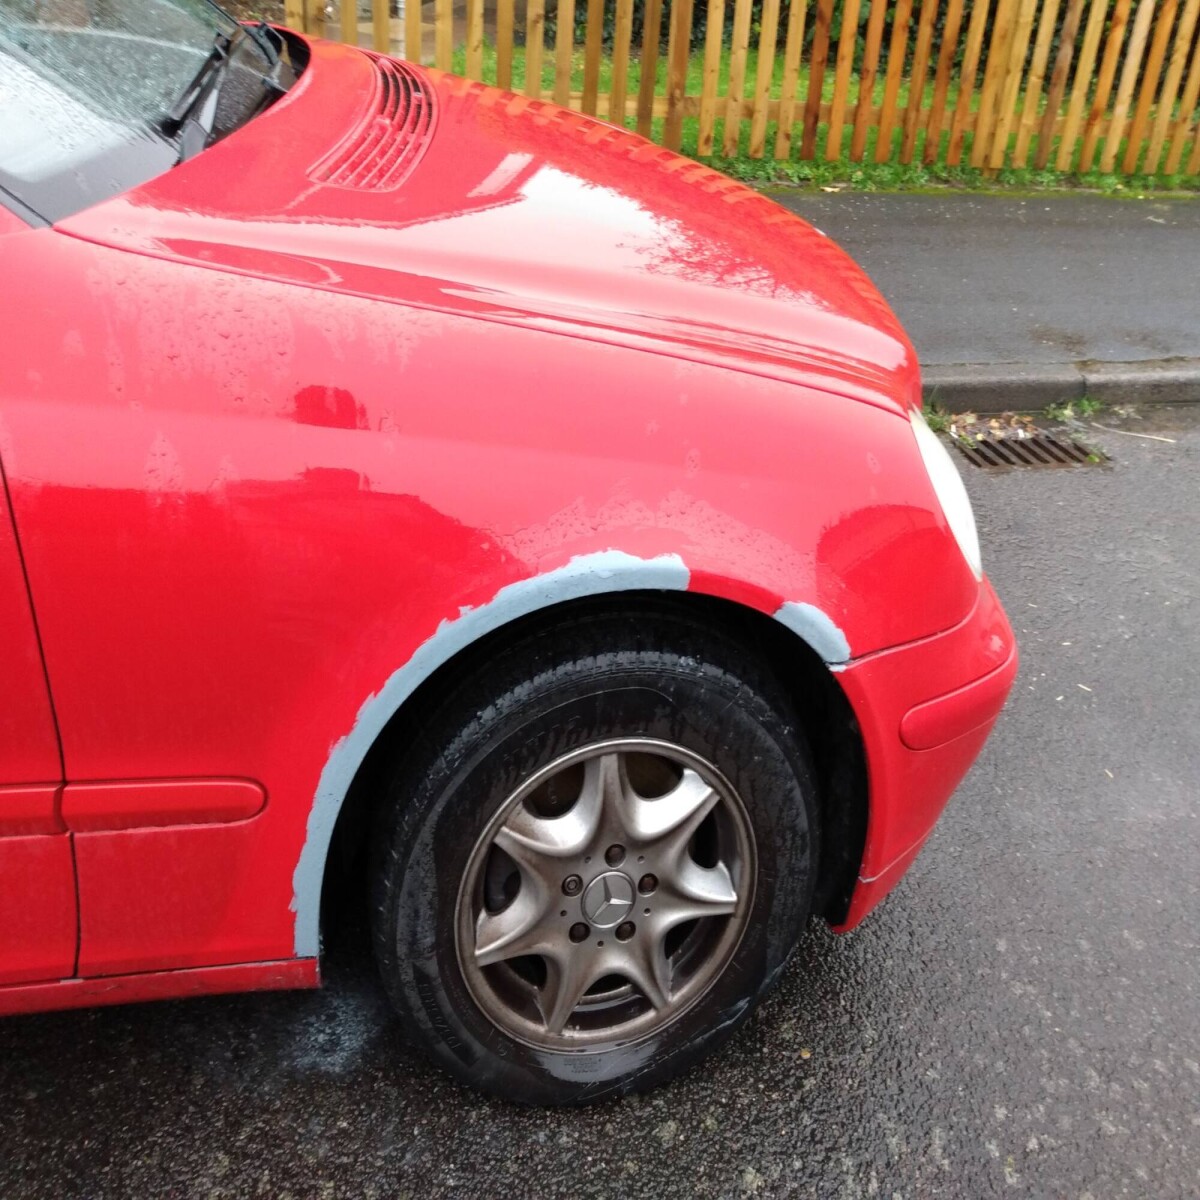
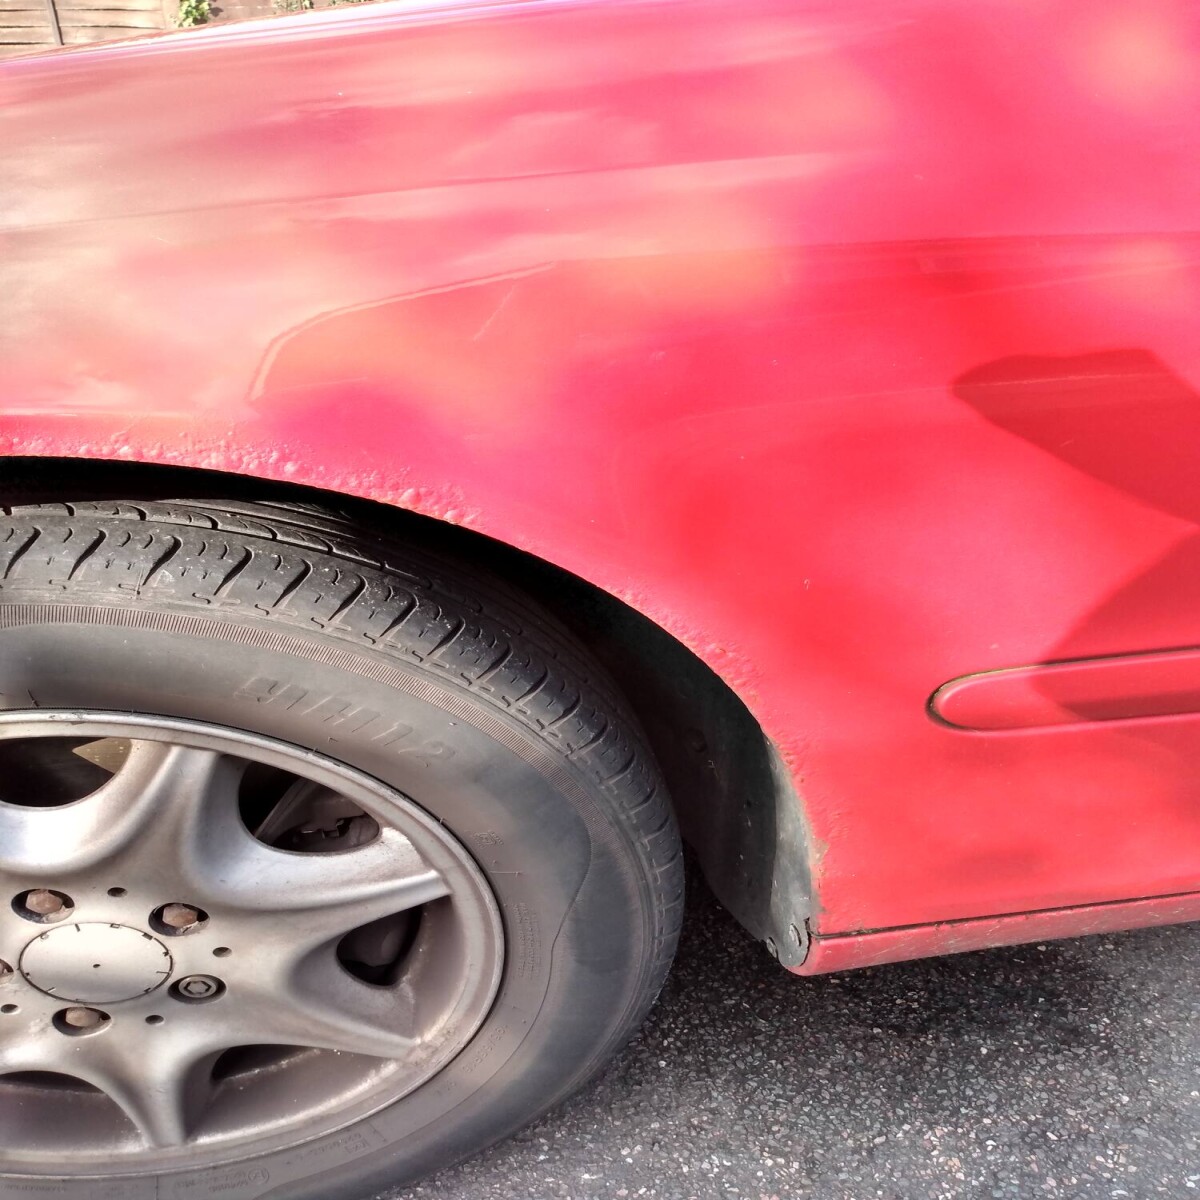
Having flatted back the zinc 182 primer the previous day, I dried it all off with a rag then set to with the aerosol on the arches. With moderate result. After 5 light coats, this was the result
I managed a dusting of red on the tyres despite covering them with a manky old towel, though since they are a motley assortment of China's finest death rings its of relatively little consequence to roadholding. Paint match is 10/10 as for as I'm concerned. Really good job on the aerosol paint company - even after 19 years the blend is pretty much spot on. Here is the finished article after 5 coats of magmarot base and 3 coats of lacquer (from 6' away)

Other than the damage to the public highway (I pay my damn road tax) I reckon that doesn't look to bad at all for a ham-fisted moron with a rattle can on a cold day. It doesn't bear up to very close scrutiny, with a slightly bumpy finish due to the rough finish on the zinc primer, but its pretty much rock solid in terms of surface rust now. A healthy dose of Vactan, zinc primer and several costs of basecoat finished with 3 lashings of lacquer seems to have sorted it for now. If it goes mega manky over the winter then we'll try again in the spring but I'm optimistic its been caught in time and dealt with properly.
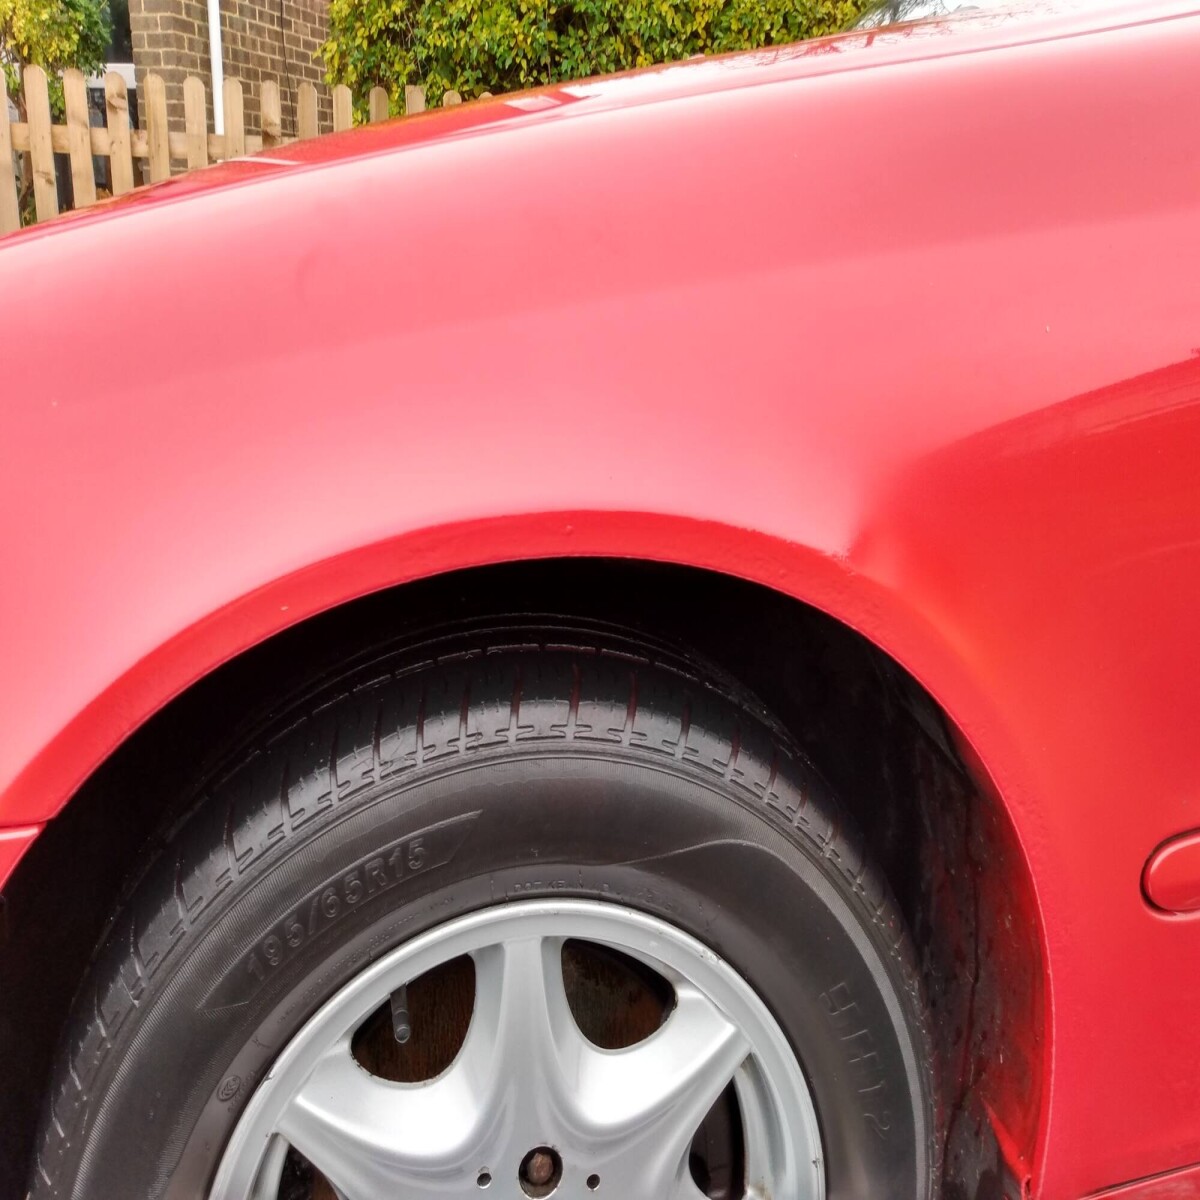
Next up, the passenger side which is less grim but still a bit bubbly. Front arch
And rear arch
Needed giving a seeing to. My new brass wire wheel should be arriving soon so I'll need to get busy with that...
I'd finished the drivers side, but still had the passenger side to do. It was less bad, but still bubbly arch lips and a few weird spots in the middle of doors and the suchlike. I got the wire wheel for the drill through in the post and ground it all back. I used my father-in-law's 18v battery drill for this and it wasn't as good as my mains one. Granted it was easier to use, I ran 3 batteries out grinding the pant down, and trying to push the wire wheel in to take the paint off more aggressively just resulted in it slipping in the drill or jamming entirely. I got there in the end.
With the arches ground back, Vactan'd, primed, topcoated and lacquered it was looking quite a bit better
There is a bit of overspray in the arches which I may clean back with some meths or something, or just wait for it to be blasted off by road muck.
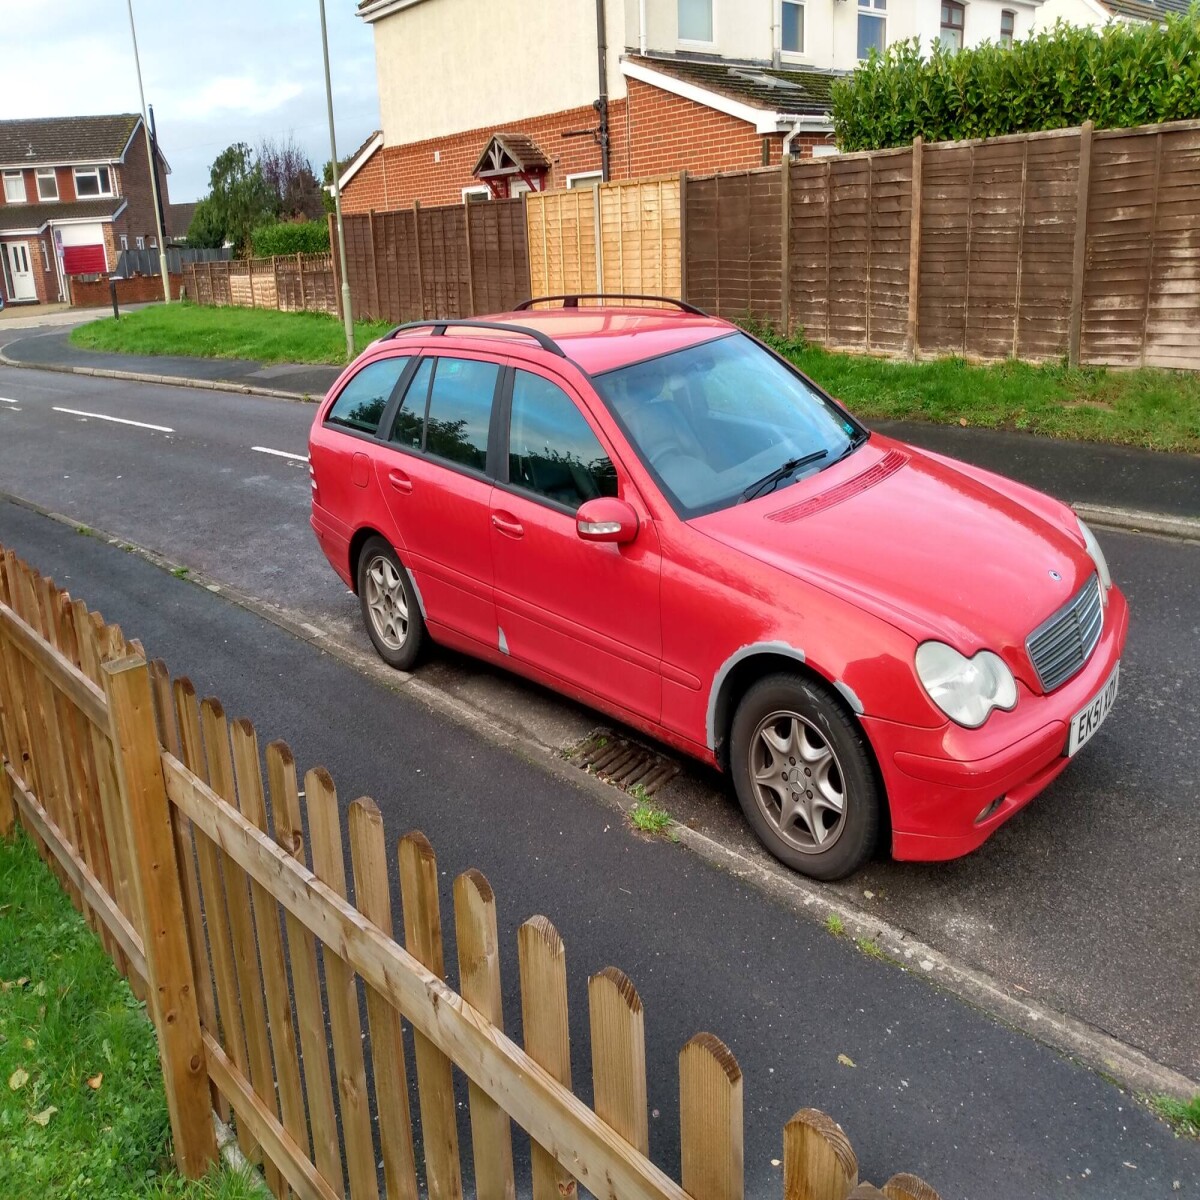
Next up I gave it a good wash all over. It looks like quite a small car until you wash it and realise there is actually quite a bit of metalwork to deal with. I just used a sponge and hot water because i wasn't sure how the new paint would stand up to a jetwash. I also used my magic stinky wheel cleaner and a toothbrush to sort the wheels out. Here are the results
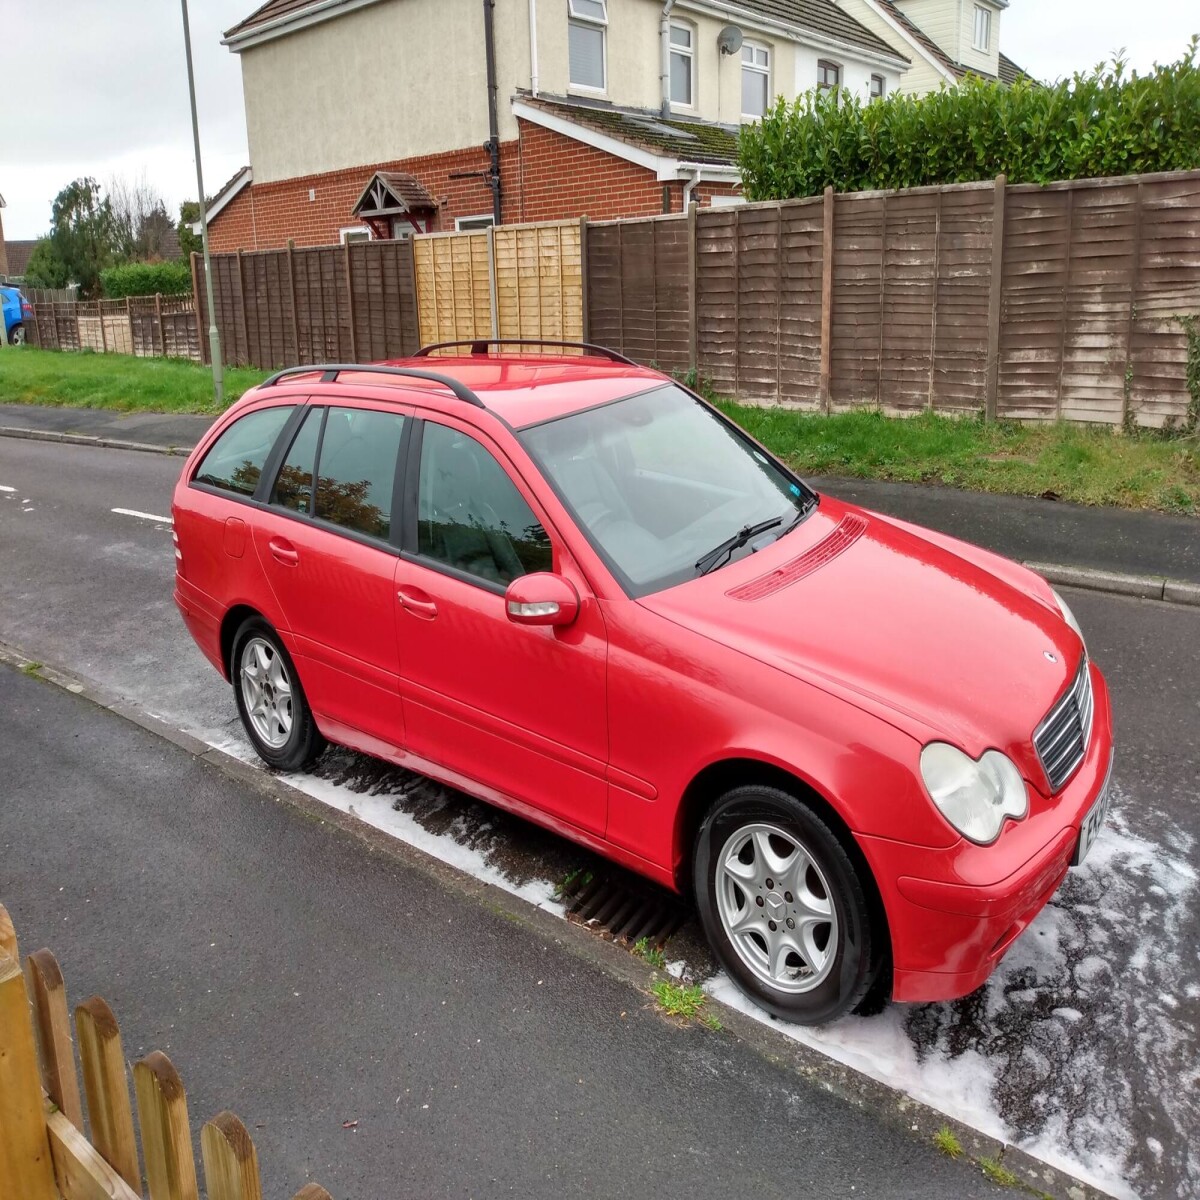
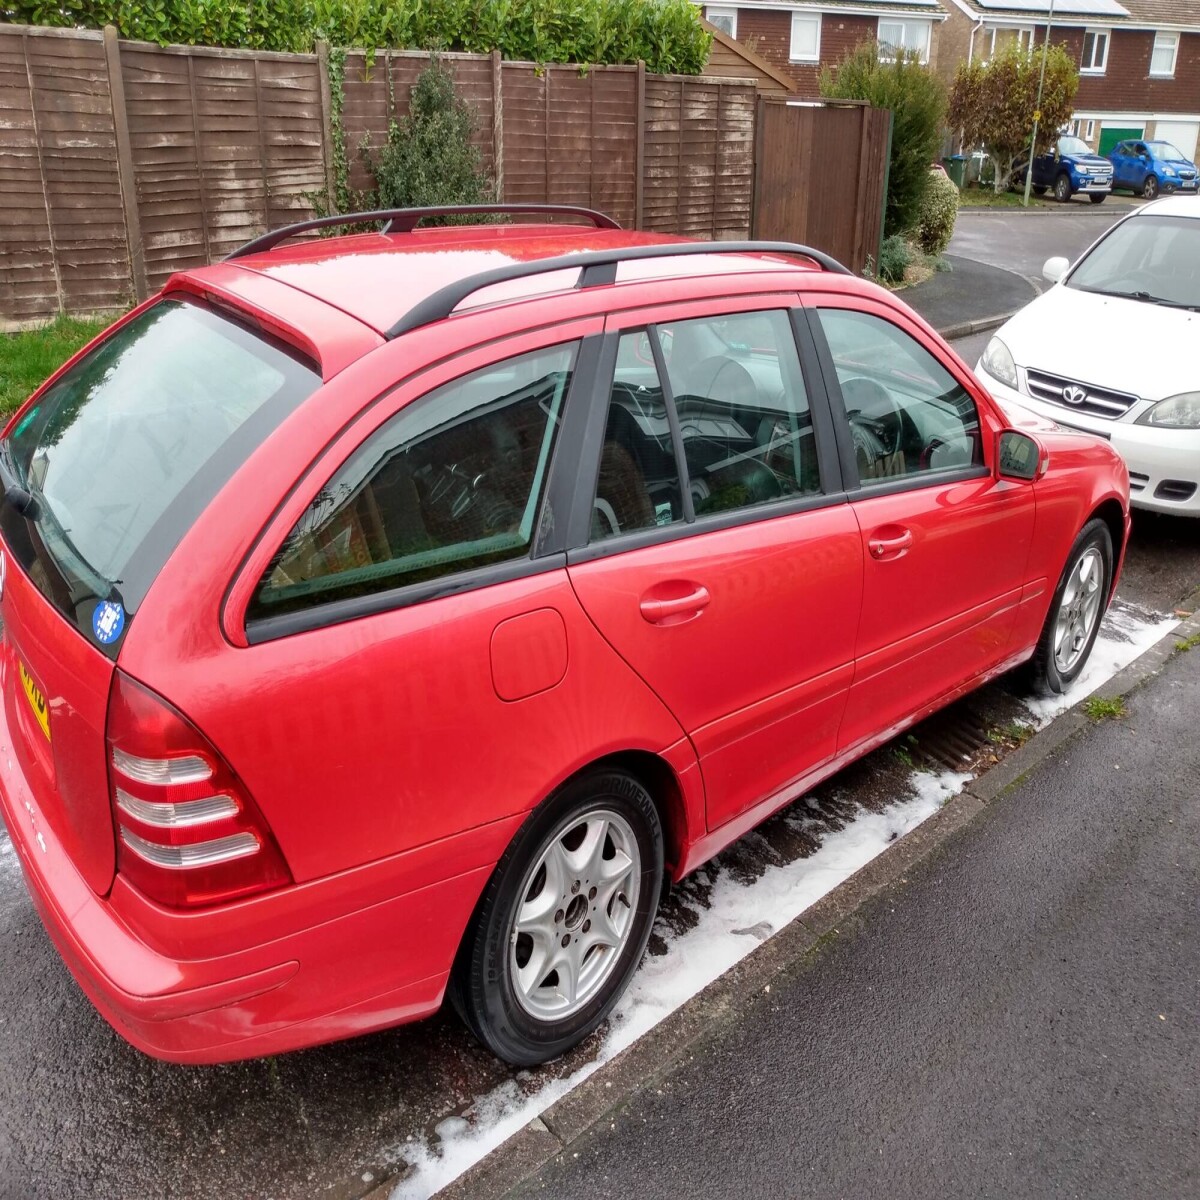
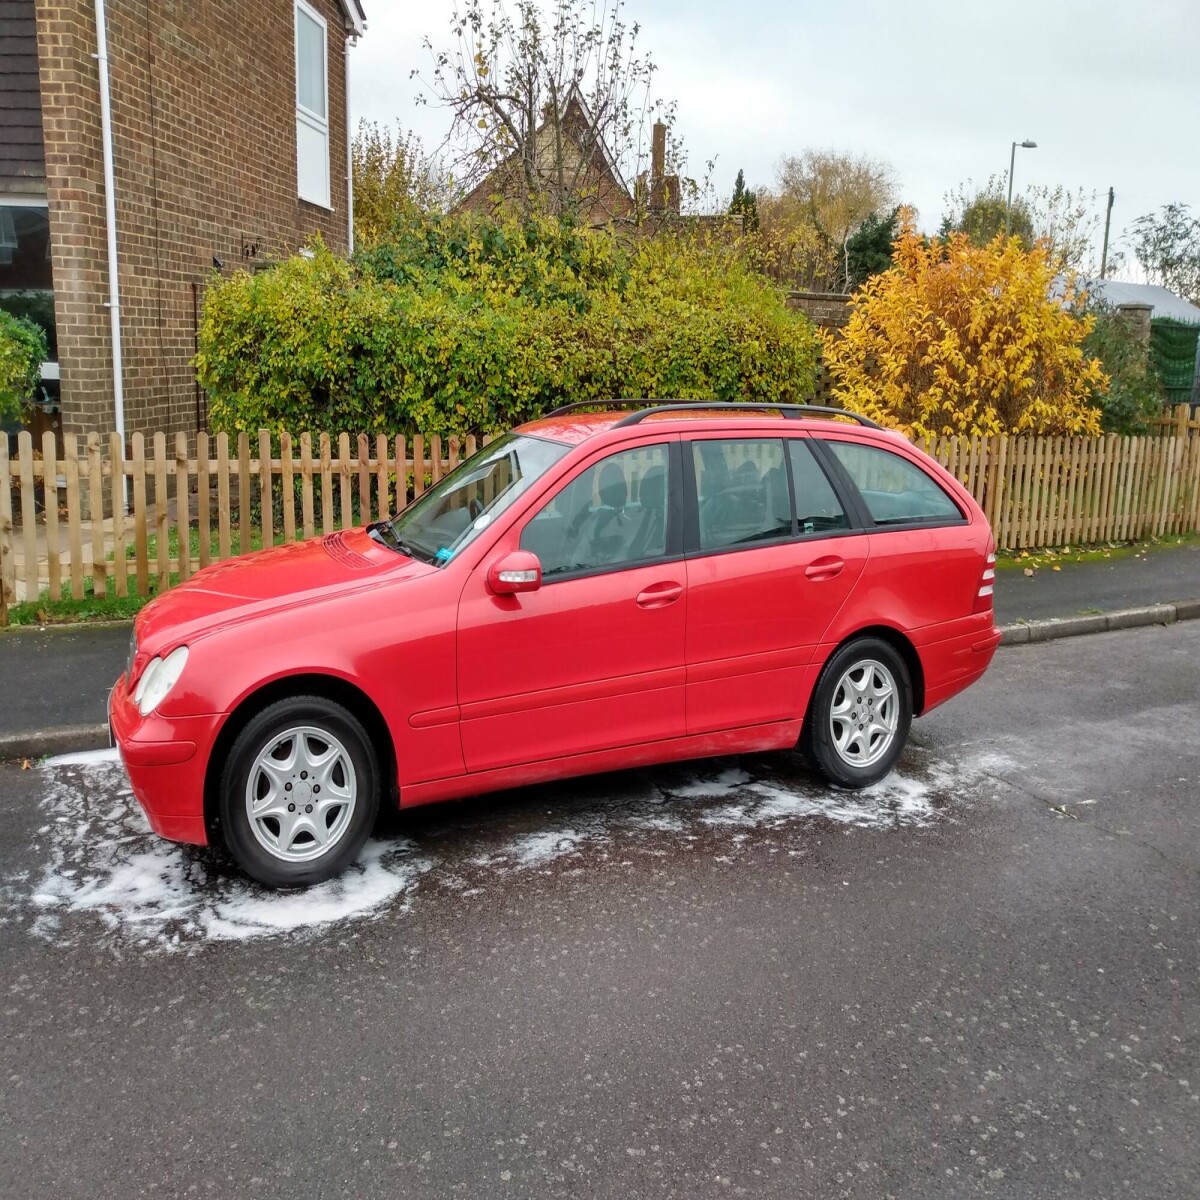
I'm pretty pleased with it overall now. If you get up really close the paintwork is a bit bumpy, but you have to be less than 6 inches away to be able to tell. The colour match is excellent considering its a rattle-can job. The only bits that might want dealing with now are a couple of areas of lacquer peel on the bonnet, and an ugly repair on the roof where it looks like its been keyed then repainted with a brush and some not-the-right-shade red acryllic paint. It'll be easy to grind back and treat and paint but I need a dry, calm day to do it, so maybe June 2020?


