
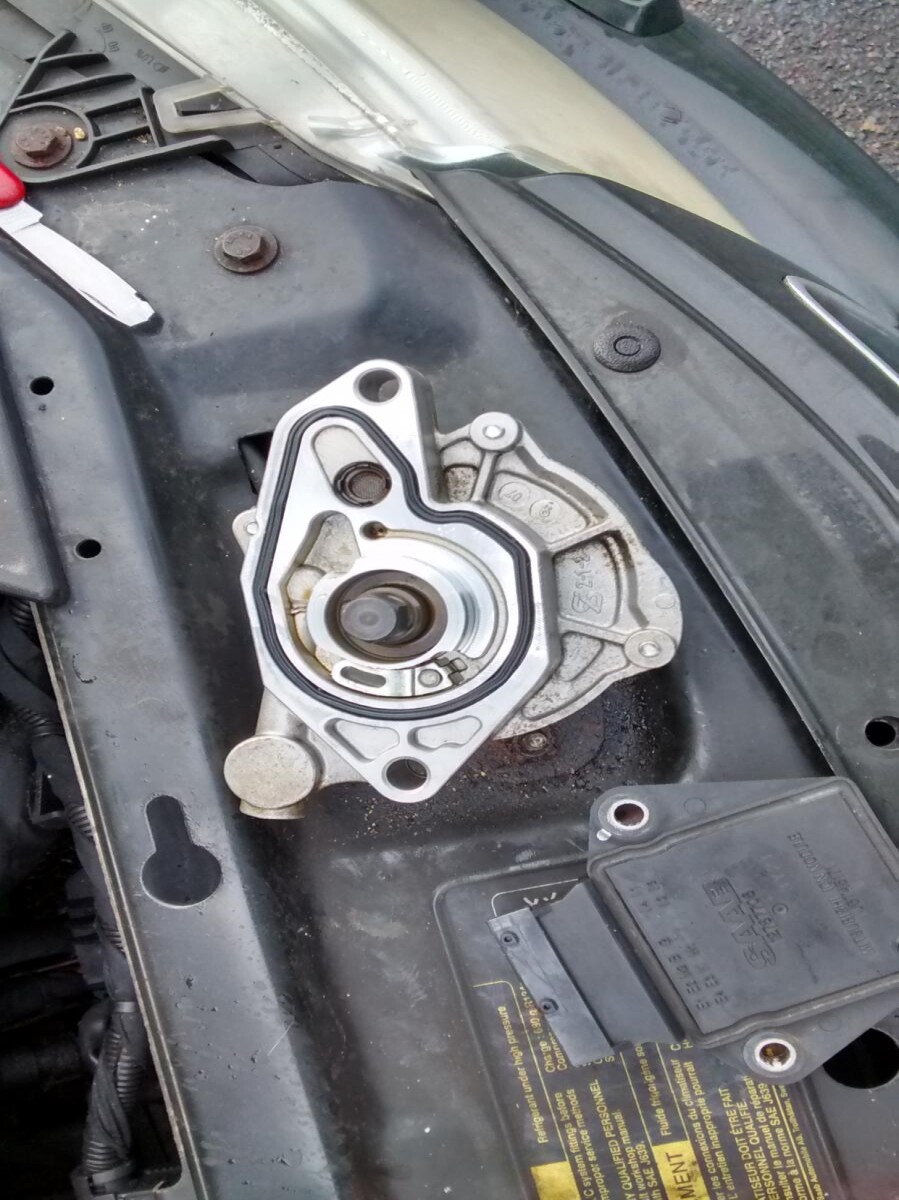
A bit more home mechanic-ing today. My Saab has been smelling oily after a run for a little while now, closer inspection suggests oil has been escaping from the top right hand side of the cylinderhead and pooling in a recess in a strengthening rib in the block. Closer inspection suggested that this thing was the culprit
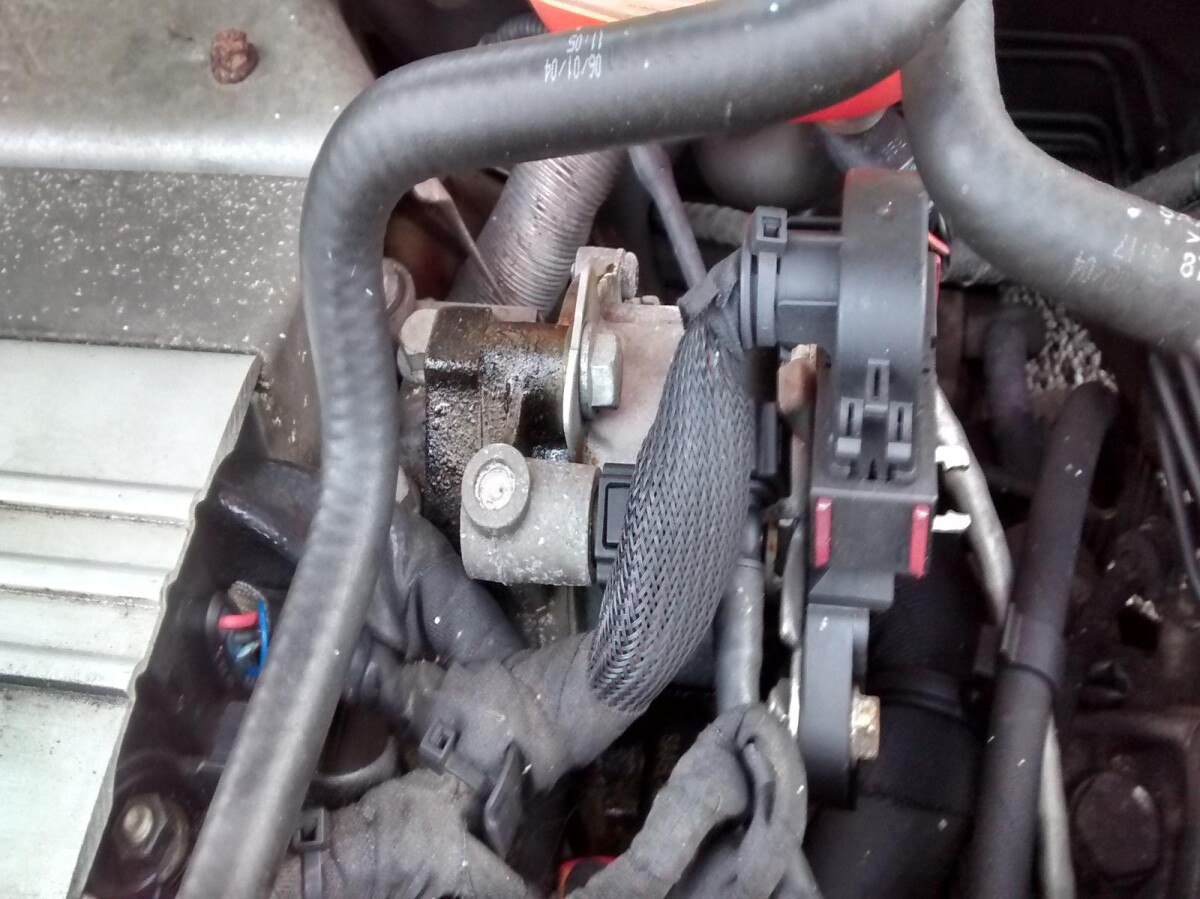
Apparently this is the Brake Vacuum Pump. According to Google, these brake down internally and leak engine oil. This is what was wrong with mine. See the shiny bit down the dark recess? thats oil.
So, having looked at an online copy of the Saab workshop manual, it seems to be a fairly easy job. I ordered a replacement used one from a Saab specialist, and a new gasket from ebay, and this morning I set to changing it. Here is an exciting* guide on what I did.
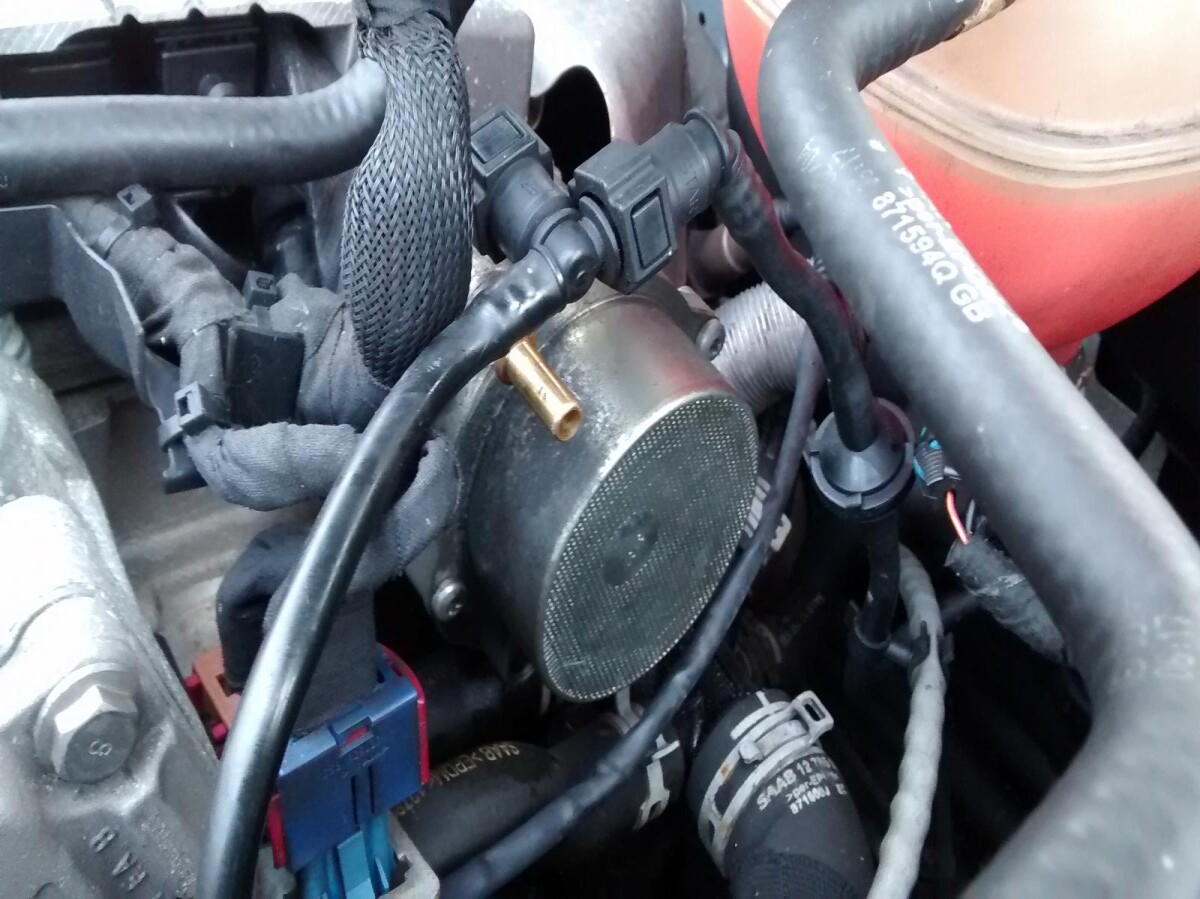
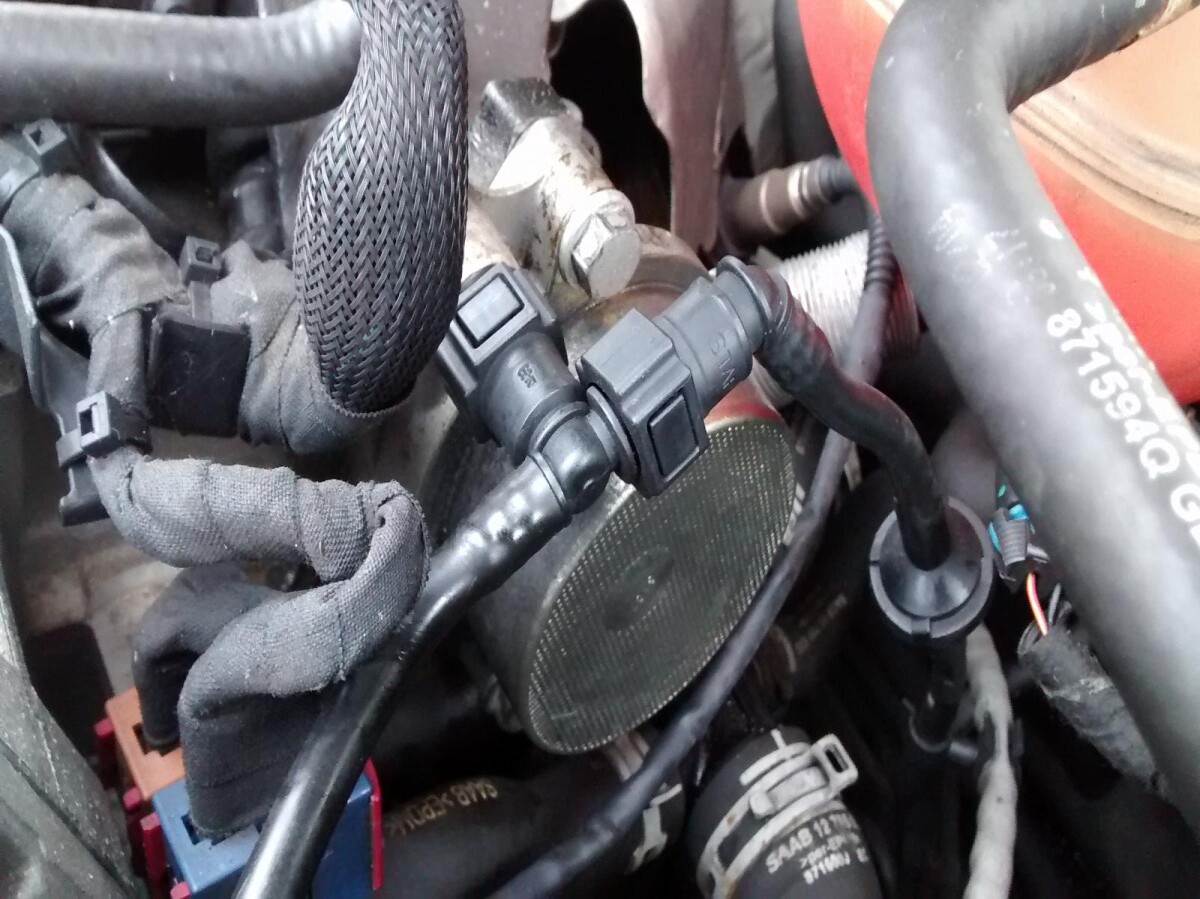
The pump is held in with 2 big bolts, but to get at these you have to remove the cryptically named 'Ionization Module'. God knows what this is or does, but it has to come off. I undid the funny Saab clip things they use for everything electrical. I used to think these were bloody stupid but actually I've come round a bit and they do make sense

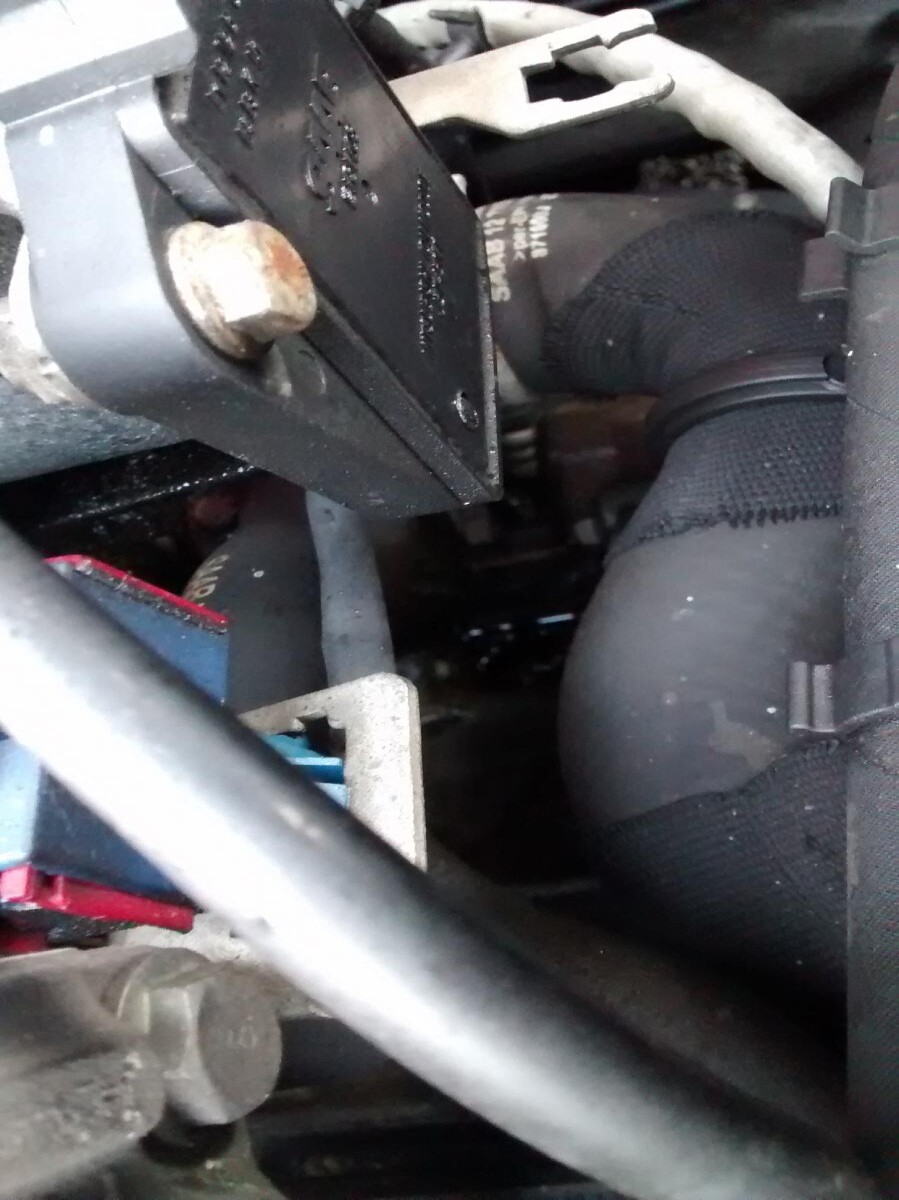
With the Ionization module removed, it exposed the mounting bracket
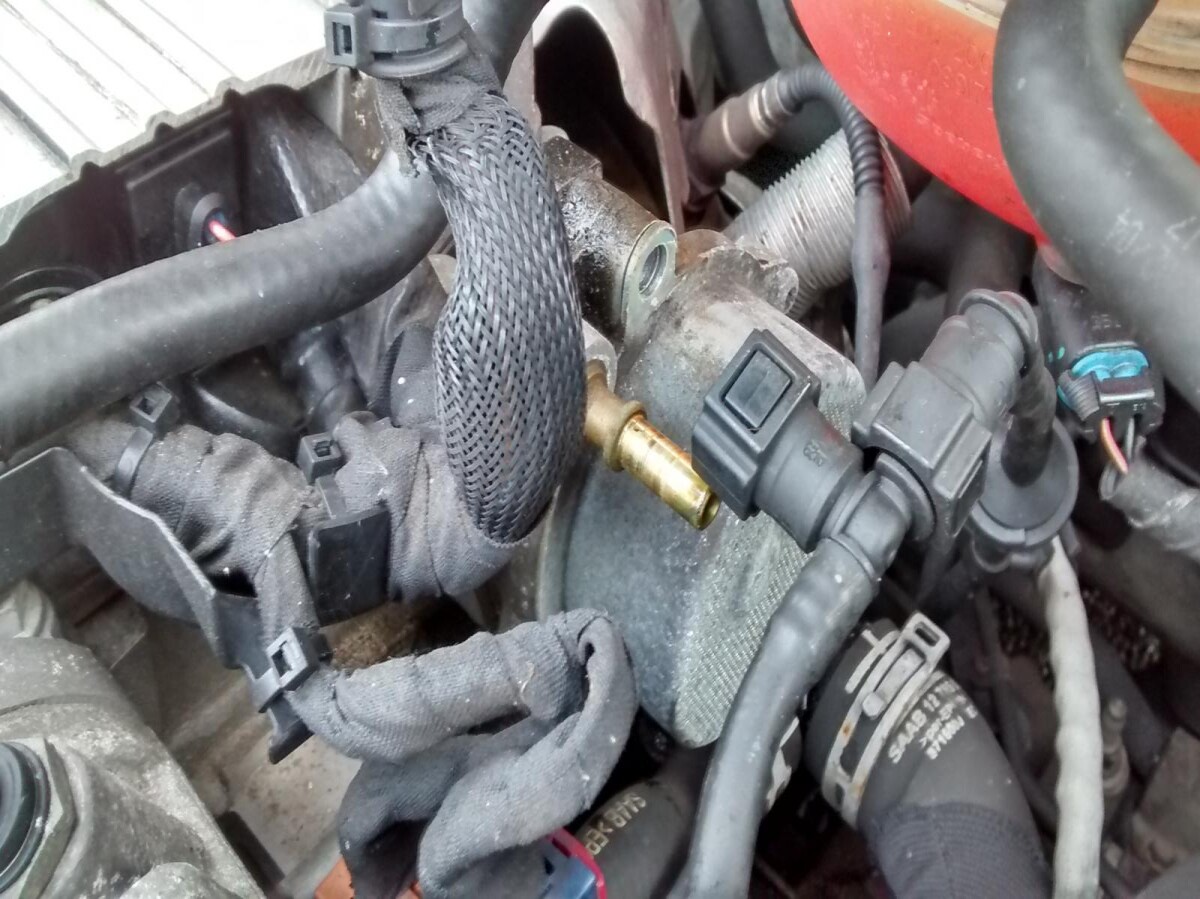
The vacuum hose unclipped really easily - press in the button and pull it away from the brass thing. Then the whole lot levered off
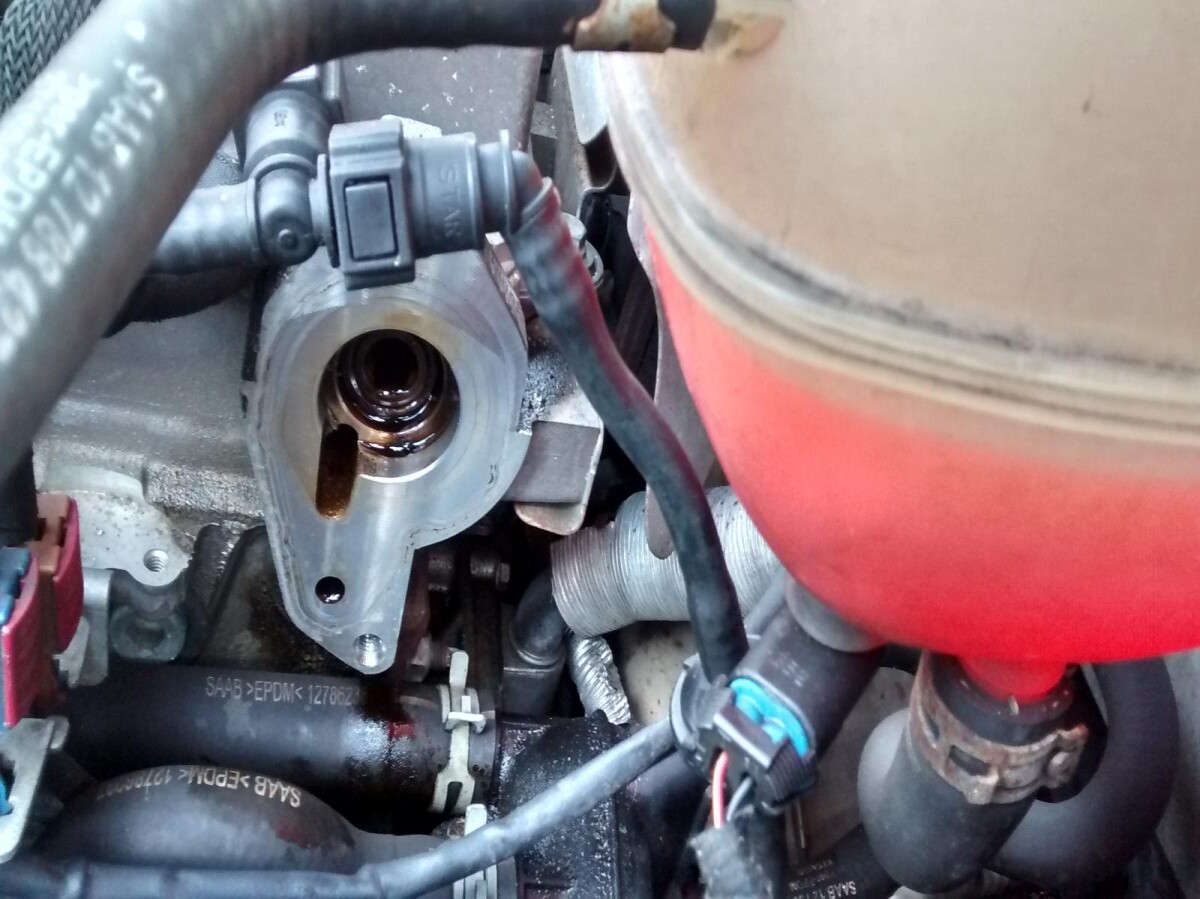
I cleaned up the mating surface with an old pair of underpants and some carb cleaner.

This is the new (to me) one - I carefully extracted the old rubber gasket and gave it a wipe off.
With the new black gasket in place it was time to start putting it all back together. I refitted the vacuum pump to the block
Vacuum hose re-attached and bolts done up. Hooray! Except I'm a dinlo and hadn't fitted the Ionization Module bracket which uses the same 2 big bolts to hold it in, so had to take off the the vac hose and undo the two bolts again, fit the bracket and do it all back up again

Then Ionization module bolted in and connected back up. I took the time to whack some contact cleaner onto the spade connectors before I reconnected the clip for good measure
Then I started the car up to see if I had any brakes. Since it's an auto, this was a bit more bum-clenchy than I'd have liked! I set off very gently and went round the block. The brakes seem to work as well as they used to, and hopefully the oil leak is fixed. I've kept the old part just in case, and I really need a way to get the old oil puddle off the block or it'll smoulder for a while more which I could do without. Unfortunately its easy to see, but really hard to actually get at so I'll have to have a think.


