
What an age we live in eh? I ordered the rear ARB from a seller in Malaysia on 1st October, and it arrived here, beautifully packaged on the 7th October for under £120. The best any UK based sellers could do was £180 and a 6 month (!) wait.
Top marks to yulicoauto.com.my for superb service and impeccable English - they couldn’t have done more to help! If you google them, don't forget the ".my" on the end, otherwise you get a VERY different (and VERY NSFW) website ![]()
![]()
![]()
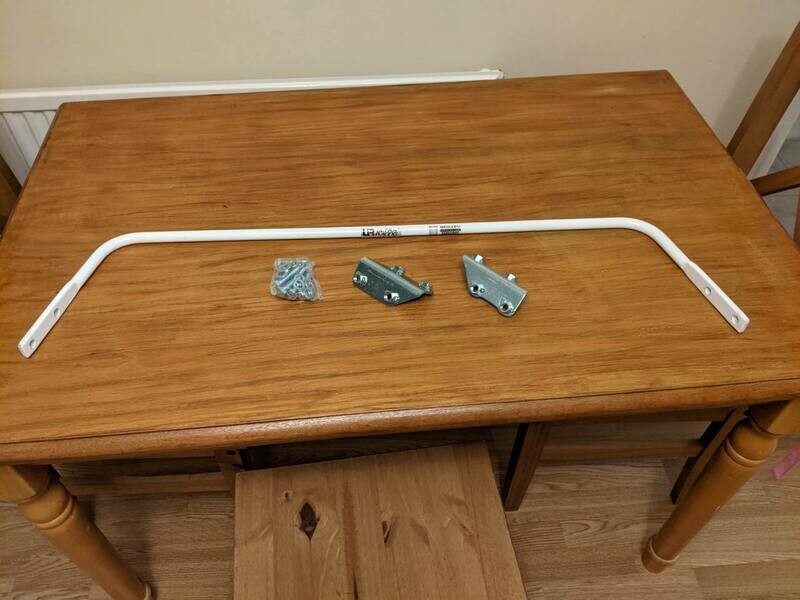
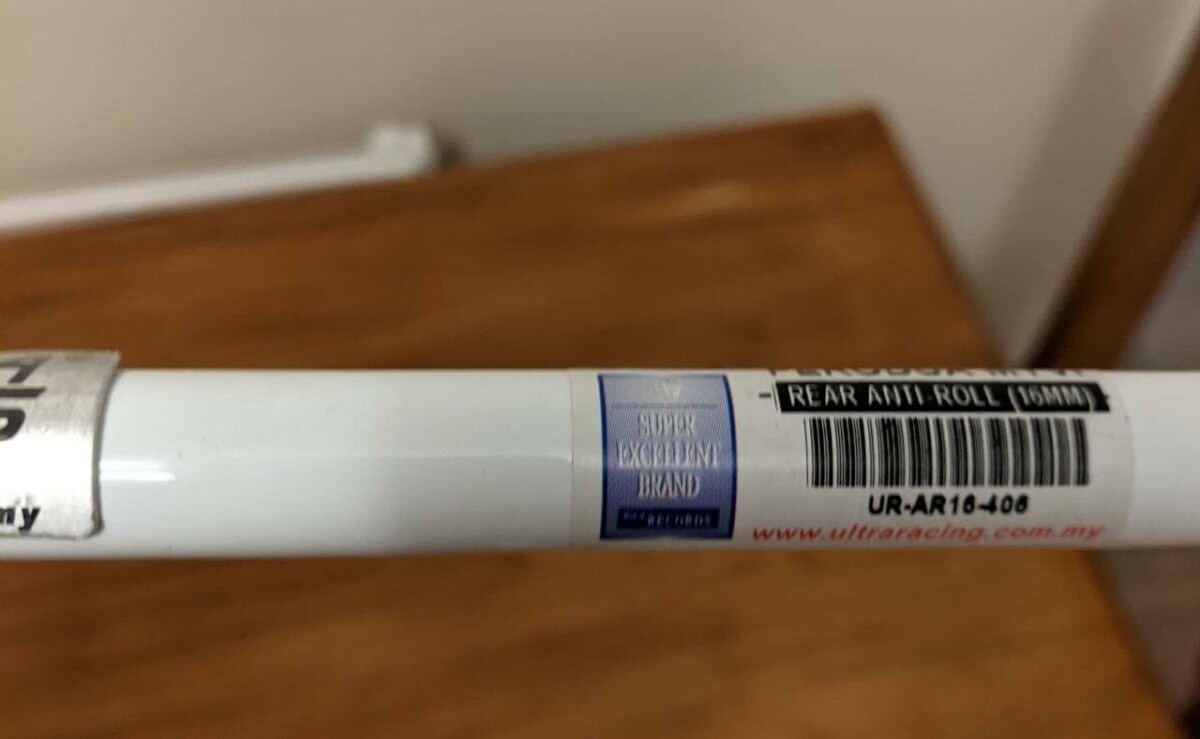
Kit comprises the ARB itself, an Ultra Racing AR16-406 bar, 2 mounting brackets and a pack of stainless steel washers and bolts for fitting to the rear beam of my Sirion. This is the 16mm version - they also do a 19mm one - which I hope will tidy up some of the body roll when driving enthusiastically.
Its also a:

Work was quiet this morning so I went out and got the Sirion up on the lift to fit the ARB. The rear beam is 4 pre-drilled holes for mounting the ARB so first of all I bolted the angle brackets to the rear beam. The kit comes with 8x 14mm bolts in 8.8 stainless steel, plus washers for mounting.
I did the vertical bolts up tight, then bolted one side of the ARB horizontally into to the bracket. It needs to be fitted under tension, it comes shaped like \___/ and needs to be tensioned so it looks like this |____| instead. I got my ratchet strap out to try and bend it into position, then (in a rare instance of this for me) had a brainwave.
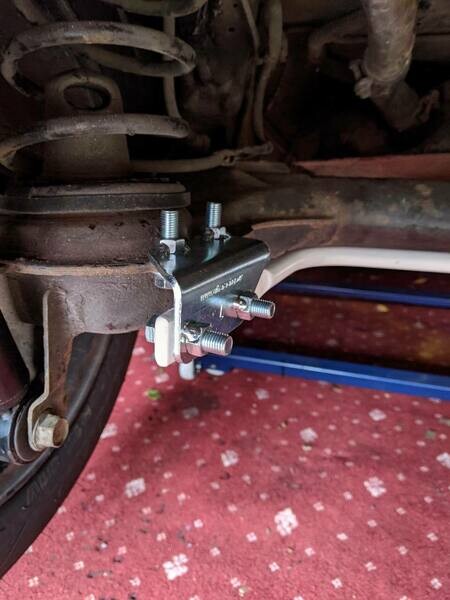
Rather than doing one side up tight, then using a ratchet strap to bend the other side in parallel, I undid the horizontal bolts on the side I’d done up so they were engaged about 5 threads each into the captive nuts of the bracket. This allowed the whole ARB to slide over about 1" and meant I could use a small g-clamp on the other side to bend it in a small amount, just enough to get the bolts to line up and engage with the threads in the captive nuts - I hardly had to put any tension on it to get it to this stage, meaning less chance of it slipping and pinging off into my face or whatever.
Once I had all 4 bolts engaged with the captive nuts I could tighten it all up, working diagonally about 5 turns at a time, left front, right rear, right front, left rear and so on until it was fully tightened up
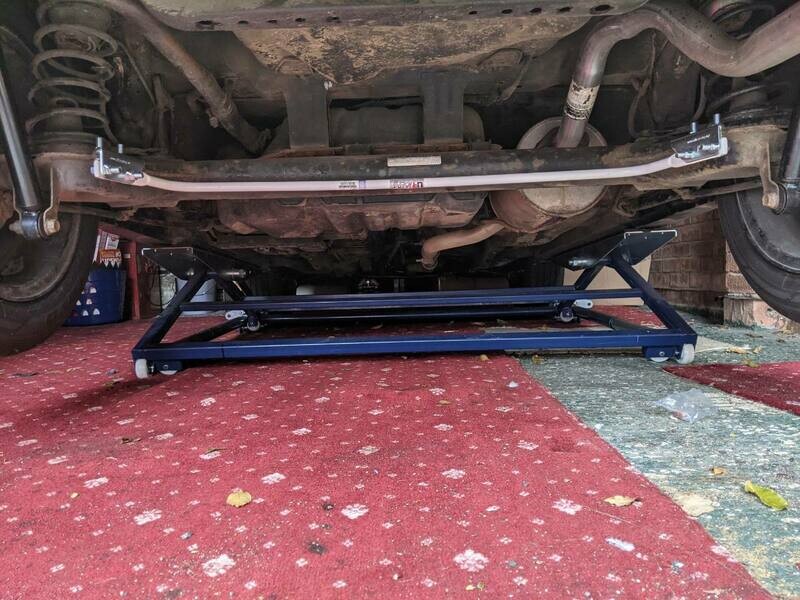
Here it is in situ, I didn’t realise until I took this pic that I’d mounted it with the Ultra Racing logo upside down (doh!) but I’m not going to undo it and flip it over, no-one will see it anyway, unless I’m upside-down in a ditch!
I’ll take it for another run over the weekend to see how its altered the handling, looking forward to reporting back. I reckon with the word 'ultra' in the name its got to add at least 20bhp, right?


