
Some more fixertaing for tonight, bangernomics fans*
Since I've owned my C-Class, there is a bit of a vibration when you hit the brakes above 50mph, pottering about its fine but a bit of a chore on the motorway. Since I'm due to put about 400 miles on the odometer next weekend I probably ought to do something about it. I'd asked for opinions on local motor factors brakes options with the general opinion that most of them were crap and OEM from Mercedes was the best option. I had decided that as the tyres had been recently changed and balanced, the most likely culprit was warped front discs.
The best the factors could do on a pair of front discs and pads (since I might as well change them while I'm in there) was about £170, Mercedes wanted £140 for discs and pads, but ebay came up trumps with the best* of both worlds. A pair of Febi Bilstein discs and pads for £80 delivered. I ordered them and they showed up today
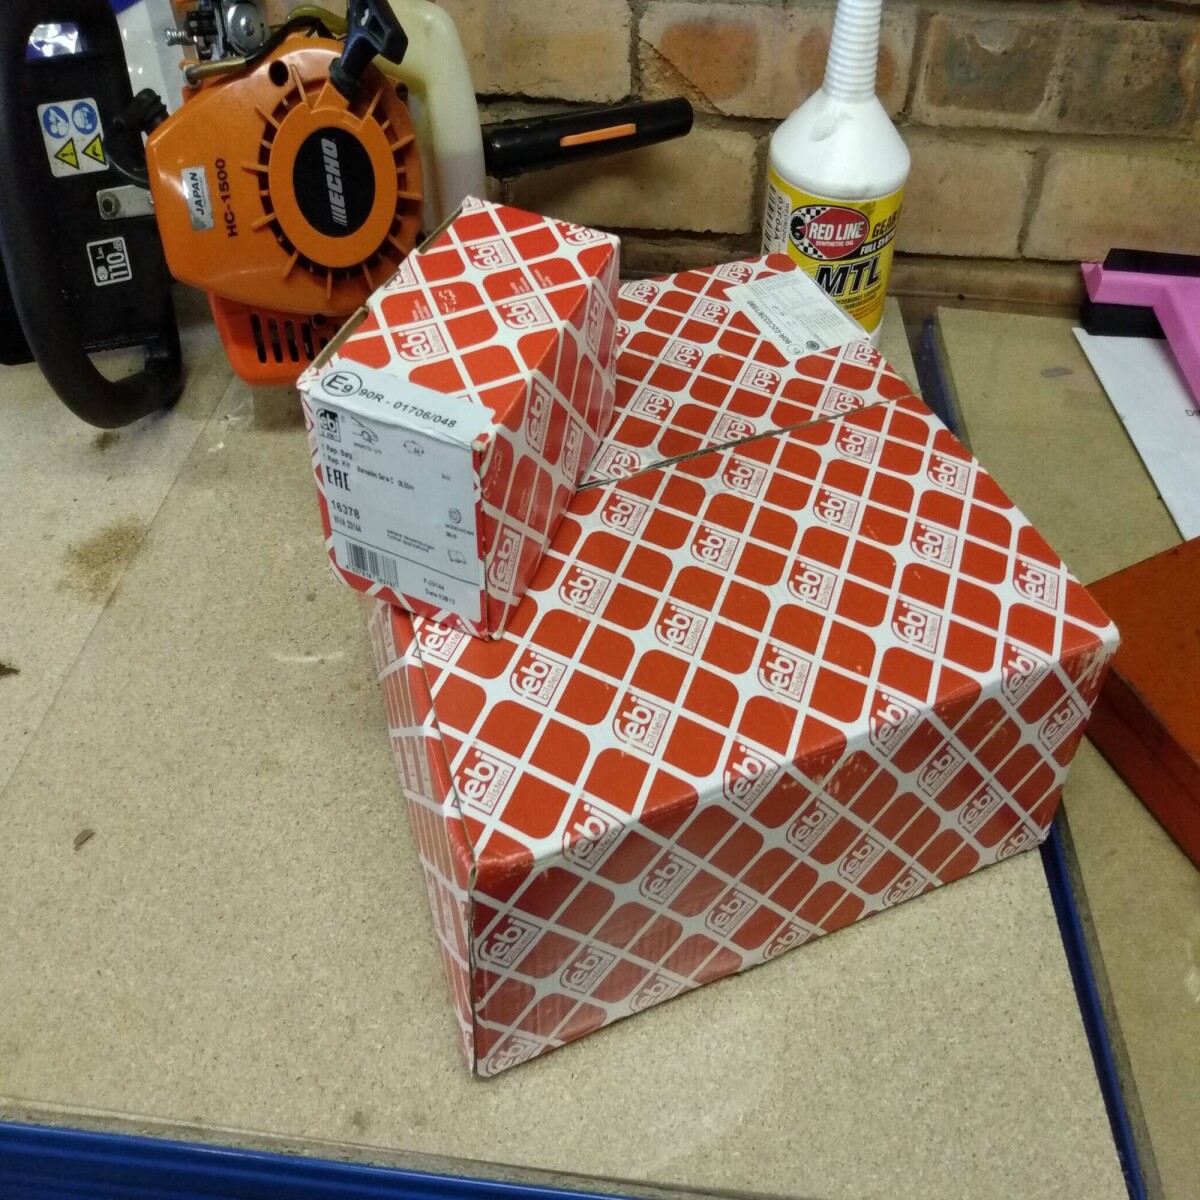
This seemed the best compromise between brand I'd heard of and price. Lets see if I live to regret it because apparently this generation of c-classes has a bit of a thing* about brake discs.
Having put the kids to bed and got about 1/3rd of the way through a bottle of cheap Tempranillo I set to with the car in the garage. Hubcaps off
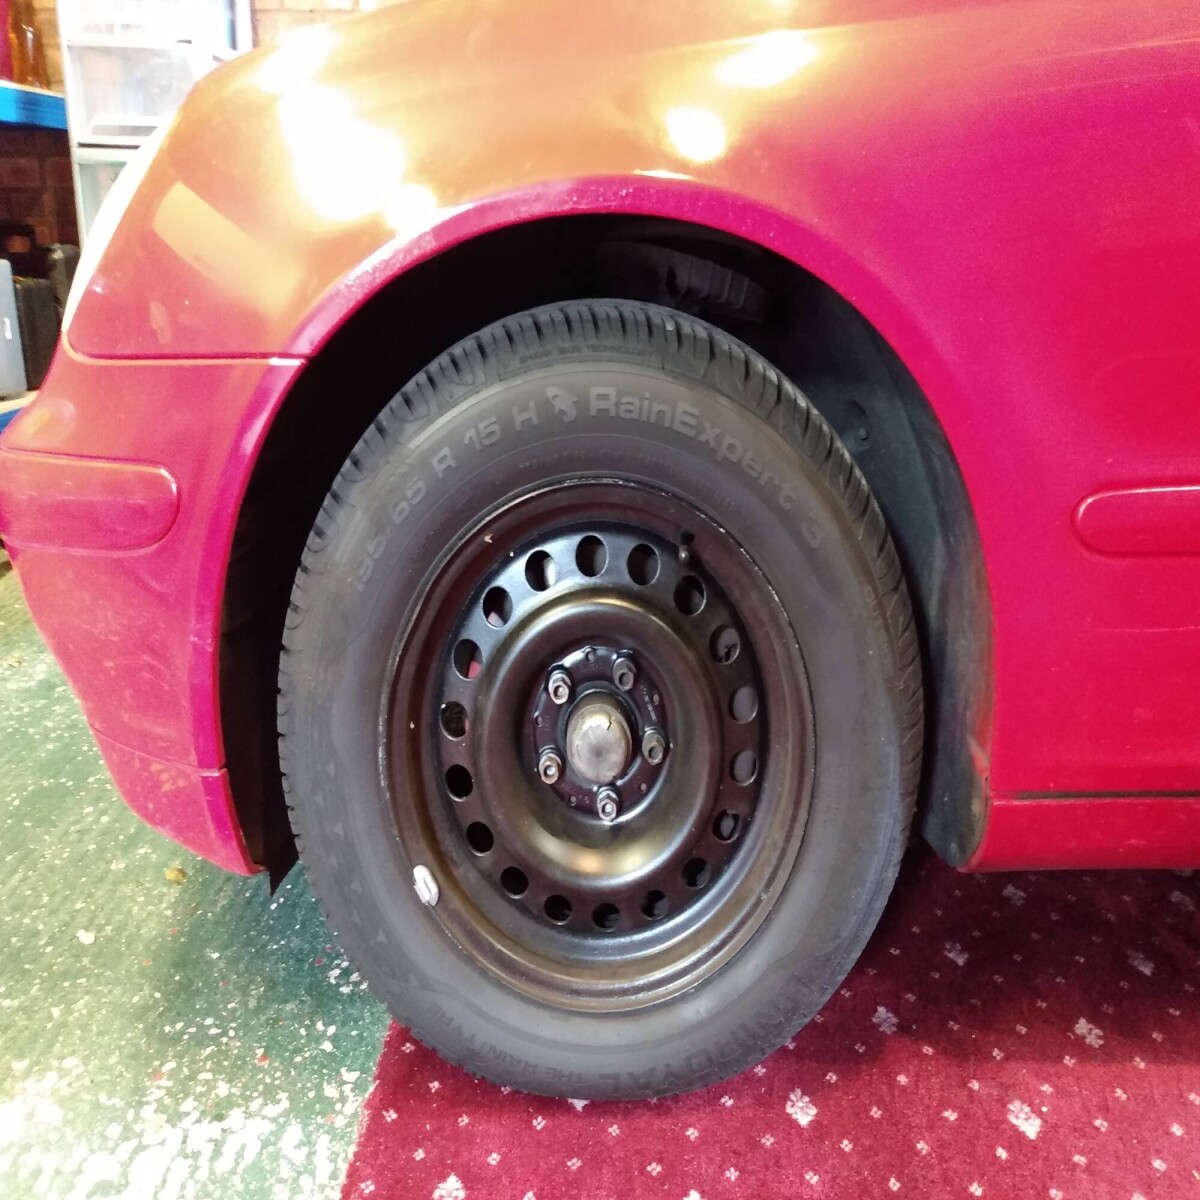
Wheel nuts loosened and up on the lift, wheels off completely and lets see what we have
The caliper was removed from the carrier with 2x 12mm hex nuts and lifted on top of the disc. I removed the old pads which were Pagid ones and actually had loads of meat left on them
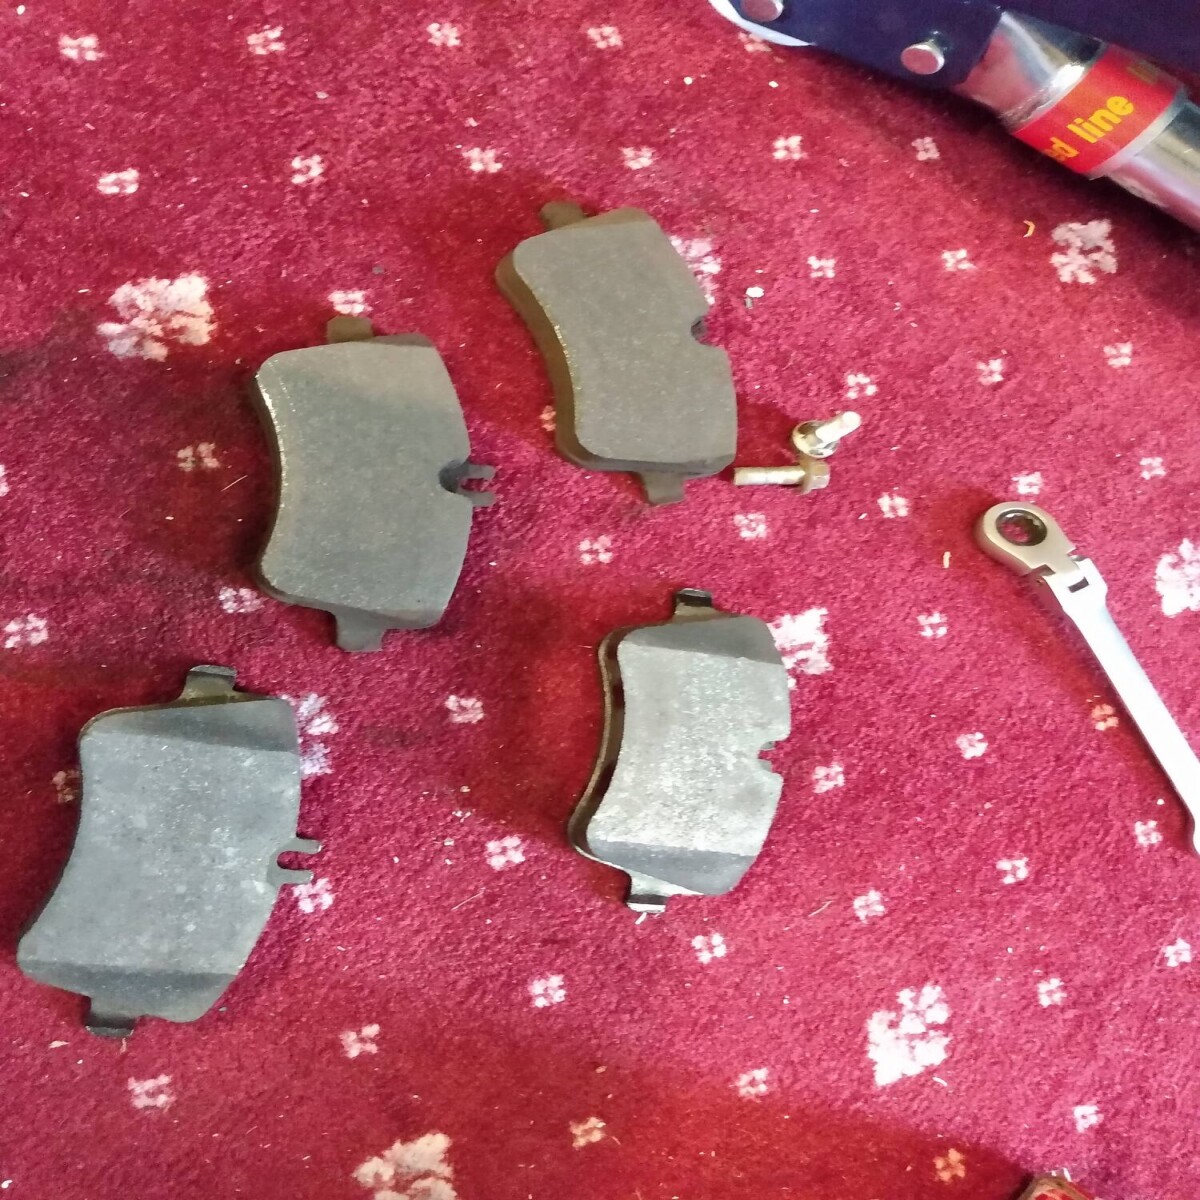
Old ones top, new ones bottom. I find Pagid pads are good and last well but do make quite a bit of brake dust compared with ATE blueprints. they are cheaper though so there.
I undid the torx nut that holds the disc to the hub by jamming a blade screwdriver between disc rim and caliper carrier to stop it turning and I applied force, then undid the caliper carrier which has 2x 18mm (I think, my 19mm socket seemed a bit loose on it?) bolts holding it to the hub.
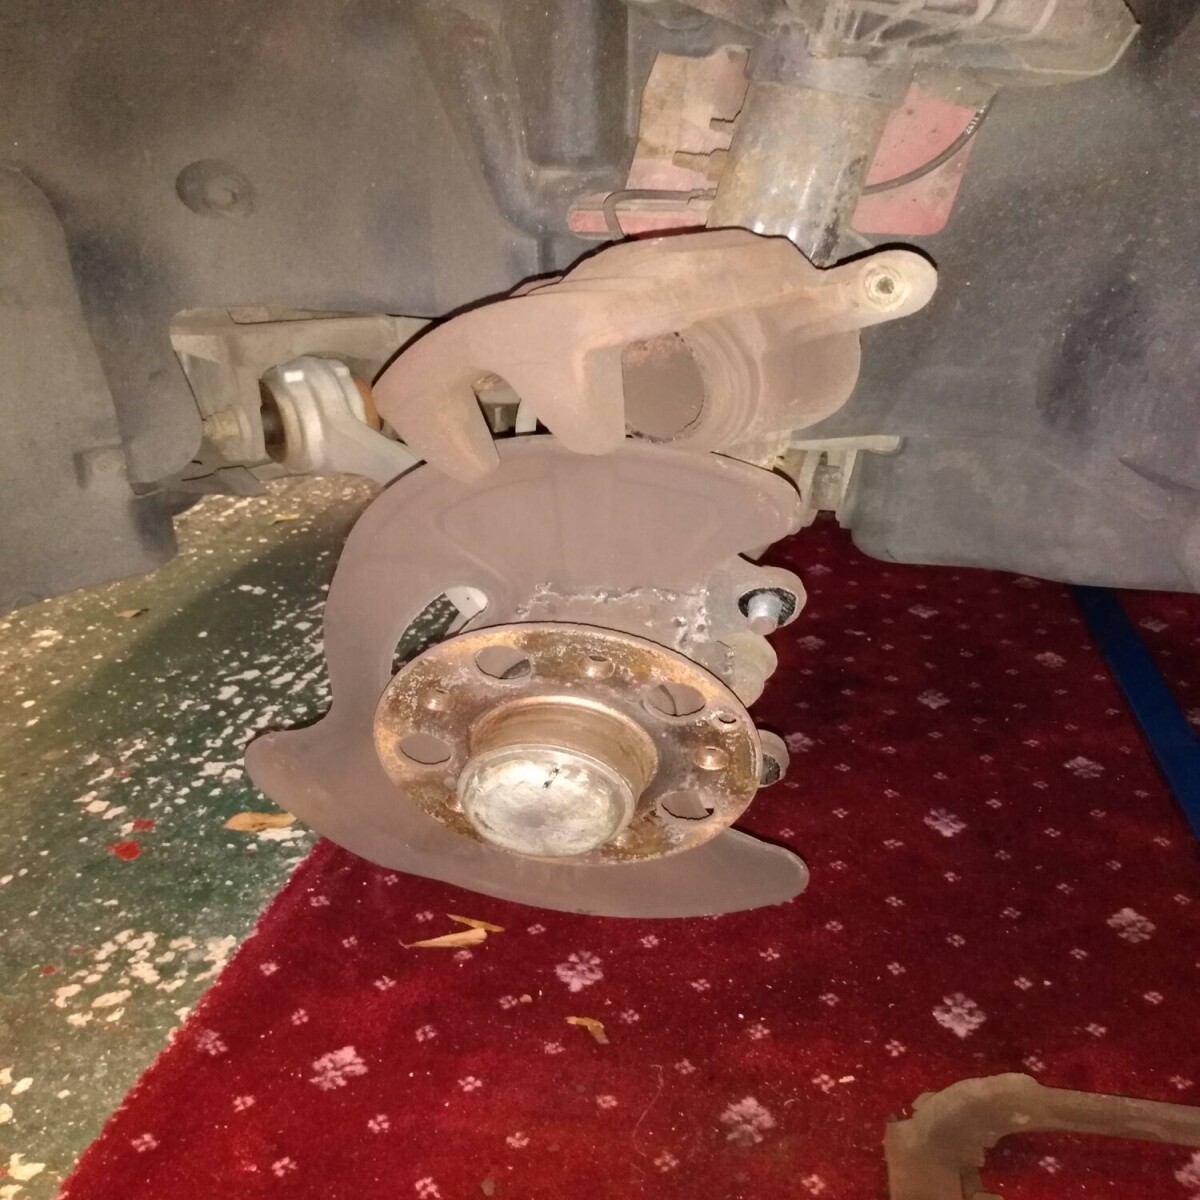
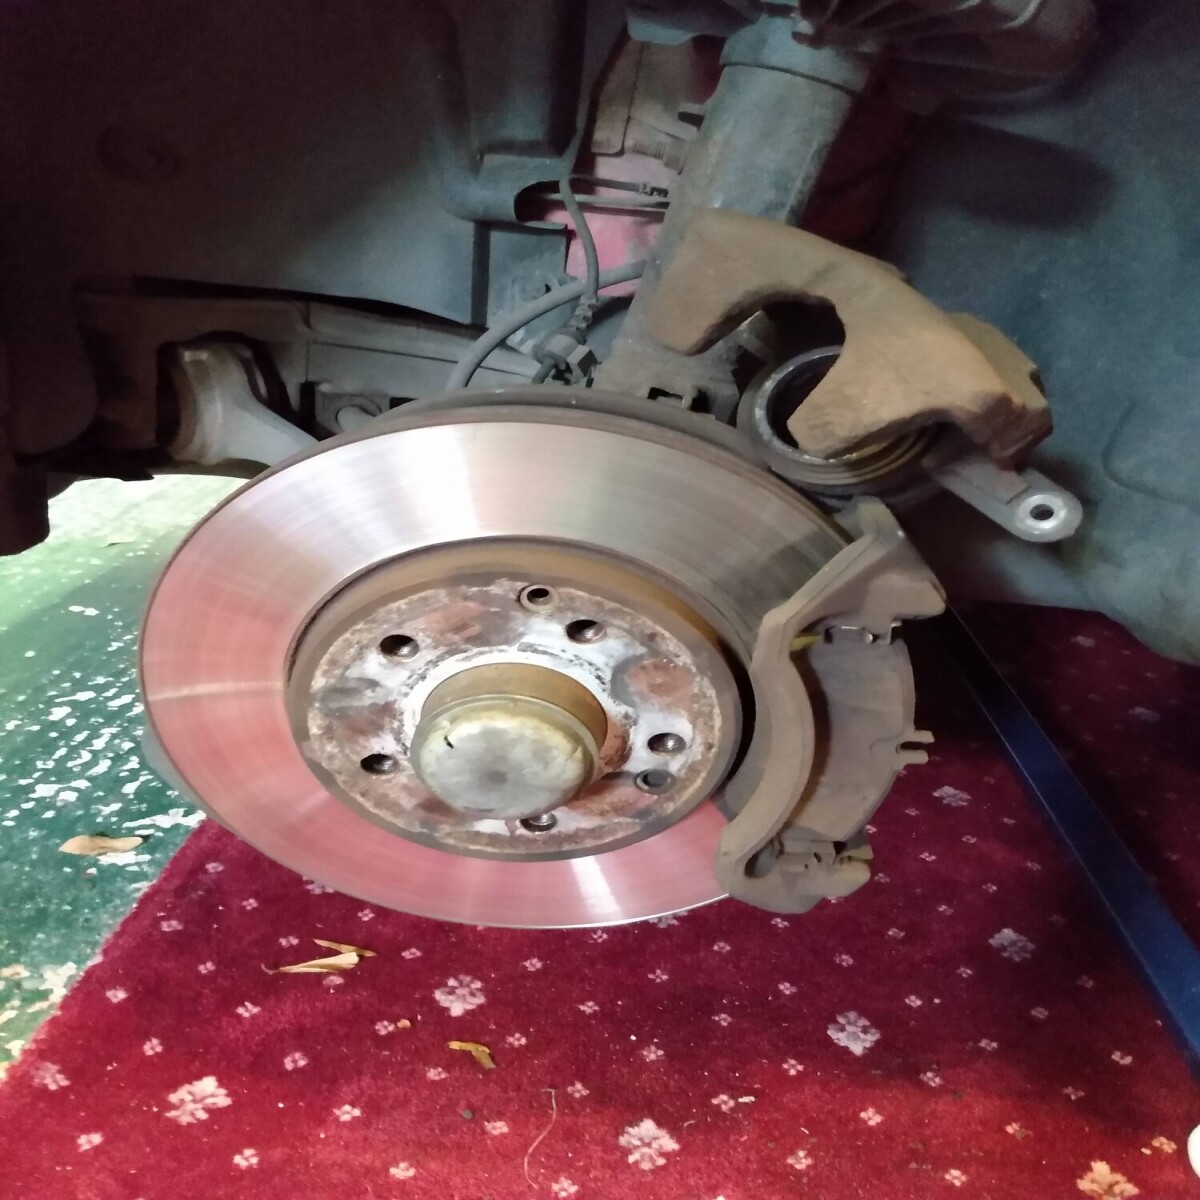
Then removed the disc
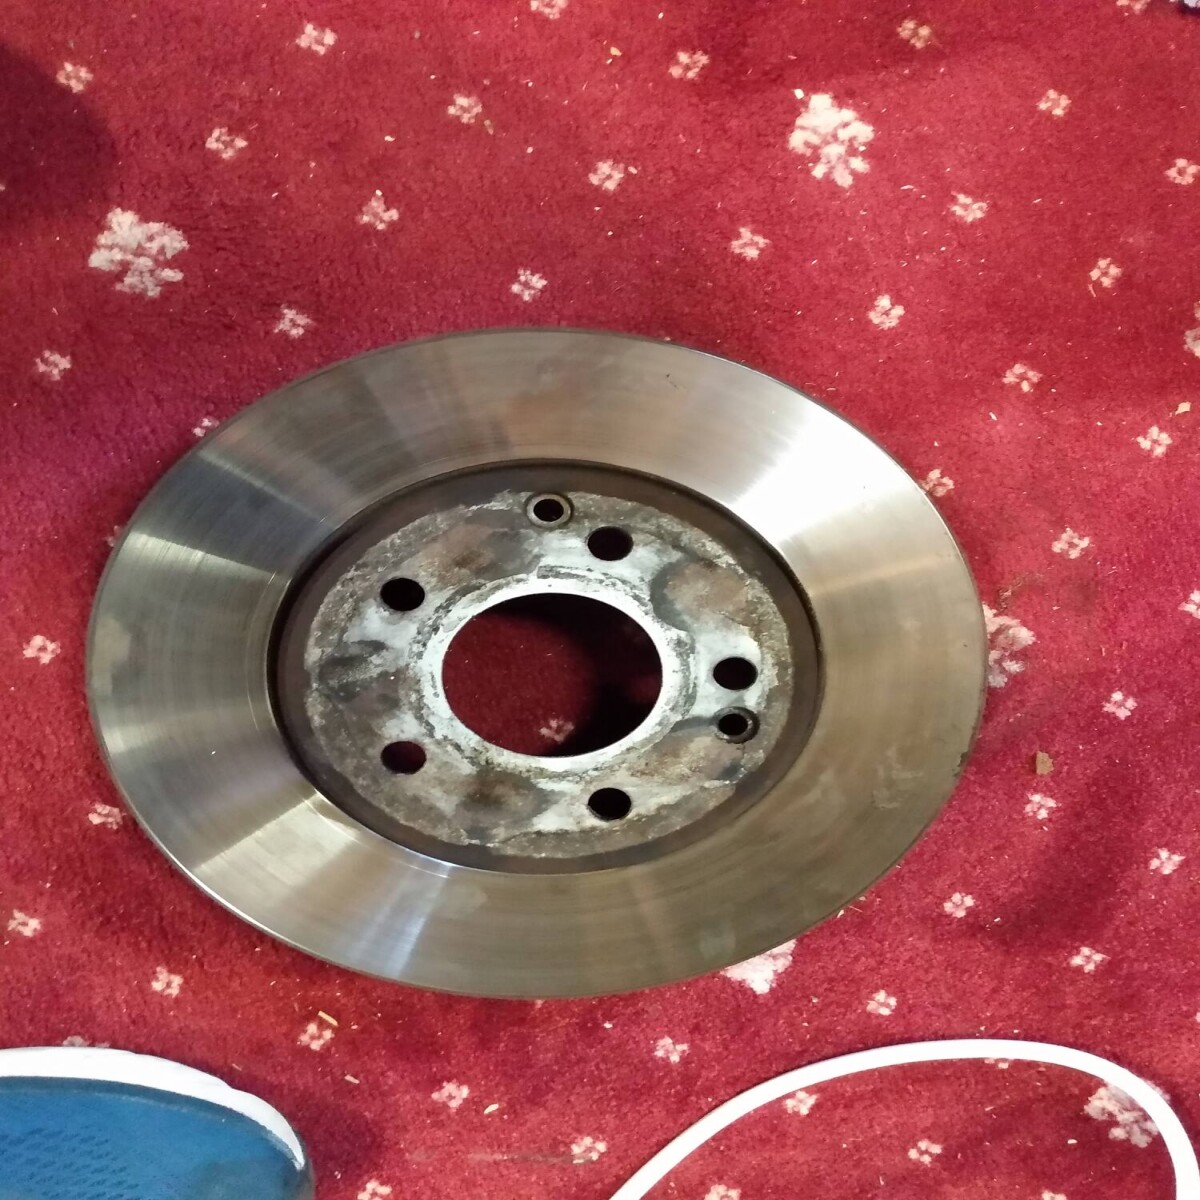
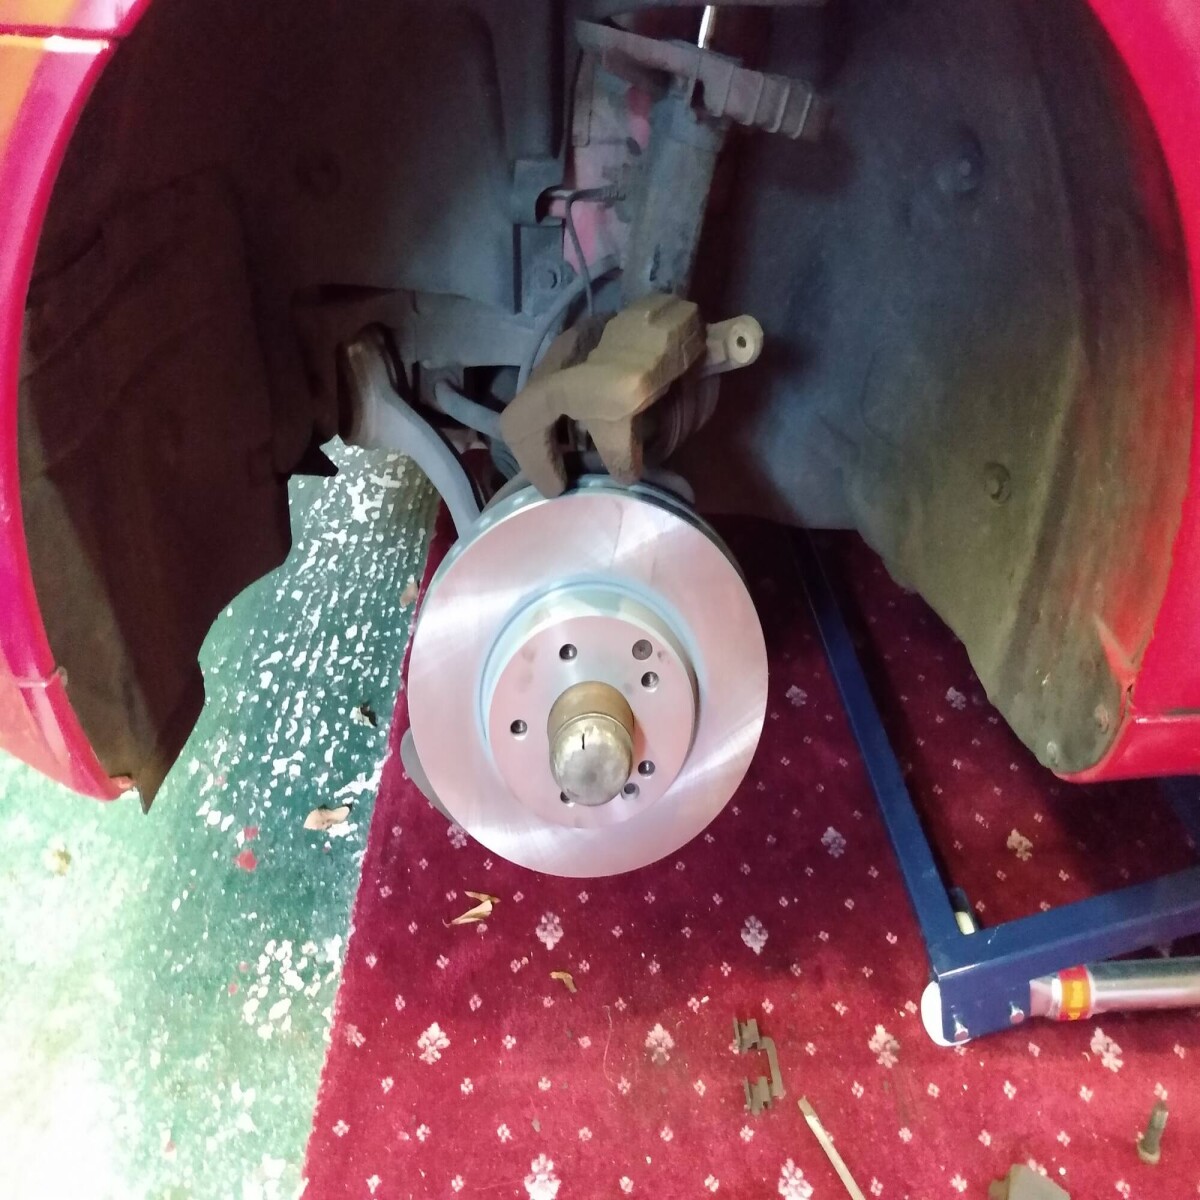
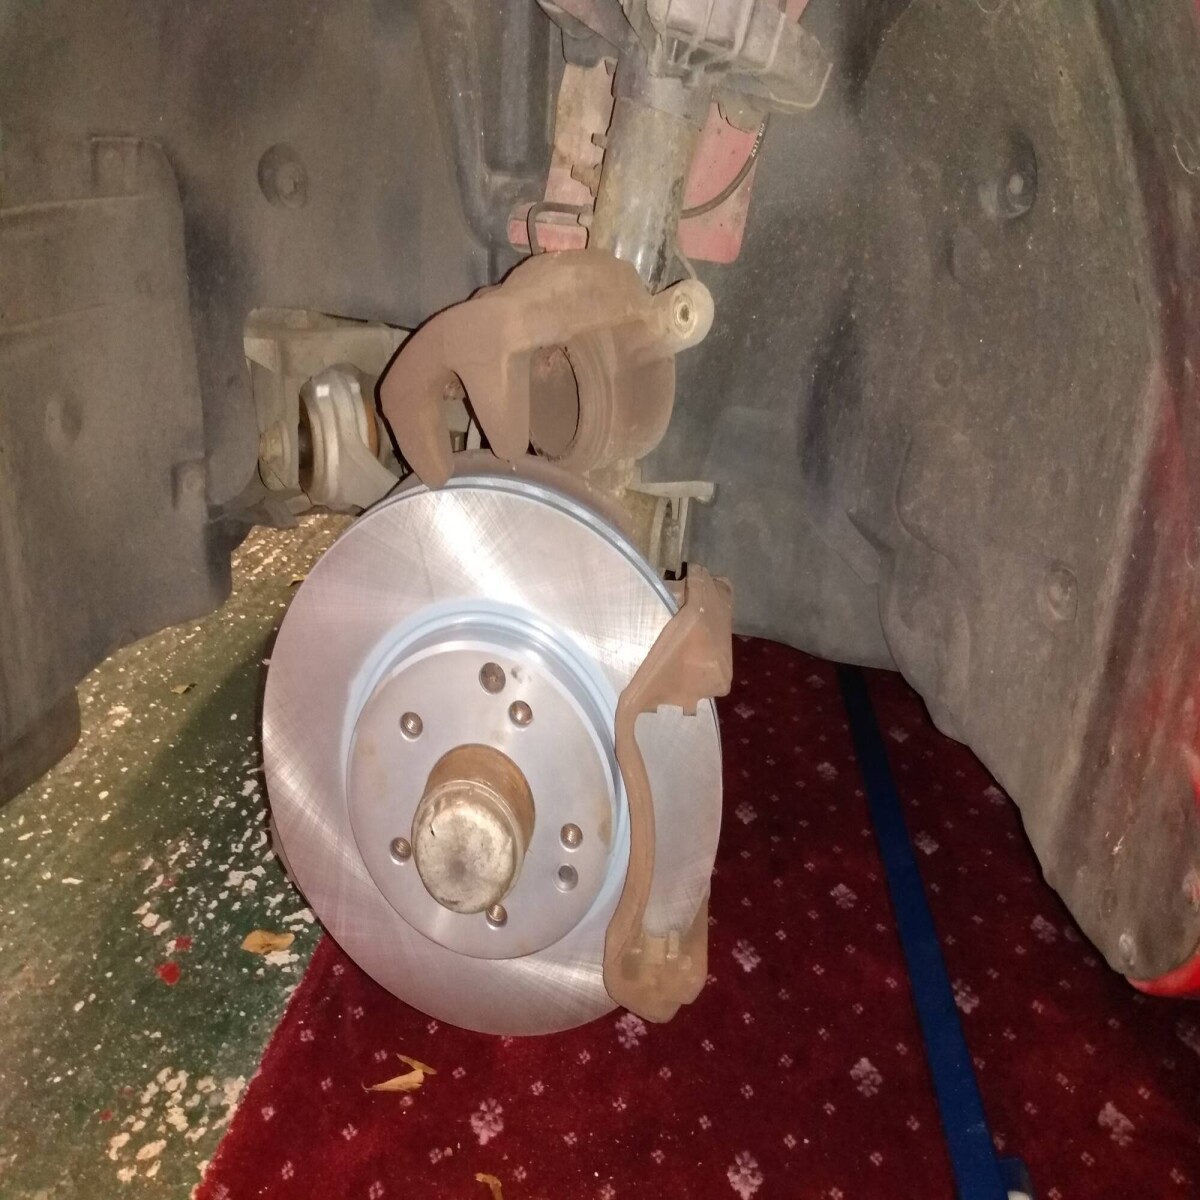
These have a slight lip on them and no obvious marks for what brand they are. They seem in good condition with even wear on both sides but the annoying vibration I suspect they have warped slightly. Anyway, new disc cleaned with some triple QX brake and clutch cleaner and an old, but clean rag and fitted up to the hub with the old retaining bolt with a tiny smear of copper grease to hold it in place
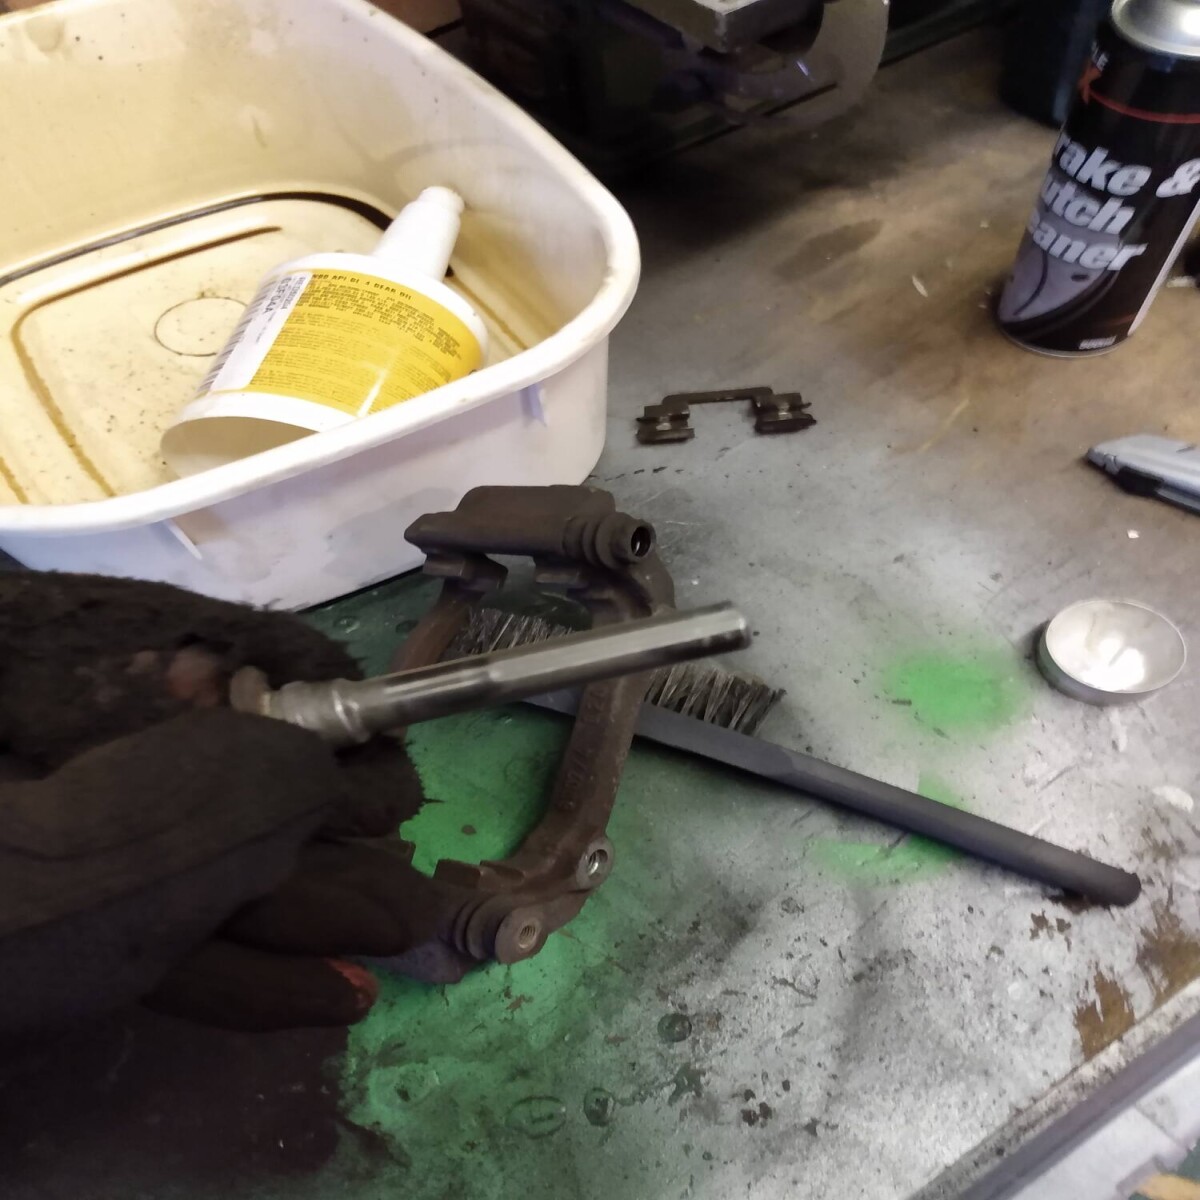
Then with the carrier off the car, I gave it a good scrubbing with my wire brush to get the encrusted brake dust off the important bits
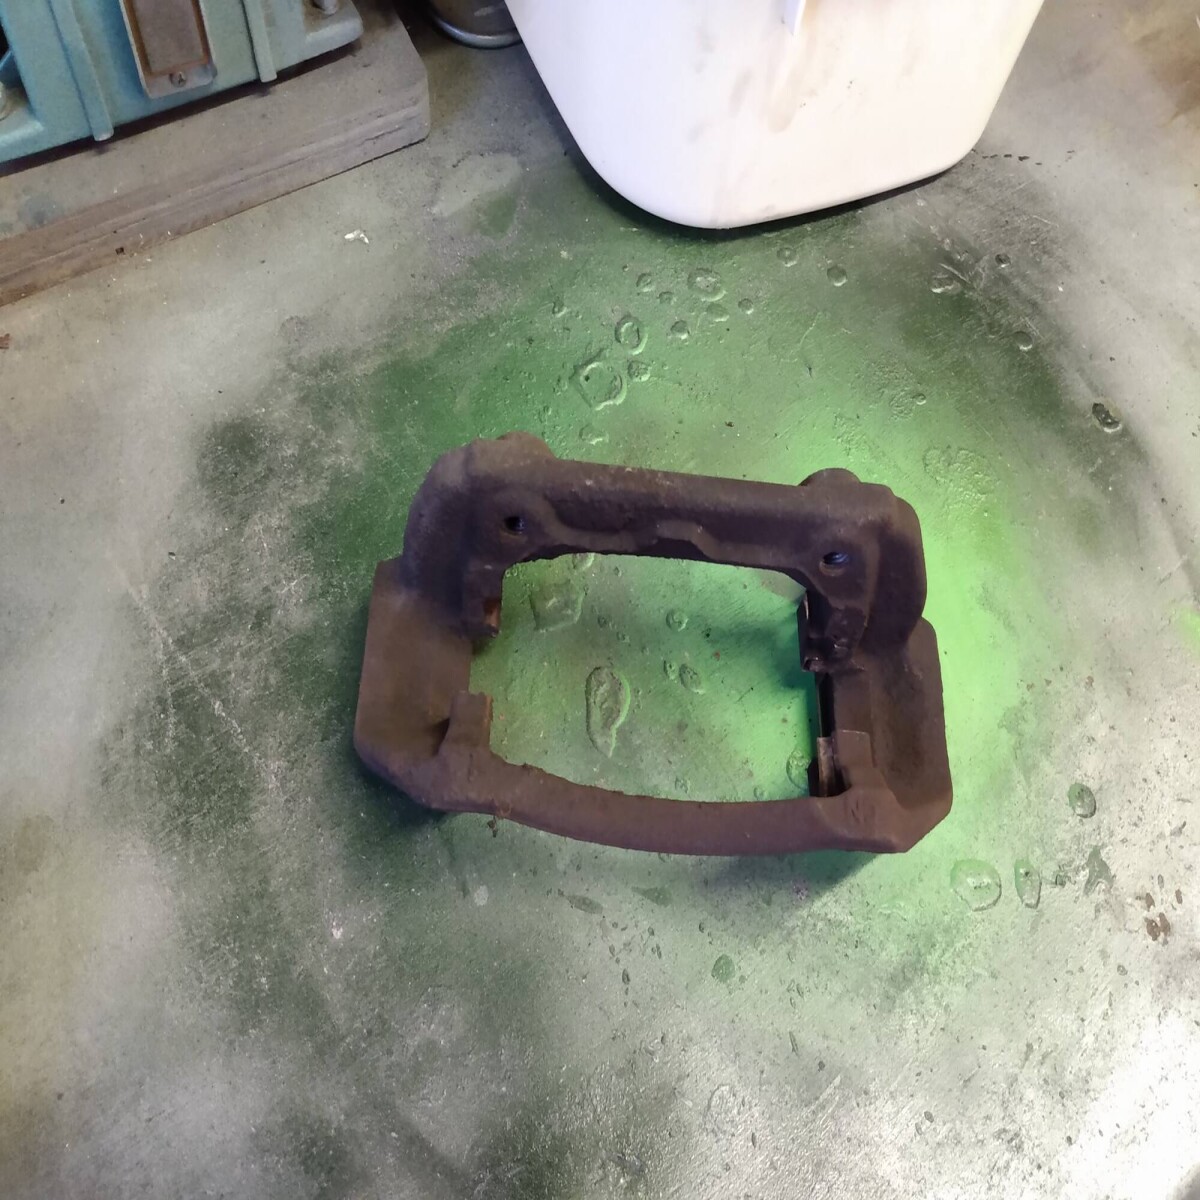
Refitted the pad retaining clip thingies and next up was to pull out, clean and re-grease the sliders. They came out of the boots fine and were in pretty good condition overall
A wipe with a rag to get the old grease off, then a finger dab of silicone grease to lube them up, and refitted to the caliper carrier to the hub around the new disc. You can't get the discs out/in without removing the carrier, or at least I couldn't.
Next up was to use a G-clamp to push the brake piston back into the caliper body. I undid the brake fluid reservoir cap at the top and then wound in the piston with the g-clamp

These calipers are perfect for home DIY, a medium sized clamp fitted easily and the happily retracted fully into the bore of the caliper with minimum effort. This was a breath of fresh air after the Daewoo debacle. With the piston fully retracted I fitted the pad clips and pads to the carriers
1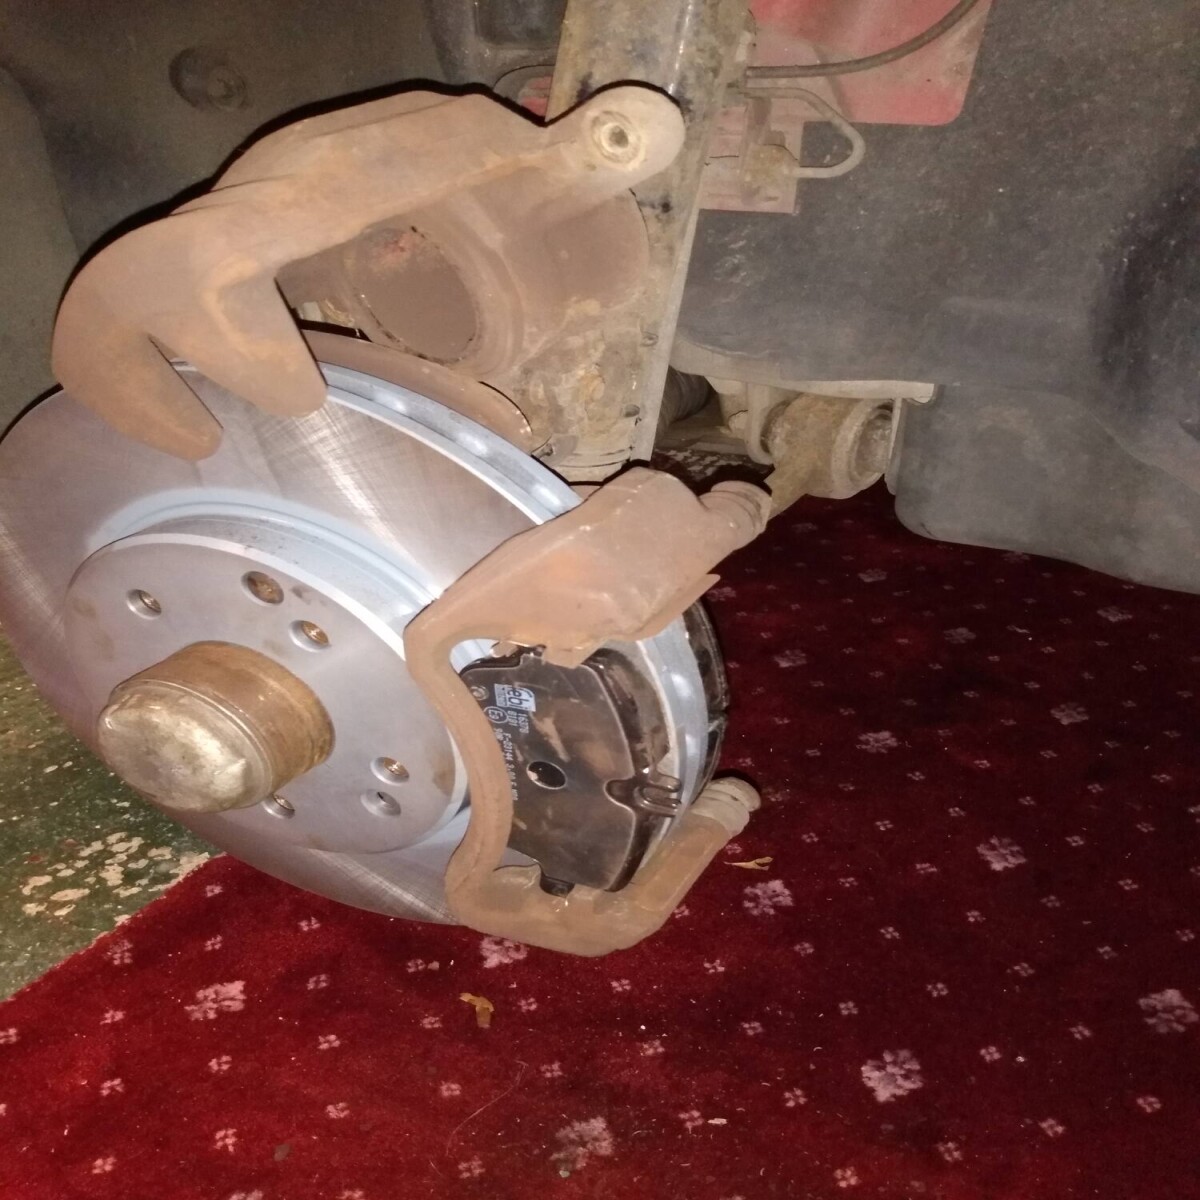
Then eased the caliper back into position over the top, doing up the 2x 12mm nuts that hold the caliper to the carrier, after putting a small amount of copper grease on the backs of the pads to hopefully stop them shrieking in use.

The disc had got a bit grubby from my furkling around so I sprayed it off with a bit more brake cleaner before refitting the wheel on this side and then moving to the other side and repeating the process. All went well, and I didn't seem to break anything or have any bits left over. with wheels back on I made sure I had refitted the cap to the brake fluid reservoir before starting it up and pumping the brake pedal to take up the slack before putting into gear. A high* speed run backwards up the private drive whilst mildly inebriated revealed the brakes to be working fine so I'm declaring this a moderate success for the time being. I'll take it on a run on the not-50mph bit of the M27 tomorrow to see if the vibration has gone.


