
Overview
OrbitX provides a stablecoin-powered card and account infrastructure that allows businesses to hold, move and spend digital assets through a unified balance. Its platform supports stablecoin-based funding, global payments and card spending.
This guide explains the basic flow for setting up a corporate card and funding it using USDC on the XDC Network.
Step 1: Create or Access Your OrbitX Business Account
-
Open the OrbitX platform.
-
Sign in or create your business account.
-
Complete the required business verification/KYB process.
-
Once approved, access your business dashboard.
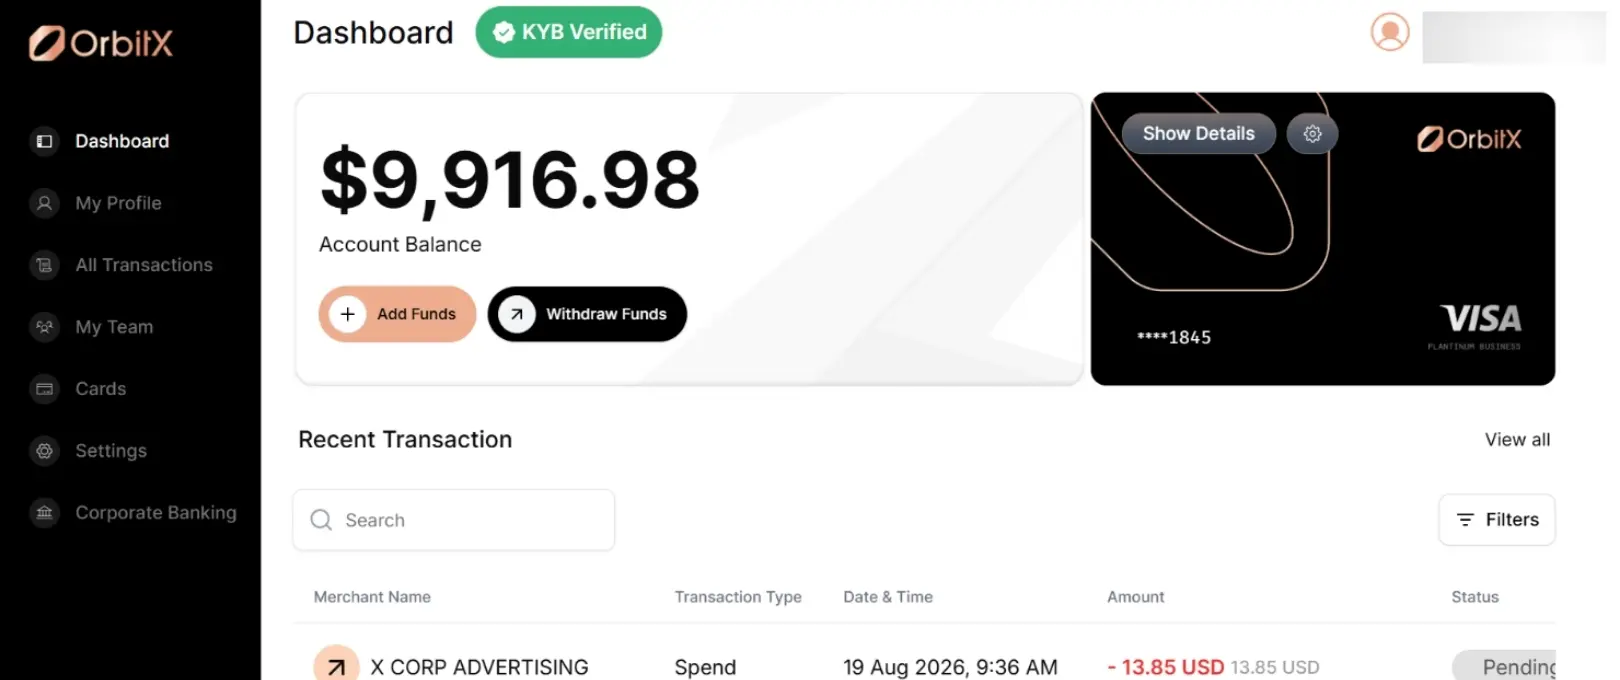
Step 2: Request a Corporate Card
-
Navigate to the Cards section.
-
Select the option to create/request a corporate card.
-
Complete the required cardholder or business information.
-
Submit the request.
-
Once approved, activate the card according to the instructions shown in the platform.
OrbitX describes its card offering as a globally accepted spend card backed by a unified stablecoin balance.
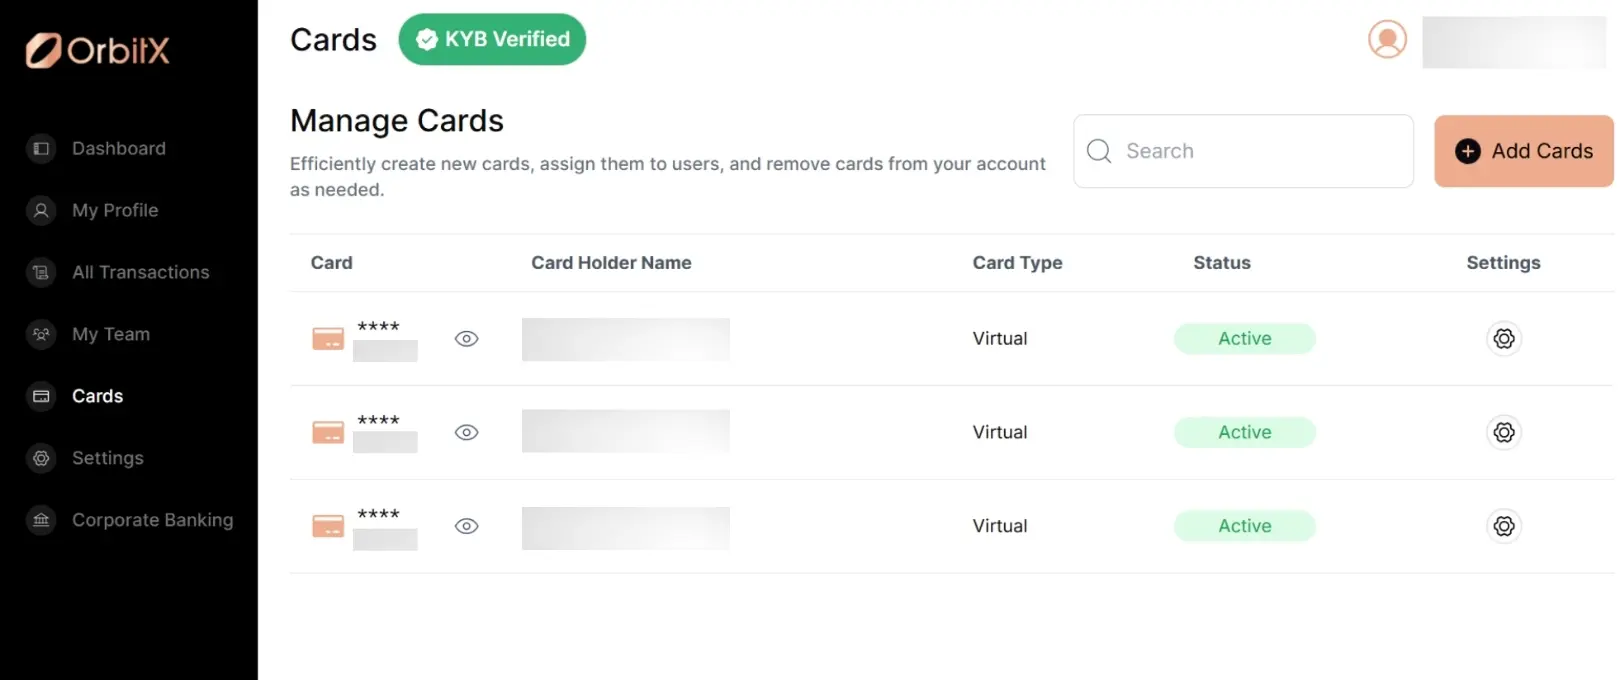
Step 3: Fund Your Account With USDC on XDC Network
Before refilling the card, your OrbitX account needs to have the required funds available.
USDC on XDC provides a native, fully reserved form of USDC on the XDC Network. XDC is designed for fast, low-cost payments and institutional financial applications, making USDC on XDC suitable for moving stablecoin liquidity across supported applications and infrastructure.
To fund the account:
-
Open the Wallet / Deposit / Funding section in OrbitX.
-
Select USDC.
-
Select XDC Network as the network, if it is displayed as a supported funding network in your OrbitX account.
-
Copy the deposit address provided by OrbitX.
-
Send the required amount of USDC on XDC from your supported wallet.
-
Wait for the transaction to be confirmed and reflected in your OrbitX balance.
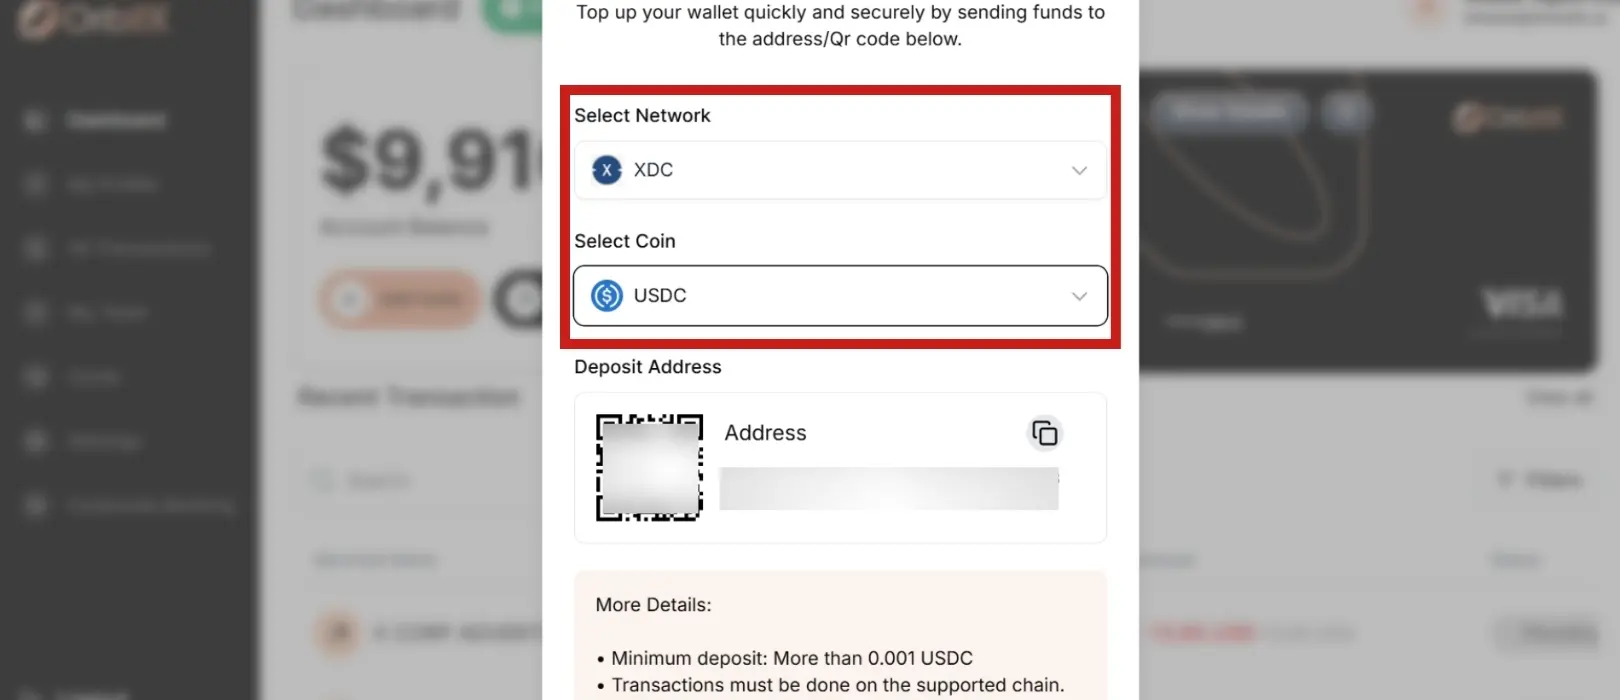
Important: Always confirm the asset and network shown by OrbitX before sending funds. Do not send USDC on another network to an XDC Network deposit address.
USDC and CCTP V2 are live on XDC Network, enabling USDC liquidity for payments, institutional applications and cross-chain transfers.
Step 4: Refill the Card Using Stablecoins
Once the USDC has been credited to the account:
-
Open the Cards section.
-
Select the corporate card you want to fund.
-
Choose the available Fund / Refill / Add Funds option.
-
Enter the amount you want to allocate to the card.
-
Review the funding details, conversion rate and applicable fees.
-
Confirm the transaction.
-
Verify that the updated balance is reflected on the card.
OrbitX’s platform is designed around a unified balance that can be used across cards, accounts, payouts and other payment rails.
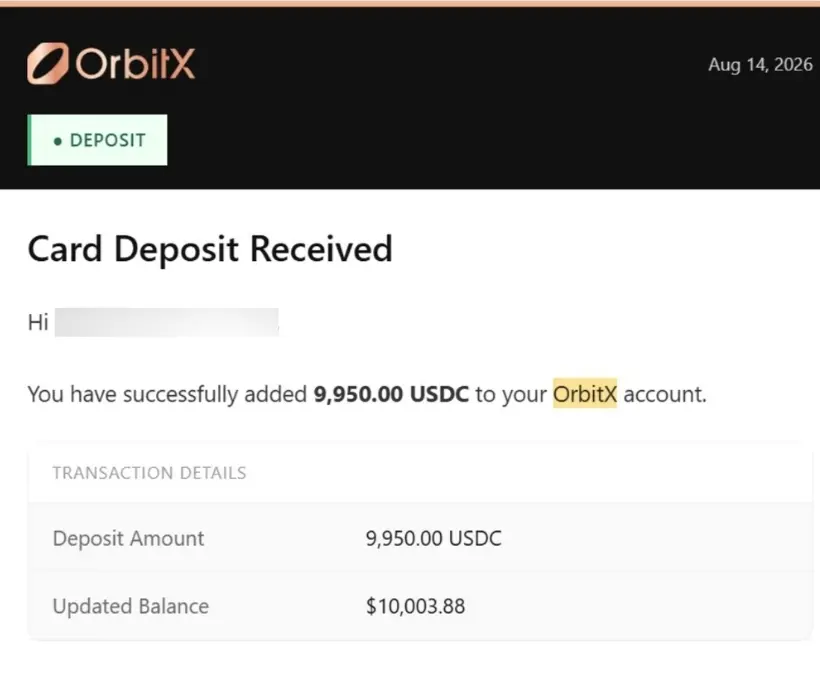
Step 5: Spend & Track Expenses
After the card is funded, it can be used for eligible business expenses.
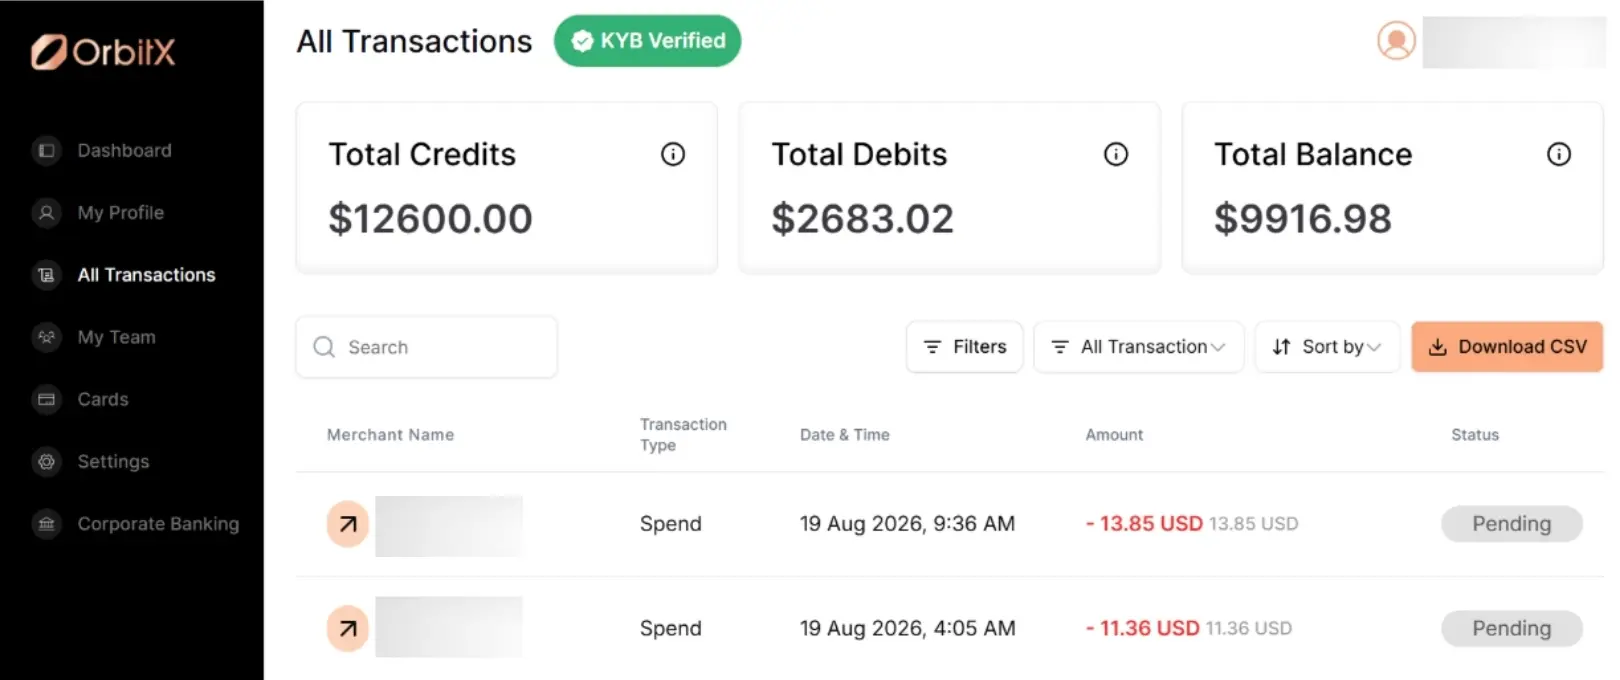
Use the OrbitX dashboard to:
-
Monitor card transactions.
-
Review available balance.
-
Track business spending.
-
Manage card/account activity.
-
Reconcile expenses with your internal records.
Quick Flow
OrbitX Business Account → Verification → Corporate Card → Fund Account with USDC on XDC → Refill Card → Spend → Track Expenses
Final Note
The broader XDC ecosystem is also building payment infrastructure beyond traditional card spending. From XDC Payments and stablecoin-based settlement to XDC AI, which enables AI agents to make programmable USDC payments on XDC, the network is expanding how digital value can move across businesses, applications and autonomous systems.
Disclaimer:
This guide is for informational purposes only. Features, supported networks, fees, and availability may vary. Always verify deposit details and supported networks directly in the OrbitX platform before transferring funds.






