
Backyard Chickens
Part 2
Outside!!
The next stage of our chicken adventure was getting them outside for the first time. I figure i will be focusing mainly on the builds we did for this series and my wife will supply me with more direct chicken related stuff (care and concerns type stuff) as she can.
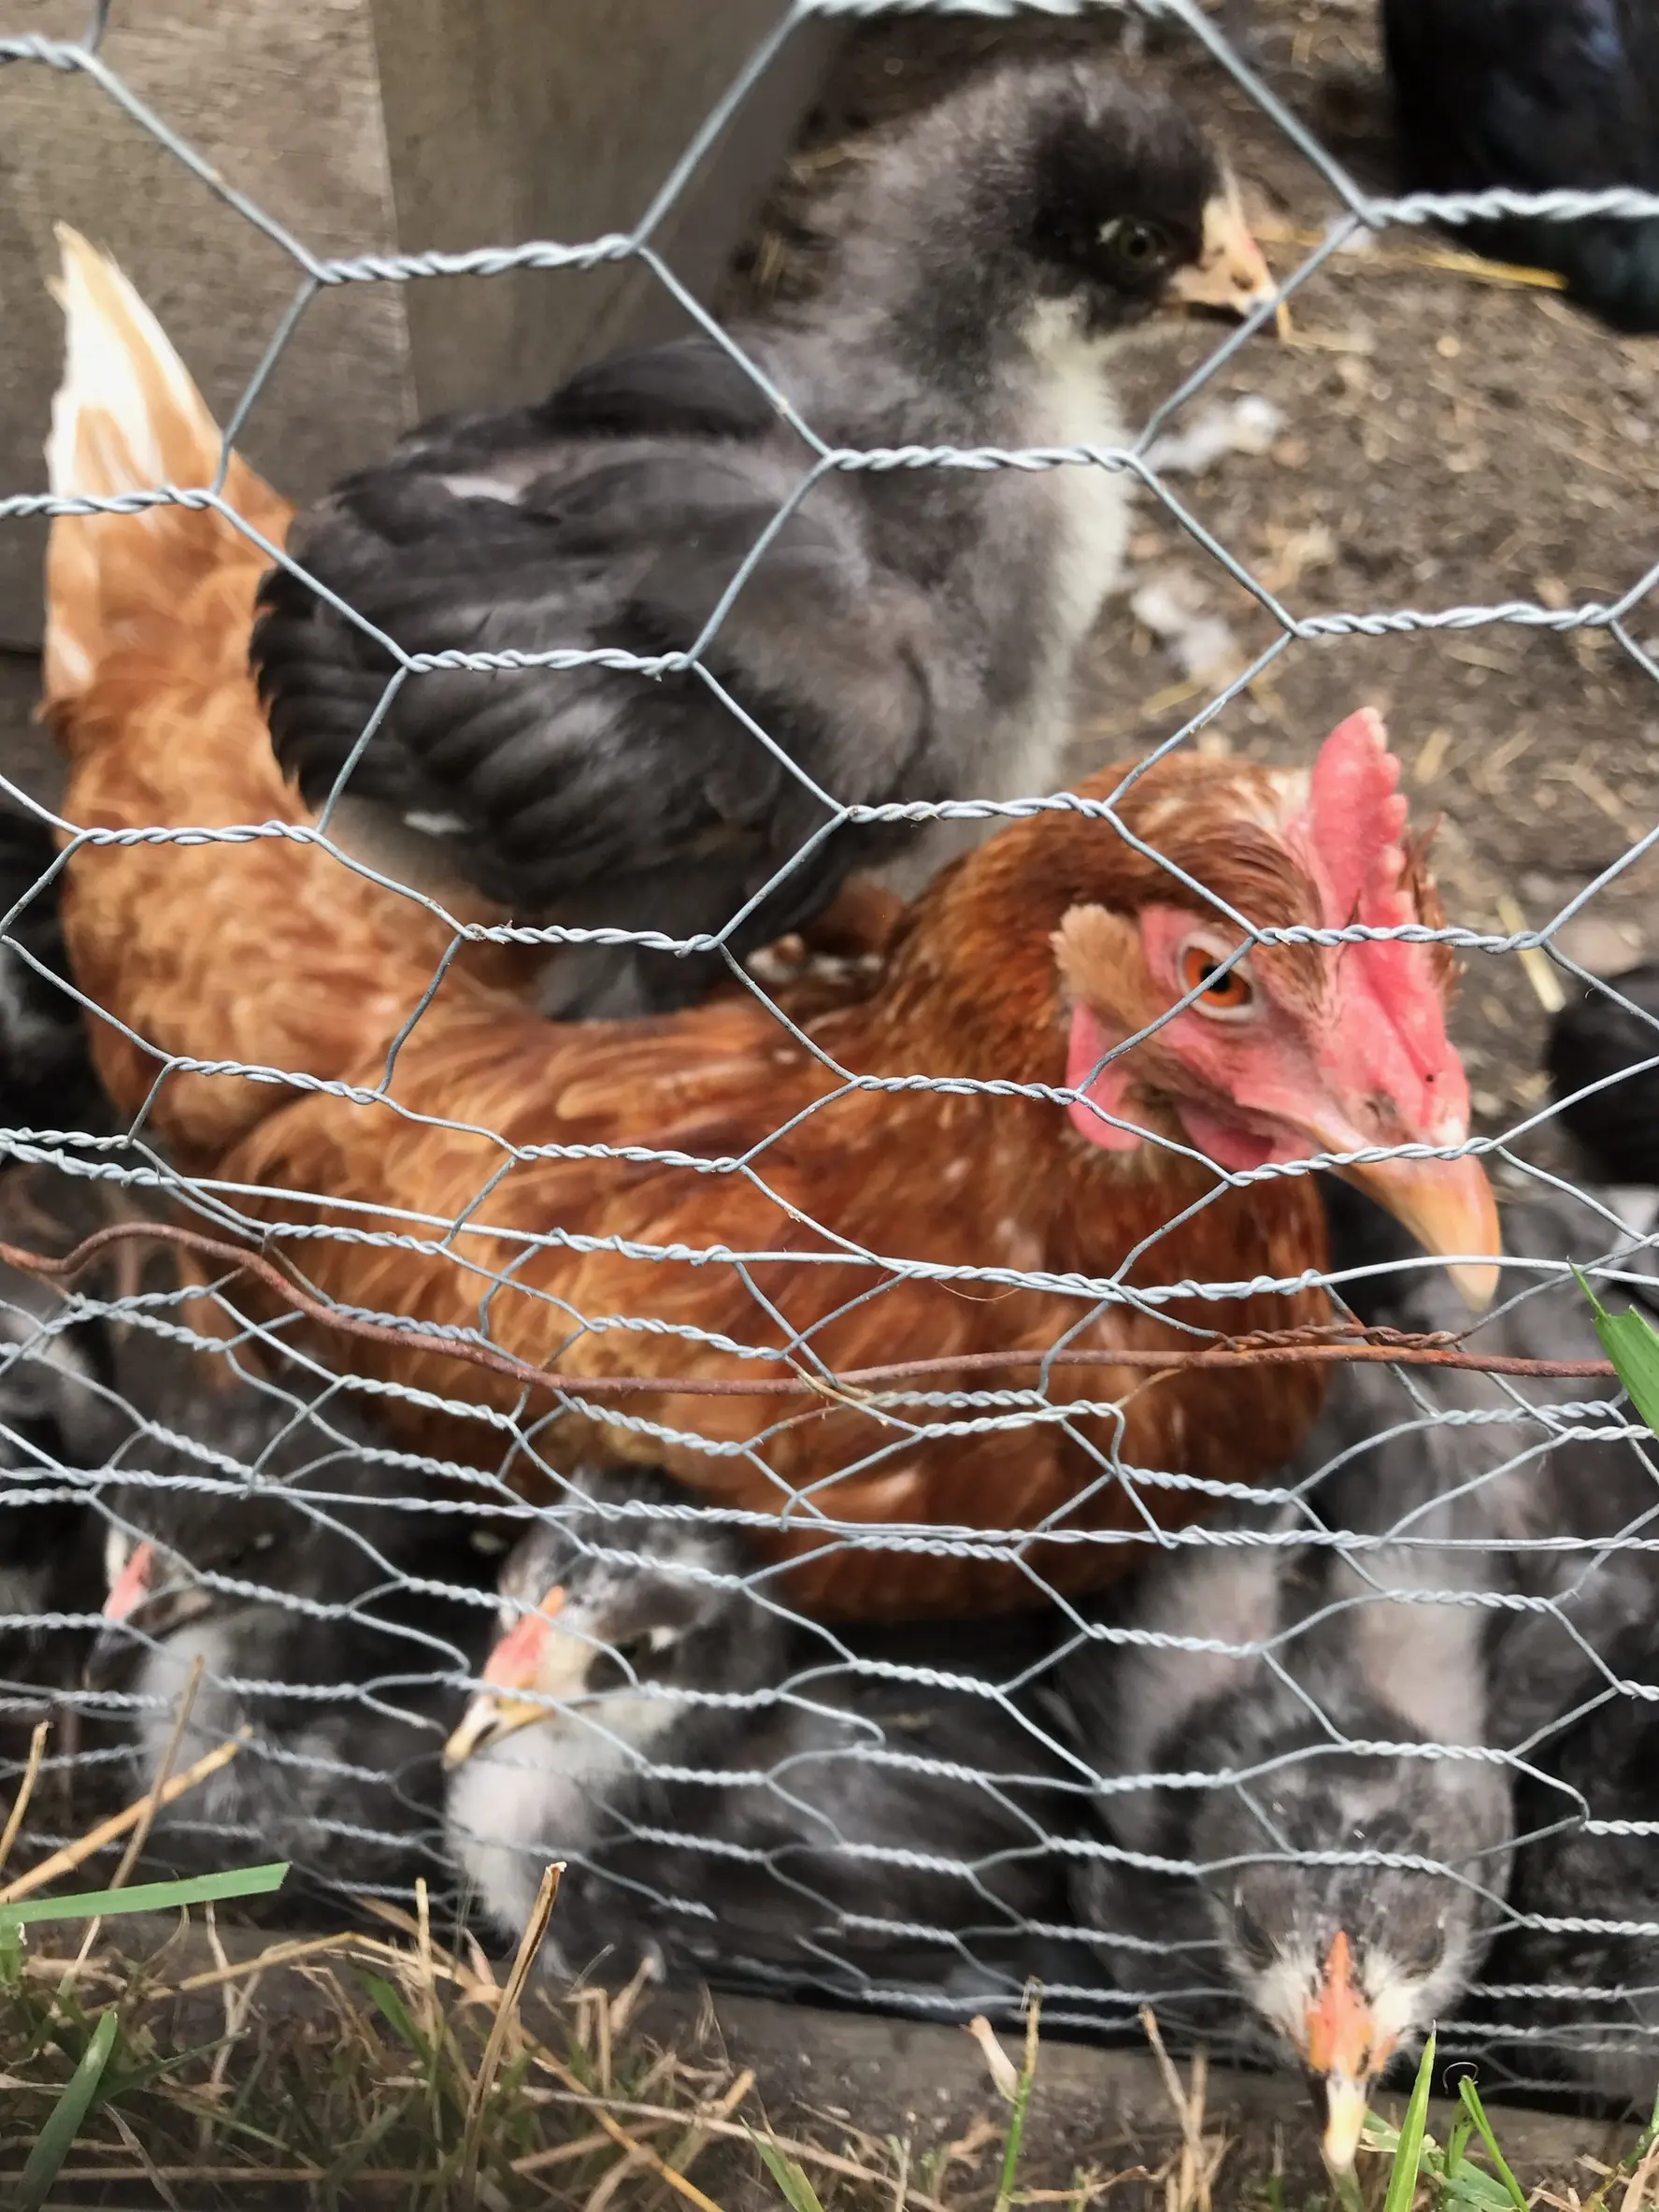
As mentioned in the last installment, we learned more about how soon they can actually be outside but at this point we were following guidance for around 8 weeks old. Without their coop and run completed, we needed some temporary accommodations for them both to keep them in and loose cats out.
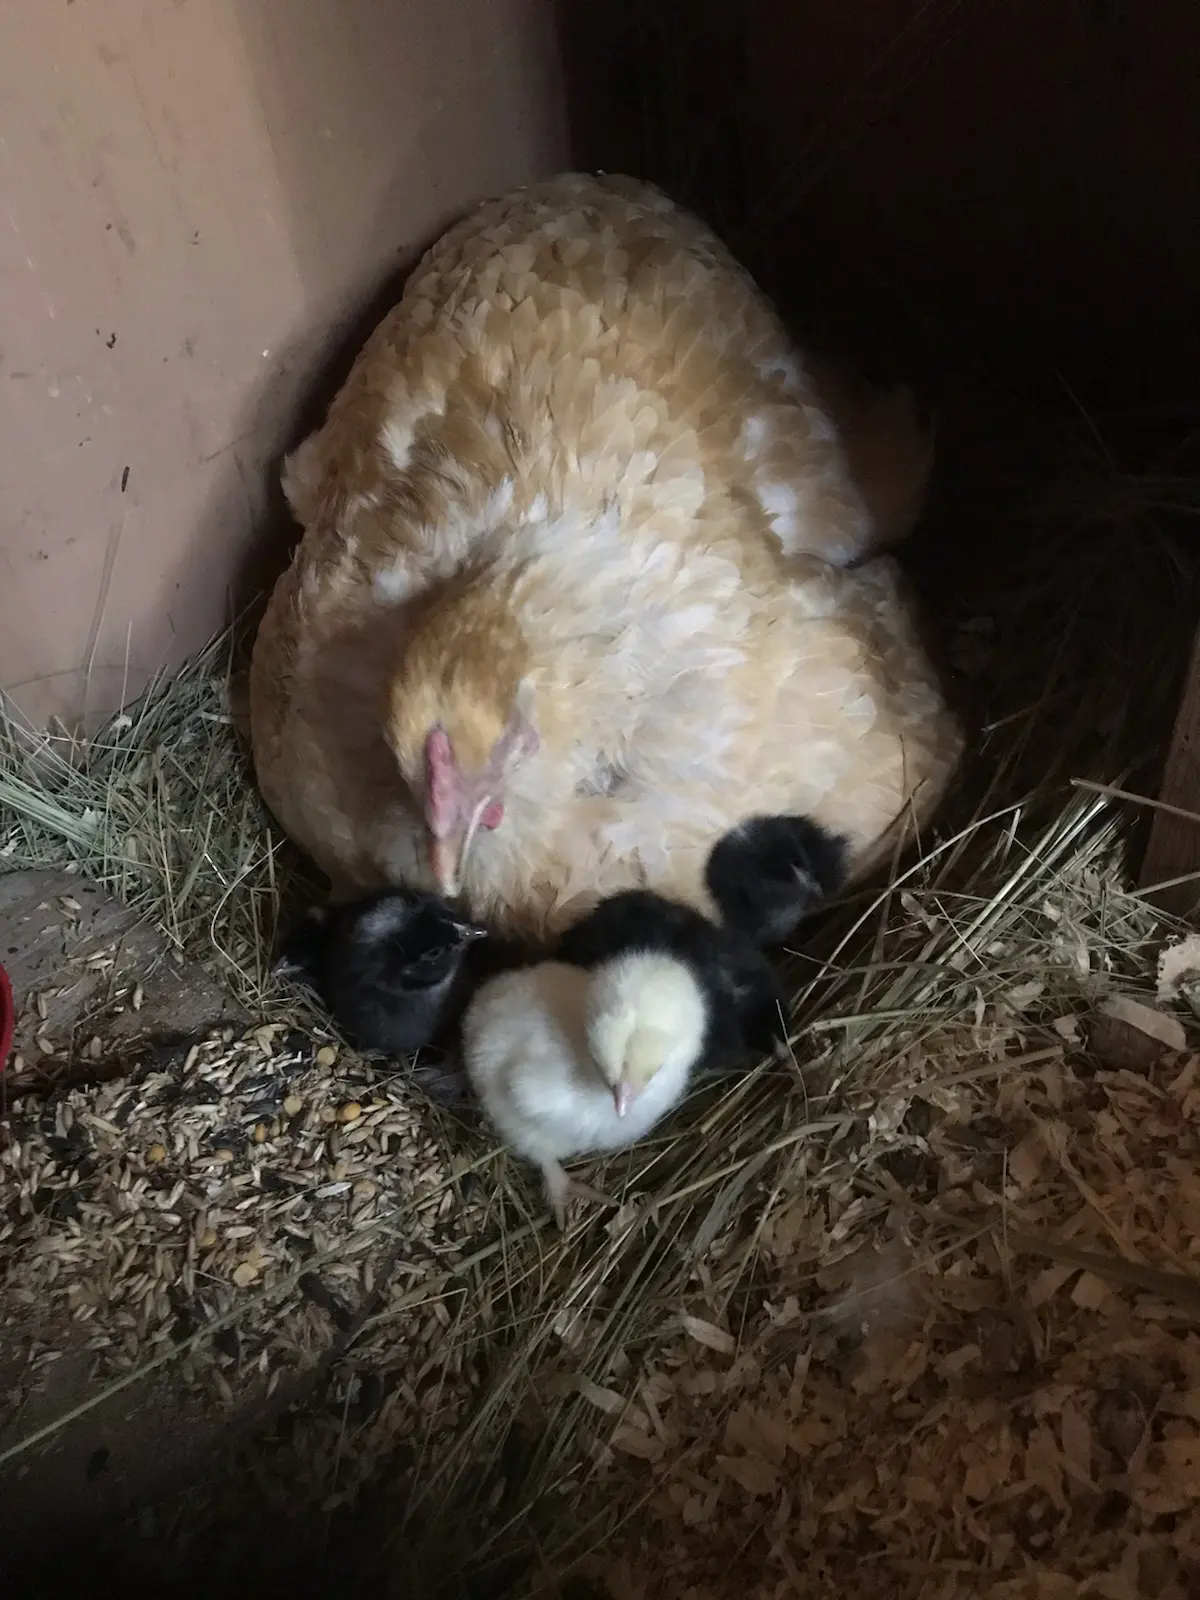
The first thing we built was a temporary cage out of a piece-together shoe rack. With 18" x 18" wire panels, 1" holes, these panels have been used for everything except a shoe stand. The cage for the chicks was 3' square by 18" tall and one panel was removed and replaced with a 2x4 frame that made a connection to the old dog kennel we used for transporting them. That also had the advantage of leaving them somewhere they could go to hide or get out of the sun or rain.
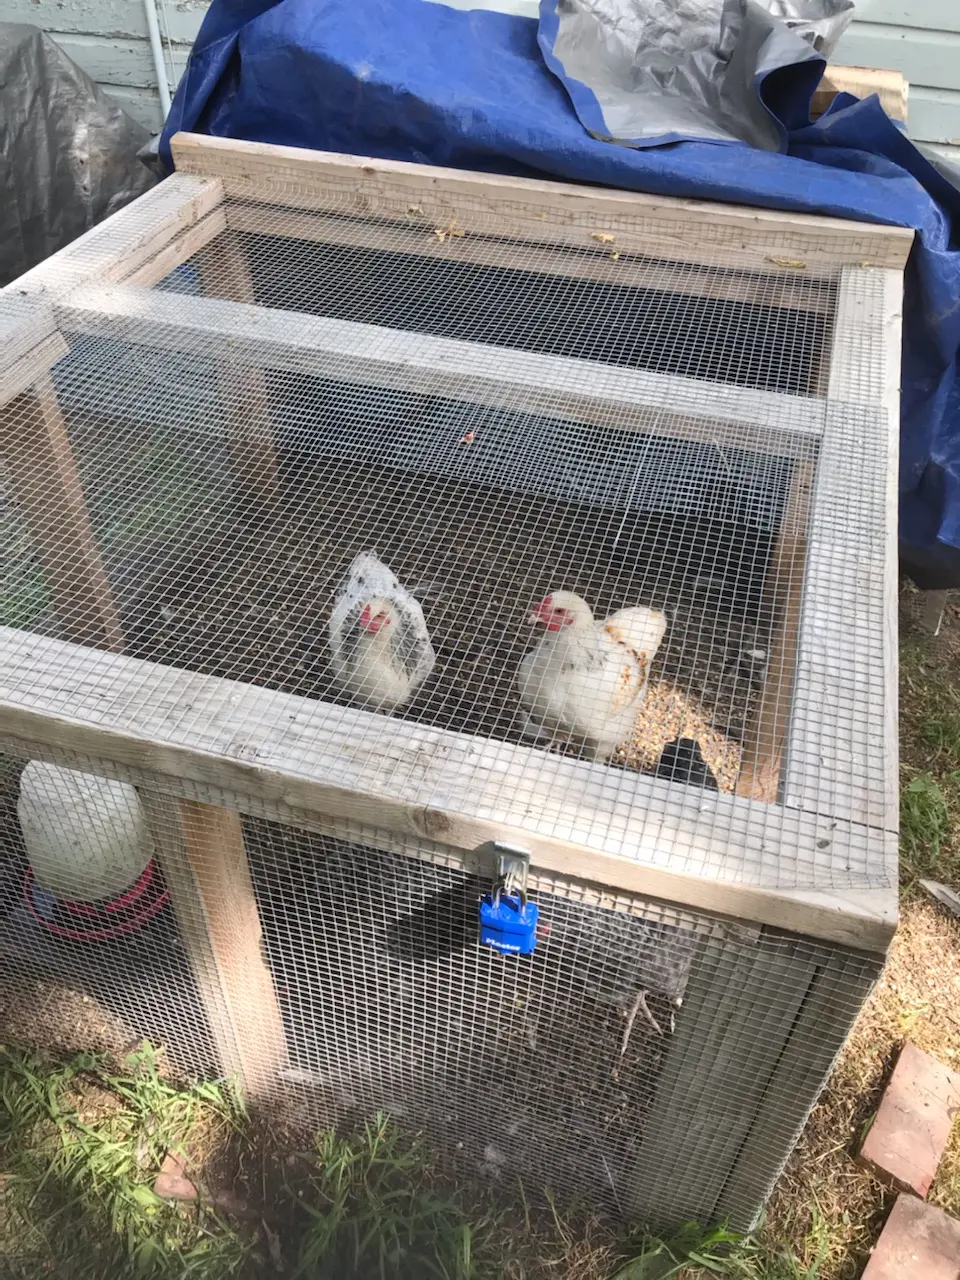
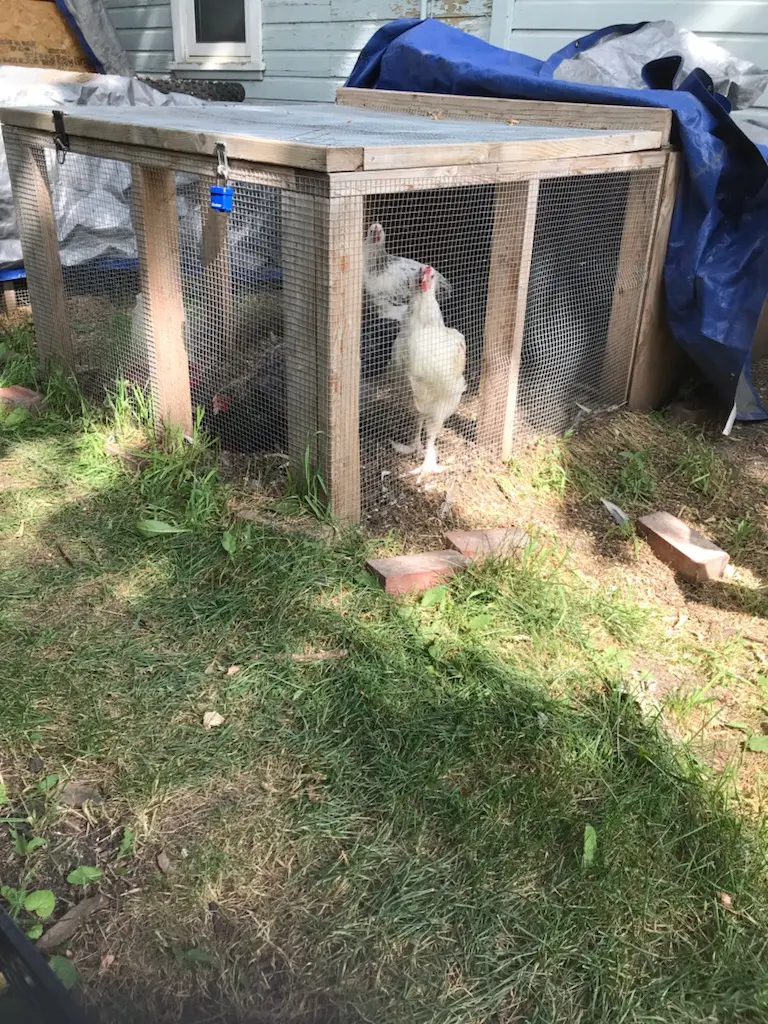
They used that cage setup for the time it took to build their coop and the attached run, though it had to be made taller as they grew more. Eventually we built some chicken tractors that were mobile and allowed larger birds. They are 8' x 4' and 3' high. Built with a 2x4 frame, they have plywood over the back half which gives coverage from the weather and somewhere to hide. The front half is covered in hardware cloth with 0.5" holes. All around the bottom boards is 6" of hardware cloth that lays on the ground running away from the tractor to prevent anything from digging in. The front top is on hinges for easy access to refill food, remove or add chickens and clean out when necessary. While the tractor is mobile, it isn't light so moving it can be a hassle.
For the chicken run we wanted something large enough that they had lots of room which helped minimize most of the conflict that can arise in close quarters. Figuring out coop placement and available space left us with over 500 square feet and we used as much of it as we could. The coop sits in one corner and is attached to the run on the northwest and southeast corners. Originally it was connected about midway on the east side to give access to the coops back door from outside but thats been updated which I will explain more about in the next installment relating to the coop itself.
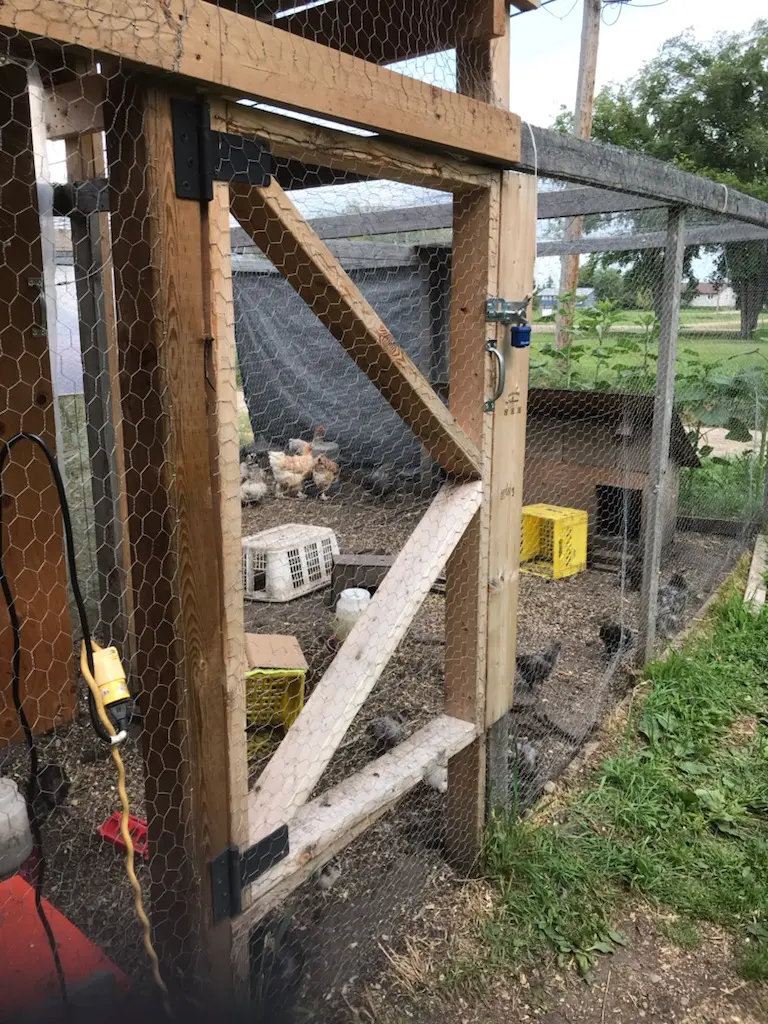
The run measures approximately 30' x 24' and is built out of a 2x4 frame, wrapped and covered in chicken wire. Like the tractors, there is a 6" apron of chicken wire along the bottom perimeter. We tried to make as many connections between chicken wire on a 2x4 to prevent any gaps and those we couldn't, we used wire to string them together. Originally it was just the chicken wire on the top but we've upgraded in front of the doors with plywood to give them outdoor shelter in the rain. We also have movable tarps along part of the east and west sides to reduce wind without completely restricting airflow.
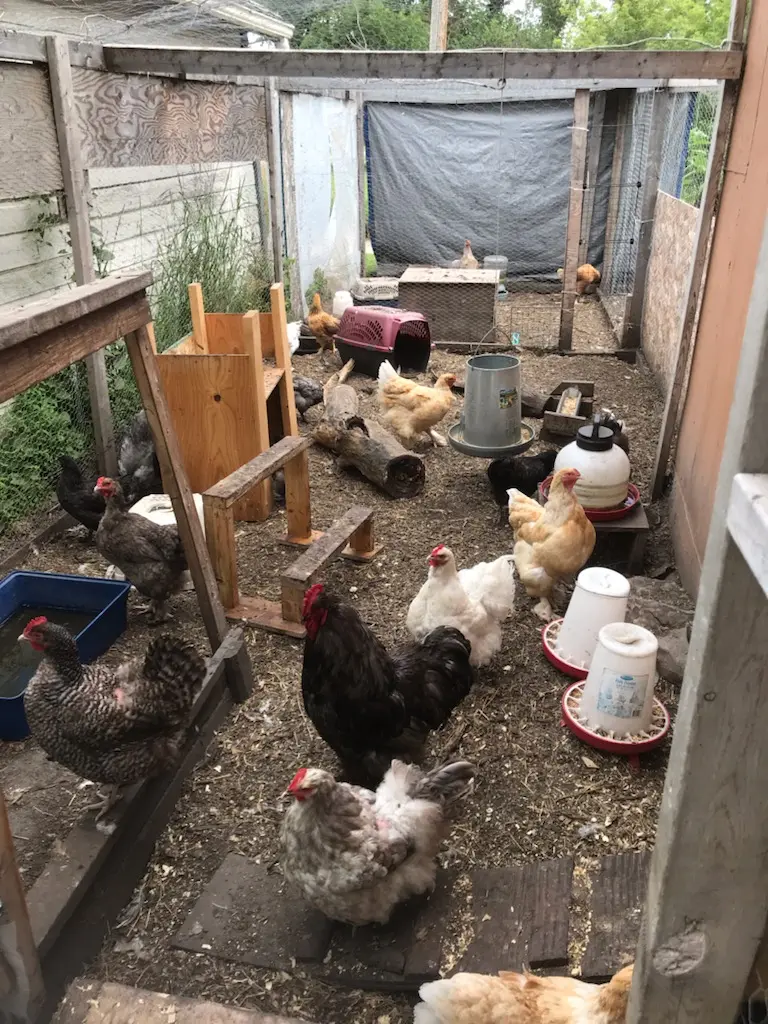
The frame is built of 8x8 squares as there isn't lots of weight on it though in the winter you have to shake the chicken wire roof to drop snow through so it doesn't build up too much. To put some type of roof panel or tarp for rain, we needed to add in additional supports. Currently we have a 36"x24" plywood roof above the back door which the chickens love in the rain. We just added in specific support for that, using 4 2x4s and crossmembers for the roof to sit on (2x4s spaced about 12" apart run vertically). The 8x8 squares also allowed a roost for outside since it had a center post to complete the squares.
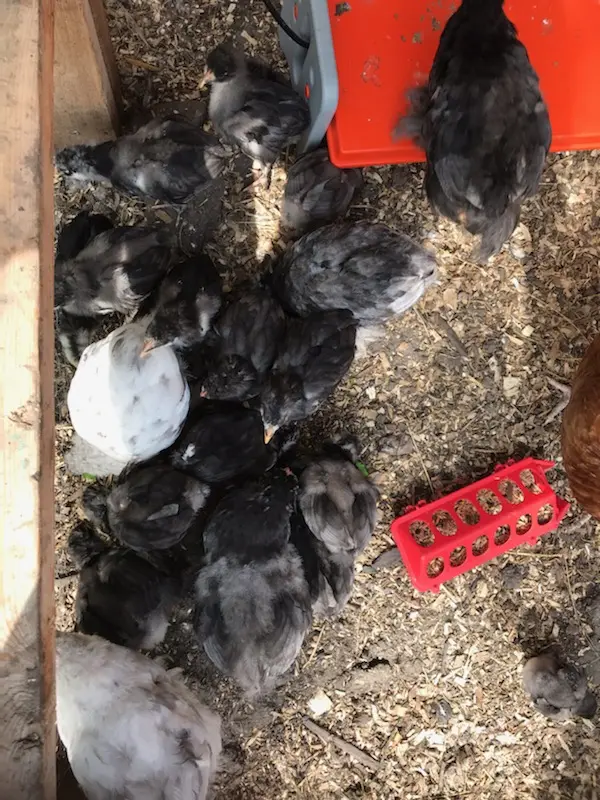
Well thats about it for this installment and will be moving onto the coop next. Thanks for reading.






