
Hello and welcome! This post is all about running Rotki on Kubernetes!
What is Rotki? From their website, they are an open-source cryptocurrency portfolio tracker, accounting, and analytics tool to help you crunch the numbers on your cryptocurrency holdings. Without diving too deeply into everything you can do with Rotki, I will say as a new cryptocurrency trader, it provided me a means to extract trading information from my portfolio in order to help me make decisions while trading. A future blog post will elaborate how I am using Rotki!
At the time of this writing, the current Rotki version is v1.14.2.
Other Installation Methods
While this blog post won't explicitly cover these, there are a few ways you can install Rotki. You can install pre-packaged binaries directly to your computer - either by downloading from their website, or by using a package manager such as Homebrew. Recently, Rotki has started releasing a docker container as well. This is huge! Running the docker container directly on your computer is straight-forward enough, and since they have released this docker image, it means that we are able to run this in Kubernetes.
Kubernetes
There are a few underlying dependencies that we'll need to take care of. My installation is in the crypto namespace, and this is where I keep tools related to cryptocurrency on my cluster.
As a reminder 🙂, to apply these pieces to your own cluster, simply save the corresponding file and run (or, save everything to one big rotki.yaml file and apply everything at once - this is what I did, I break it down by concept for the blog!):
kubectl apply -f {filename}
The first order of business is taking care of the persistent volumes required by Rotki. I opted to preserve both the application logs and data in the event of a restart, but at a minimum you should create a persistent volume for the application data. Rotki can pair with various crypto exchanges, centralized or decentralized, and is capable of aggregating transaction data for you across all these platforms. Since setting up these connections requires configuration on your end, you want this data to be persisted on updates or restarts.
I allocated 5gb for the data drive and 3gb for the logs drive, but these were just guesses. After having this running for 24hrs, I've used a combined 300mb of storage, so it looks as if I have plenty of room to spare with these configs. It is also worth noting that I use Longhorn for my persistent volumes since it handles data replication and backups.
rotki-persistent-volumes.yaml
---
apiVersion: v1
kind: PersistentVolumeClaim
metadata:
  labels:
    purpose: rotki-logs
  name: rotki-logs
  namespace: crypto
spec:
  storageClassName: longhorn
  accessModes:
  - ReadWriteOnce
  resources:
    requests:
      storage: 3Gi
---
apiVersion: v1
kind: PersistentVolumeClaim
metadata:
  labels:
    purpose: rotki-data
  name: rotki-data
  namespace: crypto
spec:
  storageClassName: longhorn
  accessModes:
  - ReadWriteOnce
  resources:
    requests:
      storage: 5Gi
Okay great! We have volumes created. Next, we need to make our Rotki deployment. I don't recommend using the latest tag for this, as it's best to be in control of the version you use. It appears that Rotki publishes the latest release version under this tag, but using it can cause your version to change without you knowing. If you like to live dangerously, they also provide a nightly tag for the bleeding edge of Rotki.
rotki-deployment.yaml
---
kind: Deployment
apiVersion: apps/v1
metadata:
  name: rotki
  namespace: crypto
spec:
  replicas: 1
  selector:
    matchLabels:
      app: rotki
      version: "1.14.2"
  template:
    metadata:
      labels:
        app: rotki
        version: "1.14.2"
    spec:
      containers:
      - name: rotki
        ports:
        - containerPort: 80
          name: rotki
        image: rotki/rotki:v1.14.2
        volumeMounts:
        - mountPath: "/data"
          name: rotki-data
        - mountPath: "/logs"
          name: rotki-logs
      volumes:
      - name: rotki-logs
        persistentVolumeClaim:
          claimName: rotki-logs
      - name: rotki-data
        persistentVolumeClaim:
          claimName: rotki-data
Notice in the volumes section, the 2 persistent volume claim names match the persistent volumes we already created. The volume mounts for the container were found from the docker installation, as Rotki has also provided detailed instructions for folks migrating from a bare-metal / desktop installation to a container installation. If you are running Rotki by some other means, copying your data directory into the rotki-data persistent volume should allow you to move your installation over to Kubernetes. The last important thing to note is that the Rotki container is accessible on port 80, so we configure the port mapping here.
At this point, Rotki is running, but now we need to make it accessible outside our cluster. I have opted to only make Rotki accessible on my local-area-network (LAN) while I'm figuring it out, but perhaps at some point I'll put it behind my secured Traefik reverse proxy.
A few things I already have configured for this next part are:
- MetalLB - a Kubernetes load balancer capable of owning cluster-external IP addresses, this project is awesome for a home server
- Avahi - a Linux based mDNS tool, that I am able to leverage to add additional
*.localdomains on my LAN.
The end goal is to be able to visit http://rotki.local when we're on our home network in order to use Rotki!
First, we must create the Kubernetes service.
rotki-external-service.yaml
---
apiVersion: v1
kind: Service
metadata:
  name: rotki-external-loadbalancer
  namespace: crypto
spec:
  loadBalancerIP: 192.168.68.17
  selector:
    app: rotki
  ports:
    - protocol: TCP
      port: 80
      targetPort: 80
      name: rotki
  type: LoadBalancer
Reminder, MetalLB is claiming 192.168.68.17 on my LAN, and any traffic that hits that IP address now will be forwarded to the Rotki pod we deployed above, to port 80.
At this point, we could be done. I could navigate to that IP address in a browser, and Rotki would load. However, I will not remember that IP address, and so I'd much prefer if I had a domain name to use instead. Enter mDNS and Avahi!
Avahi, while it is responsible for mDNS resolution on Linux systems, also has a secondary capability of being able to respond to mDNS queries for other domains or systems that cannot respond to mDNS queries themselves. On my Kubernetes master node (on the server directly), I edit /etc/avahi/hosts with the following lines:
### Provide mDNS for Rotki - ip address owned by MetalLB
192.168.68.17 rotki.local
This file looks very similar to your standard /etc/hosts, and entries that start with # are ignored and valid entries should be IP address <-> domain name pairs. Note that you must put the whole domain name, and I have not tested this for things other than traditional mDNS host names. As soon as we save this file, we are ready! Open your favorite browser (mine recently has been the Brave browser), and go to http://rotki.local
You should be greeted with something like this:
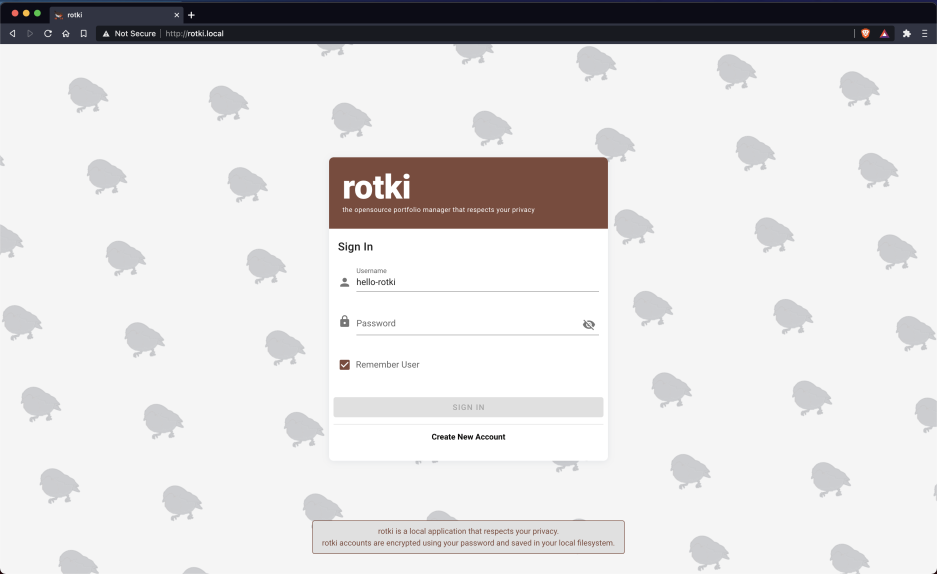
Congratulations! 🎉🎉🎉
If you've made it this far, you now have Rotki up and running, and you're ready to go!
Are you already a Rotki user? If so, let me know what you use it for in the comments section. I'm new to the cryptocurrency world, but a tool like Rotki is already helping me build confidence with my crypto trades.


