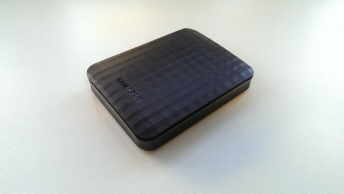
Everybody knows that dreaded moment a hard drive suddenly fails, leaving you stranded with no more access to all your stored data that you put there for safe-keeping in the first place. Those days are over, as I will teach you the secret art of fixing it in just 20 easy steps. For demonstrational purposes I used an external Samsung M3 Hard Drive, but I'm sure you can apply this technique to any other hard drive on the market. More research has still to be done for solid state drives though, but I'm sure I'll get to that someday...
So to start,
What you will need:
- A screwdriver (any will do, but I recommend using a flat-head if you have no knife at your disposal)
- A knife (optional if your screwdriver is a flat-head)
- A claw hammer
- Regular sticky tape (any kind will do)
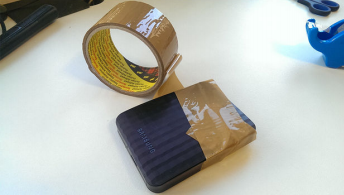
- Wide, brown duct-tape
- Tissue (Paper or Fabric, whichever you prefer)
- Scissors
- A stapler
Once you have gathered all these items, here's what you will need to do:
- Step 1:
~ Disconnect the Hard Drive and remove the USB from your device. If it has a power cable, perform the same procedure on it too. Safety first!
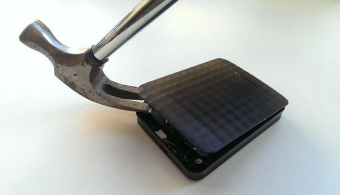
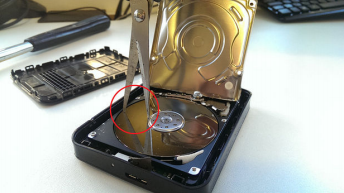
- Step 2:
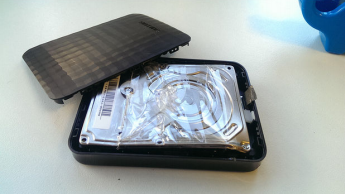
~ Take the claw hammer and use the claw to gently pry open the plastic cover of the hard drive. (If you're performing this on an internal hard drive, skip this step.) Should you have any trouble opening the plastic cover with only the claw hammer, you can use the knife or the screwdriver (if it's a flat-head, of course) to ease the process. Again, be careful not to hurt yourself!
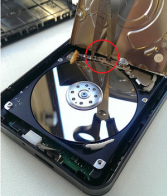
- Step 3:
~ Remove any screws you can find from the internal metal cover of the hard drive itself, then take your claw hammer again and carefully pry open the metal cover. Remember to keep 1 of the screws you just removed, you will need it later!
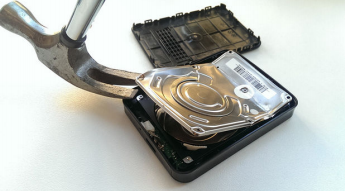
- Step 4:
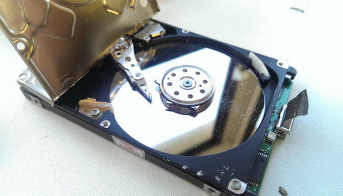
~ As expected, we will find a jammed reading head inside. If this is not your case, you can skip to step 14, work your way to the end and then try another tutorial. I hear Google has plenty.

- Step 5:
~ You will notice the arm of the reading head has a certain number of holes along the side of it. Take your scissors and insert each blade into a hole (choose any holes you feel comfortable with), then carefully move the arm to its parked position.

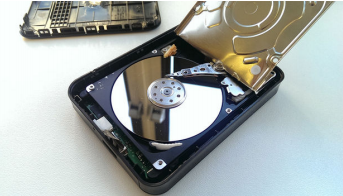
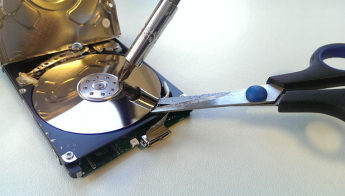
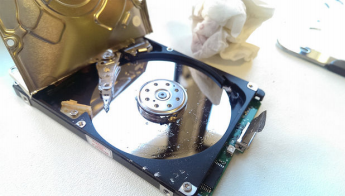
- Step 6:
~ The shiny little metal disk you see now is the hard drive platter. (As indicated by the scissors in the picture below.) This is where your precious data that you no longer could access has been stored.
- Step 7:
~ Place your scissors underneath the hard drive platter and lift it up a few millimeters while simultaneously stabilizing it with the screwdriver in one of of the dimples in the center spinner.
- Step 8:
~ Tentatively remove the stabilizing screwdriver while making sure to keep the scissors in place, then take the stapler and place it with the bottom under the hard drive body cover and align the stapling head to the middle of the drive platter as shown below.

- Step 9:
~ Ever so gently press down on the stapler until you feel pressure build up underneath it. After a couple of seconds you should start to hear some creaking, followed by a sudden cracking sound. This is very normal and supposed to happen.
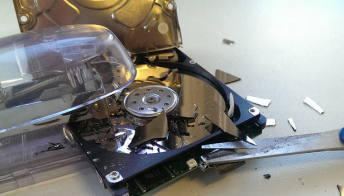
- Step 10:
~ And what do we have here? A spare disk! It still has all the fragments from the top disk on it, though, so get rid of those so the surface of the second disk is clean again. Also snap off any remaining bits still sticking out from the center, then shake the drive gently while holding it upside down above a trashcan to be sure no bits are left in there. Don't stop until you don't hear any more bits rattle in there. Still remain careful not to cut yourself on the bits!


- Step 11:
~ You will probably notice that there is still some kind of static dust on the second disk.
- Step 12:
~ We don't want it getting stuck again, so take the tissue you prepared, spit on the disk (be careful not to hit any of the electric prints and wiring) and clean it until it shines like new again.

- Step 13:
~ No need to get it fully dry. Any excess moisture will fly off when the disk starts spinning again, so no need to worry too much about it.
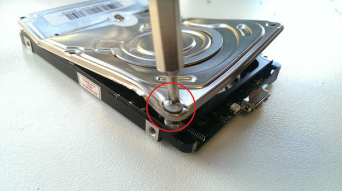
- Step 14:
~ We've done what we needed inside, so now carefully fold the metal cover of the disk over the platter again. Choose the corner that gives you the most resistance upward and screw that corner shut with the 1 screw you kept in step 3.
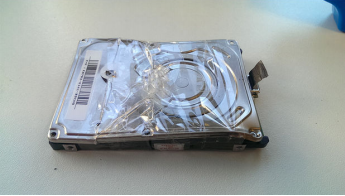
- Step 15:
~ Take the sticky tape you prepared and tape it all around the metal cover of the disk. This will be our insulation from the outside world, so make sure to wrap it completely.

- Step 16:
~ For internal hard drives the tutorial ends here, but we'll continue to make our external one plug-ready again.
- Step 17:
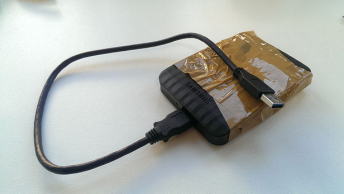
~ Place the hard drive back in its plastic cover making sure the hole to fit the cable is aligned to the hole in your plastic cover. If you need to connect the drive inside your plastic cover, do so now too.
- Step 18:
~ Put the lid on it.

- Step 19:
~ Take the wide, brown duct-tape and wrap it around the plastic cover for further insulation. It also tends to speed up the disk reading- and writing-capabilities for some reason.
- Step 20:
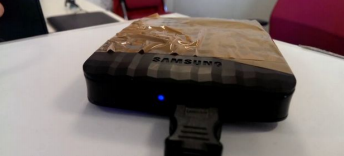
~ Plug back in all the cables you removed in step 1 and plug it back into your computer.
There you go, easy as pie and it probably didn't even take 10 minutes. Your hard drive has been fixed, but remember to always back it up now! Unless, if you noticed there was a third spare disk under the second one you can just repeat this process once more next time it jams, but after that be sure to have some kind of backup in place too.
Anyway, thank you for the time you lost reading this, and maybe in my next tutorial I'll go into exciting ways to repair your car brakes,... Unless if I don't,... Who knows,... Only time will tell.


