To tell you the truth, this codes are not that secret since many people know them, and I was reading several articles on the web to solve a problem in an old android and I realized that it could be interesting for you to know these nice codes and here I present one compilation of those that I found more useful.
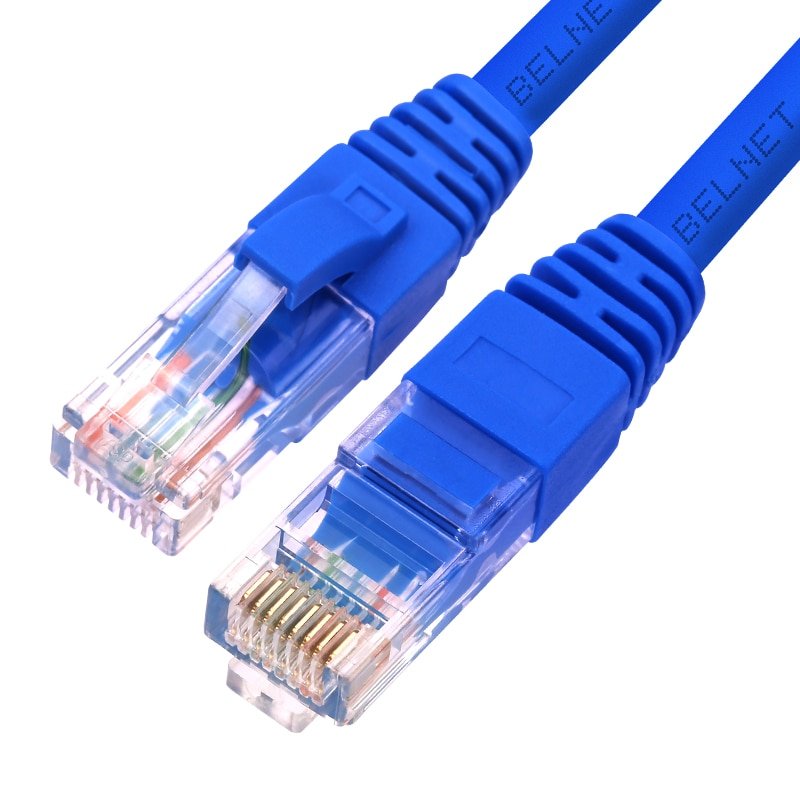
I learned this procedure with friends who know more about networking than I do and also reviewing here and there on the internet and in this post I bring together everything I know in this regard and the examples I use in this post are with screenshots of the two TP-LINK brand routers with which I have this system at home.
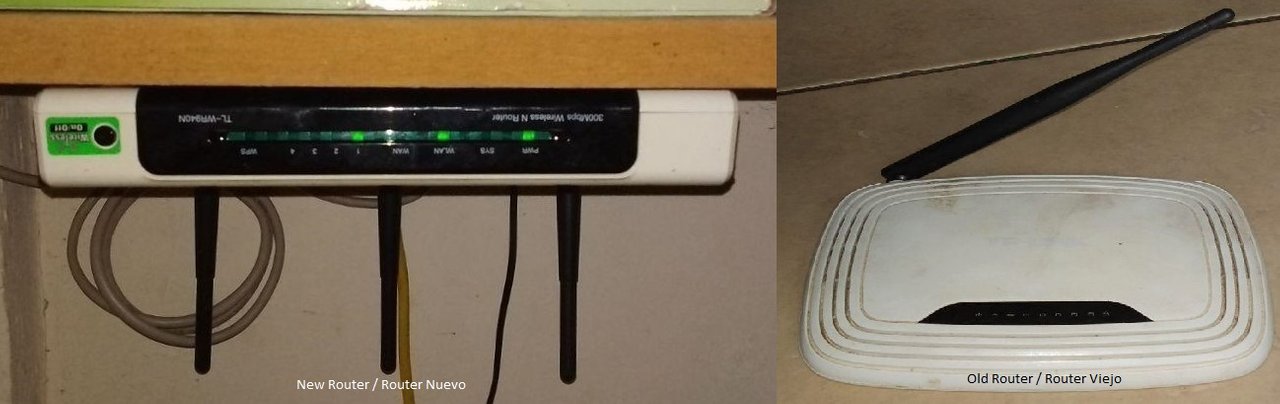
To start we have a router that is already working and giving a wi-fi connection, we look at the configuration of that router, for which we must access from our browser the IP address of that router which generally for most manufacturers is: 192.168 .0.1 or 192.168.1.1. We can do this by cable or wi-fi connection since that router already has its established network.

After finding the address, we proceed to put in username and password, which in most cases is usually: user: admin and password: admin, but this depends on the manufacturer, although all the routers I have seen have this information written on one side or below.

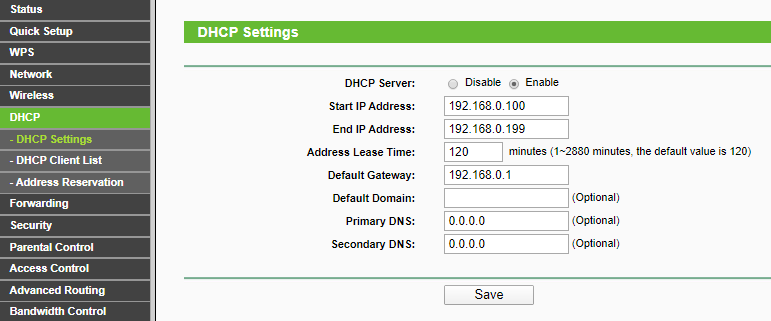
Already within the configuration we look for the DHCP section and make sure that it is enabled, this is the only change in this router and in some cases it is already made by default.
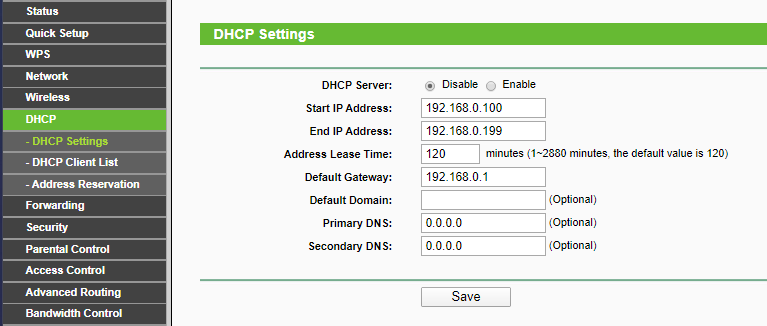
Then we proceed to configure the second router, for which we must first reset it, most of the routers come with their reset button, then we connect to it via LAN cable or also by the wi-fi network that this generates by default as it is On, we access its configuration as we did previously, (192.168.0.1 or 192.168.1.1 and user: admin and password: admin), then within the configuration we look for the DHCP section and disable it and then we look for the LAN section and depending on the information of the main router we are going to make the change in this router in the LAN section, if the main router has the address 192.168.0.1 we change it to 192.168.0.2 and if it has the address 192.168.1.1 we change it to 192.168.1.2.
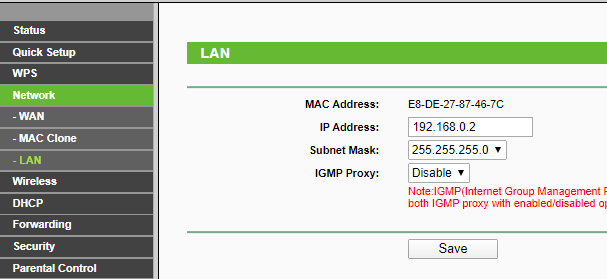
To continue we connect both routers through the LAN cable, but this detail caused me several inconveniences because I did not know until after several trials and errors and research via google and asking professional friends in the area, the cable must be placed in both routers in port number 1, then we restart the router and it should already be giving wi-fi connection, now what you have to do is configure the name of the new network offered by this router which is done in the WIRELESS section of the configuration and place it the password, as it did when we configured our main router for the first time at the time.
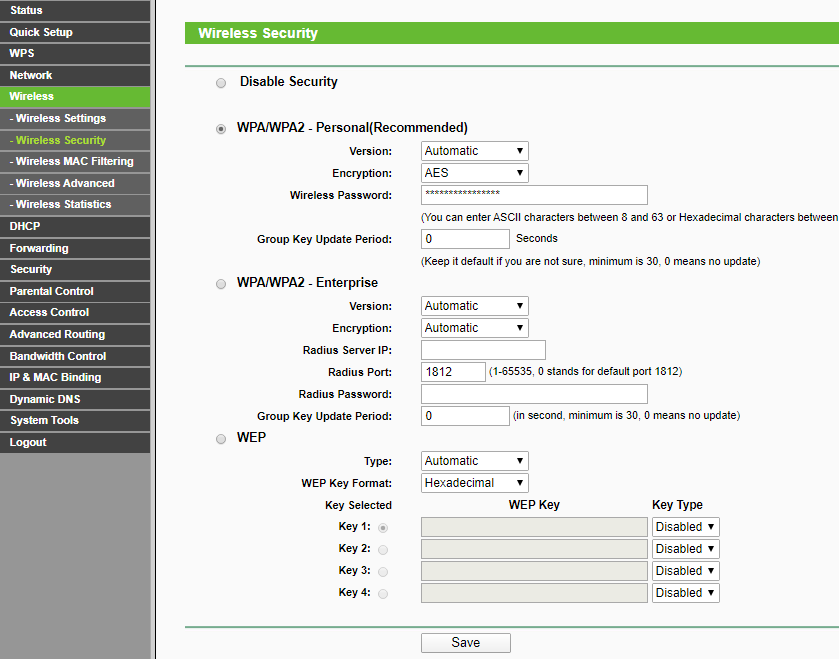
It is important to choose a good place to place the second router to optimize your signal and place the LAN cable in a way that is not so obvious, of course, it all depends on how important the aesthetics are for each one.
all images except the first one, are screenshots from my pc.
Any questions about it you can ask me and comment, see you.





