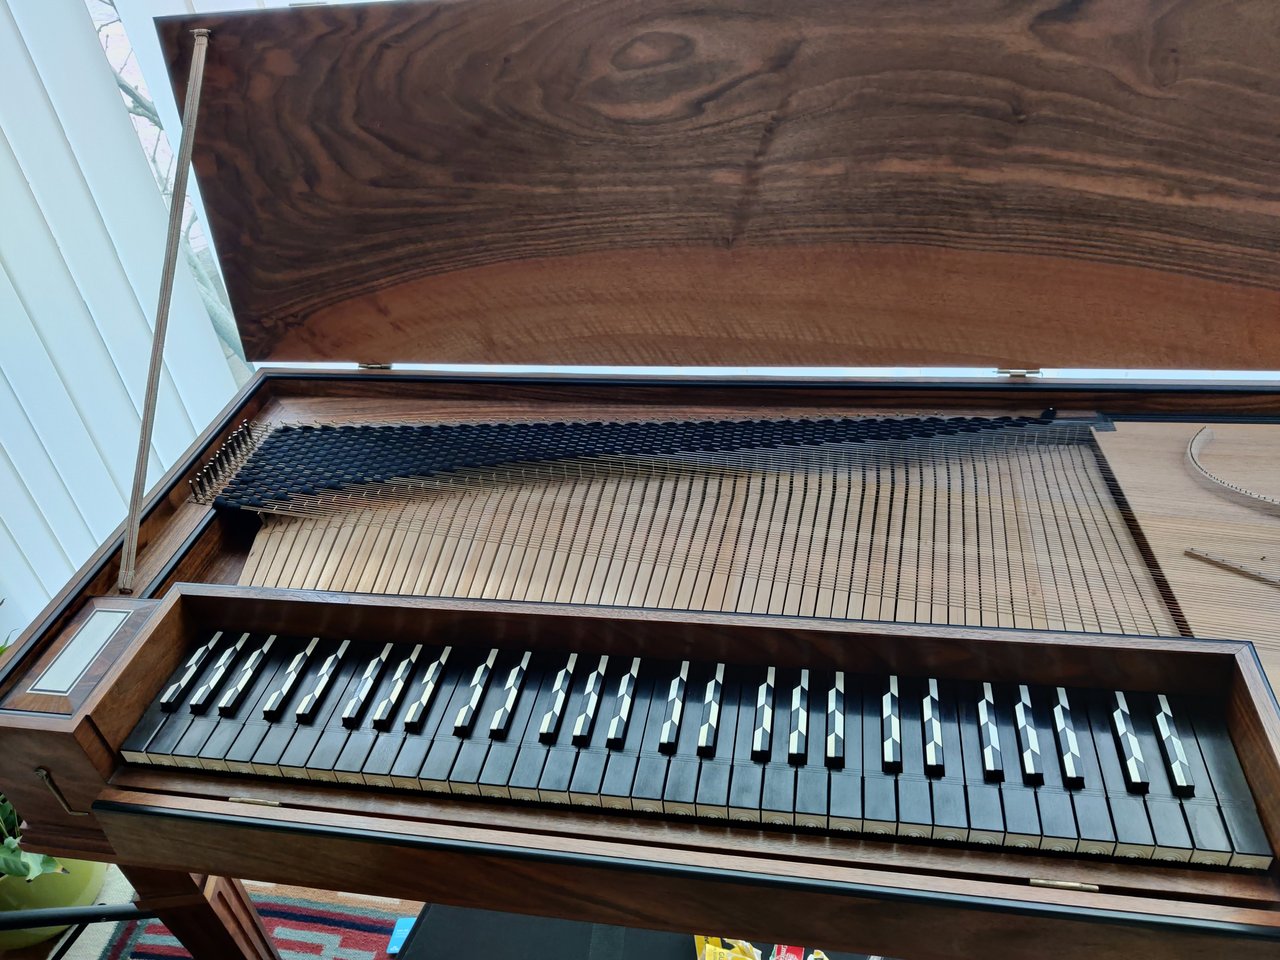
A couple of weeks ago, I broke a string whilst tuning up the Clavichord. It was a doubled string, so the key would still at least strike the remaining string and make a sound... so, I've been putting off re-stringing the instrument. In principle, it isn't really that hard... and very similar to restringing a violin. However, there is one little bit that is really annoying and I was just putting it off to avoid that little thing!
Still... things don't get done by leaving them there, and I guess I should try at least to finish off little tasks while I have too much time on my hands!

A couple of weeks ago, I dropped by a friend who had cut a couple of lengths of the right diameter wire for that particular note (and string length). It is actually his Clavichord, but we have it because he doesn't currently have room for it. So, a length of bronze (?) wire that is about one and a half to two metres long. Two coils just in case... you never know if it will snap whilst taking on tension!
You can see the loop that he did at the end as well... it's a neat little trick that the tuning handle for the old instruments have a hook which allows you to make a neat loop and twist to secure the string at one end of the instrument! On a baroque violin, we tie a loop which then closes in on itself as the tension of the string is raised... on a modern violin, there a ball that is put there by the manufacturer.

Here you can see the tuning peg end of the instrument (see if you can pick the one that is missing the string!). This is where the un-looped end of the string will go... these pegs are nice in that they already have a little pinhole machined into them, which allows you to just feed the string into the hole and then wind up the tension. There are versions that don't have a hole, and you then need to have the string close in on itself with tension.
One little thing to remember was to loosen the tuning peg. The peg was at the position where the old string had broken. When you start a new string, it needs to be pulled out... otherwise you are just screwing it down further and you will run out of travel... or in some cases, drill into the soundboard!

This is the nut end of the instrument, where the loop will hook into.... again, see if you can see the one that is missing the string!

Now, this is the painful part.... the string needs to be fed through these felt strips. These strips help dampen the sound of a struck string, so that they don't just continue to ring forever and bleed into the next chord. Unfortunately, feeding a sharp string end (the non-looped end) through multiple layers of felt where it will likely catch is about as fun as it sounds...

So... the nerd in me starts thinking of a less painful way of doing it. In the end, I settled on something like this... a cotton thread taped very tightly to a wooden skewer with just a little bit of a loop hanging out at the end. After feeding the skewer through a single layer of felt, I could loop the string end (fashioned into a hook) onto the cotton loop and then pull the string through... and then rinse and repeat about 15 more times...
I'm sure that the knitting, sewing or crocheting crowd have a proper tool for doing something really similar to this! If you happen to read this, let me know!

The sharp unlooped end of the wire string was fashioned into a hook to catch the cotton loop, and also so it wouldn't catch on the felt when it was pulled through. Catching the hook with the loop was the trickiest part... It's easy enough to see on these zoomed photos, but after a few of them... your eyes are getting crossed and it starts to get a bit difficult to see depth!
For reference, the cotton loop is a about 2mm! Probably should have worn a magnifying glass or something...

So, with the string finally out of the felt minefield... it was just a simple matter of feeding the string into the pinhole of the tuning peg and bringing the tension slowly up. Today, I've brought the tension to roughly a tone UNDER the correct pitch. This will allow the tension to spread evenly across the string and to prevent any breakage due to a sudden increase in tension... in the coming days, I will bring the tension up closer to the proper pitch (e at A=415Hz)... and every evening it will stretch back down in pitch a little bit. Hopefully, by the end of the week it will have settled into a more stable position!
You can see the finished winding... definitely not as neat as my friend's winding. It's just functional... but it seriously looks butt-ugly in comparison! I'm a violinist... no one ever sees inside our peg-boxes!
When the tension is equalised and stable, I will snip off the excess string to make it tidy... don't want that sharp bit hanging around and poking me when I'm tuning!






