Getting started on HyperLiquid is simple. Follow this quick guide and get ready to trade Alt coins and even Memes!
Step 1: Sign Up on HyperLiquid
- Visit HyperLiquid using my referral link: https://app.hyperliquid.xyz/join/READY.
- By beginning through the link above, you’ll receive 4% discount on buying and trading fees
- Complete the sign-up process to create your account.
- Connect your preferred Web3 wallet (e.g., MetaMask Rabby).
Step 2: Add the Arbitrum Network to Your Wallet
- If you don’t already have Arbitrum added, open your MetaMask wallet.
- Click “Add Network” and input the following details:
- Network Name: Arbitrum One
- New RPC URL: https://arb1.arbitrum.io/rpc
- Chain ID: 42161
- Currency Symbol: ETH
- Block Explorer URL: https://arbiscan.io
3. Save and switch to the Arbitrum network.
Step 3: Fund Your Wallet on Arbitrum
- Deposit ETH or USDC into your wallet on the Ethereum Mainnet.
- Use a bridge service like Arbitrum Bridge (https://bridge.arbitrum.io/) to transfer funds to the Arbitrum chain:
- Connect your wallet to the bridge.
- Select the asset you want to bridge (e.g., ETH or USDC).
- Confirm the transaction and wait for it to process.
Step 4: Deposit Funds into HyperLiquid
- Once your funds are on the Arbitrum chain, head back to HyperLiquid.
- Click on “Deposit” in the platform’s dashboard.
- Choose the asset you bridged (e.g., ETH, USDC) and follow the instructions to transfer funds to your trading account.
Step 5: Start Trading on HyperLiquid
Congratulations! You’re now ready to explore and trade on HyperLiquid. Browse through meme coins and altcoins, and take advantage of the platform’s speed and liquidity.
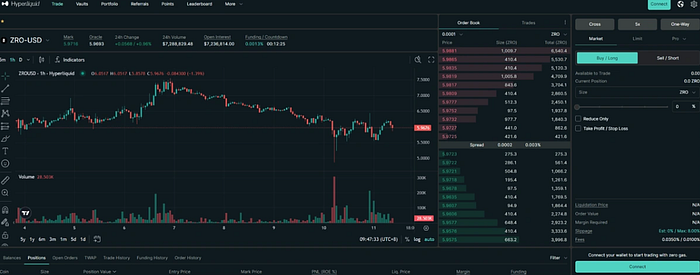
Welcome to Hyper Liquid!
Thank you for reading!






