Hello everyone. I hope you're all doing well. Today I'd like to share with you how I made three wooden tables, two doors, and a chair look like new for around $5.

Having lived on a sailboat for two years in San Diego, I've learned how important it is to maintain your wood.
Ants and termites will come if you don't treat your wood, so it's better to just add a bit of lacquer every year or so depending on how much sun or water your wood gets. If you do a good job, indoor wooden furniture can look great for decades.
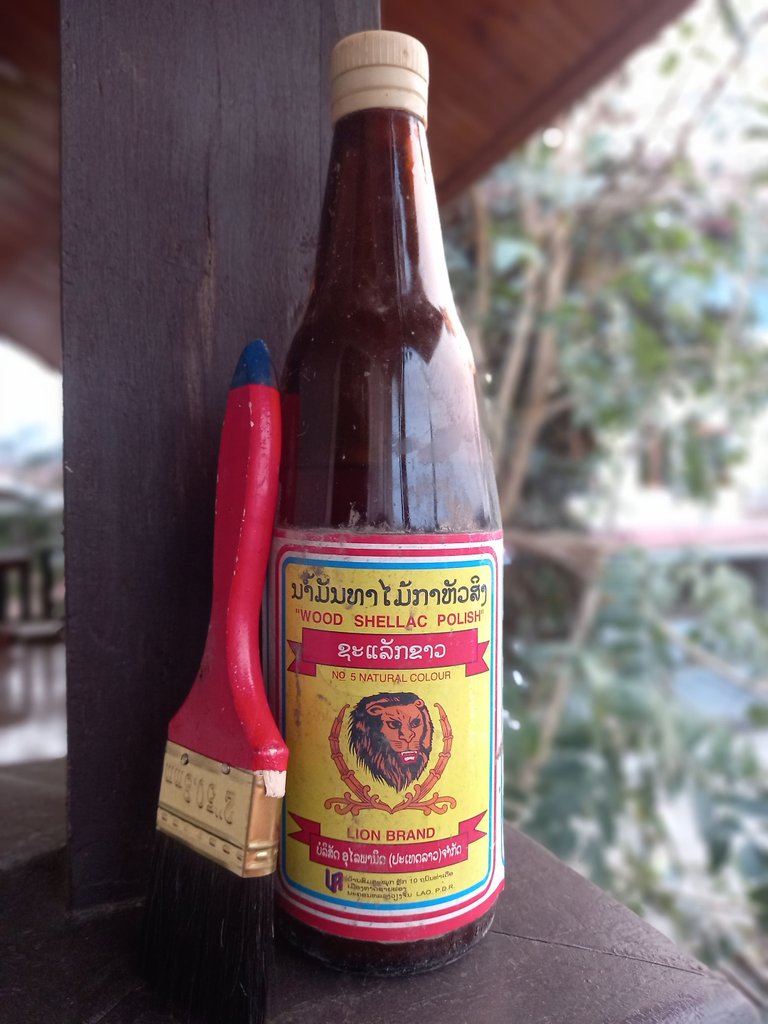
Materials:
lacquer
sandpaper
knife
brush
rag
cardboard
elbow-grease
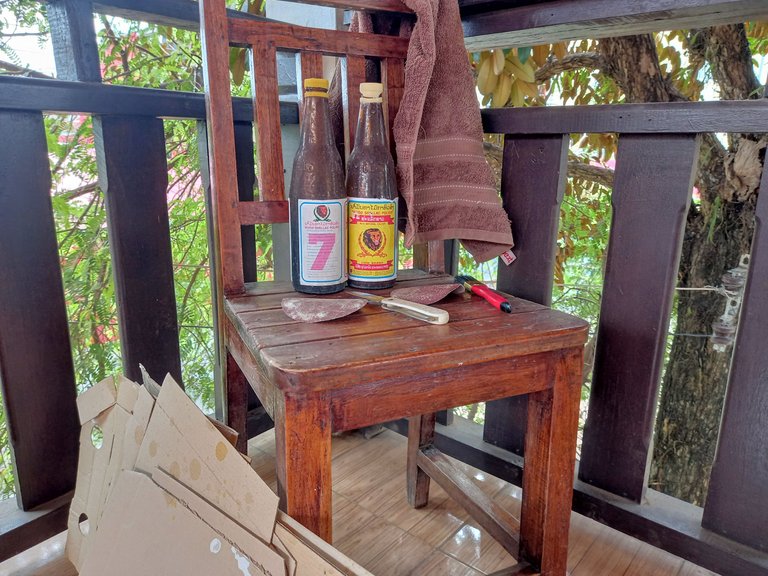
Before...
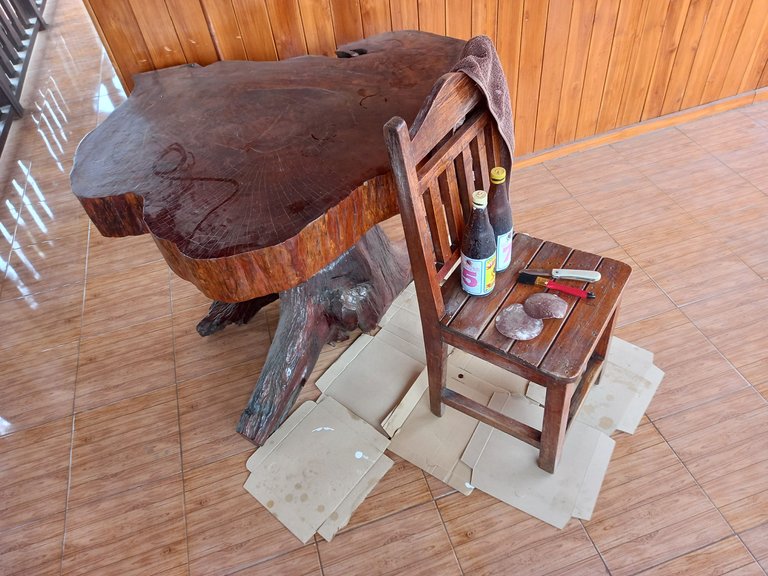
I saved all of my pizza boxes for DIY projects like this. They're great for protecting surfaces from paint and lacquer.
After...
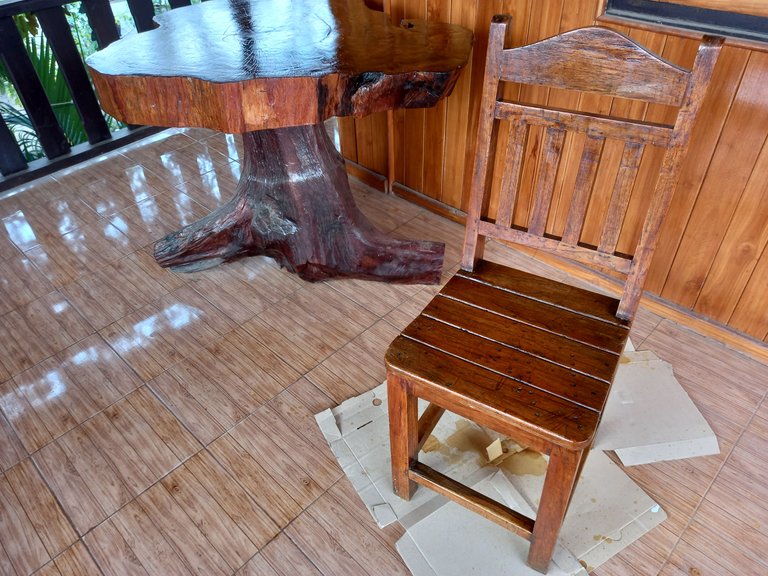
You can't sit on the chair for a couple of days or your skin and clothes will absorb the lacquer and it will lose its shineyness.
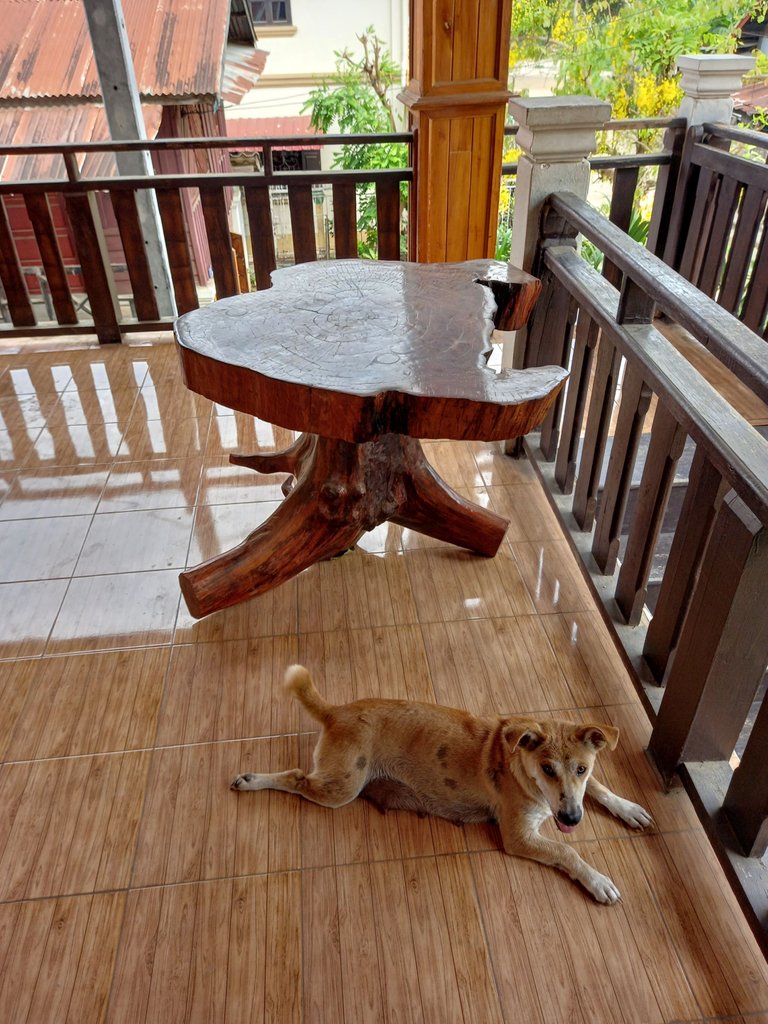
My landlord is moving to a new town and will rent out his whole house so I'll have to move soon. It's no problem. You can find a nice room here for around $100 a month. I'm just going to miss my best buddy, Moopy, the dog next door. I'll come by to visit her sometimes with some beef jerky. If I don't chew her food for her first, she'll just look at it and then at me with a disappointed look.
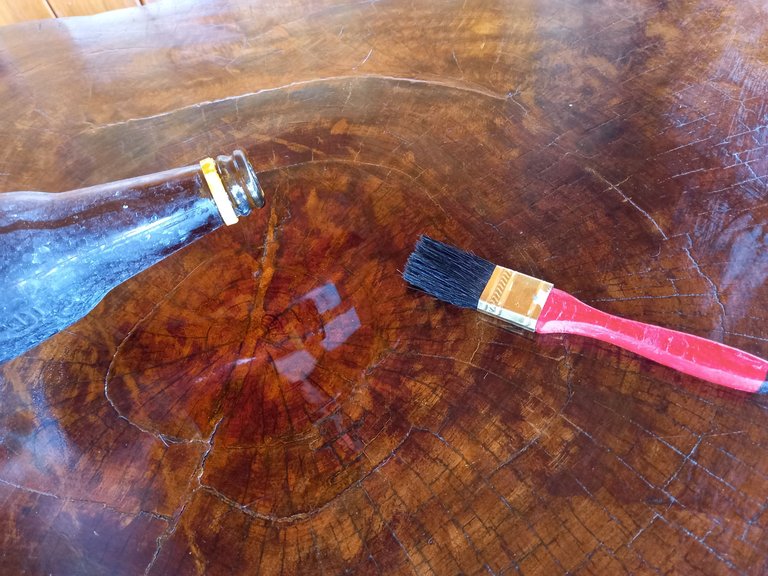
The lacquer I used was a couple of months old so it wasn't as good as if it were new. It came out looking like wine and left behind a yellowish residue. It turned out fine in the end, but it's better to use a new bottle.
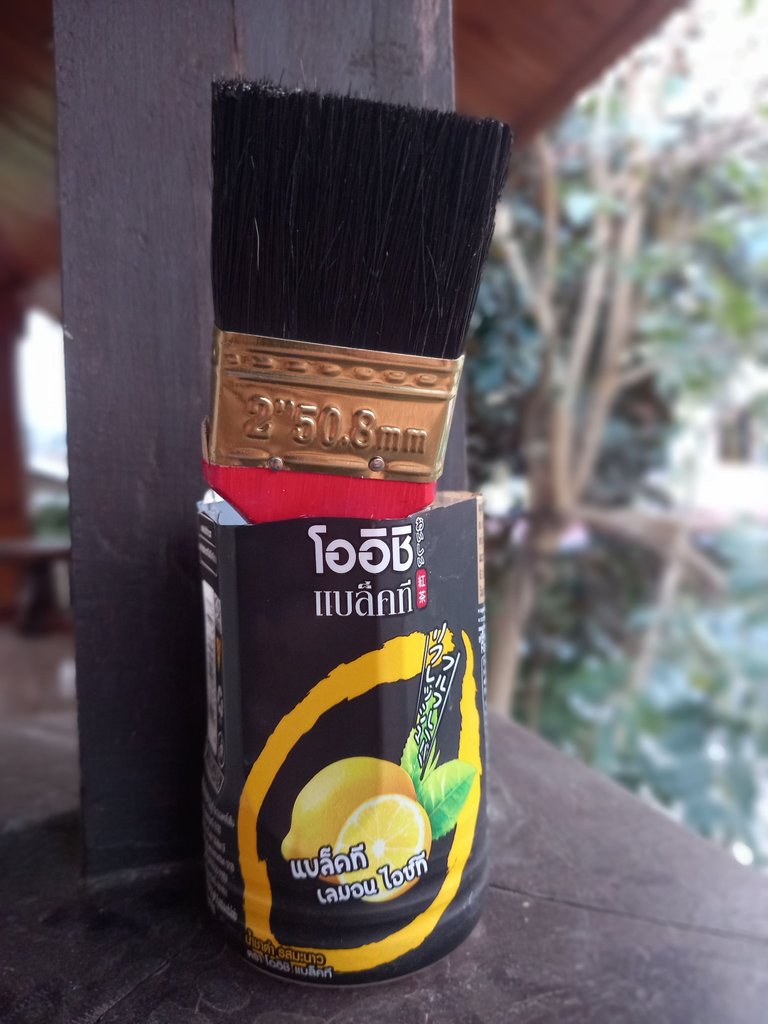
I used an Oishi tea bottle which I cut the top off to hold the lacquer and brush. I've found that applying three layers over a couple of days works best. Thank you for reading about my DIY wood lacquer project. I hope you found this post useful. Have a nice day!


