1. Locally Distributing Your Extension (.vsix):
Installing from .vsix:
You can install your extension from the .vsix file generated in VS Code.
Open VS Code, go to the Extensions view (Ctrl+Shift+X or Cmd+Shift+X).
Click the "..." menu in the top right corner.
Select "Install from VSIX..." and choose your .vsix file.
Sharing the .vsix File:
You can share the .vsix file with others via email, file sharing services, or local networks.
They can then install your extension using the same "Install from VSIX..." method.
2. Delaying Azure Account Creation:
Delaying Publication:
Until you're ready to publish your extension to the VS Code Marketplace, you can delay creating an Azure account.
Focus on developing a high-quality extension and gathering feedback from local users.
Documentation:
Continue to fully document your extension, especially the README.md file,
so that this step of the process is already complete when you're ready to publish.
3. Why It's Easier:
No Azure Requirements: You can develop, test, and distribute your extension without needing an Azure account.
Streamlined Workflow: You can focus on the core development process
without the added complexity of setting up a publisher account.
Local Testing: You can thoroughly test your extension in a controlled environment.
Sharing: Allows you to share your extension with colleagues or friends for testing and feedback.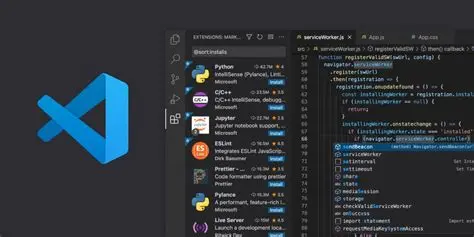
personalblog
Locally Distributing Your Extension (.vsix)

How do you rate this article?
5


personalblog
My daily experience in crypto world


Reward the author with $0.01 in crypto, and earn yourself as you read!
% to author / 80% to me.Rewards are FREE. Publish0x pays them, not you.


22 Oct 2026
2 minute read


4 hours ago
3 minute read

6 hours ago
4 minute read
Page not displaying correctly?
