
Is this irony? Perhaps – but regardless, it was a fun challenge for me to figure this out. I had to adapt multiple resources and through trial and error, and a bit of frustration since no single resource seemed to quite work, below is what finally worked for me to get a Presearch Node set up and running on an Ubuntu instance on Google Cloud. I should be able to now adapt these instructions to other cloud services as the need arises. I hope it helps you all out!
(Links open in new tabs)
Prerequisites:
If you don't already have one, create an Account on Presearch HERE.
Watch the node video / Apply to get a Node and registration here: https://nodes.presearch.org/
NOTE: To Stake PRE against a Node you need a minimum of 1000 PRE. However, you can set up a node without having the PRE and can stake (and add to an existing stake) at any time. The easiest way I found to get PRE was to buy Bitcoin using Coinbase and then buy PRE in the Presearch Marketplace. (There was a wire transfer option, but that seemed like a real pain and would take a lot longer).
Create a Google Windows Cloud Server
I am using the free tier 90-day Trial for this example, but you can use any tier you want.
Go to https://cloud.google.com/free/ and sign up using your Google account.

Fill in the information. They will ask for a credit card – but do not charge you until you upgrade to one of the paid versions. This is a 90 day free trial with $300 of credits to spend on upgrades to test things out.
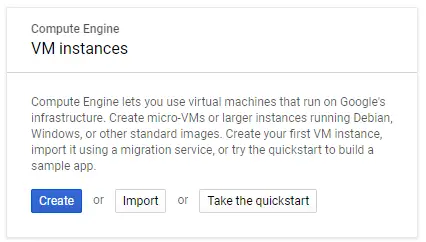
You will want to select Compute Engine and select VM Instances.

Wait a few minutes for the initial setup to get ready.
Click Create
At the minimum change the following:
Type in a Name. (I used presearch-node)
Update Boot Disk by clicking Change and selecting Ubuntu. You can use the default GB size or change. I did the Micro VM option so everything is smaller (and thus would be cheaper / month when paying).
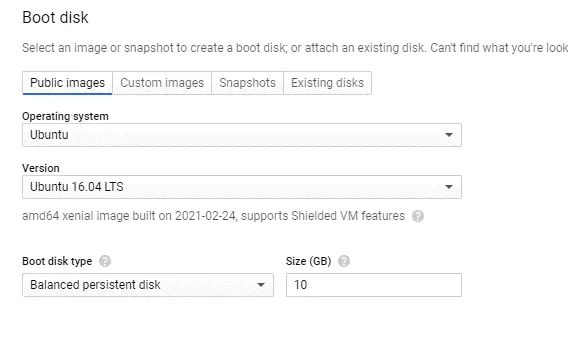
Click Select
Check Allow HTTP traffic and Allow HTTPS traffic.
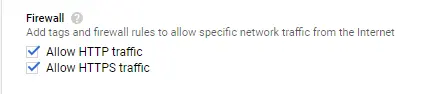
Then if all other settings are to your liking click Create
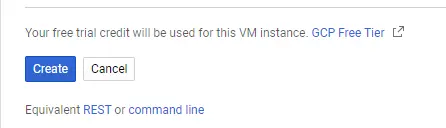
Wait until your instance is created.
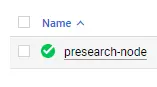
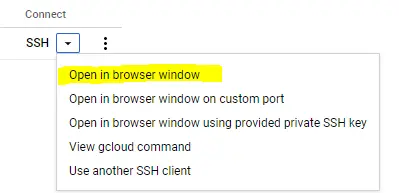
Connect via SSH to install Docker and Install / Configure the Presearch Node:
Click the dropdown arrow next to SSH and select Open in Browser Window
The Google Browser Shell will connect to a command line interface to your VM.
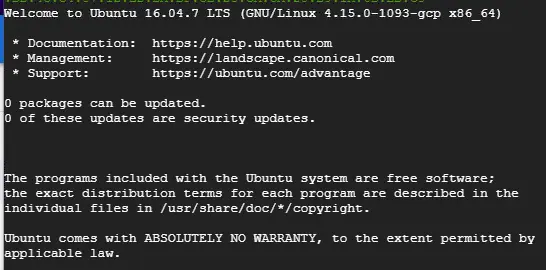
Now run the following commands at the prompts.
Update / Upgrade Ubuntu and get Docker:

- sudo apt update
- sudo apt upgrade
- Answer Y to the confirmation
Update the apt package index and install the packages to allow apt to use a repository over HTTPS
- sudo apt-get update
- sudo apt-get install apt-transport-https
- sudo apt-get install ca-certificates
- sudo apt-get install curl
- sudo apt-get install gnupg
- sudo apt-get install lsb-release
Add Docker’s official GPG key:
- curl -fsSL https://download.docker.com/linux/ubuntu/gpg | sudo gpg --dearmor -o /usr/share/keyrings/docker-archive-keyring.gpg
Set up the stable repository
- echo \ "deb [arch=amd64 signed-by=/usr/share/keyrings/docker-archive-keyring.gpg] https://download.docker.com/linux/ubuntu \ $(lsb_release -cs) stable" | sudo tee /etc/apt/sources.list.d/docker.list > /dev/null
Install the Docker Engine
- sudo apt-get update
- sudo apt-get install docker-ce docker-ce-cli containerd.io
Test success:
- sudo docker run hello-world
Install the Presearch Node in Docker. Wherever it says “YOUR_CODE_HERE” use the registration code you have been assigned. You can find it here: nodes.presearch.org/dashboard
Add current user to docker group – otherwise you will get a permission denied error.
- sudo usermod -a -G docker $USER
Log out (type exit) / then log back in.
Install Presearch Node Auto-Updater Service. This will configure the system to check for updates every 5 minutes.
- docker run -d --name presearch-auto-updater --restart=unless-stopped -v /var/run/docker.sock:/var/run/docker.sock containrrr/watchtower --interval 300 presearch-node
Pull Presearch Node
- docker pull presearch/node
Install Presearch Node as a service so it is always running and there is no need to manually start and stop. Be sure to put your registration code where it says YOUR_CODE_HERE
- docker run -dt --name presearch-node --restart=unless-stopped -v presearch-node-storage:/app/node -e REGISTRATION_CODE=YOUR_CODE_HERE presearch/node
Helpful commands
See logs of output from the node:
- docker logs -f presearch-node
to exit out of the logs press Ctrl-C
Check node status:
- docker ps
Visit your nodes Dashboard to stake PRE, see rewards, and verify your node is up and running.
https://nodes.presearch.org/dashboard






