
This is the second part of an article on chia mining. The previous post explains how the Proof-of-time algorithm work. Follow the links below if you don't read this https://www.publish0x.com/liorezal/chia-hard-drive-mining-xyyvwoy
A ready-made Chia mining kit
To get a guaranteed income from mining Chia, you need:
A quad-core processor with a clock speed of 1.5 GHz or more;
2GB of RAM;
A hard drive of at least 1TB.
Simple and inexpensive, but you’re make any money on such a build hardly. Here is one of the budget-friendly builds for Chia farming presented on the Miningclubinfo forum:
GIGABYTE B550 AORUS MASTER motherboard;
AMD Ryzen 9 5900X processor;
SEAGATE Ironwolf Pro ST16000NE000 HDD, 16TB, HDD, SATA III, 3.5;
WD Purple WD82PURZ HDD, 8TB, HDD, SATA III, 3.5;
SAMSUNG 980 MZ-V8V1T0BW 1TB SSD Drive, M.2 2280, PCI-E x4, NVMe;
PATRIOT Viper Steel PVS464G300C6K DDR4 Memory Module - 2x 32GB 3000, DIMM, Ret 2 x 32GB, 3000MHz.
So, you have started Chia token mining, built a farm and installed an OS. What’s next? Now you need to download a full copy of the blockchain. Go to the official website https://www.chia.net/ and click the green “Install Chia Blockchain” button.

Direct link to download the client for Windows: https://download.chia.net/latest/Setup-Win64.exe
The project page will open on Github, where you can download the full node compatible with your operating system. Software made for almost all popular systems, although the coin appeared recently. Since the Chia code signing certificate is new, the software classified as “insecure”. Force save the download, and when you run the installer, you will need to select “More information” and “Run anyway”.
As with any other cryptocurrency, the full Chia node is a copy of the blockchain and a wallet that will receive rewards once you mine.
Configuring of Plotting
Plotting divided into two stages, creating plots, or plotting and processing plots. The first stage creates all your proofs of free space by building seven cryptographic hash tables and saving them in a temporary directory. Then this data sorted and packaged in a temporary directory and then the data set moved to its last destination on the HDD.
Choosing the size of the plot
First, you need to choose a size. The optimal option is k32, it will take 108.8GB, and it will require 256.6GB of temporary space on the SSD. Specify the number of plots, guided by the size of one plot and the volume of the drives.
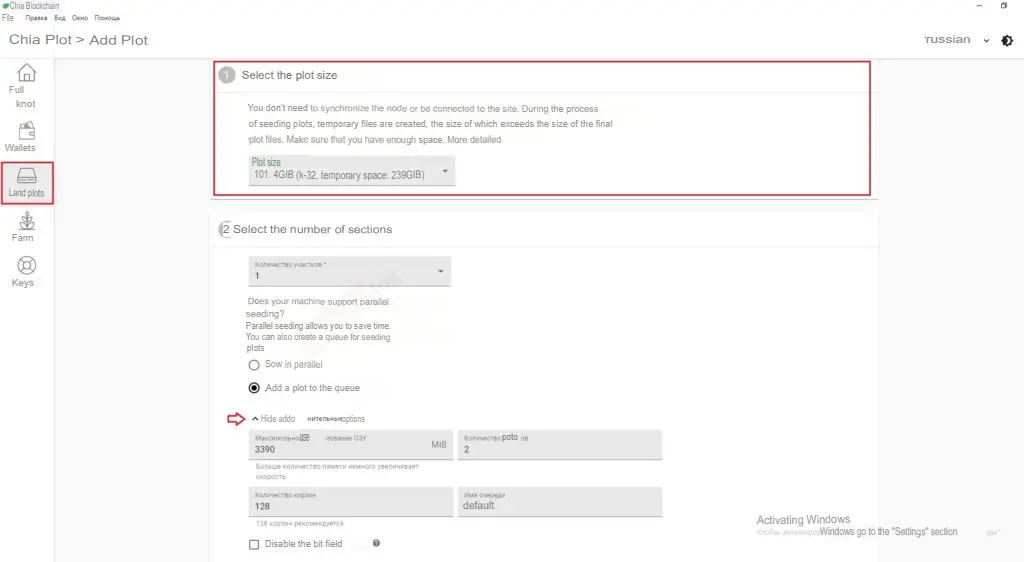
To configure the hardware for maximum performance, you can use the “Advanced Settings” section. To reduce the stress on the RAM, you can add more “baskets”, i.e. split the temporary file into a larger number of fragments. But be aware that the more recycle cans, the greater the pressure on the SSD. Therefore, if you have 32 GB RAM, it is better to reduce the number of baskets by reducing the number of temporary file I/O requests.
Once everything set up, click “Create Plot” and the creation process will start. It can take anywhere from 4 to 12 hours, depending on the parameters of your equipment.
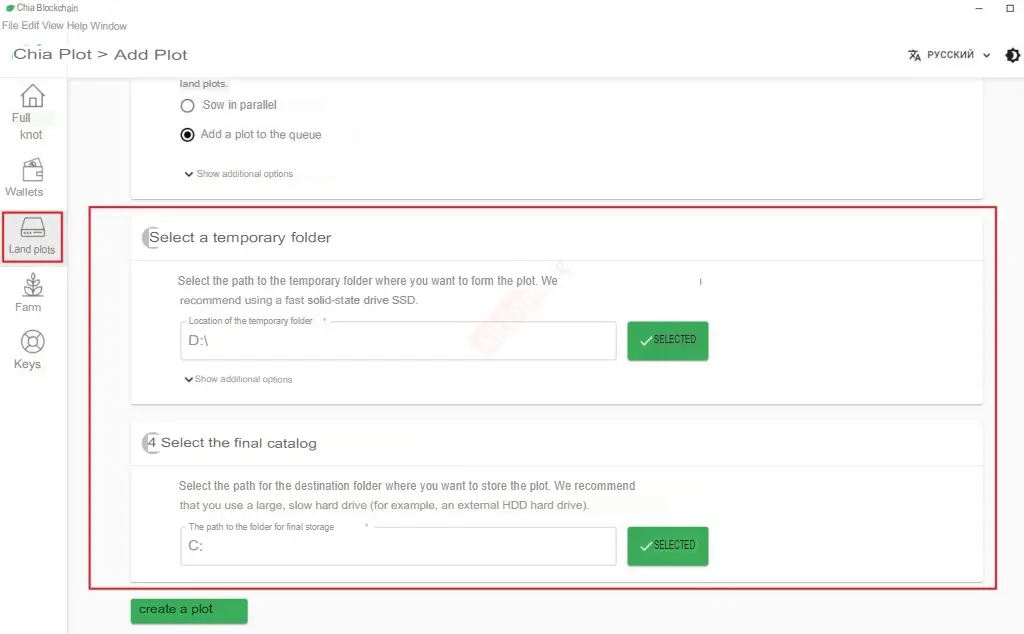
Parallel seeding
To get the maximum number of TBs per day, you can build several plots in parallel. The key thing is to calculate your farm’s capacity correctly, based on plot size, space for temporary files, number of processor threads, and amount of RAM.
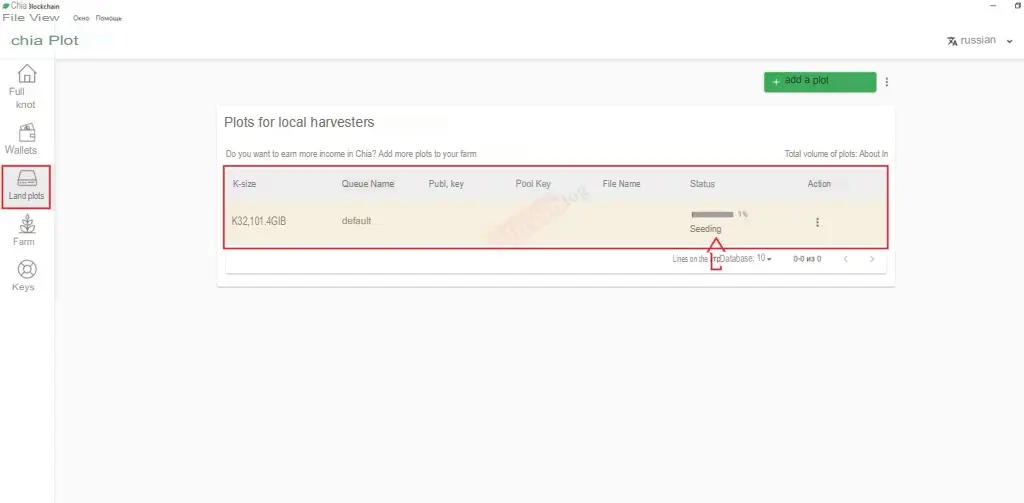
Finally, I must warn you that active plotting can destroy the hard drive. Please proceed with caution.






