
Pfsense is an open source firewall or router application based on FreeBSD. PFSense can be installed on a physical computer or virtual machine to create a custom firewall or router for a network. PFSense is believed to be reliable and offers various features. Not only that, PFSense offers ease of configuration, namely via a web browser such as Google Chrome. With this convenience, PFSense users do not need special knowledge about the system
FreeBSD.
PFSense is generally used as a firewall or router. But with its myriad of features, PFSense can also be used as a DNS server, DHCP server, proxy server, Bandwith limiter, VPN and so on. All of this can be easily configured simply via Google Chrome.
1. System specifications
PFSense Version: PFSense 2.7.2-RELEASE (amd64)
Ethernet Card 1: nfe0 (WAN)
Ethernet Card 2: rl0 (LAN)
IP address nfe0: 192.168.5.2 (WAN)
IP address rl0: 192.168.7.1 (LAN)
CPU Type: Intel(R) Core(TM)2 Duo CPU E8400 @ 3.00GHz
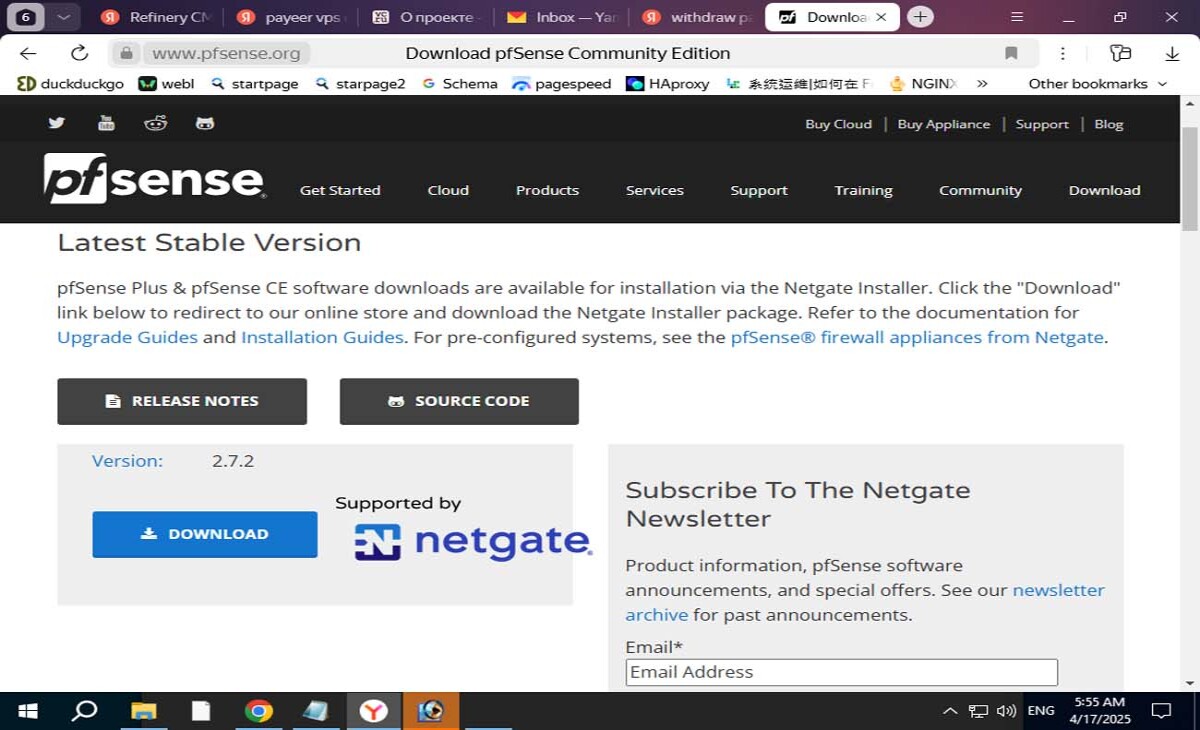
2. Download PFSense
Even though PFSense belongs to the FreeBSD family, the PFSense repository is not available in FreeBSD. To get PFSense you have to download it from the official PFSense website or another repository that provides the PFSense master. In this article we will download PFSense from the official PFSense website, please open the following link:
"https://www.pfsense.org/download/".
3. Install PFSense
In this section we will discuss the PFSense installation process using USB Flash disk media. After you have finished creating a bootable Flashdisk, install PFSense on your computer. The method is very easy, follow all the PFSense installation instructions displayed on your monitor screen.
After the installation process is complete, by default PFSense will display a menu like the image below.

To continue the PFSense installation process, open the Google Chrome web browser and type 192.168.1.1, so it will appear as shown in the image below.
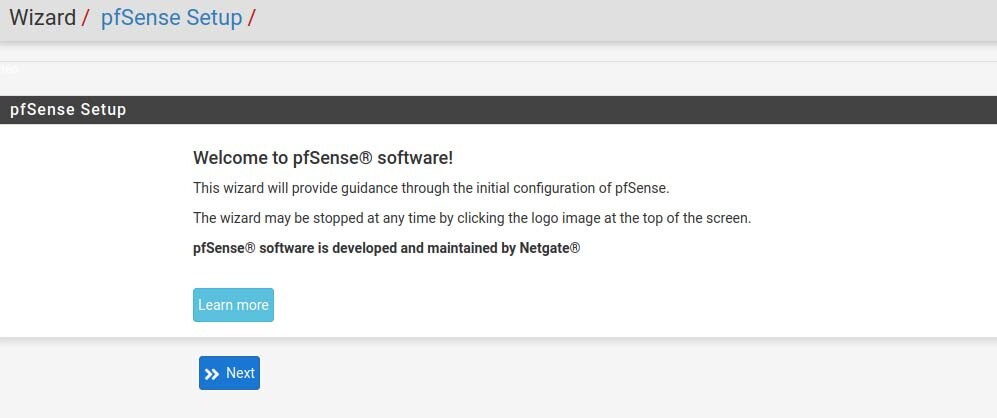
Click the Next button, to continue.
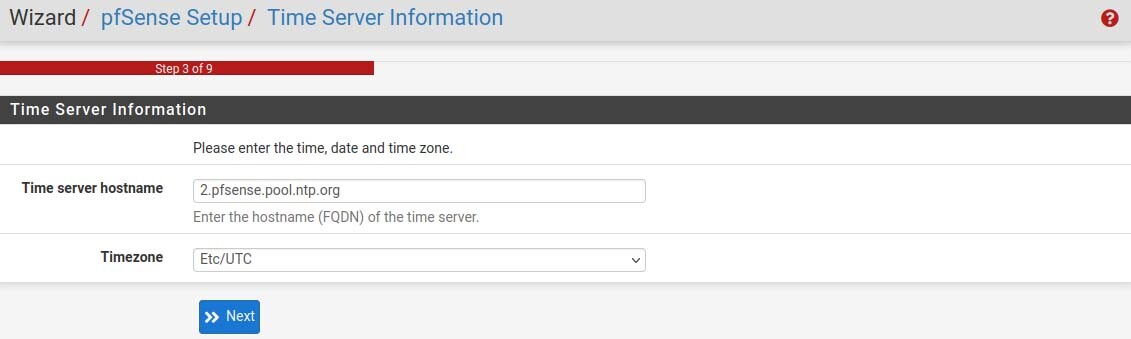
After you click the Next button, the DNS server column will appear. You fill in the DNS IP with Public DNS IP 1.1.1.1 and 8.8.8.8. Don't forget to uncheck the "DNS Server Override" option. Click the Next button again, then a display like the image below will appear.

In the "Time server hostname" option, fill in the time server. To make things easier, just choose the default PFSense, namely "2.pfsense.pool.ntp.org". And in the "Timezone" column, you fill in the time zone where you live. Continue by pressing the Next button.
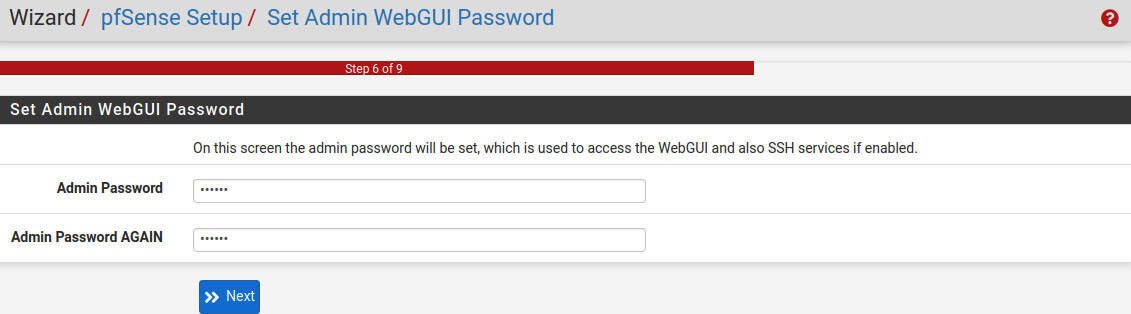
In this section, you are required to configure the WAN interface. IP address 192.168.5.2 is the static IP of the WAN interface with Gateway 192.168.5.1. After you set everything. click the Next button.

In the picture above, you have to set the IP address of the LAN interface. In this article we give an example of the LAN IP used 192.168.7.1. Then click the Next button again.


4. PFSense configuration
The section above is the initial part of the PFSense configuration. In the configuration above, your PFSense is not yet connected to the internet. So that your PFsense can connect to the internet, we continue with the next configuration.
a. Disable DNS Resolver
Because you have changed the default PFSense IP from 192.168.1.1 to 192.168.7.1, in Google Chrome type "https://192.168.7.1". After the PFSense page appears, click the Service ->> DNS Resolver, then uncheck the "Enable DNS resolver" option as shown in the image below.

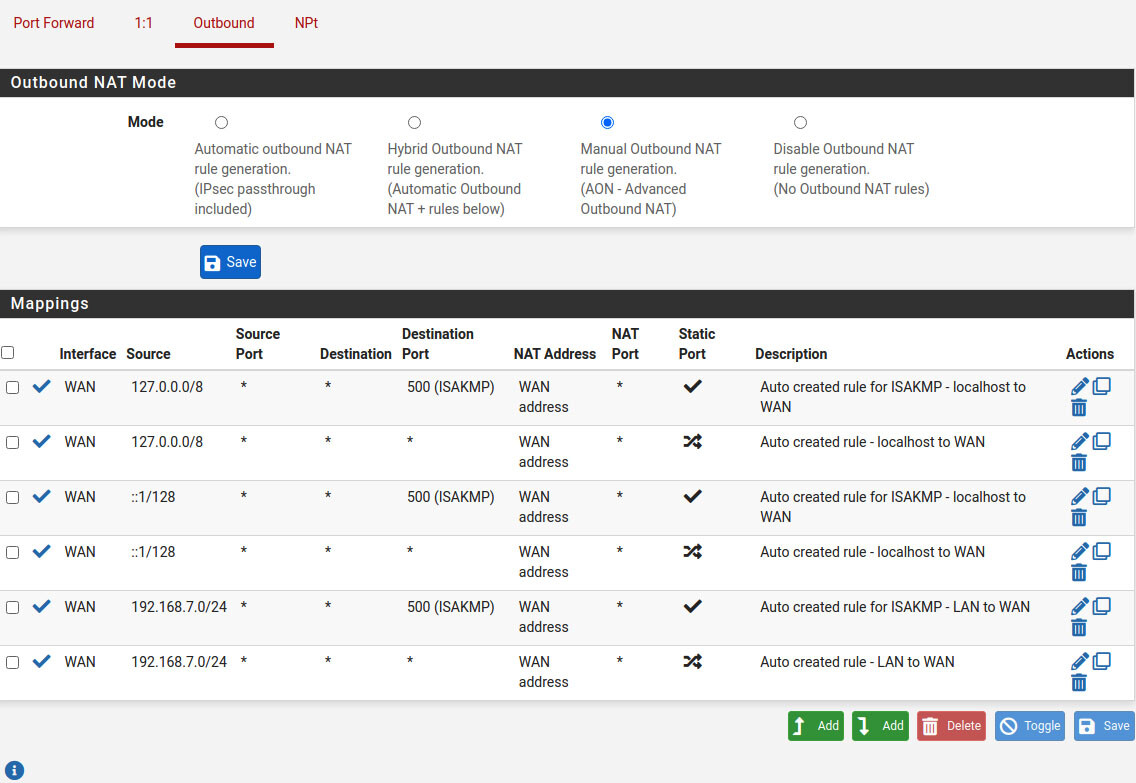
b. Create NAT (Firewall)
Next step, we will configure NAT. Click the Firewall ->> NAT menu, then click the "Outbound" menu and click again on the "Manual Outbound NAT rule generation" menu. (AON - Advanced Outbound NAT)", you create NAT according to the image below.
c. Disable DHCPv6 Server
In this basic example, we only enable IP4. Therefore you must disable IP6. To disable IP6, click the Services ->> DHCPv6 Server, and uncheck the "Enable DHCPv6 server on LAN interface" option. follow the instructions in the image below.

d. Disable Router Advertisement
After that, you also disable Router Advertisement. To do this, click the Service ->> Router Advertisement. In the "Router Mode:" option, select disable. Look at the example below.

e. Setup Interface WAN dan LAN
In this section we will configure the WAN and LAN interfaces. To understand it more easily, see the image below. Pay attention to the gateway choice. First we will configure the WAN interface.

After that, we configure the interface (without gateway). Look at the image below.

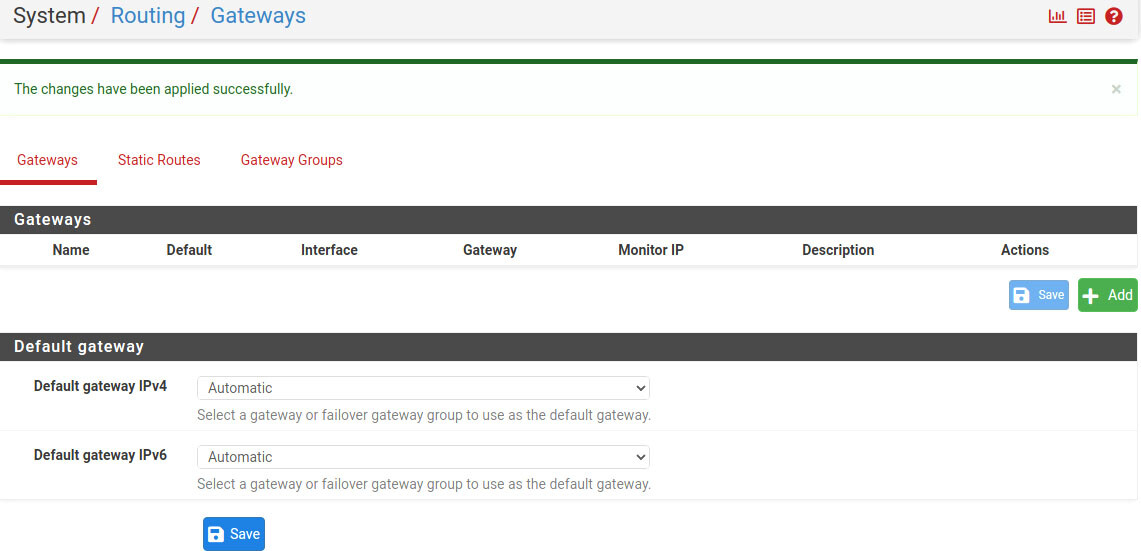
f. Delete Gateway
In PFSense, the gateway has an important role in connecting your PFSense to the internet. Before we create a new Gateway, first delete the default Gateway that was created by PFSense automatically. like the picture below.
To delete the gateway, click the System ->> Routing menu. After that, click on the trash can icon, as shown in the image below.

After you click the trash can icon, the results will look like the image below.
g. Create Gateway
After that, we continue by creating a new gateway on the WAN interface. Click the Interfaces ->> WAN menu. Follow the image guide below. Note the gateway on this interface.

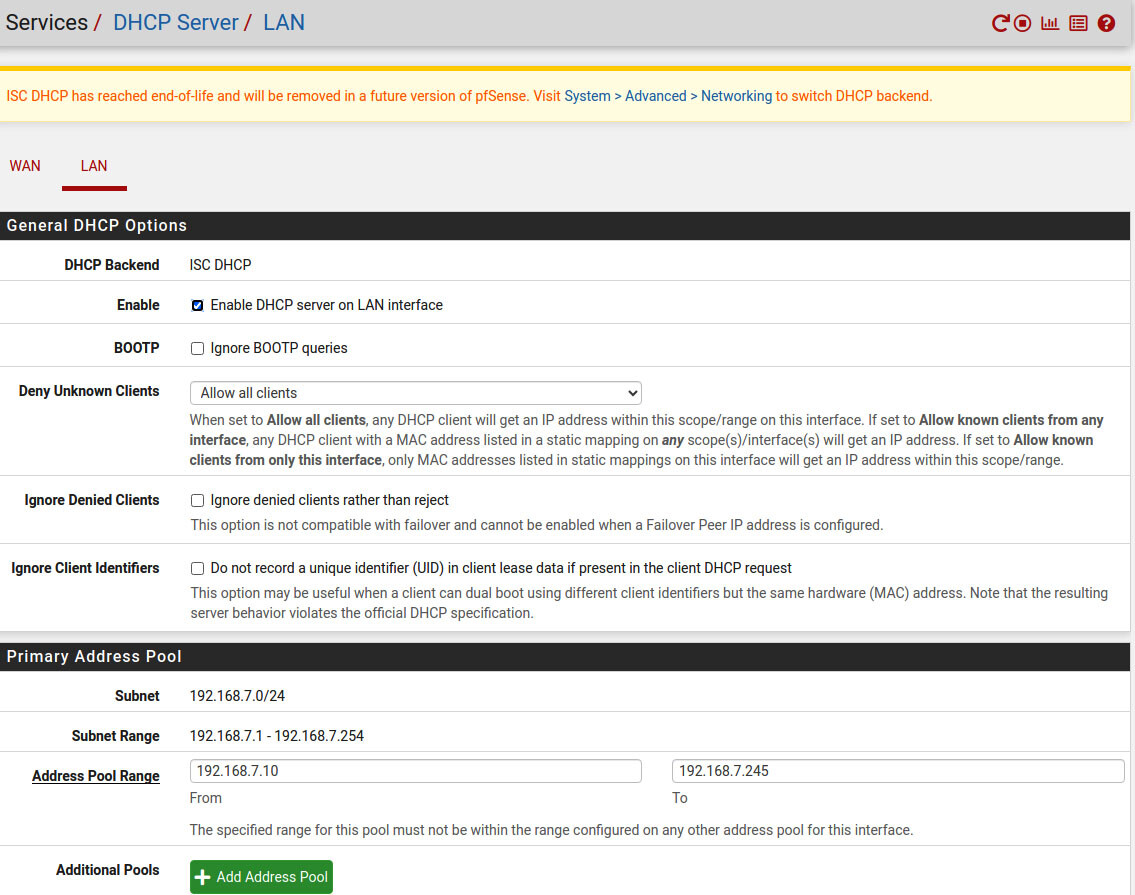
h. Setup DHCP Server
The next step you have to do is set up the DHCP server. To set up your DHCP server, click the Services ->> DHCP Server. Look at the image below, as your reference for configuring the DHCP server.

The final step is to reboot your PFSense server. Wait until PFSense returns to running normally. After that, you test by opening Google Chrome and typing "https://www.youtube.com/". If you don't go through each configuration that we have explained, you should be able to open YouTube. If your PFSense is not connected to the internet, you can start the steps in points "f" and "g".


