
The Apache ZooKeeper service is used as a service metadata and configuration server and is often used to implement the Service Discovery engine. For example, in Apache Kafka, a popular tool for organizing messaging in distributed systems, up to version 4.0 ZooKeeper can be used as a cluster metadata store.
Like any other component of a distributed system, it is advisable to run ZooKeeper in a cluster to ensure system fault tolerance.
This article describes a centralized service for configuring and installing distributed systems − Apache ZooKeeper on FreeBSD systems.
1. What is Apache ZooKeeper
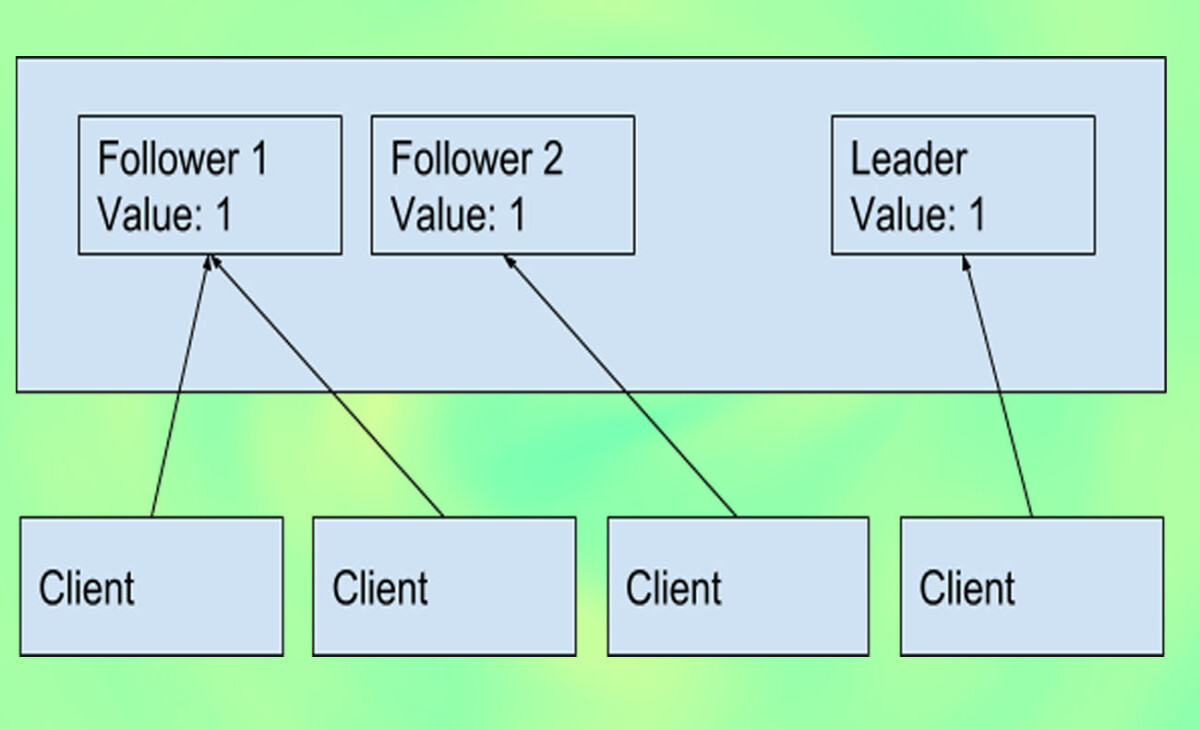
Apache ZooKeeper is the linking component of distributed systems. At the heart of ZooKeeper is a dataset represented as a tree that looks like a file system. This tree has nodes, which in turn can store data and have subordinate nodes. There are two types of nodes:
- Persistent − the value that is stored on the disk.
- Ephemeral − the value that is stored only as long as the client’s connection to ZooKeeper exists.
ZooKeeper has synchronous data writing. This means that writing from several clients occurs strictly sequentially. During writing, a version is entered into the node, any node has a version. To ensure data consistency, you can transfer the expected version of the node when writing.
And if the expected version of the node differs from the actually written one, this will mean that the node has been changed by another client and it needs to be read again in order to update the data and version. Given the synchronicity of writing, ZooKeeper is highly optimized for reading, since these operations can occur from replicas. Even if read operations do not occur from a replica, they are still quite fast due to the absence of locks (as in the case of writing data).
ZooKeeper can work with replicas. Write changes should be visible to all clients that are connected to many ZooKeeper replicas. Therefore, ZooKeeper replicas must have the same data.
2. Specifications of the System Used
OS: FreeBSD 14.1-STABLE
Hostname: ns4
IP Address: 192.168.5.71
JAVA version:
openjdk version "20.0.2" 2023-07-18
OpenJDK Runtime Environment (build 20.0.2+9-1)
OpenJDK 64-Bit Server VM (build 20.0.2+9-1, mixed mode, sharing)
ZooKeeper Version: apache-zookeeper-3.8.3
3. How to Install Apache ZooKeeper on FreeBSD
Apache ZooKeeper ensures high availability, consistency, and reliability by efficiently managing configuration, synchronization, and service discovery across multiple nodes. On the FreeBSD system, the ZooKeeper repository is available, you can directly install it via the PKG package or the Ports system.
However, before you install ZooKeeper on FreeBSD, make sure all dependencies required by ZooKeeper are installed correctly. Here are the dependencies that you must install.
root@ns4:~ # pkg install libzookeeper
a. How to Install Java OpenJDK
ZooKeeper is written in the Java programming language and requires the programming language to run properly. On FreeBSD the Java OpenJDK repository is available, for a Java OpenJDK installation guide you can read the article on how to install Java.
So, in this article we do not explain the Java OpenJDK installation process on FreeBSD, you can read the article above which explains the Java installation process.
b. Apache ZooKeeper Installation Guide
The ZooKeeper repository has been added to the FreeBSD system since 2012, making it very easy for you to install it. Because the ZooKeeper repository is available, you only need to make a few changes such as activating it in the "/etc/rc.conf" file.
root@ns4:~ # pkg install zookeeper
4. Configure ZooKeeper in Standalone Mode
For testing or development purposes, ZooKeeper runs in Standalone mode. Standalone mode is installing ZooKeeper on a single machine.
a. Set the machine id
root@ns4:~ # echo 1 > /var/db/zookeeper/myid1
root@ns4:~ # echo 2 > /var/db/zookeeper/myid2
root@ns4:~ # echo 3 > /var/db/zookeeper/myid3
After that, run the "chown" command. This command is used to change the owner and/or group of a file or directory in the file system. This command allows users to grant more specific access rights and control to existing files or directories.
root@ns4:~ # chown -R zookeeper:zookeeper /var/db/zookeeper
root@ns4:~ # chown -R zookeeper:zookeeper /var/log/zookeeper
b. Enable and Run zookeeper at Boot
To enable ZooKeeper at boot, you must add the script below in the "/etc/rc.conf" file.
root@ns4:~ # echo 'zookeeper_enable="YES"' >> /etc/rc.conf
c. Guide to Creating a Configuration File
A configuration file is very important to set the application to run as we wish. By default, the "ZooKeeper" configuration file is located in the "/usr/local/etc/zookeeper" folder.
root@ns4:~ # cp /usr/local/etc/zookeeper/zoo.cfg.sample /usr/local/etc/zookeeper/zoo.cfg
After that, you type or activate the script below in the file "/usr/local/etc/zookeeper/zoo.cfg".
tickTime=2000
initLimit=10
syncLimit=5
dataDir=/var/db/zookeeper
clientPort=2181
server.1=192.168.5.71:2888:3888
server.2=192.168.5.72:2888:3888
server.3=192.168.5.73:2888:3888
d. How to Run ZooKeeper
The last step is to run ZooKeeper with the "service" command.
root@ns4:~ # service zookeeper restart
root@ns4:~ # service zookeeper status
Once the server is up and running, you can connect to the server using the zkCli.sh command and try out a few commands to verify that everything is working as expected.
root@ns4:~ # zkCli.sh -server 192.168.5.71:2181
In this article we have learned how to install Apache ZooKeeper on FreeBSD 14.1. This article explains how to install ZooKeeper and outlines all the steps to take before installing and running ZooKeeper.


