
The sun shone today and I set to with myriad jobs including the Daewoo brakes. The MOT man suggested that there was a slight binding in the front brakes, more than likely due to the brake sliders needing a re-greasing. I bought a tin of silicone grease for the princely sum of £2.25 from ebay which arrove on friday so as it was dry (though not warm) I set to today to dismantle and clean up the front caliper sliders.
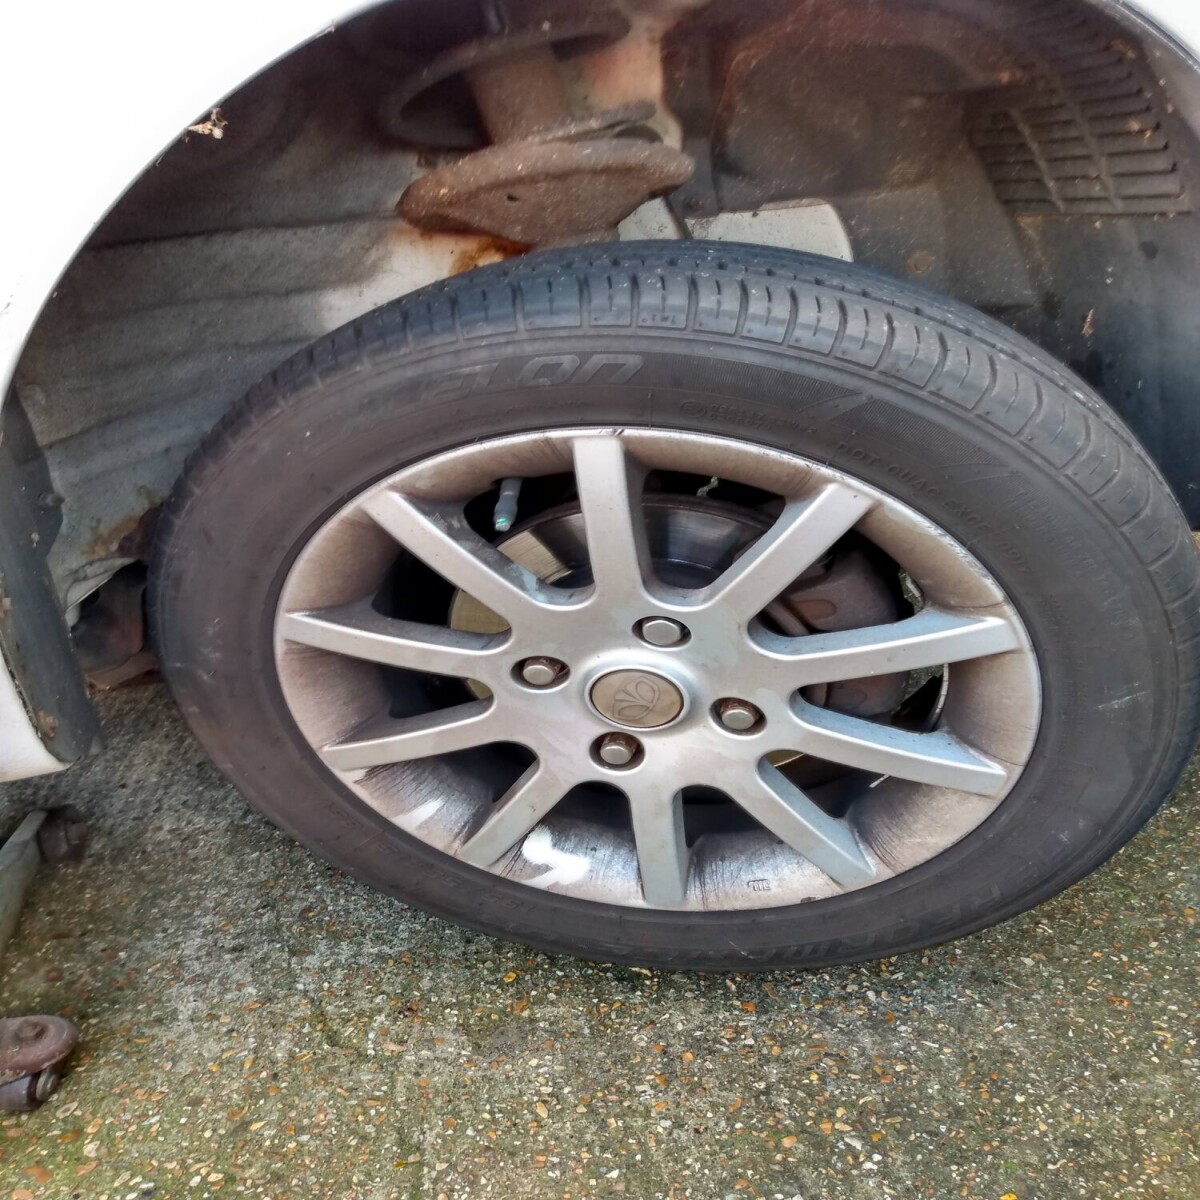
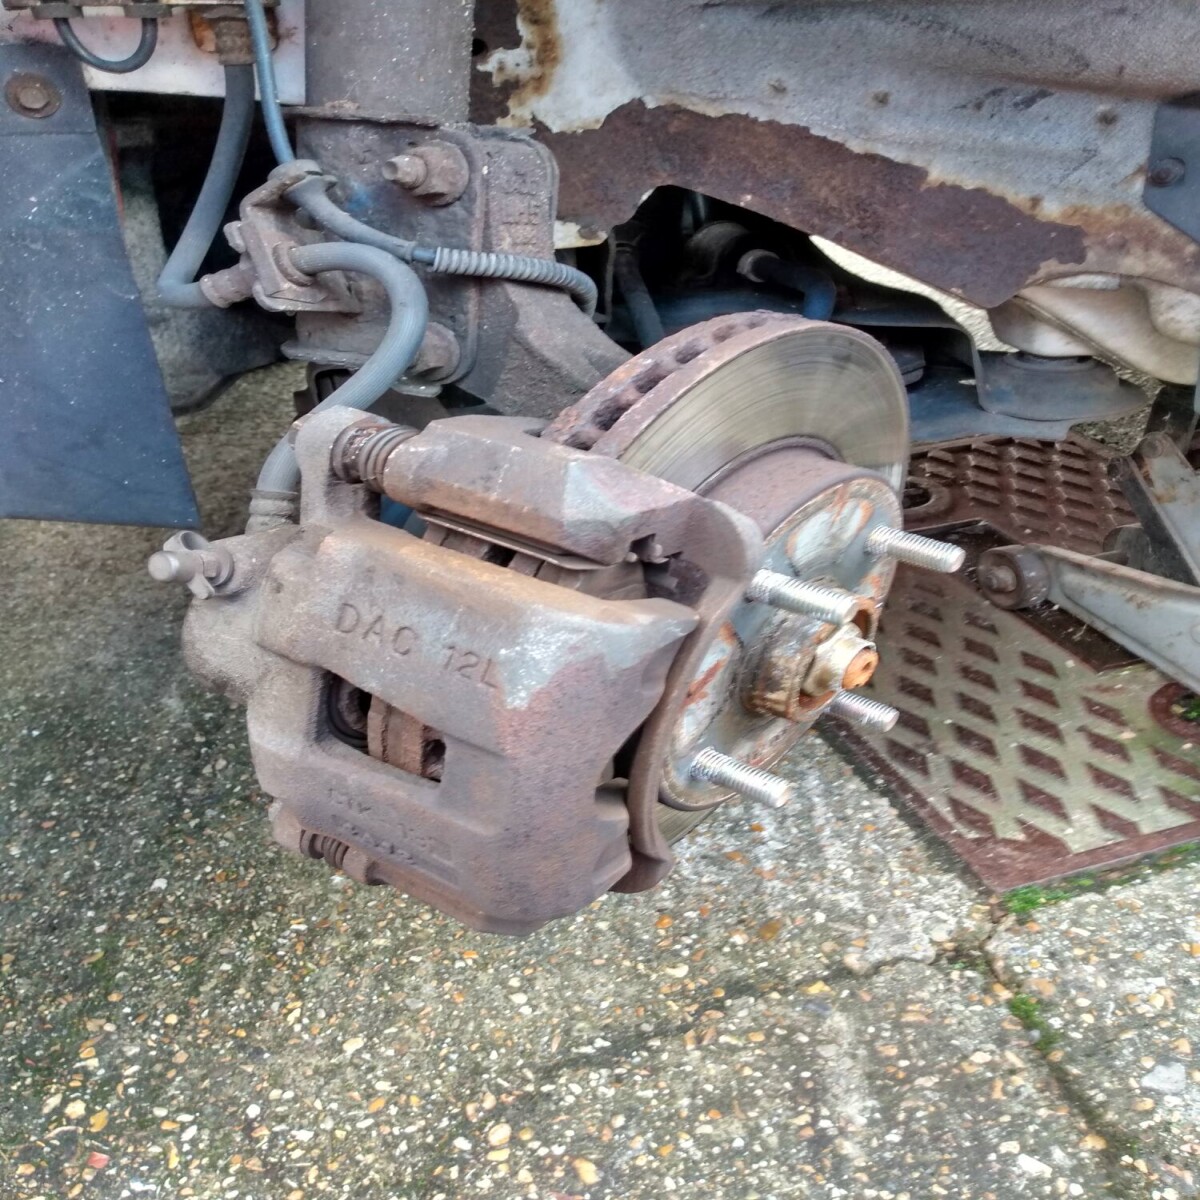
Here we are at the beginning. Drivers side wheel to begin with.
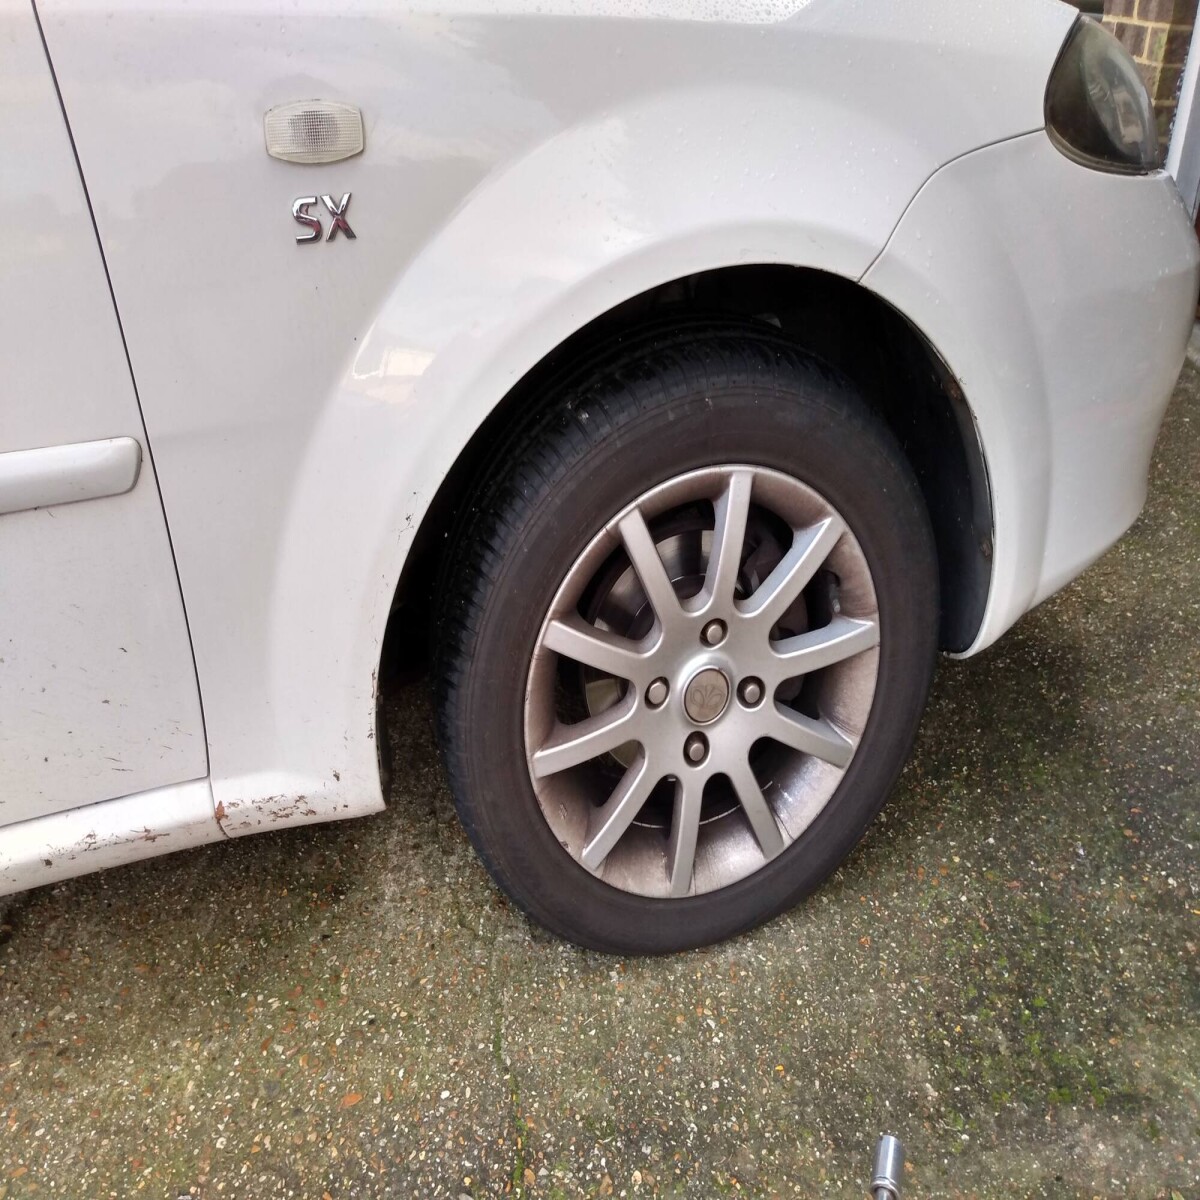
Front wheels are held on with 4x 19mm bolts. Helpfully* these had been previously done up by the incredible hulk so the regular ratchet stood no change and I had to have a furkle around for the father-in-law's breaker bar which mercifully made short work of the wheel bolts hold on the studs.
With the nuts cracked off, I jacked the front up and slid a axle stand under the chassis rail and removed the wheel entirely
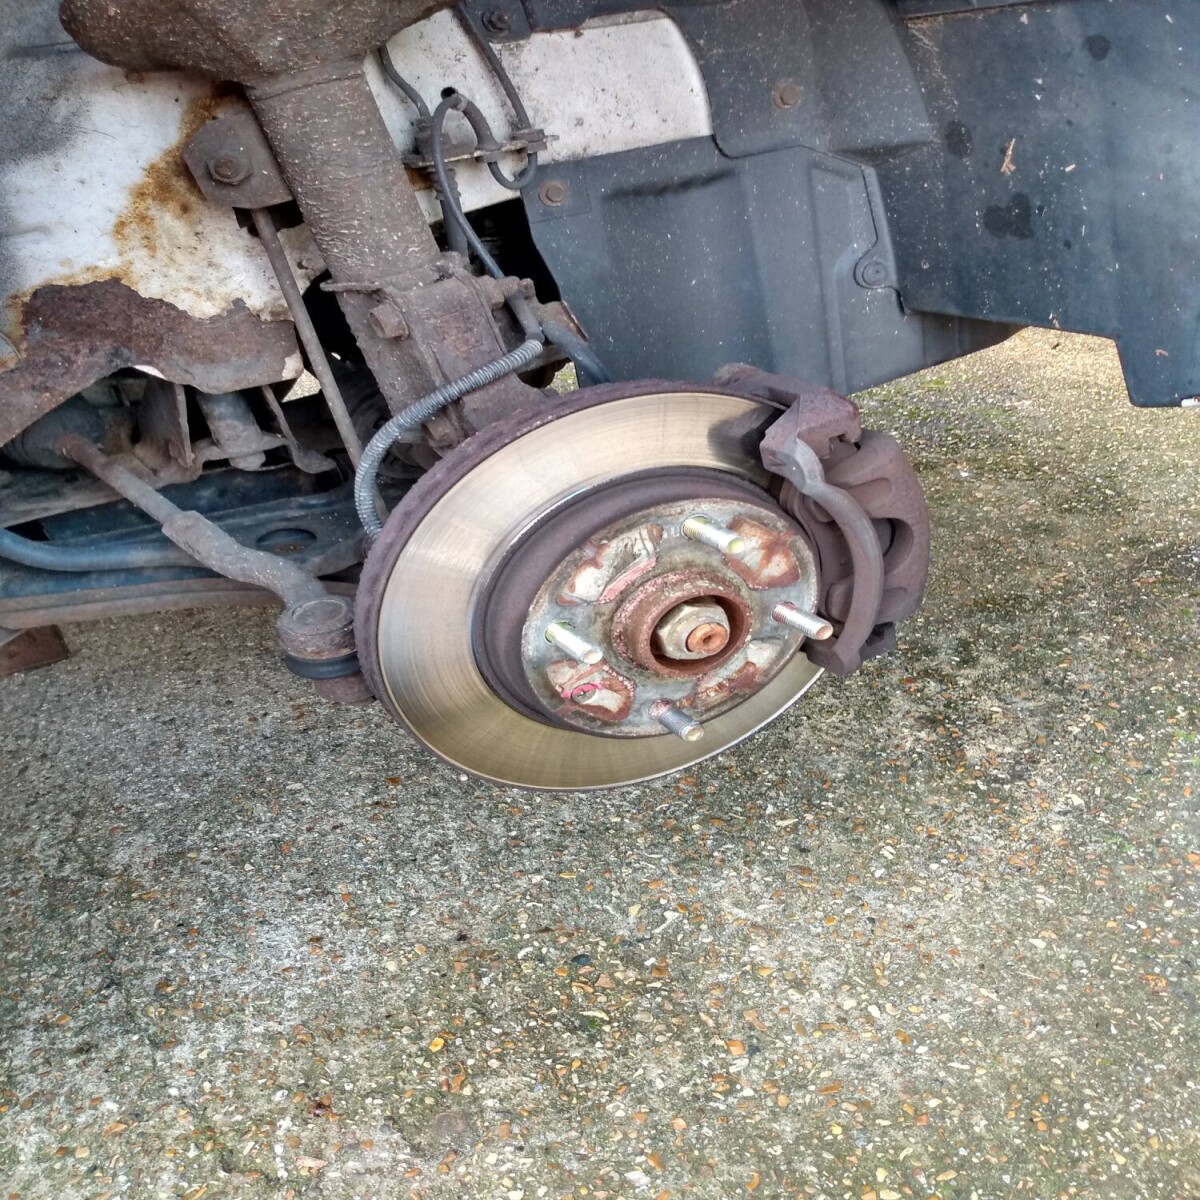
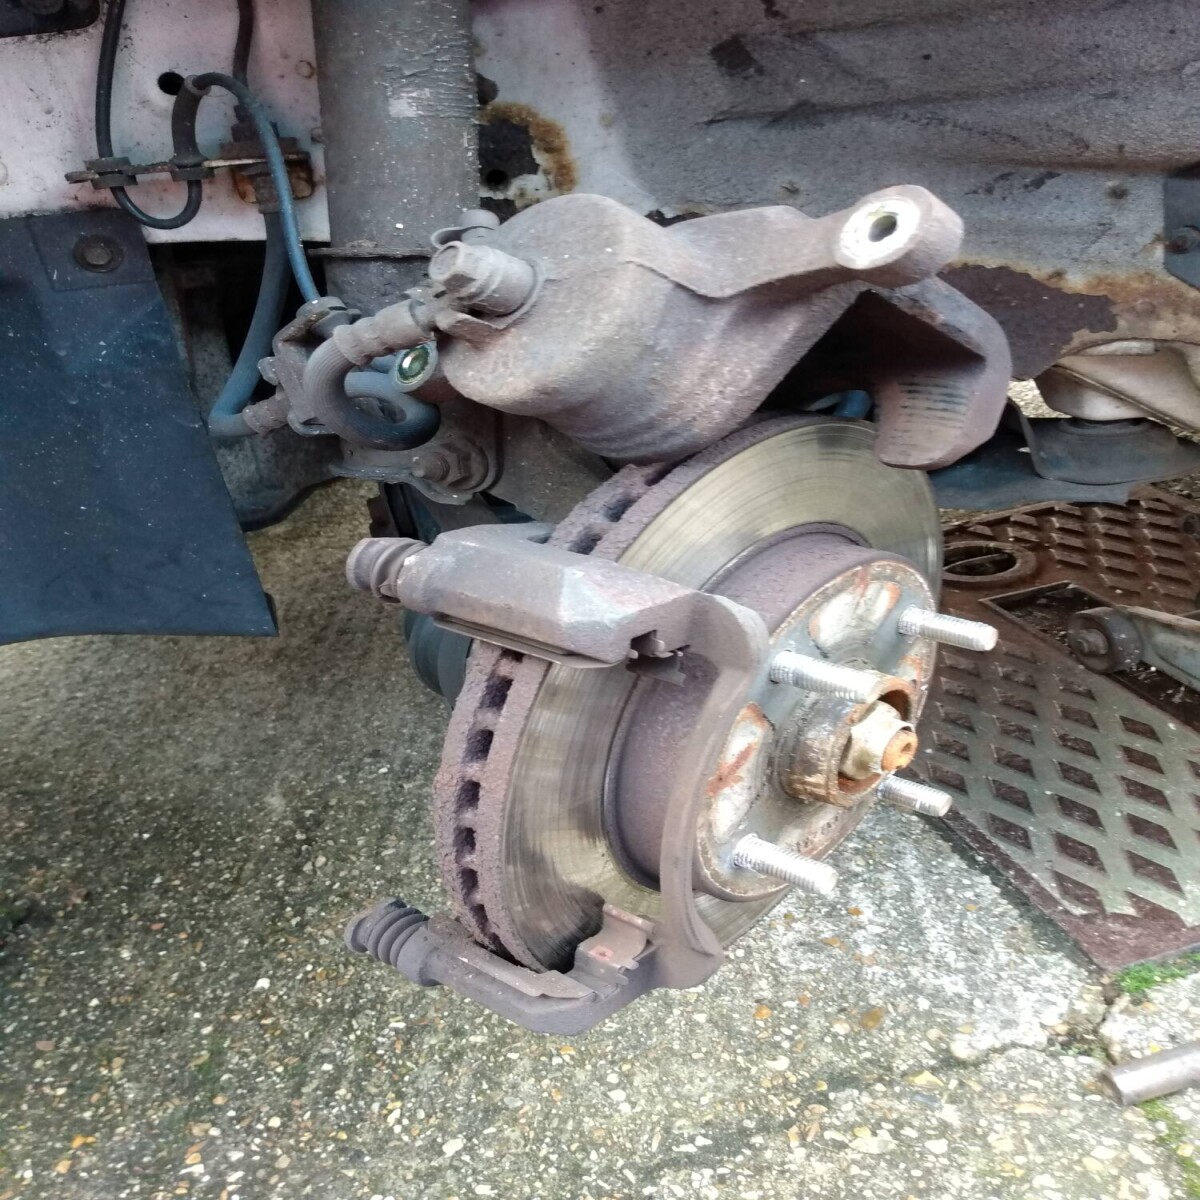
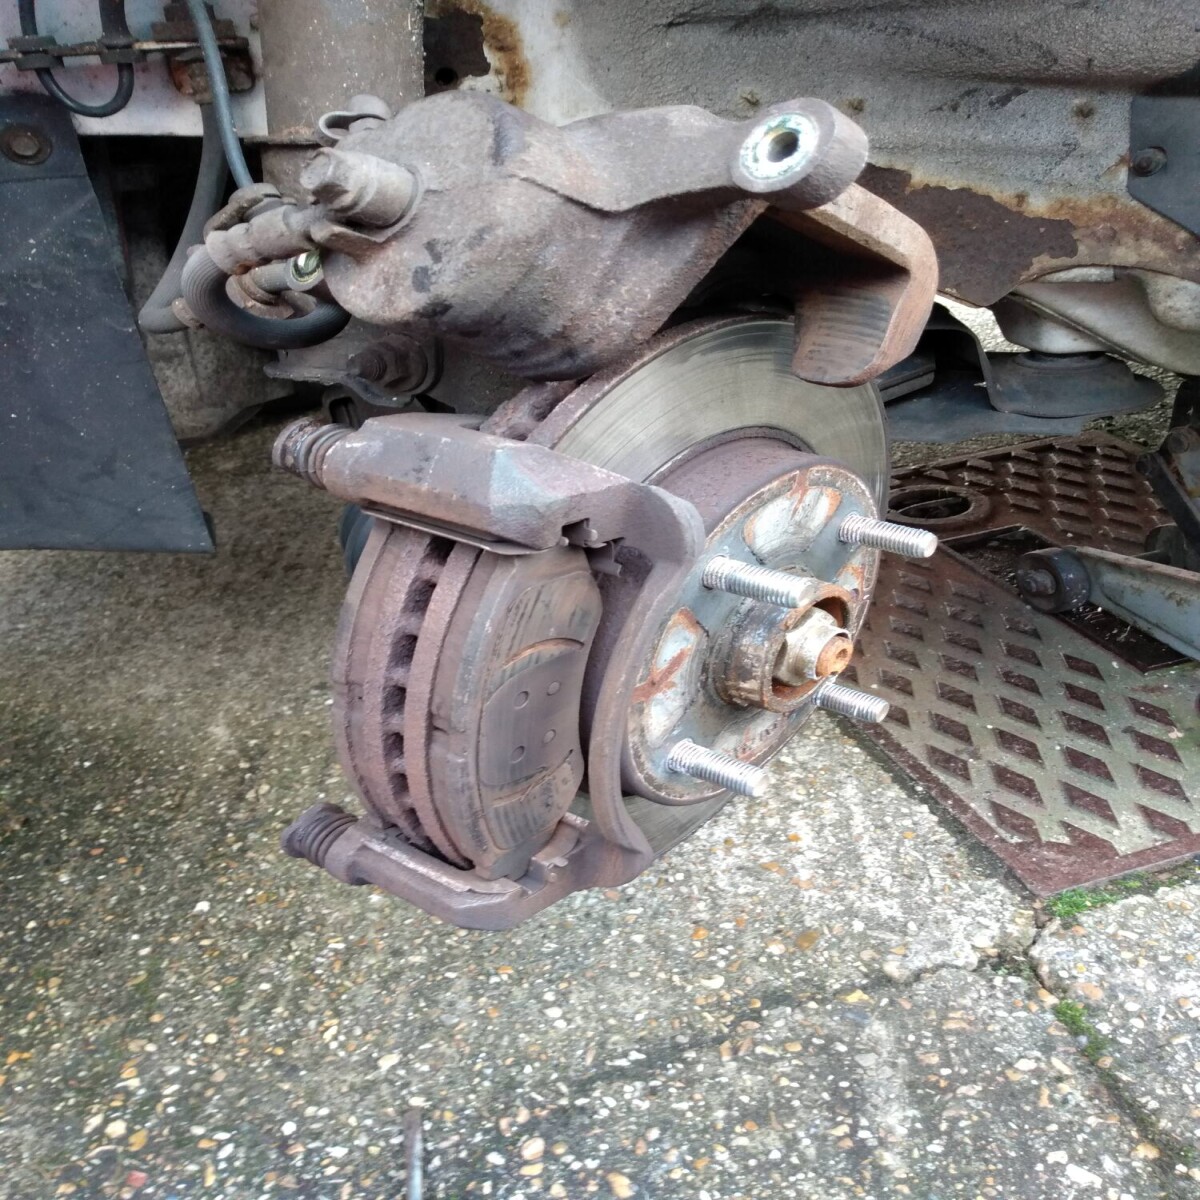
A bit of jiggling with a 14mm socket had the caliper off the carrier
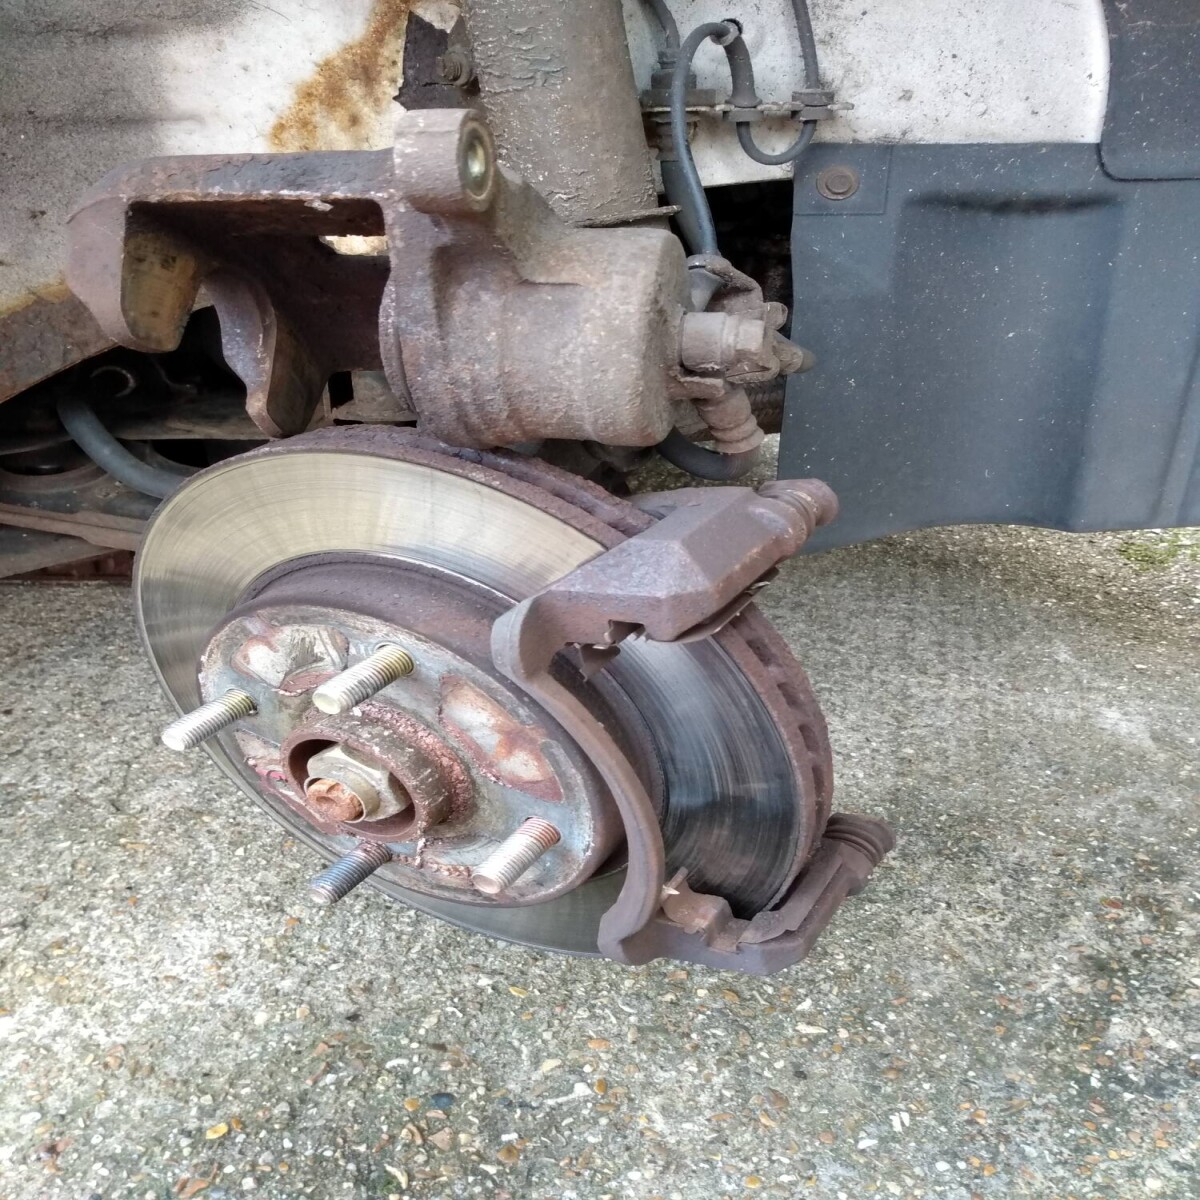
And pads removed
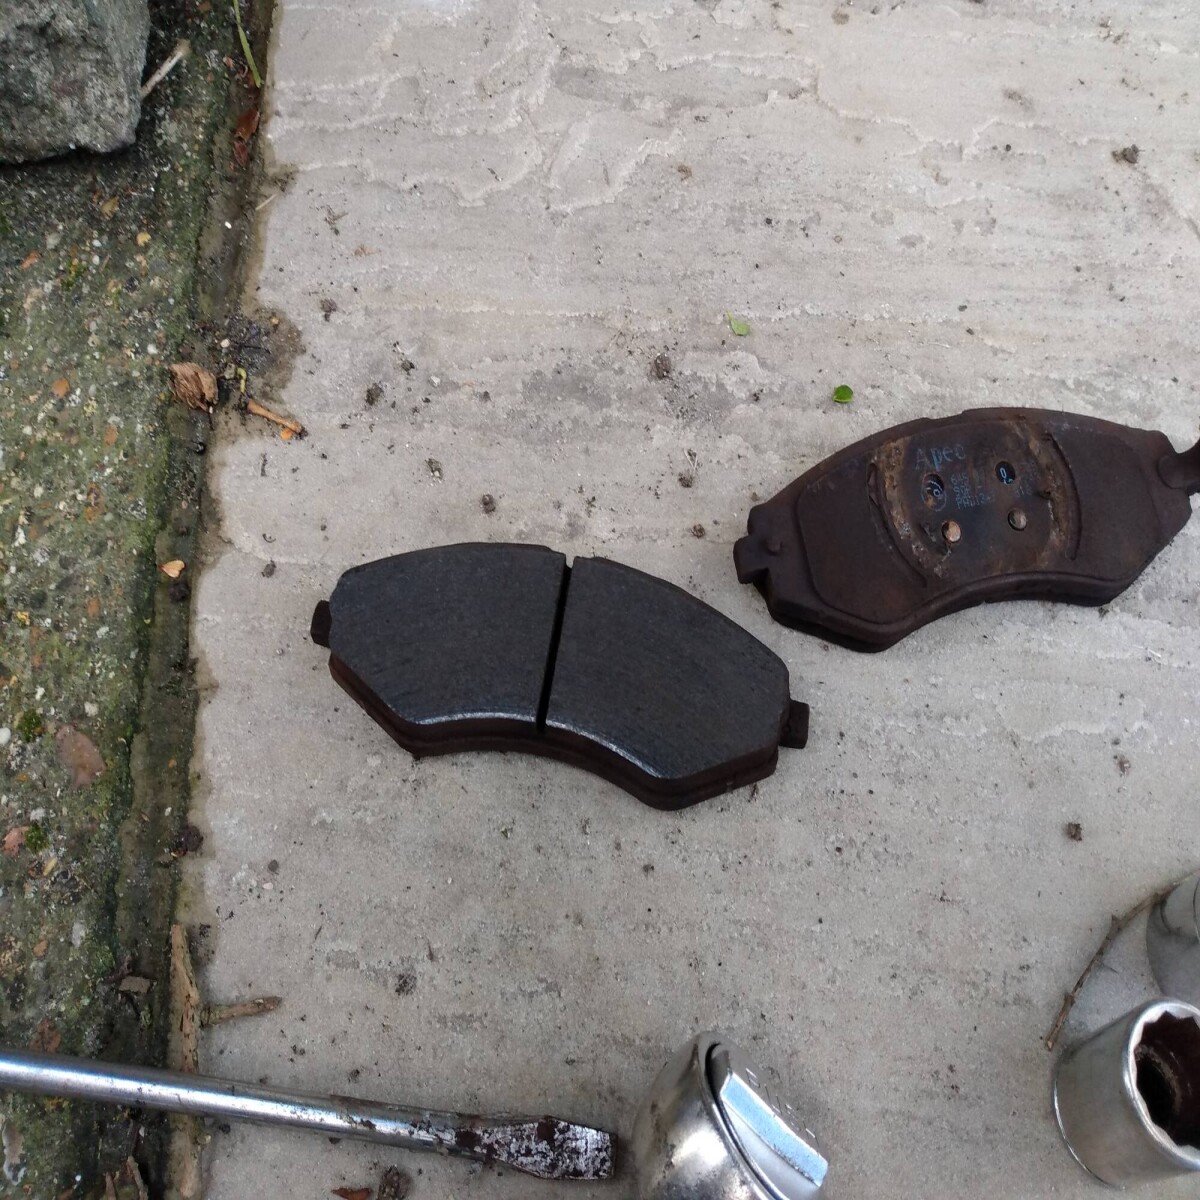
I expected these to be original, but there is lots of meat left of them and they are APEC branded which suggests they may have been replaced once during its life. I used a screwdriver to remove the brake dust from the centre channel while it was apart
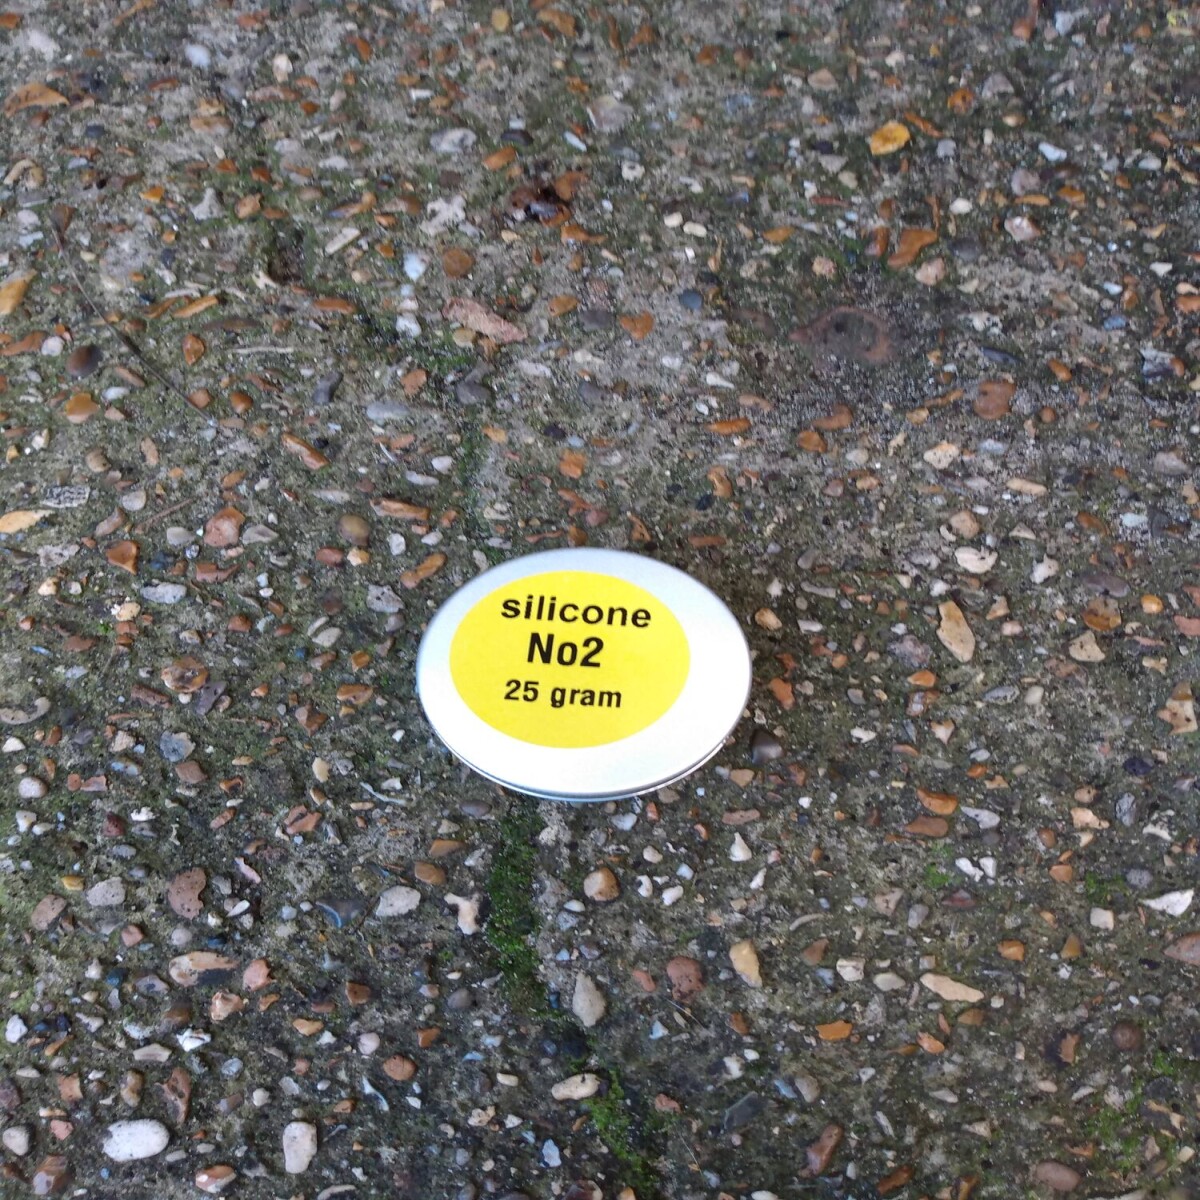
Next up, silicone grease. The internet suggested this wad the best option for greasing sliders as its not corrosive to rubber boots so I splashed out £2.25 on this 25g tin of the stuff. "No 2" for added lolz
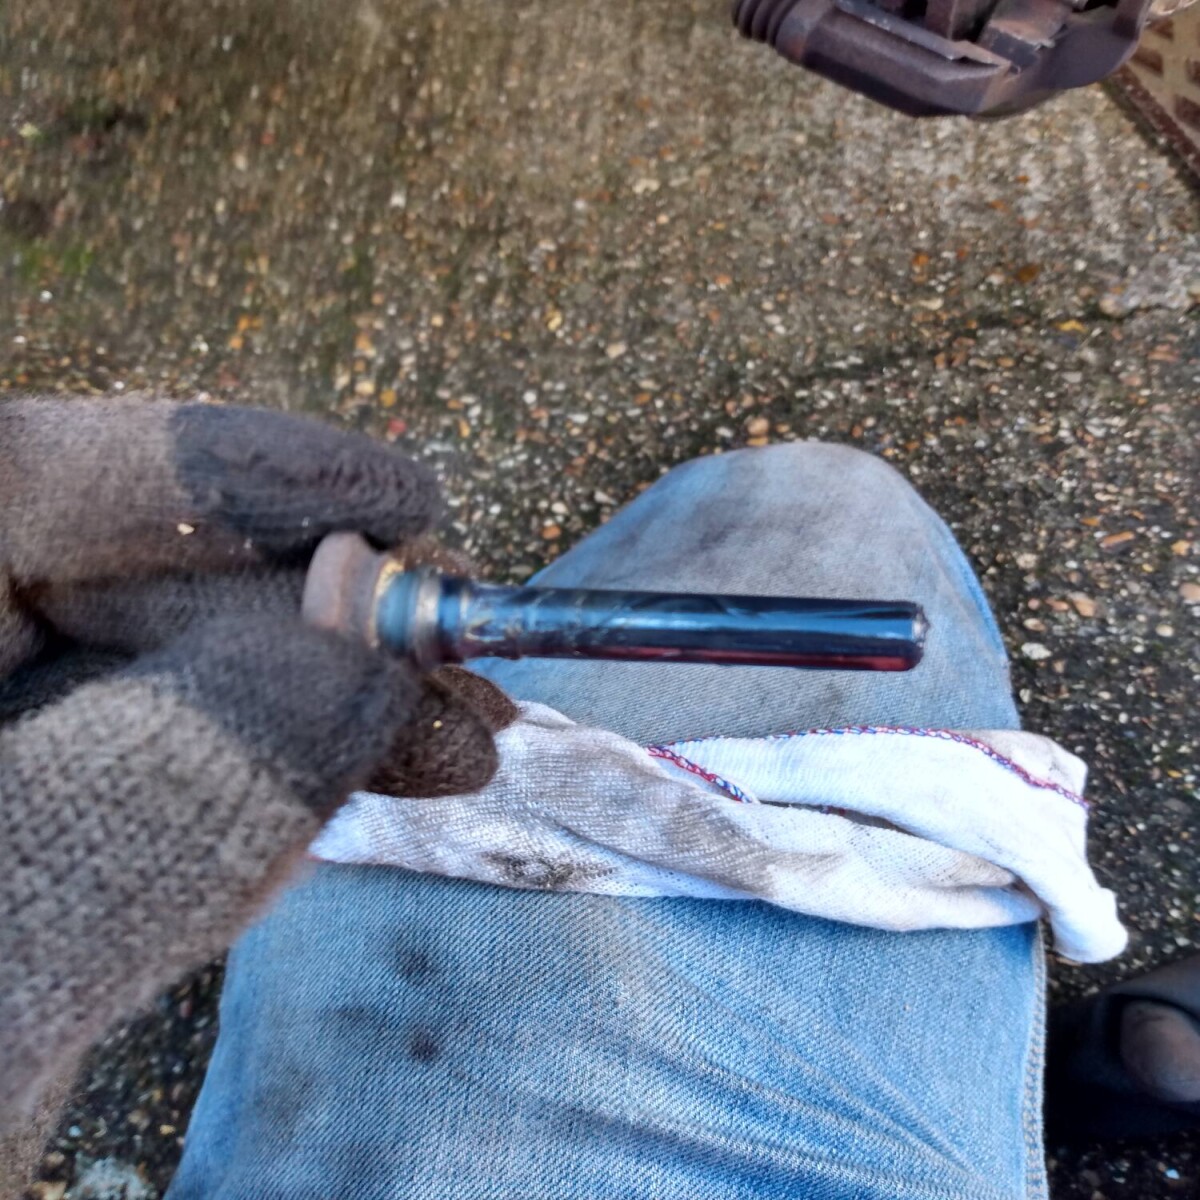
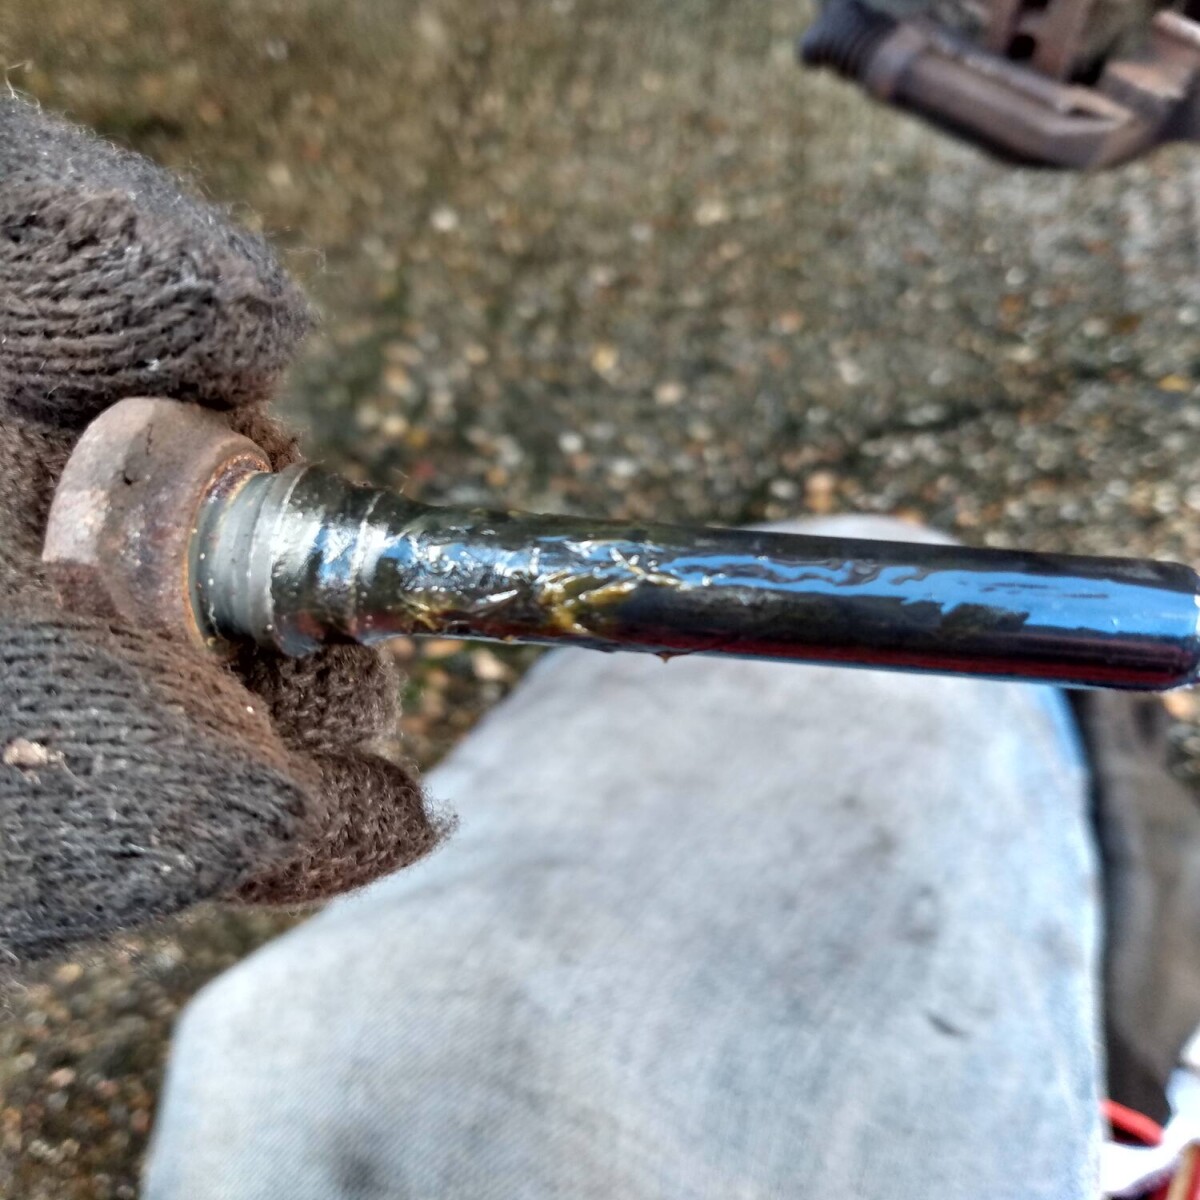
With the caliper removed from the carrier and pads pulled out and set aside, the sliders, err, slid out of their boots. This is the driver side top one
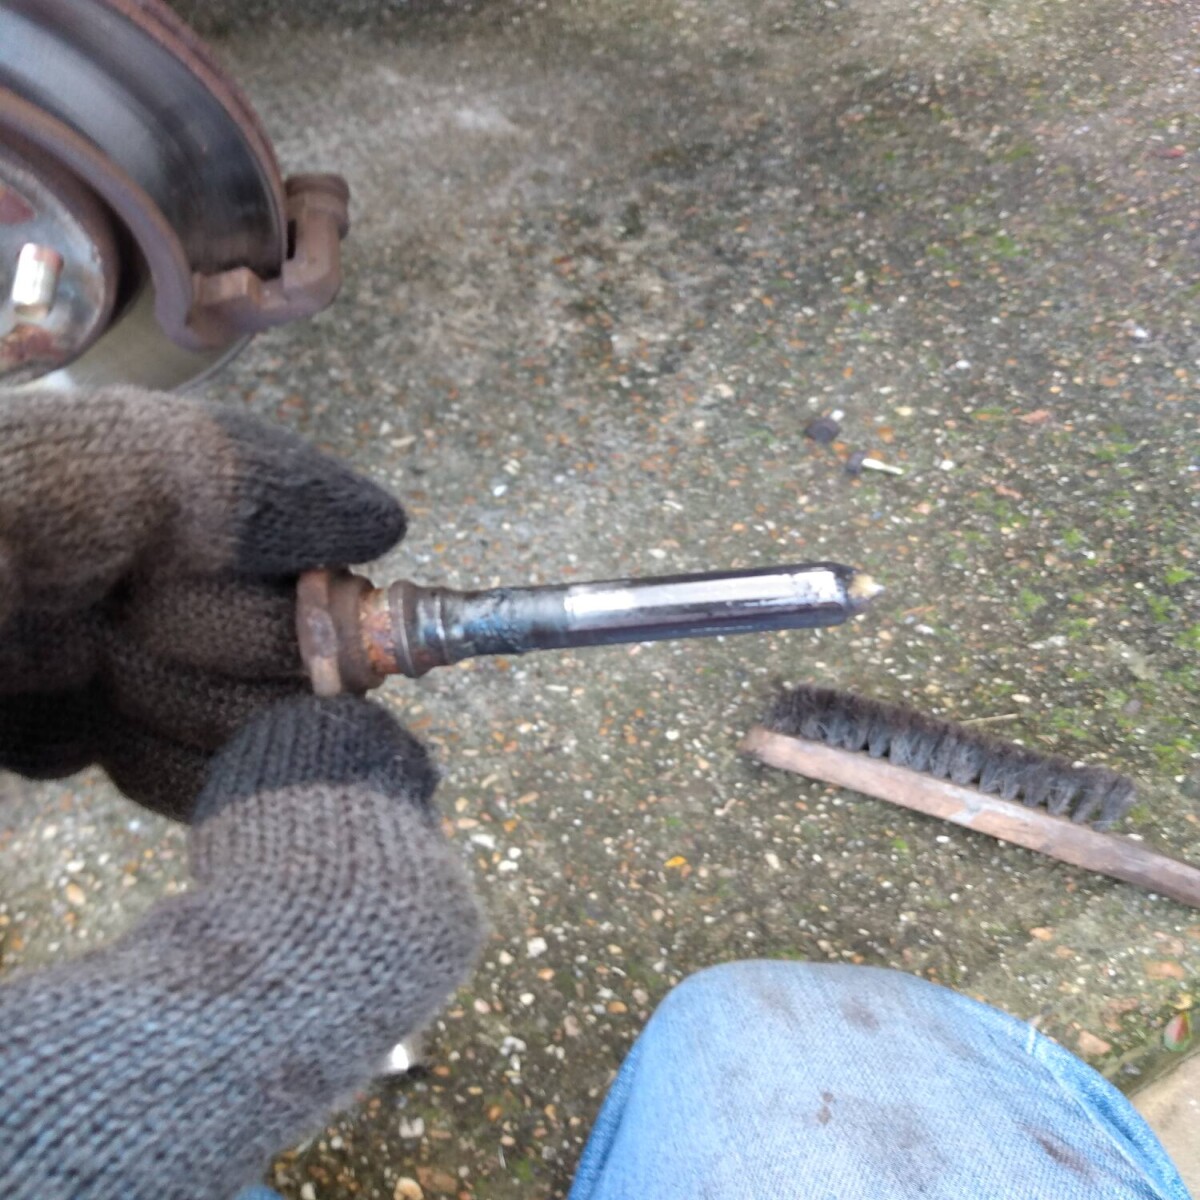
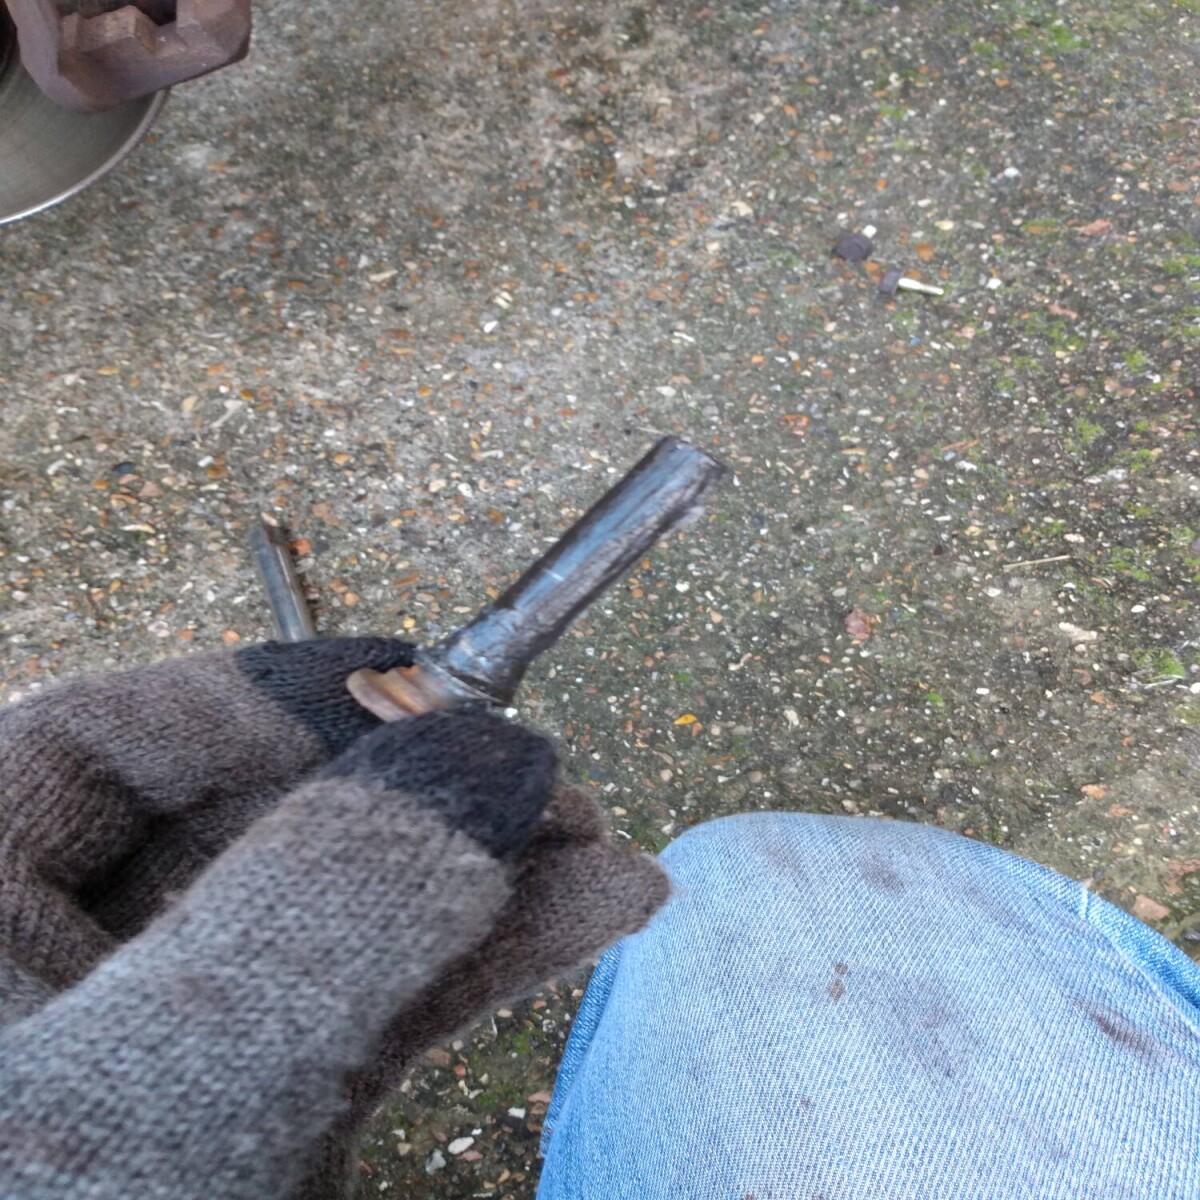
The old grease was a bit manky, having gone yellowy with moderate corrosion around the barbed section at the top/flanged end of the slider. I wiped it clean with a rag, and cleaned the barbed end with a combination of wire brush, screwdriver and cloth. here it is de-greased

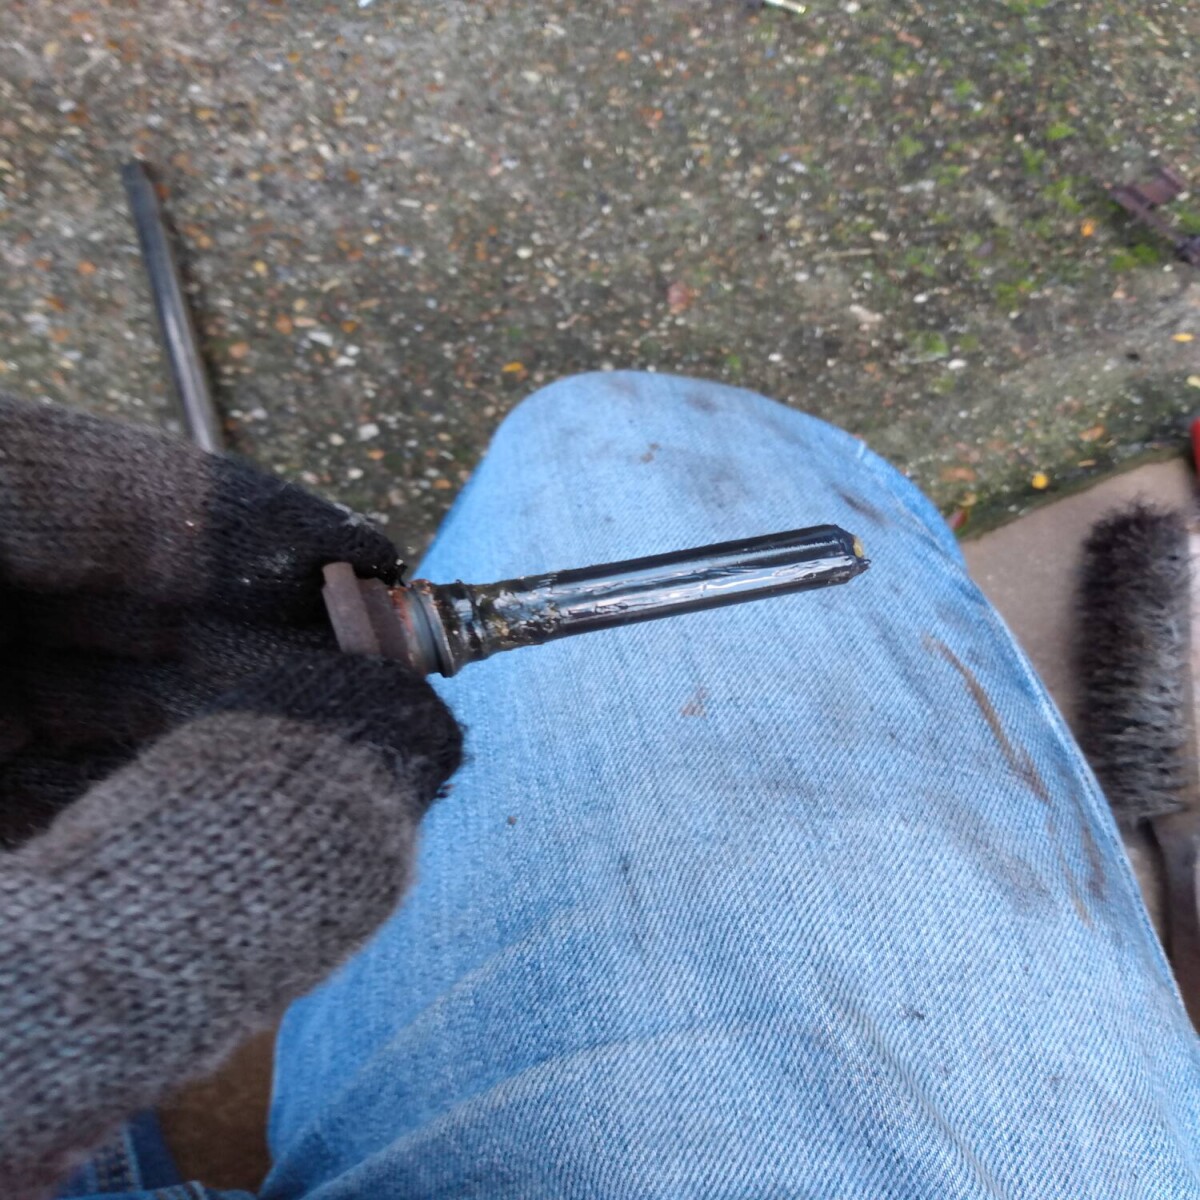
I re-greased it with a smear of the silicone grease all over...
...and re-inserted it in the boot, working it back and forth then pulling the boot free to expel the trapped air. Next up the bottom one
this was less manky, but still worth doing. I wiped it clean, cleaned the barbed bit up with a screwdriver and wire brush before re-greasing and re-fitting with the trapped air expelled. The caliper was then cleaned up with the wire brush, the piston forced back into the caliper with use of a g-clamp (and the top taken off the brake fluid reservoir), the pads scrubbed up with the wire brush and re-fitted to the carrier and the caliper fitted over the top. I screwed the slider bolts home, fixing the caliper to the pads firmly and then without starting the engine pumped the brake pedal to push the caliper piston back to its normal position. Having done similar in the past with my (also automatic) Saab 9-3 this is REALLY important because otherwise you bung it into reverse and start moving backwards, frantically pumping the pedal to take up the slack between piston and pad as you inexorably approach the neighbours PCP'd virtually new car, broadside-on.
with the slack taken up, its just a case of refitting everything. A smear of high-temp grease on the mating edge of the wheel and wheel re-mounted, then jack up enough to get the axle stand out then down onto terra firma and onto the other side.
Here we are with the wheel off the ground, and nuts ready to be removed with the breaker bar. Its was just as sodding difficult to get these to budge. The process was followed this side as well, with a 14mm socket used to remove the sider bolts and free the caliper from the carrier
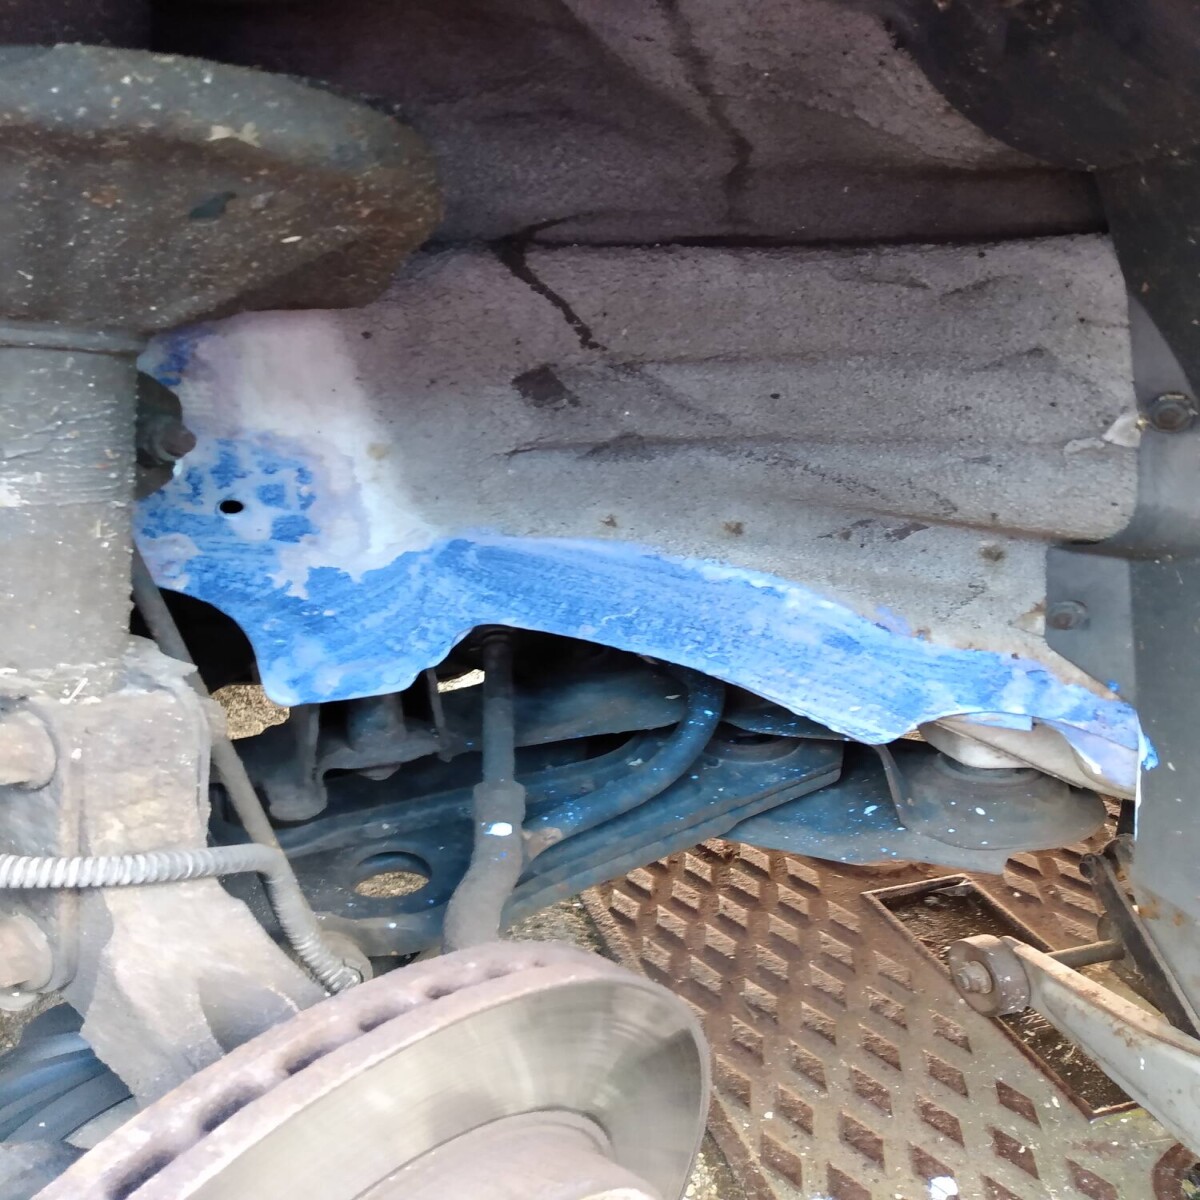
The eagle-eyed* among you will have noticed the other MOT advisory of rust in the wheel arch in this pic.
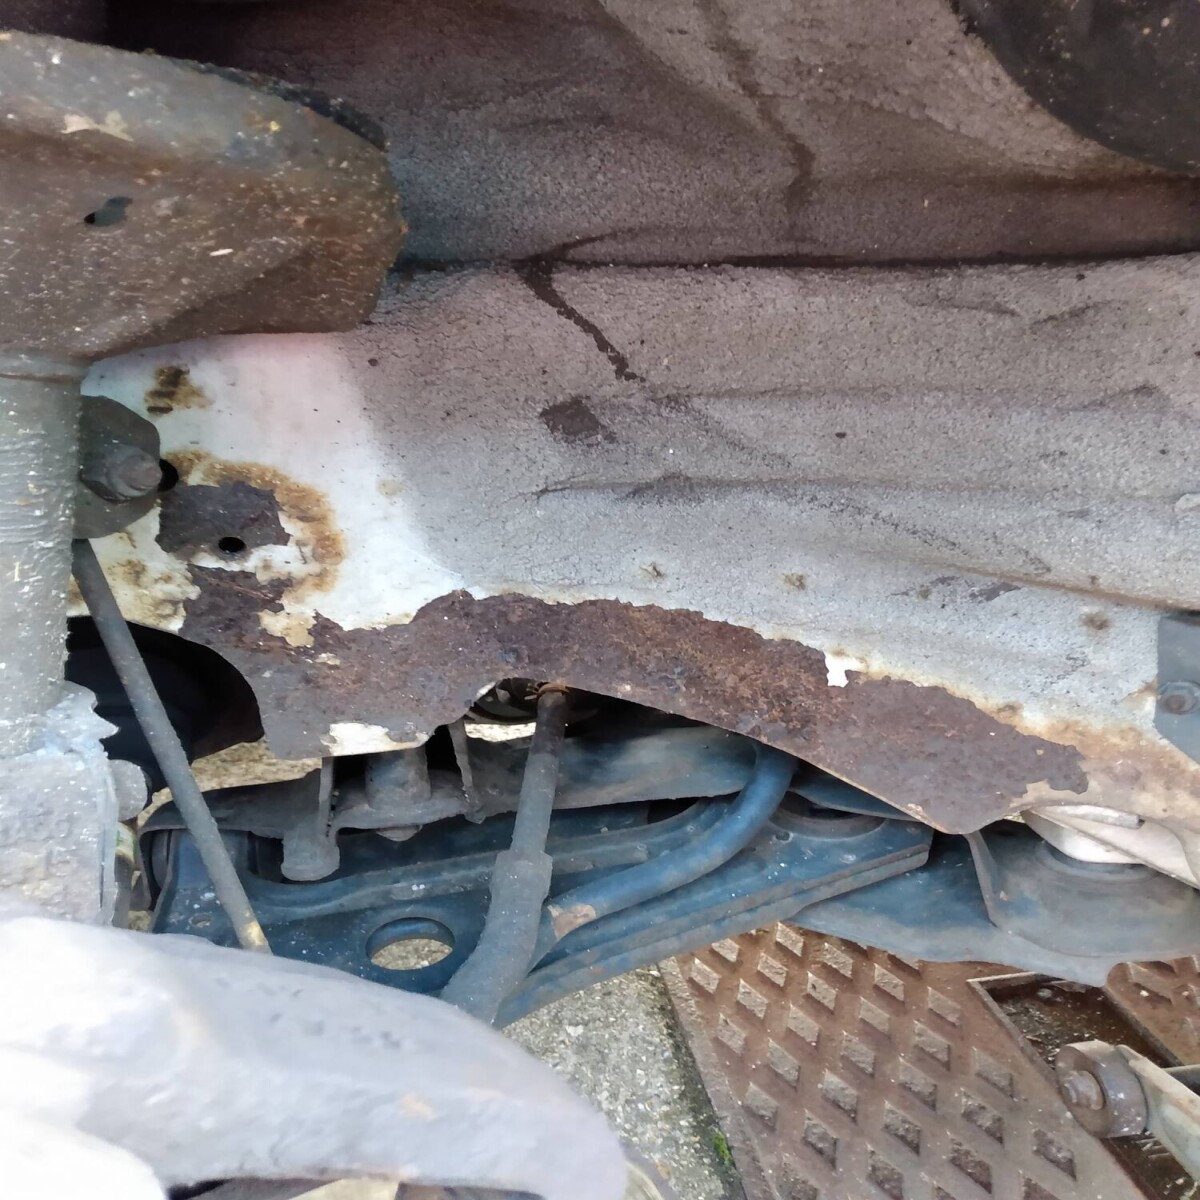
GM saw fit to put in arch liners in the front half and rear 1/4 of the arch, but not the middle section which get a pounded by grit off the road and rusts away like mad, out of sight. More on this later...
Same process here. Sliders removed.
Cleaned, re-greased and worked in and out a bit.
These were less manky than the drivers side but still not brilliant. Pads cleaned up with the wire brush and re-inserted
Caliper piston pushed back in with the g-clamp and refitted to the carrier
and while we're here, lets wire brush the rusty bits and Vactan them
Process repeated on the drivers side too, it needs paint but not today as I'm too busy. this will keep the worst at bay for a while until I can get it up on stands again and zinc prime and rattle-can it. as its out of sight it doesn't matter hugely how rough a job I do which is reassuring.
With this all back together I refitted the wheel, put the lid back on the brake fluid reservoir pumped the brakes to take up the slack and dropped it back off the axle stand/jack before taking it for a run. If I'm brutally honest it felt no different to me, but started, stopped and went round corners to an adequate standard. I'll keep an eye on the MPG to see if I can eke a bit more than 32mpg out of it.
All in all, a relatively painless task. There is even plenty of meat left on the pads so no immediate cause for concern. Just need to address the surface rust in the inner arches before too much longer really.


